Coasterbrake hub builds

Rat Rod Bikes Bicycle Forum

Help Support Rat Rod Bikes Bicycle Forum:

This site may earn a commission from merchant affiliate links, including eBay, Amazon, and others.
Thanks a lot guys! Its kinda busy with two kids now, but everyone will have to get used to the Chopper.... ehh to the baby :grin:

Moeder is doing great and really taking good care of Thura. I am taking care of our two year old daughter most of the time now.
During the "kraamweek" we had help from a "kraamverzorgster". A nice lady that helps with the baby's and moms health (checking weight, temperature and milk intake) and with some chores around the house. This is normal in the Netherlands where you get help for a week.
Unfortunately I could not convince the lady to make a mockup with the chopper frame :bigsmile:
I'll make a thread soon.

Is this also common in the US or Canada? Where you get this kind of help the first week?

I did have some time to look for junk on the interwebs and found some hubs for 2 euros. They are from kids bikes, but almost new!
One is a 28 hole 1985 F&S Torpedo hub.

The other a F&S replica by Romet with less holes (I think a Polish buildoff participant mentioned this brand of hub/bike).
I ordered two extra hub flanges for this hub, so its 36 hole too! I can bolt or rivet the flanges or that hub.
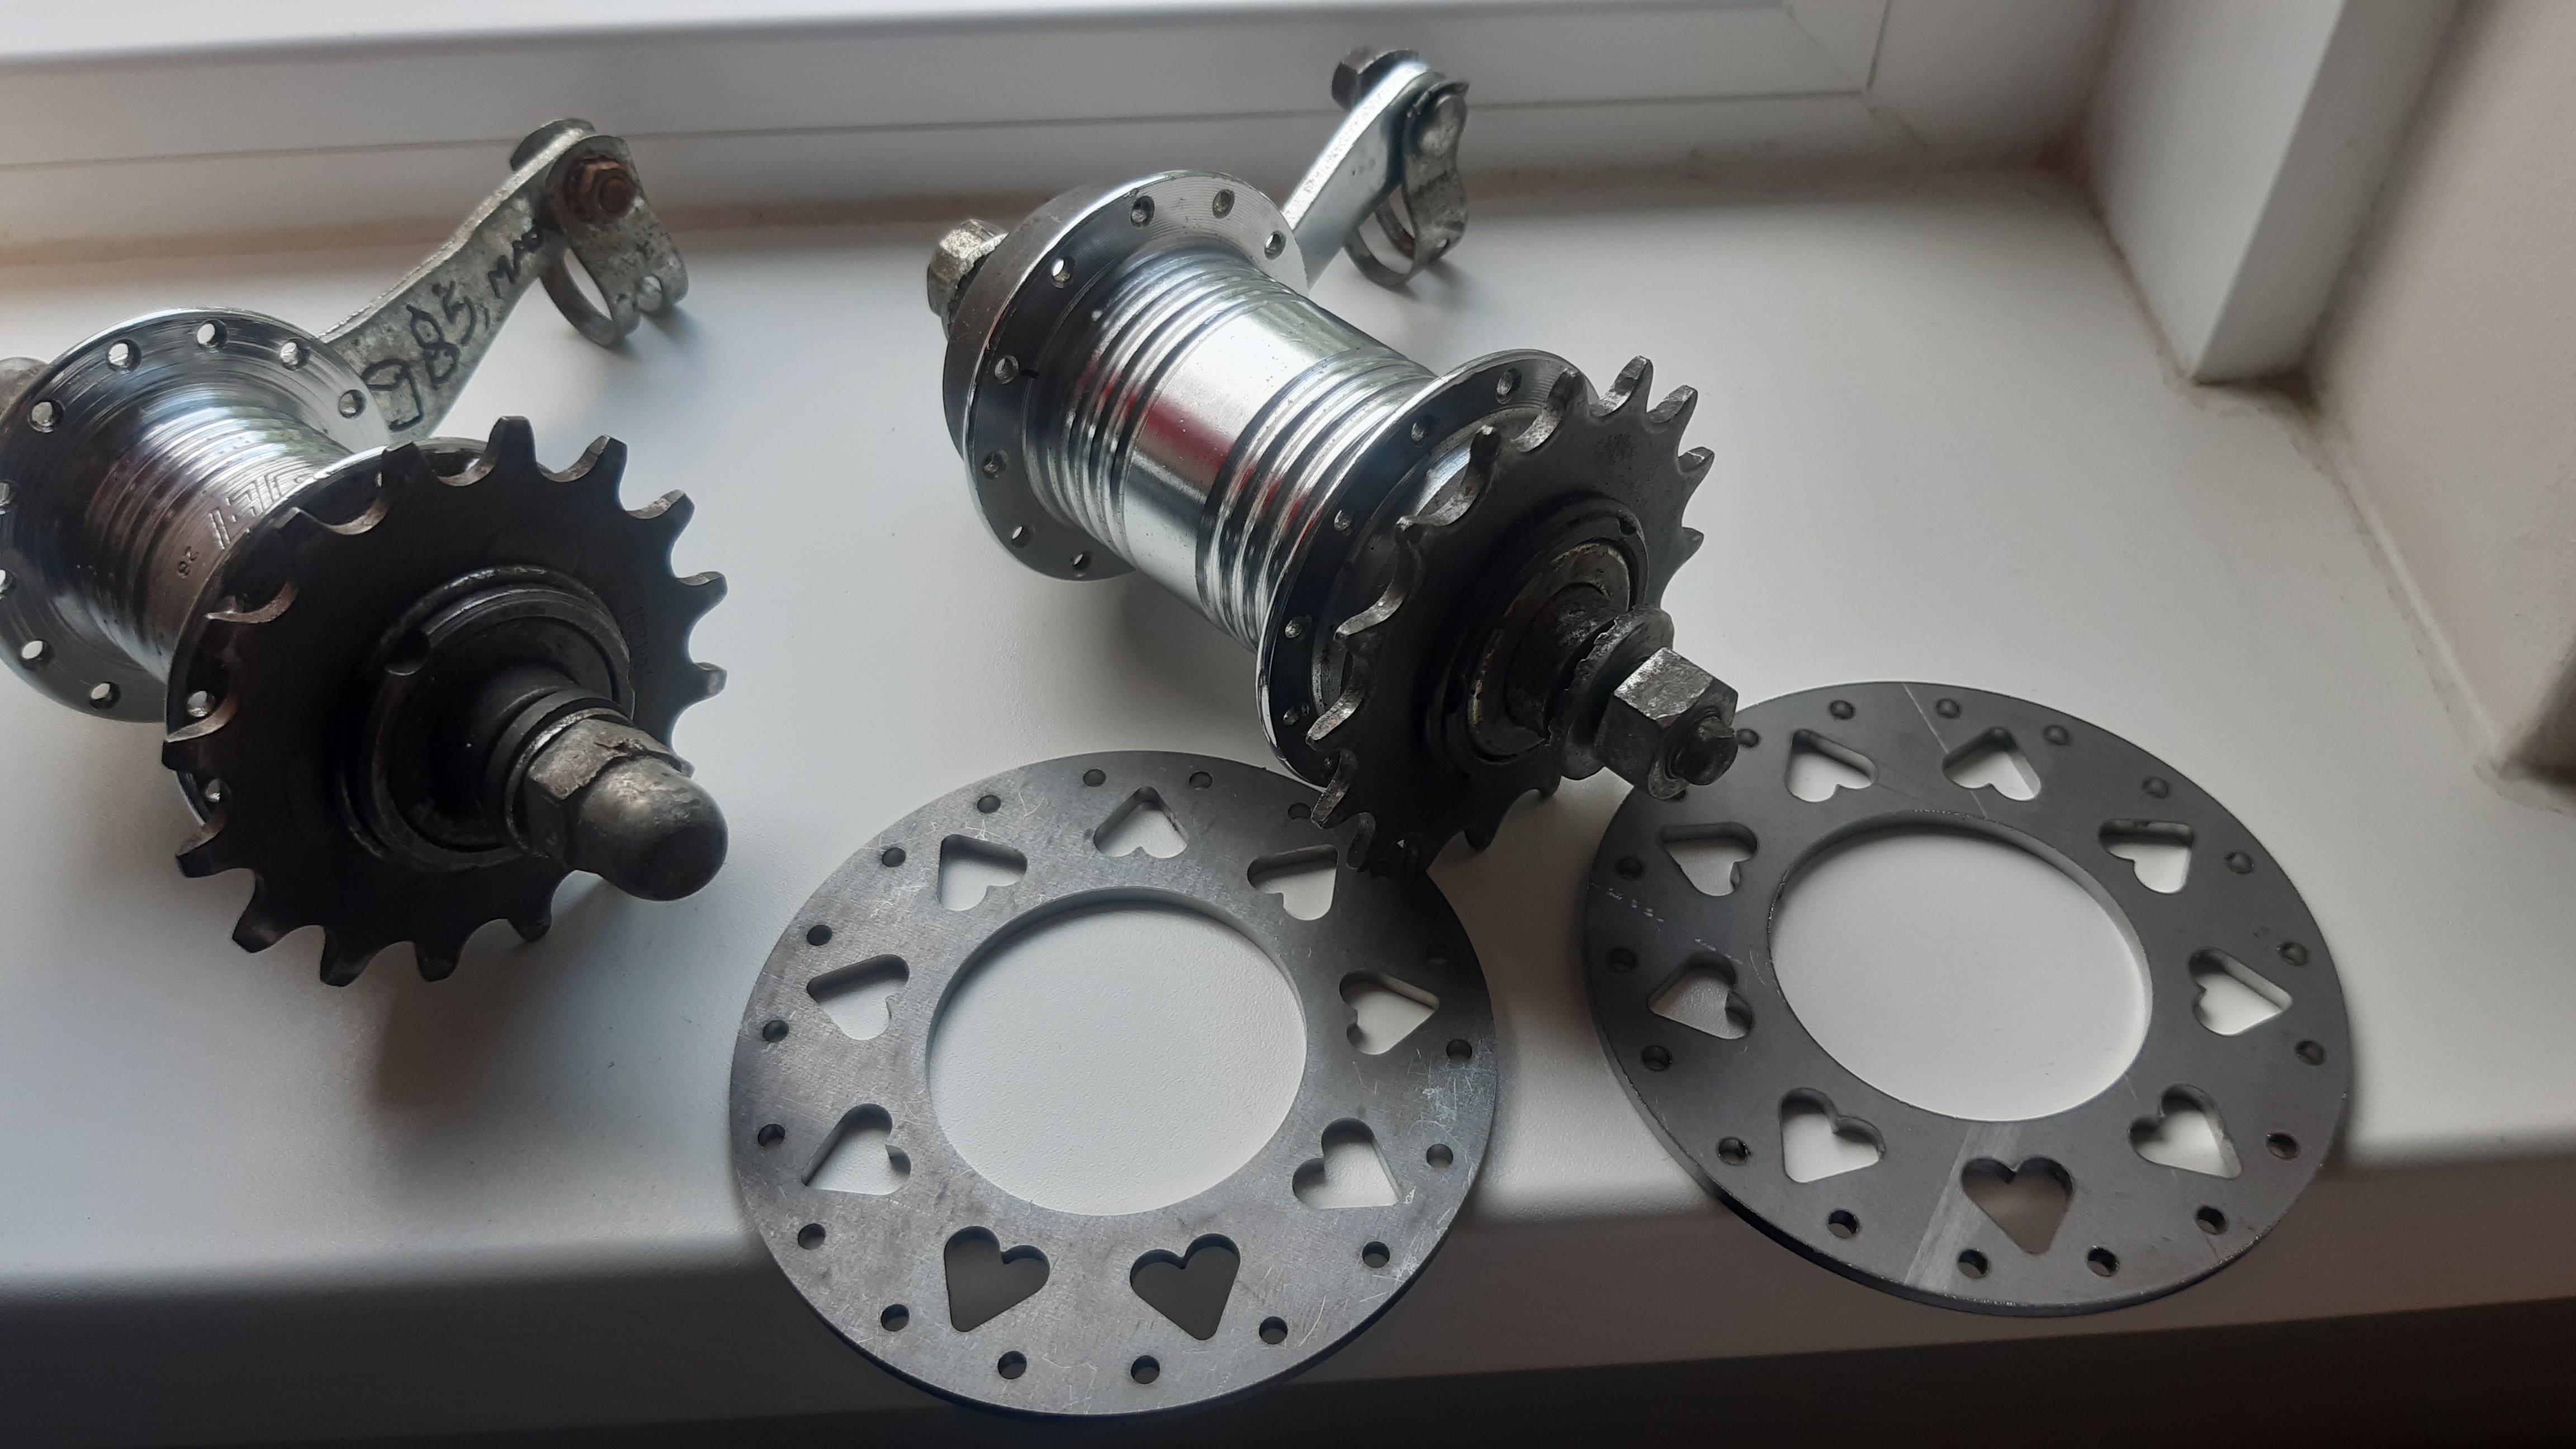
KLoYD3W.jpeg


And I could not resist buying a 50's US wheelset with bendix hub: (Uncommon in the Netherlands)
Bought it from "bikestoremember.nl". They have some "New Departure model D's" with skip tooth as well. Including complete wheelsets.
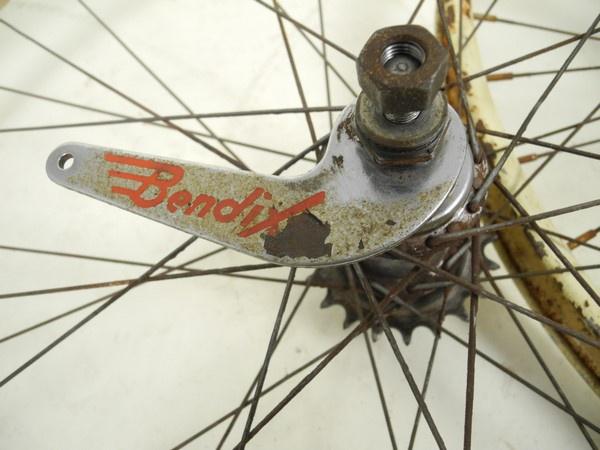
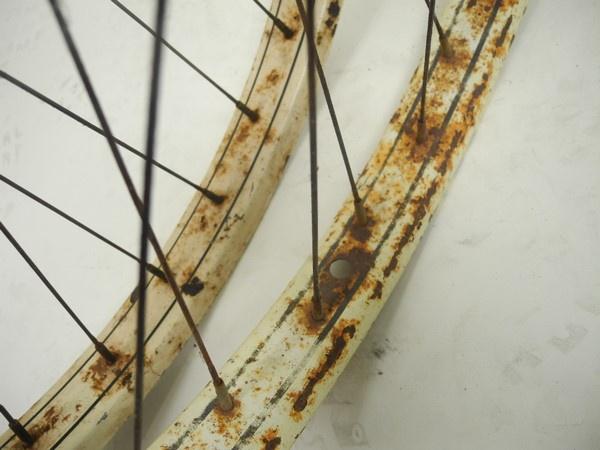
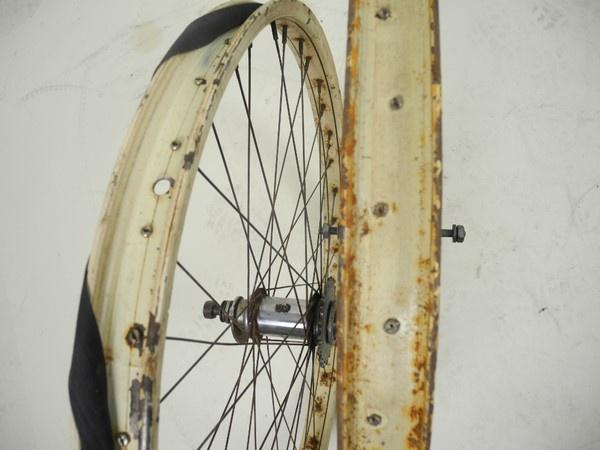
GDS6KGv.jpeg

AhlGbBR.jpeg

tTaQHP8.jpeg

loAi3dy.jpeg


I don't know for which build I will use this set, maybe I will take a bike apart and build something new.
Thinking to take apart my green Electra RS Klunker and put this set on the frame and store it for a future buildoff....
Use the 26 inch Klunker wheelset for the chopper....
Also toying with the idea of throwing the chopper in the yard (with grease inside the frame) for a rat build. The frame is almost the same as the Nirve Cannibal/Switchblade.


In the coming months I will have time for a mockup and rearreangement of parts/bikes.

Thanks again!
 
Last edited:
Is this also common in the US or Canada? Where you get this kind of help the first week?
Not exactly, we had a few check-ins from the midwife, but basically after we left the hospital, we were on our own. Family support, of course, but nothing like help with chores and feeding. That's why I thought you might have your hands full, around here that's up to Vader.
I could not convince the lady to make a mockup with the chopper frame
I never thought to ask for bike help
 
Thanks a lot guys! Its kinda busy with two kids now, but everyone will have to get used to the Chopper.... ehh to the baby :grin:

Moeder is doing great and really taking good care of Thura. I am taking care of our two year old daughter most of the time now.
During the "kraamweek" we had help from a "kraamverzorgster". A nice lady that helps with the baby's and moms health (checking weight, temperature and milk intake) and with some chores around the house. This is normal in the Netherlands where you get help for a week.
Unfortunately I could not convince the lady to make a mockup with the chopper frame :bigsmile:
I'll make a thread soon.

Is this also common in the US or Canada? Where you get this kind of help the first week?

I did have some time to look for junk on the interwebs and found some hubs for 2 euros. They are from kids bikes, but almost new!
One is a 28 hole 1985 F&S Torpedo hub.

The other a F&S replica by Romet with less holes (I think a Polish buildoff participant mentioned this brand of hub/bike).
I ordered two extra hub flanges for this hub, so its 36 hole too! I can bolt or rivet the flanges or that hub.

KLoYD3W.jpeg


And I could not resist buying a 50's US wheelset with bendix hub: (Uncommon in the Netherlands)
Bought it from "bikestoremember.nl". They have some "New Departure model D's" with skip tooth as well. Including complete wheelsets.
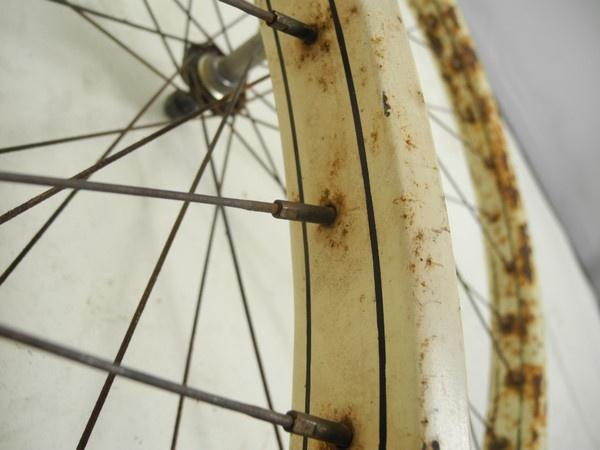

GDS6KGv.jpeg

AhlGbBR.jpeg

tTaQHP8.jpeg

loAi3dy.jpeg


I don't know for which build I will use this set, maybe I will take a bike apart and build something new.
Thinking to take apart my green Electra RS Klunker and put this set on the frame and store it for a future buildoff....
Use the 26 inch Klunker wheelset for the chopper....
Also toying with the idea of throwing the chopper in the yard (with grease inside the frame) for a rat build. The frame is almost the same as the Nirve Cannibal/Switchblade.


In the coming months I will have time for a mockup and rearreangement of parts/bikes.

Thanks again!
In the US (for me anyhow) it involves a visit from at least one of the grandmother's for the first week or so. Sometimes the two grandmother's could be convinced to come consecutively and extend that out. But that was just our experiences. My mom has 32 grandchildren and 8 great grandchildren. She's quite doting and fond of the babies
 
In the US (for me anyhow) it involves a visit from at least one of the grandmother's for the first week or so. Sometimes the two grandmother's could be convinced to come consecutively and extend that out. But that was just our experiences. My mom has 32 grandchildren and 8 great grandchildren. She's quite doting and fond of the babies
That seems awesome as well. We did not ask for presents, but food and meals, because you are quite busy that first period.

Not exactly, we had a few check-ins from the midwife, but basically after we left the hospital, we were on our own. Family support, of course, but nothing like help with chores and feeding. That's why I thought you might have your hands full, around here that's up to Vader.

I never thought to ask for bike help
Canada is hardcore 😉


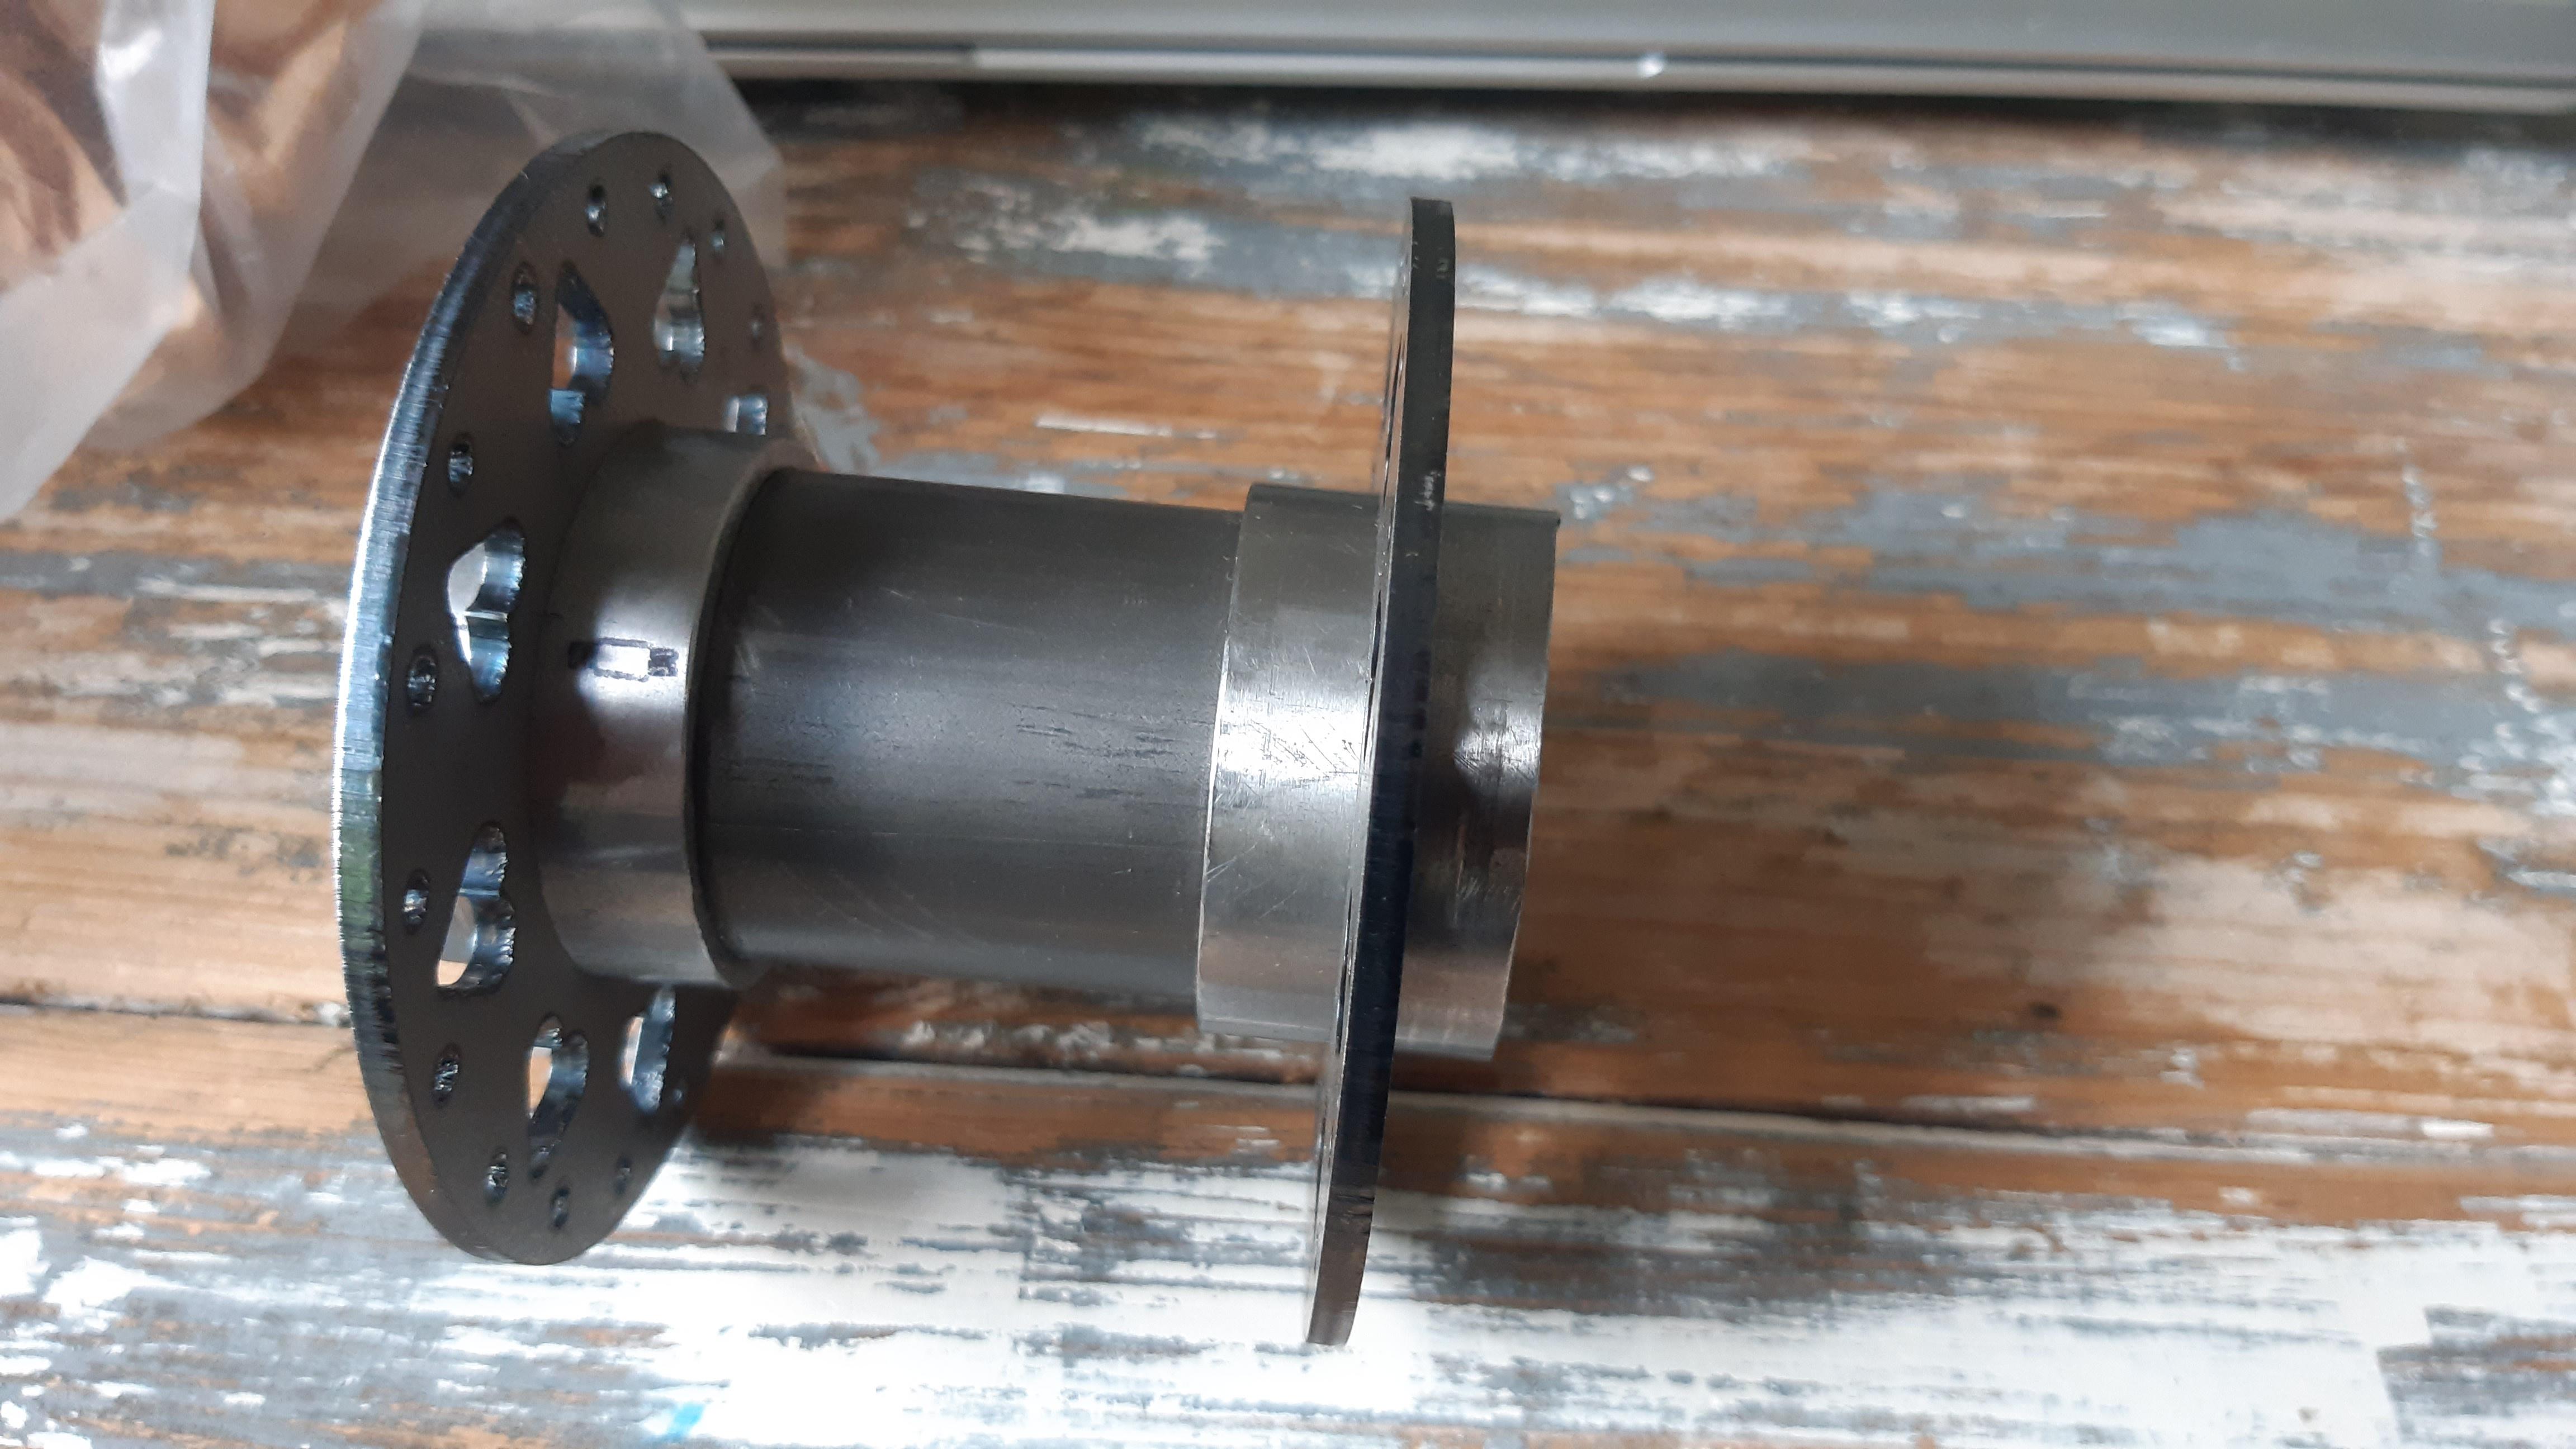
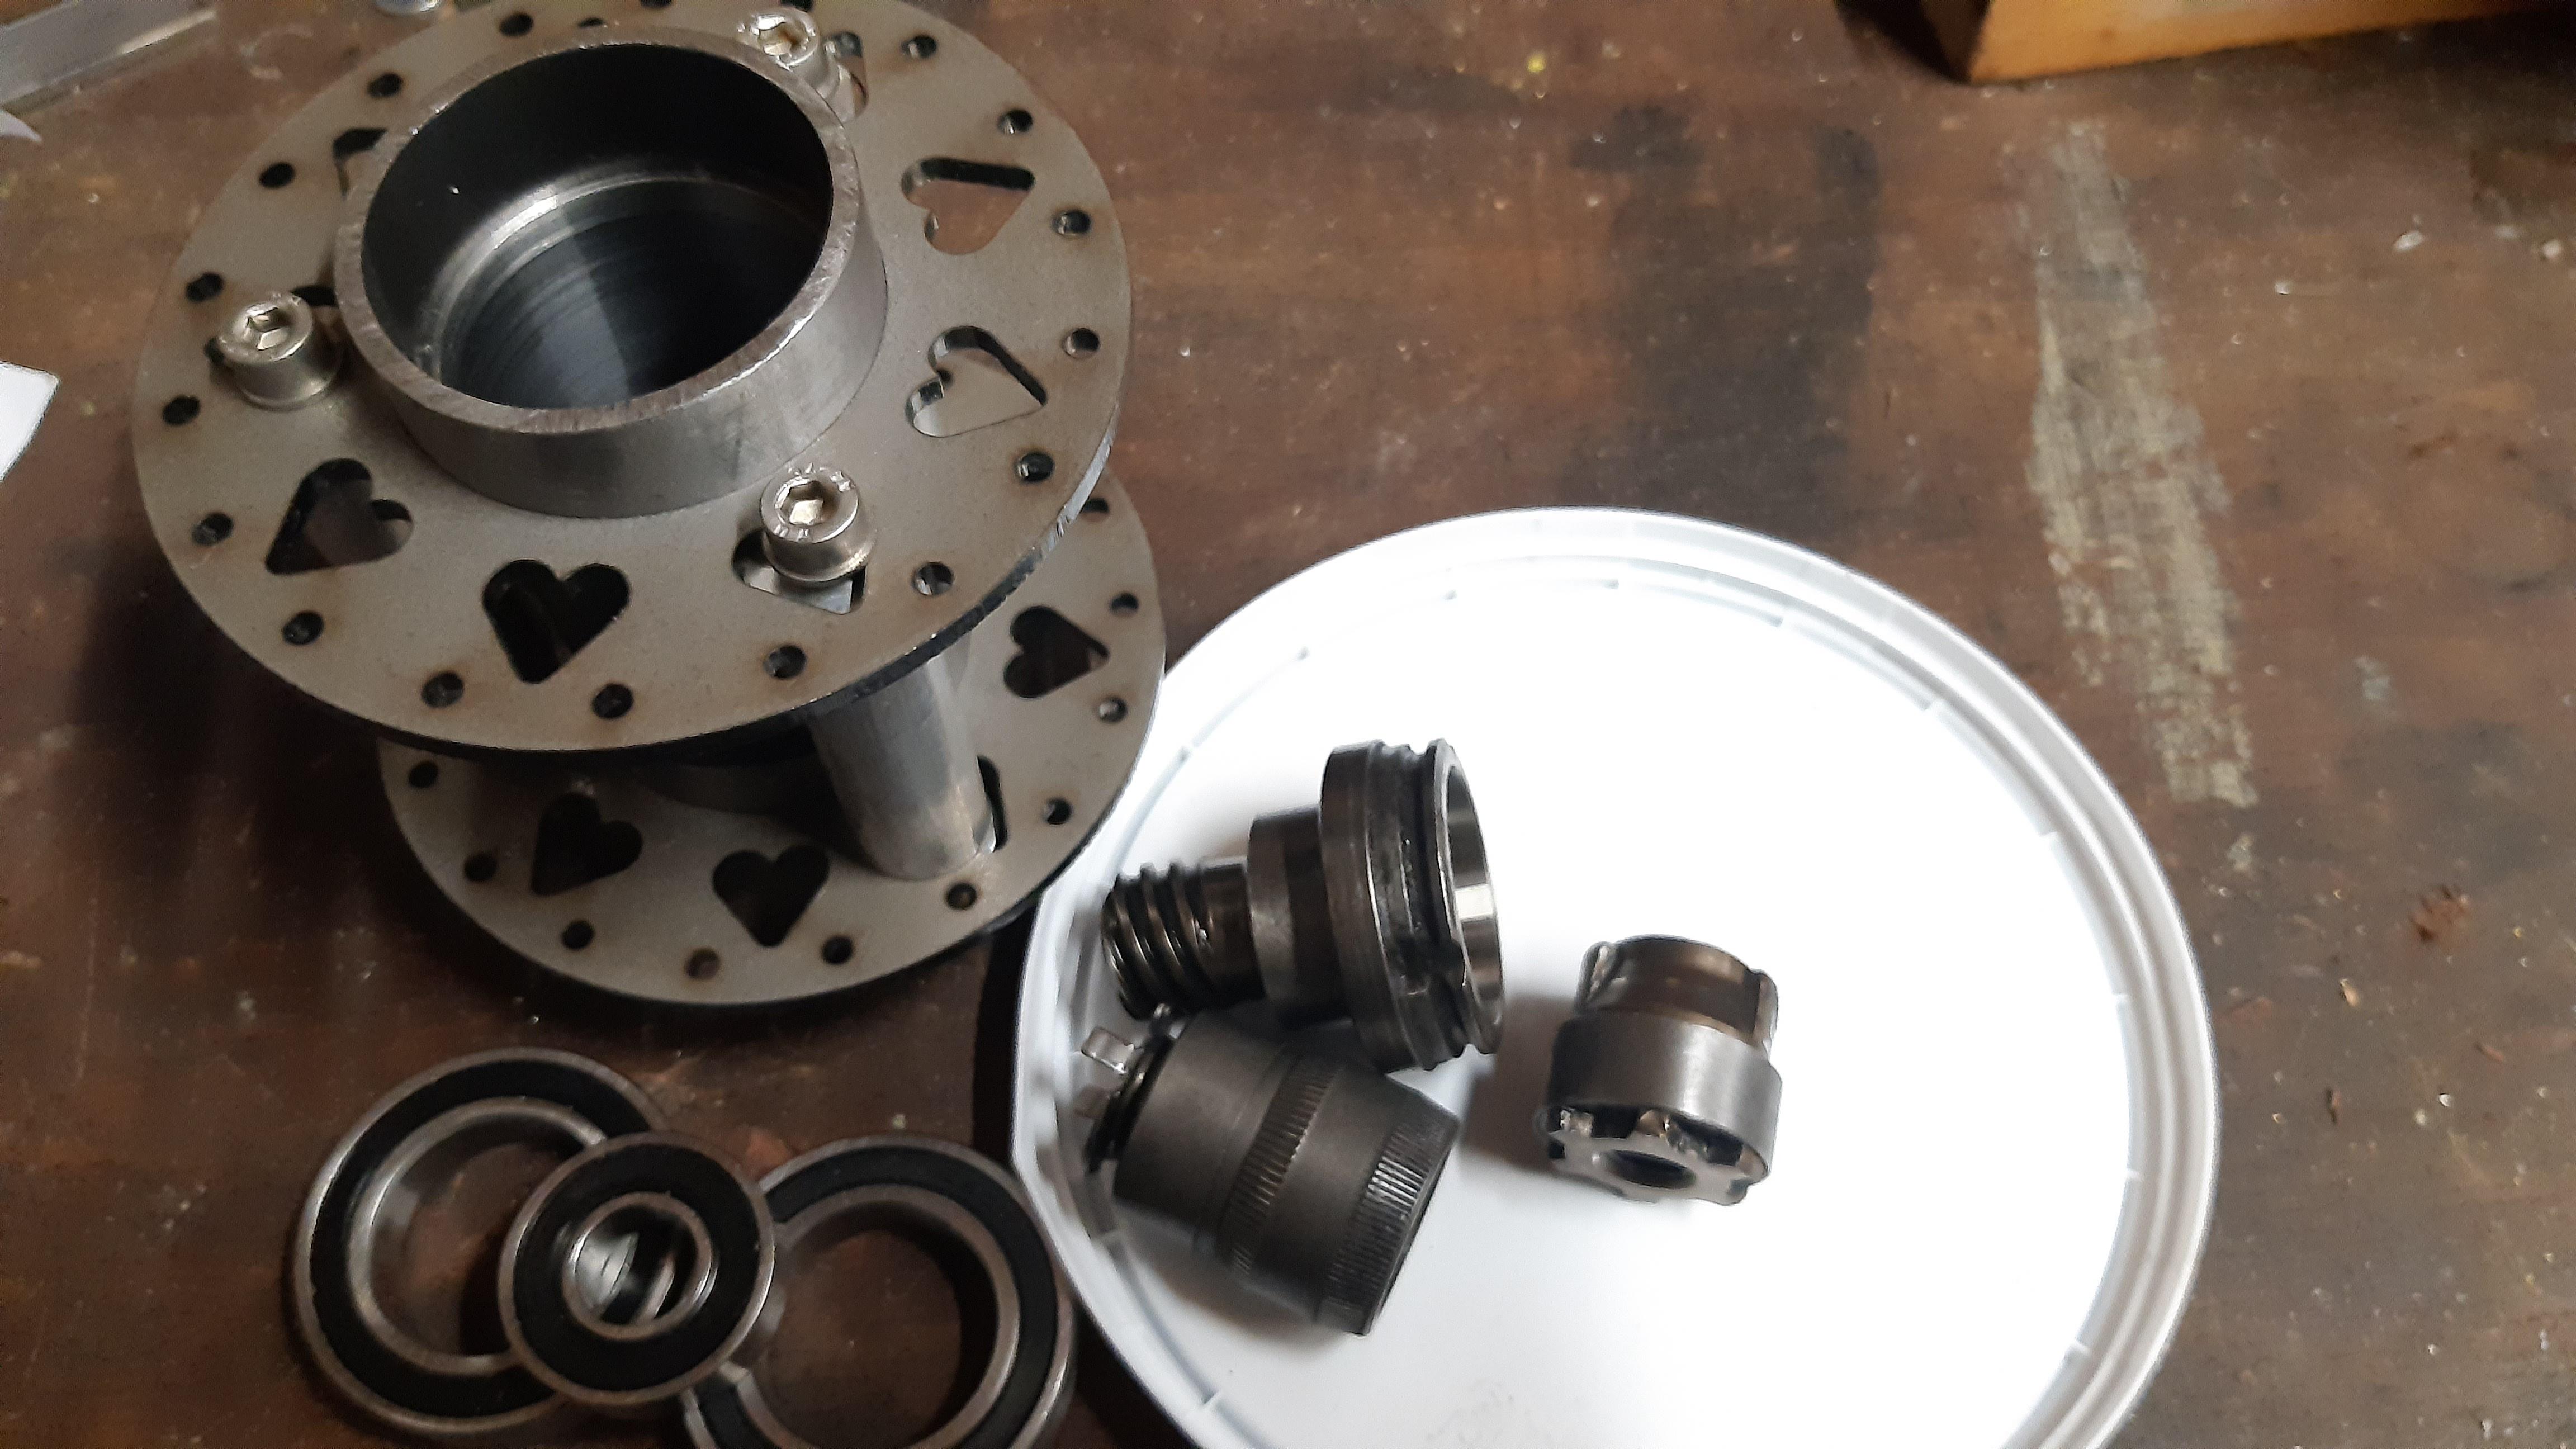
Alright, I have some updates: I milled/turned the flanges and pressed them onto the hub base.

I did not alter the Romet hub or @GeePig could get angry :grin: only slightly brushed the outside of the hub flanges so I could get a 'surface' to press the flanges on.
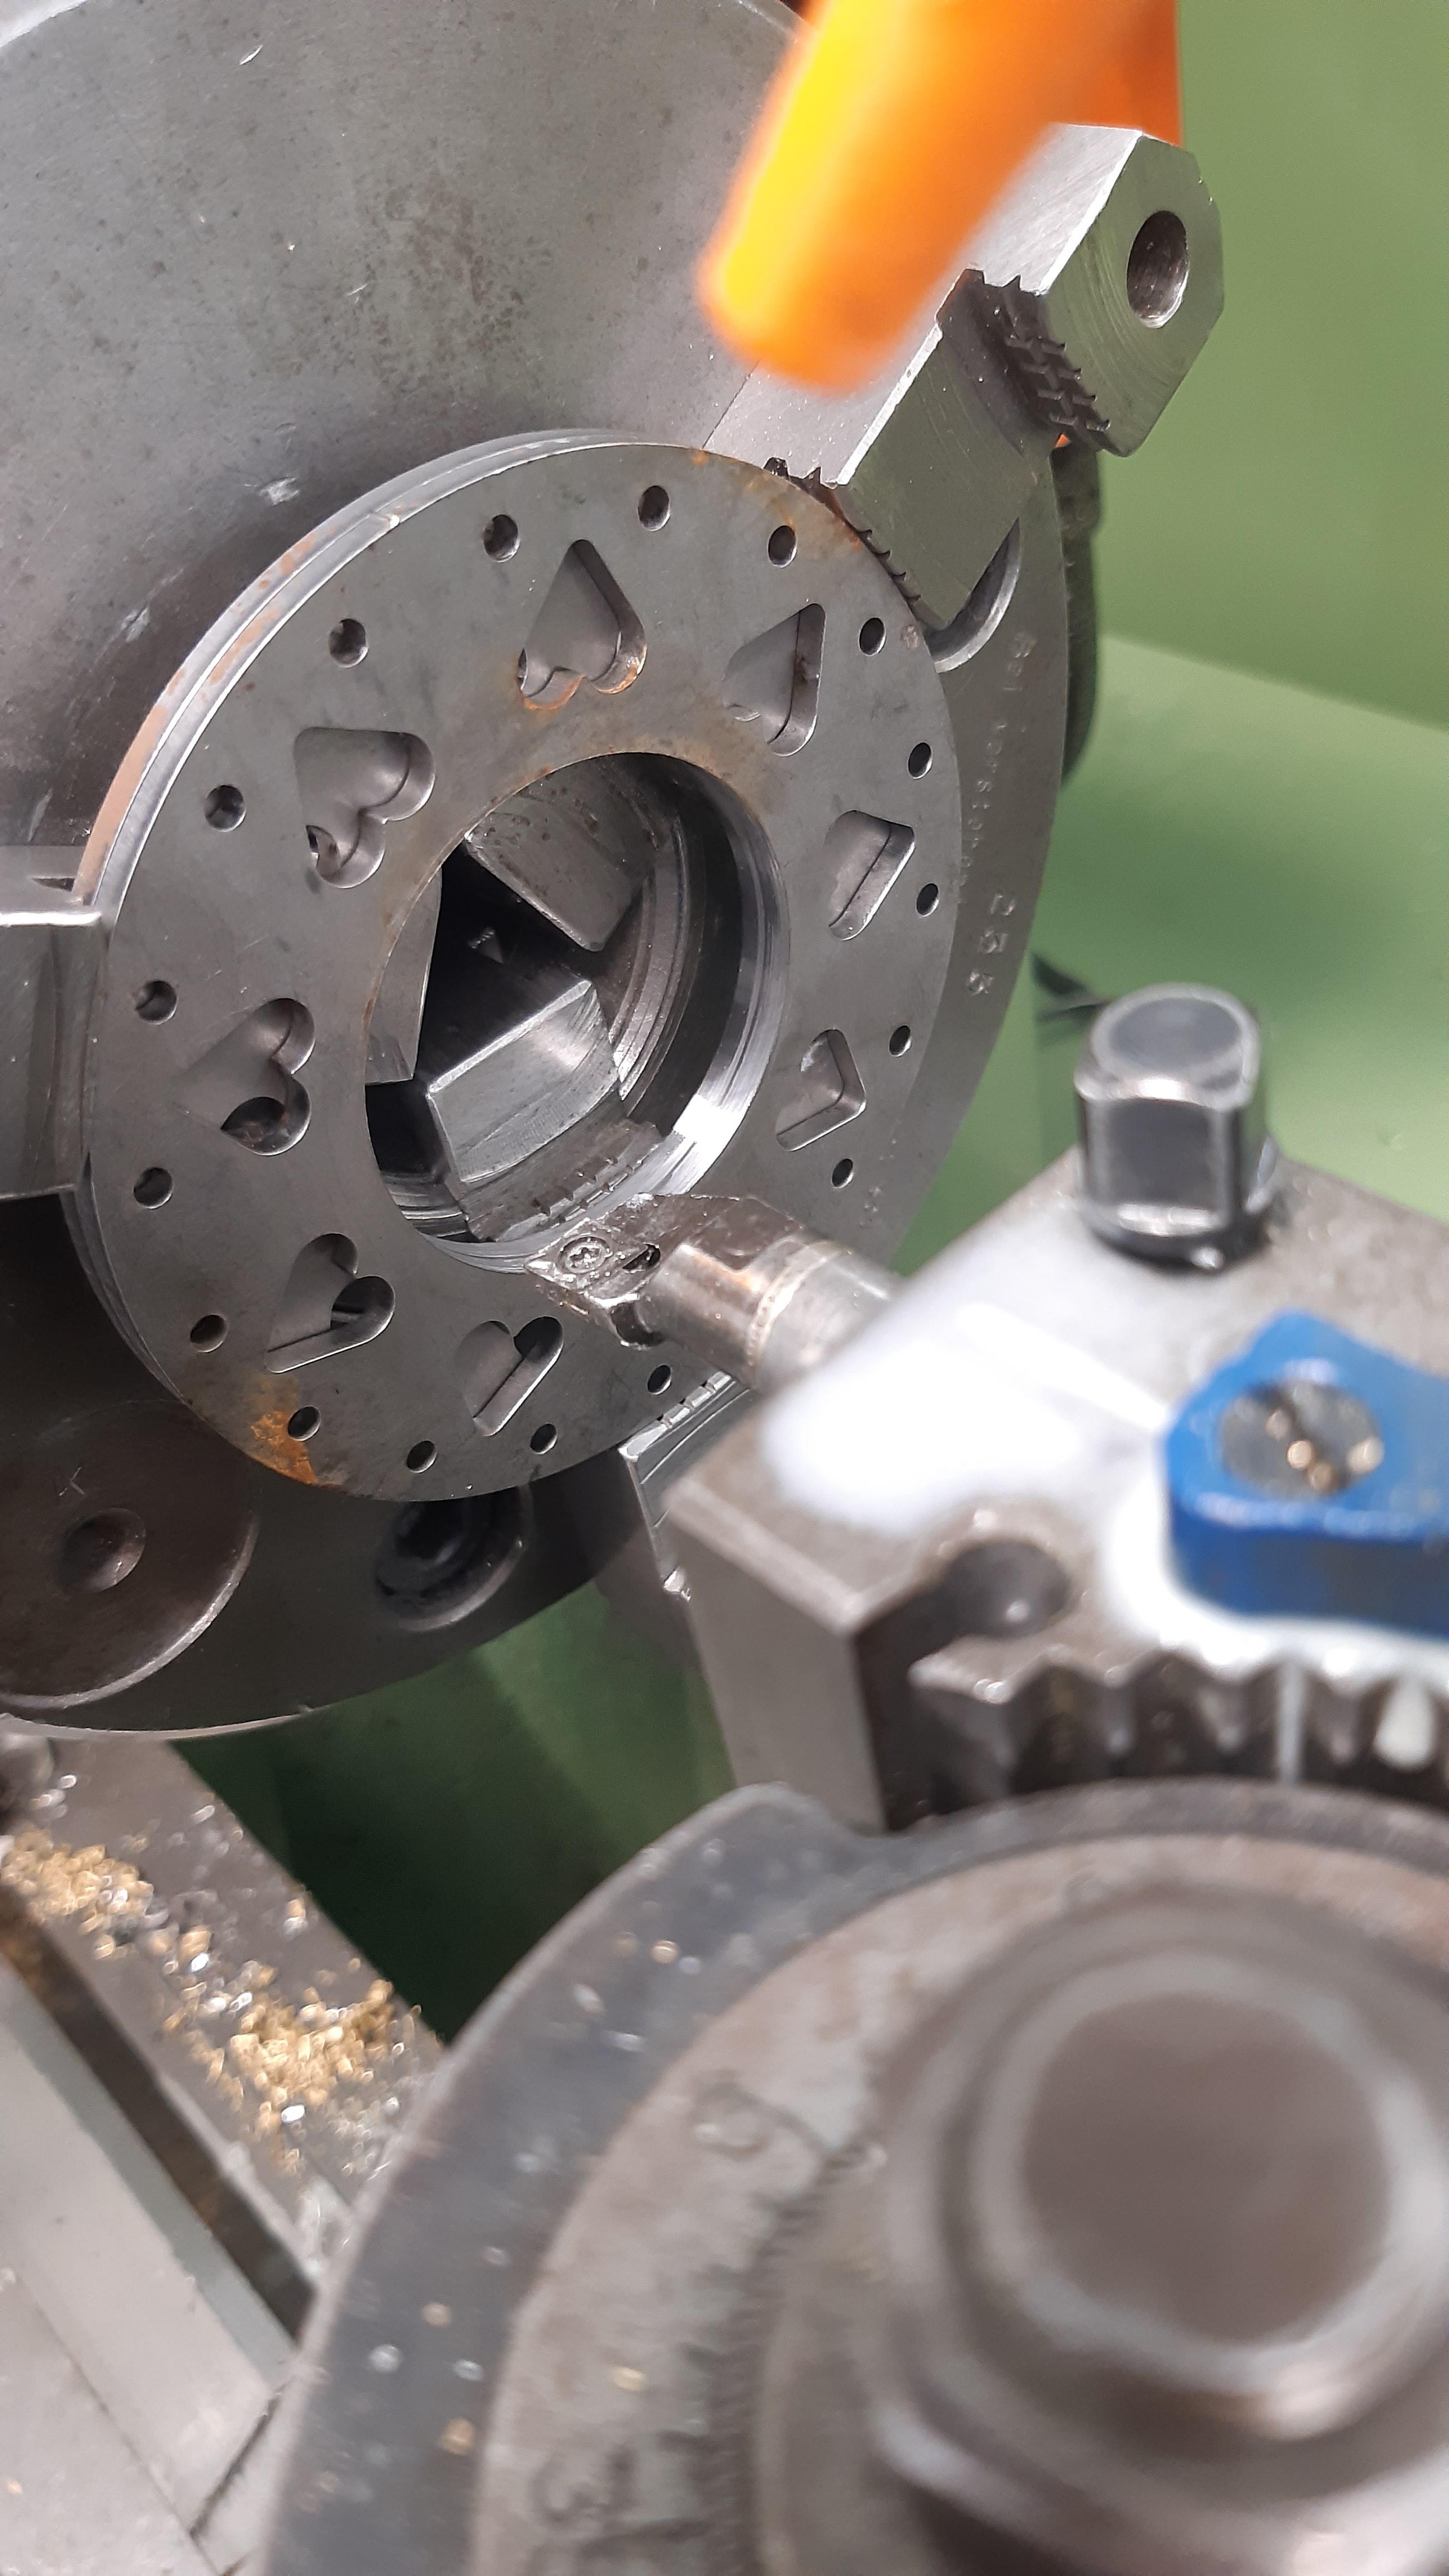
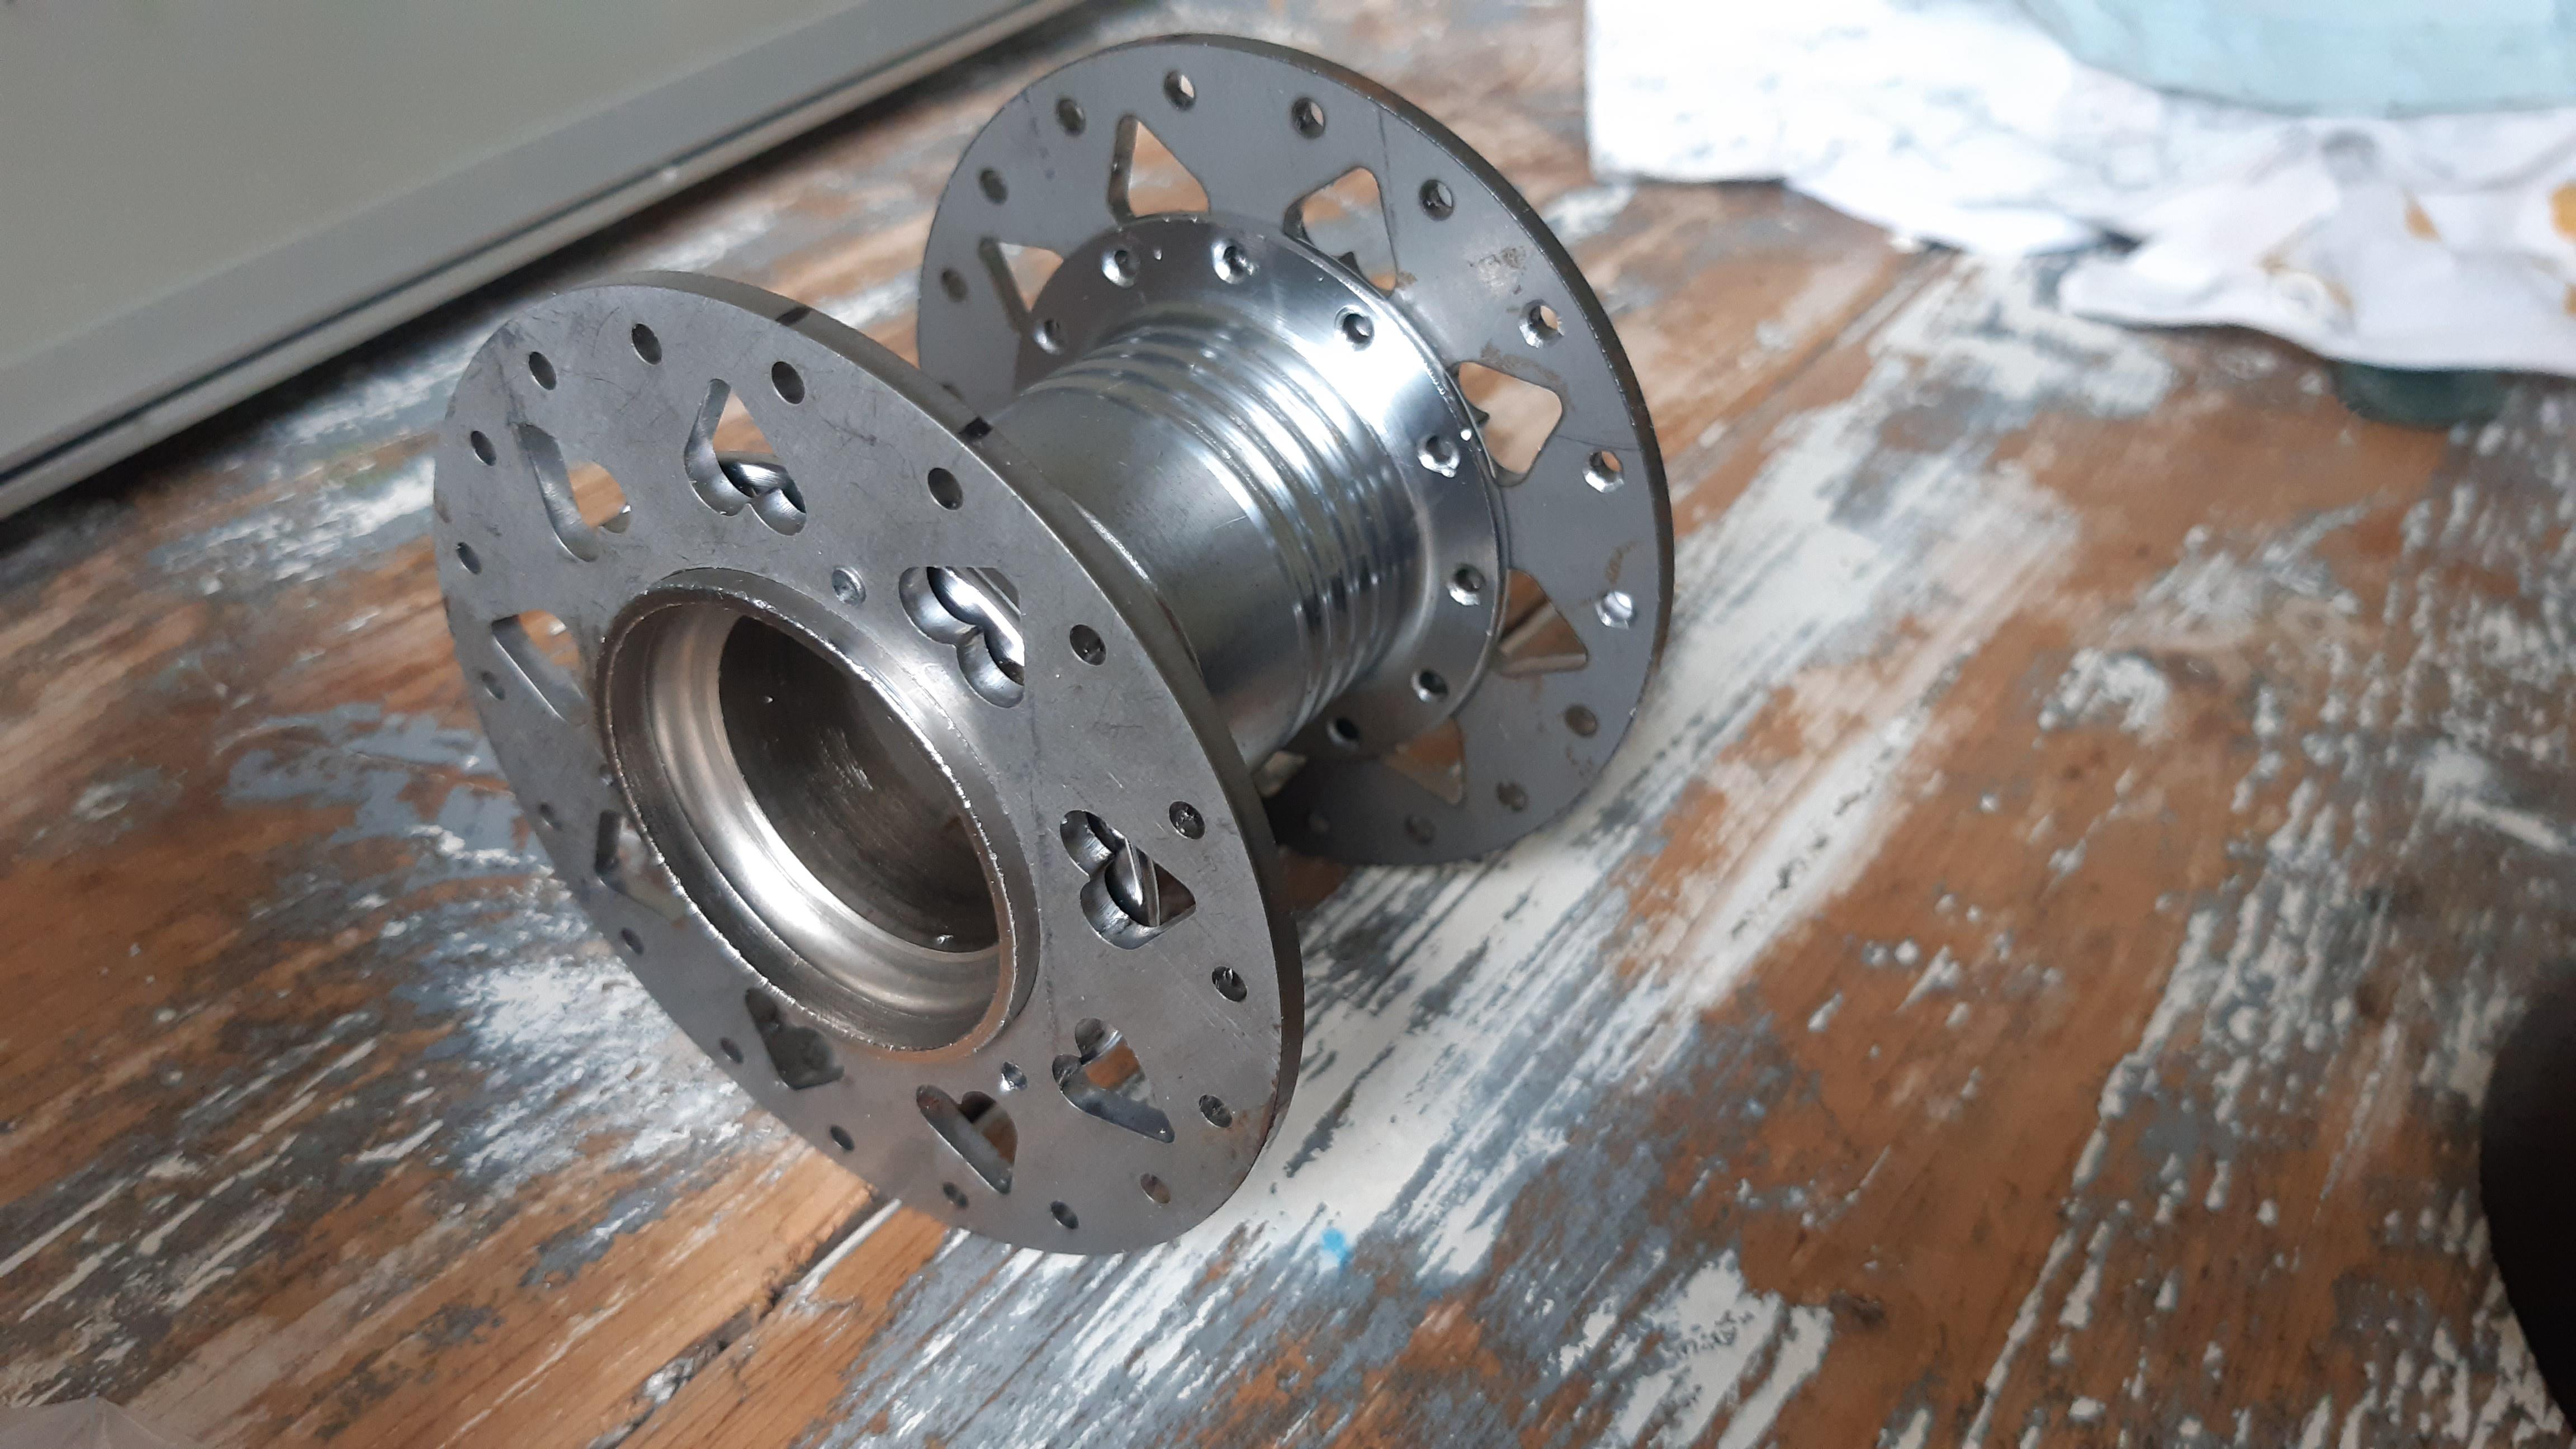
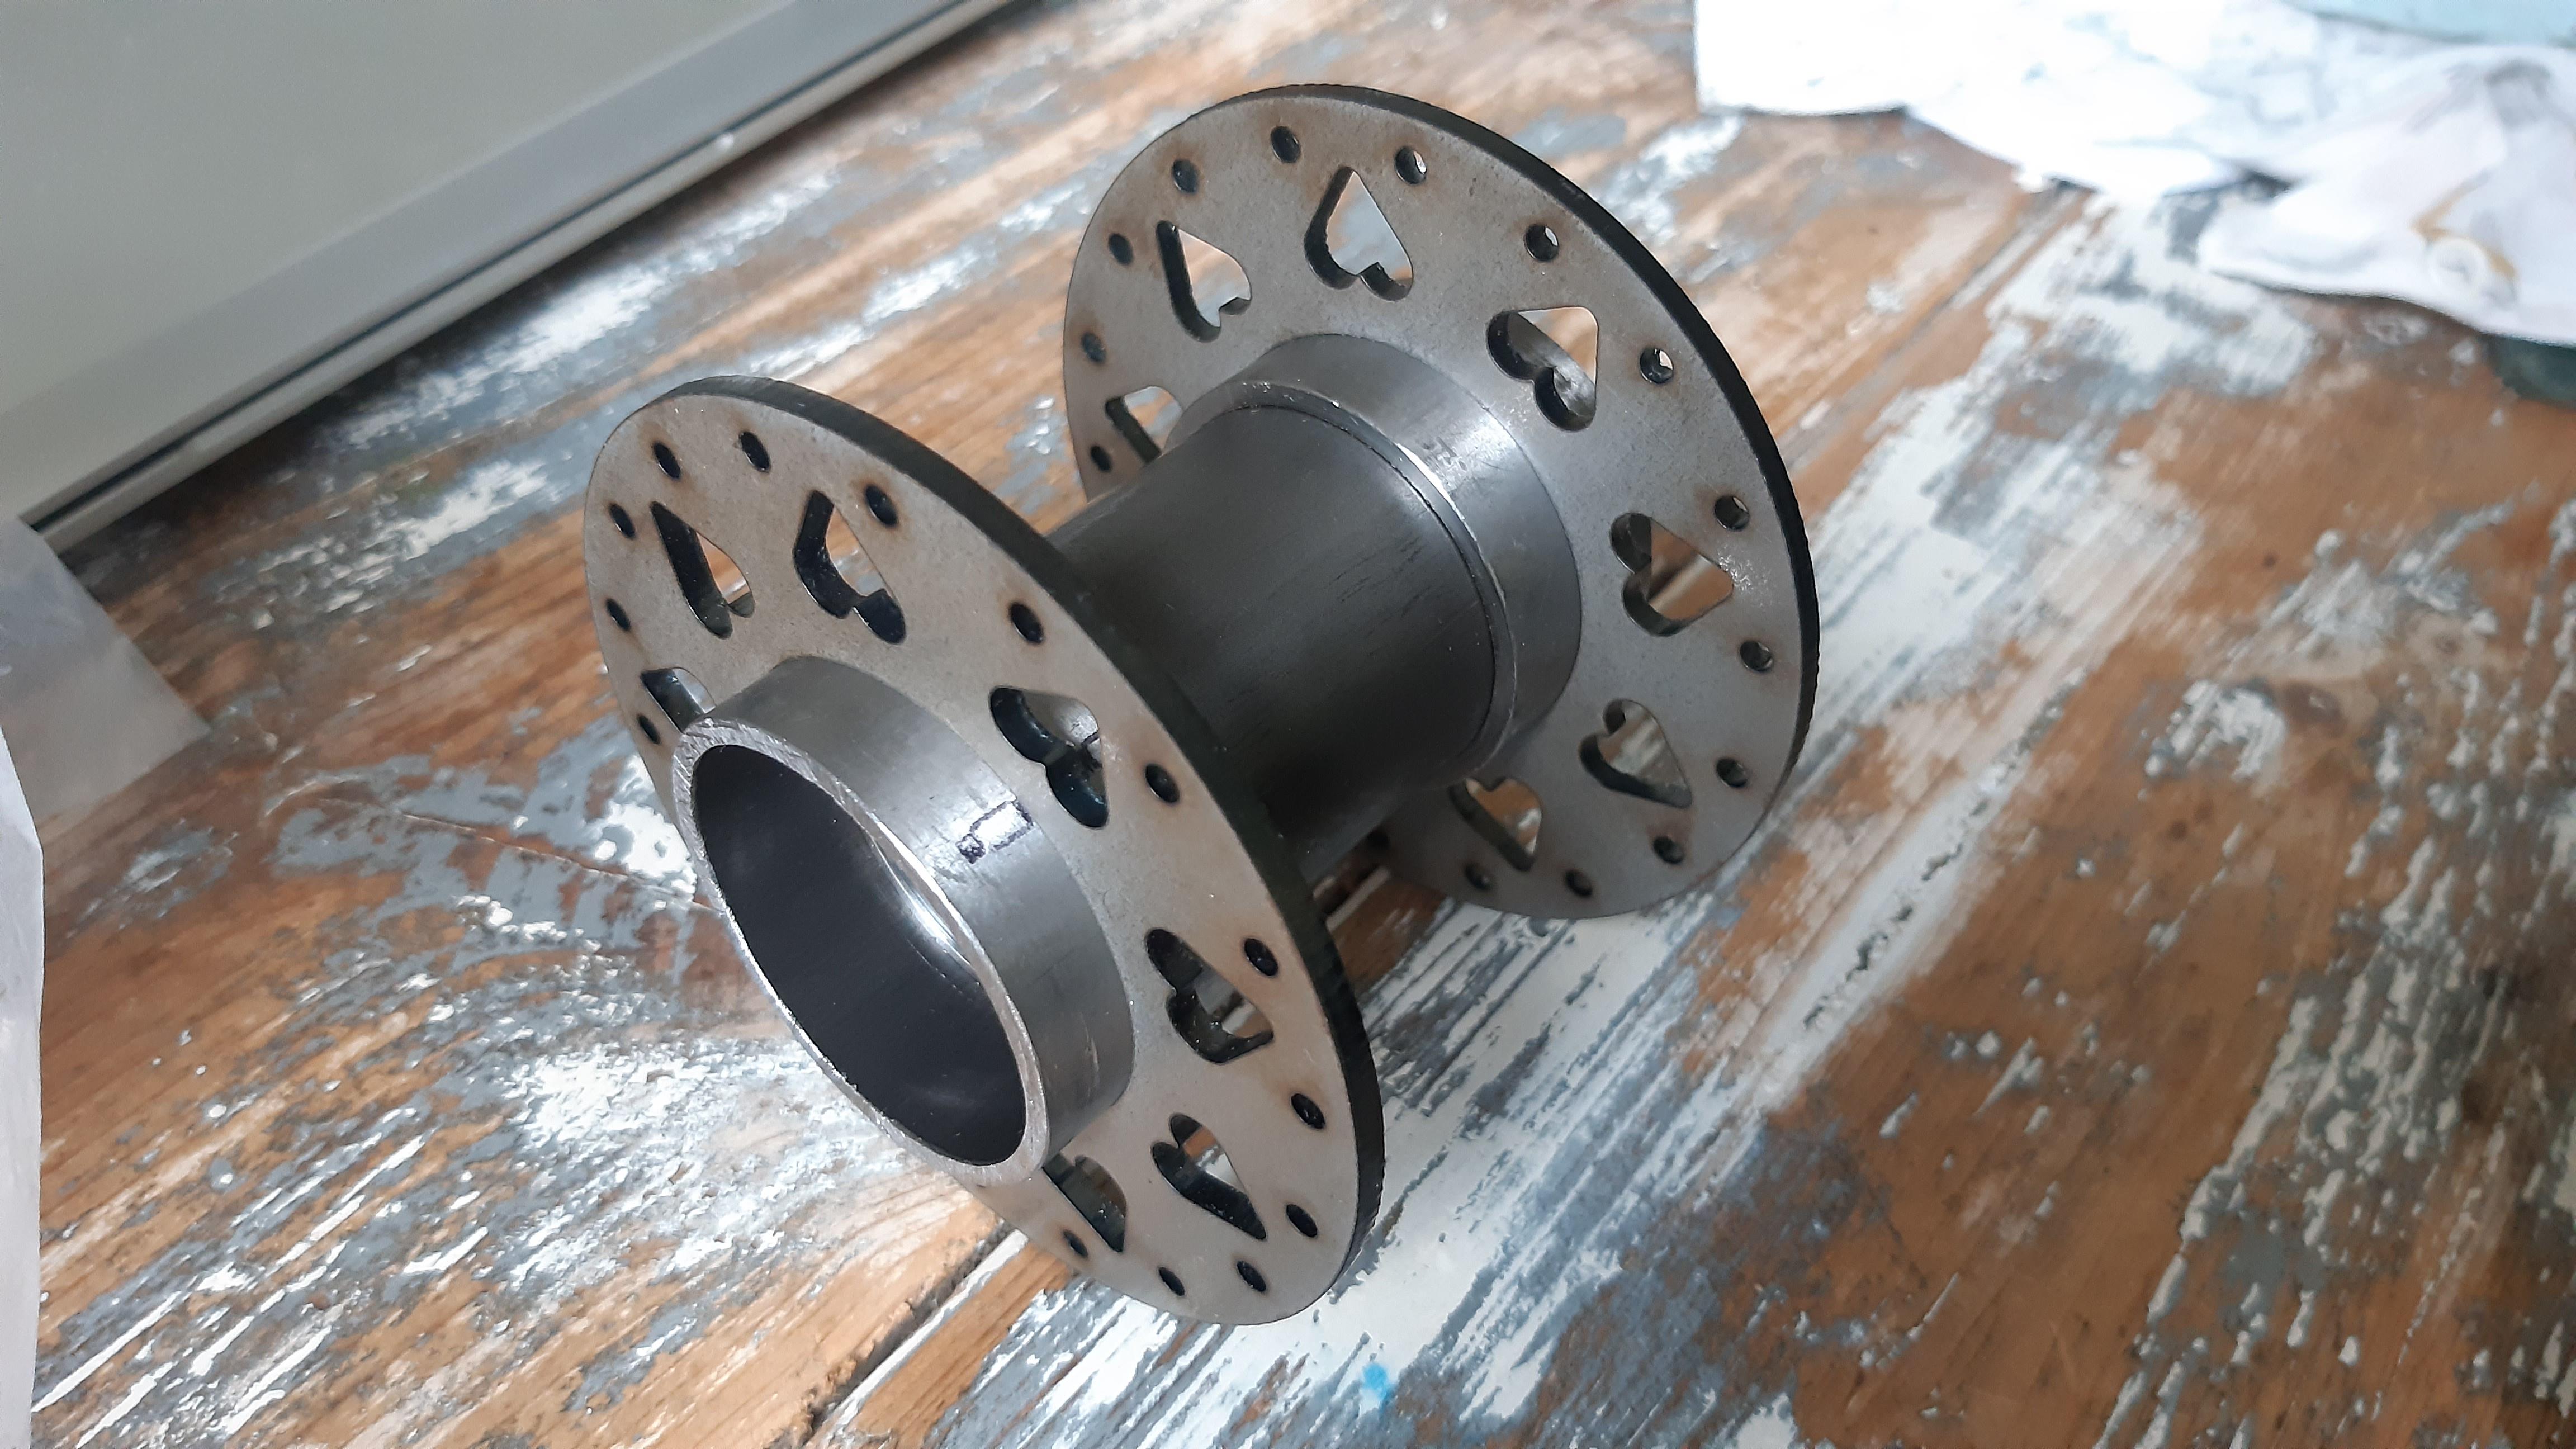
The flange is not perfect for the Romet hub, but they were leftovers, so I don't mind.
When disassembling the Romet hub, I found that it is almost unused.

fortkhr.jpeg

M7gKjJe.jpeg

Romet hub (above)

Or2C7fp.jpeg

IVy2Atg.jpeg


Next:
Removing the flanges and drill the "countersunk" holes for the spokes, because you can't reach it afterwards.
Then: welding or soldering, we will see.

Thanks for watching!
 
Nice work on the hubs!

Those Romet rear hubs are actually made by a Czech company, Velosteel, and I am currently stripping down an older version from a Ukraine bicycle. I have no idea how a Fichtel & Sachs design ended up being so popular here, though.
It is a good solid design, but on the other hand, the "1907 New Departure patent on a coasterbrake hub with that multi-cycle threaded clutch" (like the Shimano CB-E110) is even more simple and it is solid. You just gotta keep the water and rain out.

I still wonder why that grease nipple is phased out over the years. Planned obsolescence? Too expensive with todays industry?

Project going slow, but we have some progress!

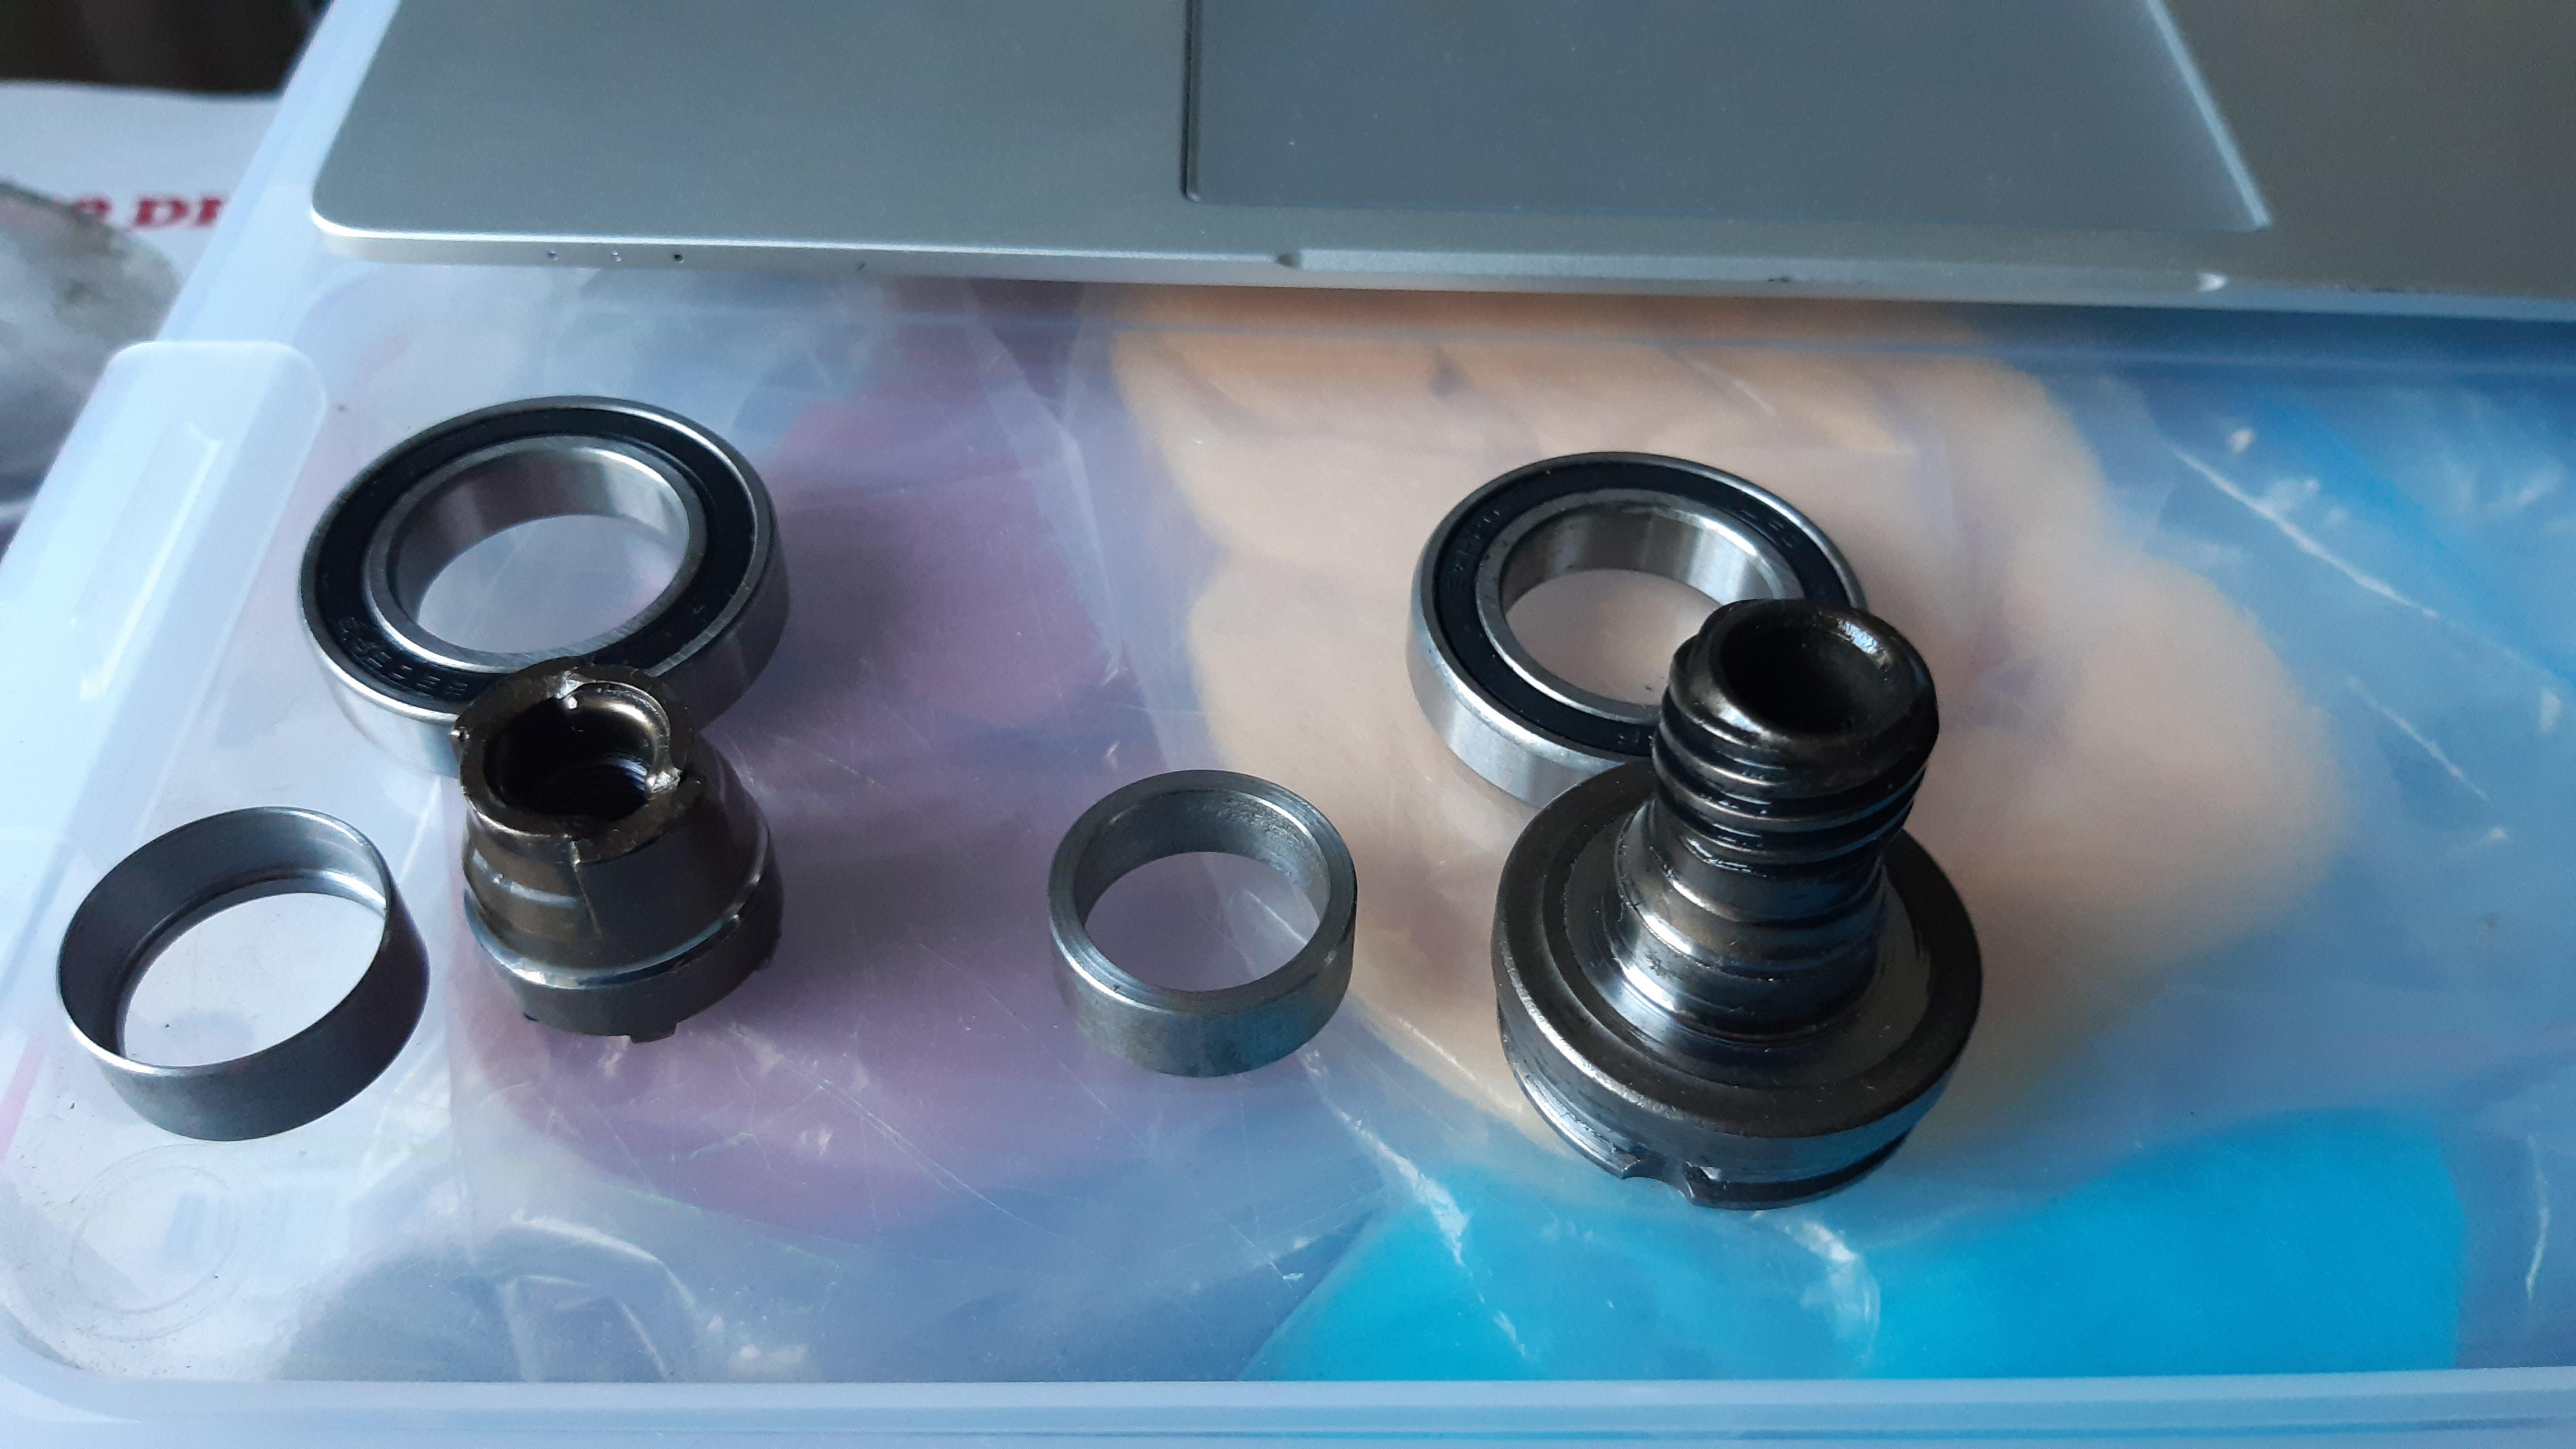
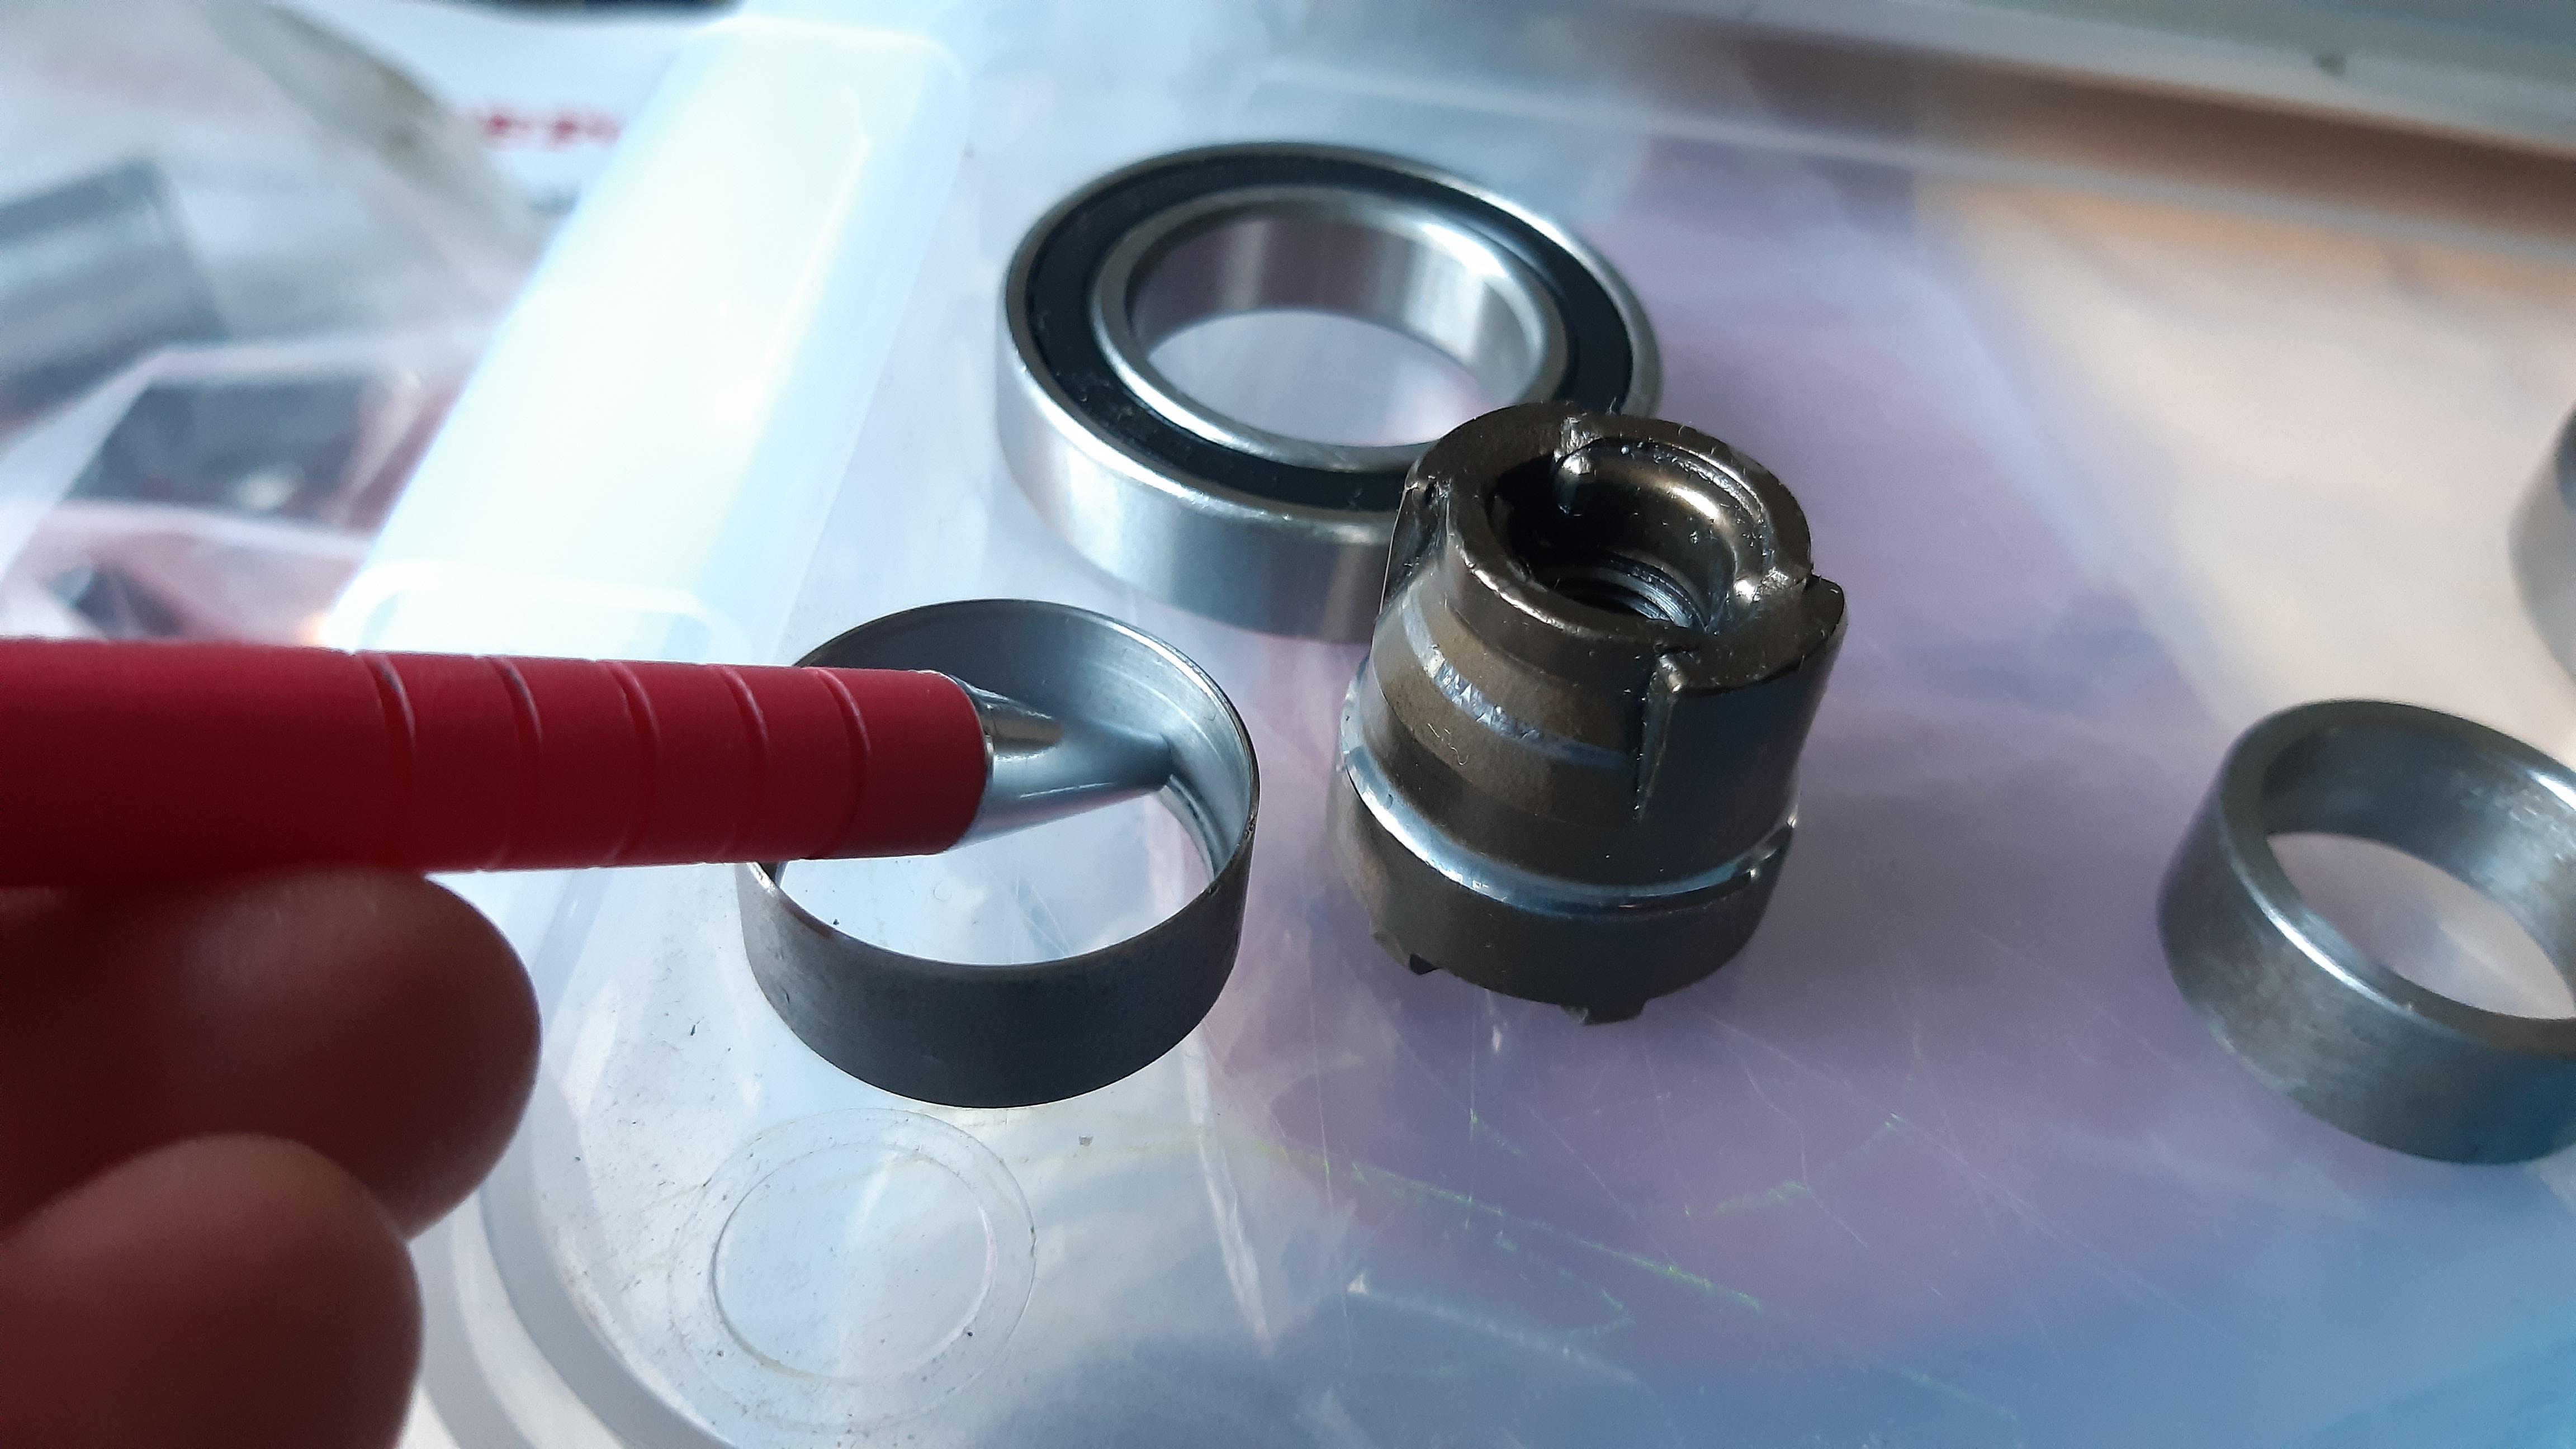
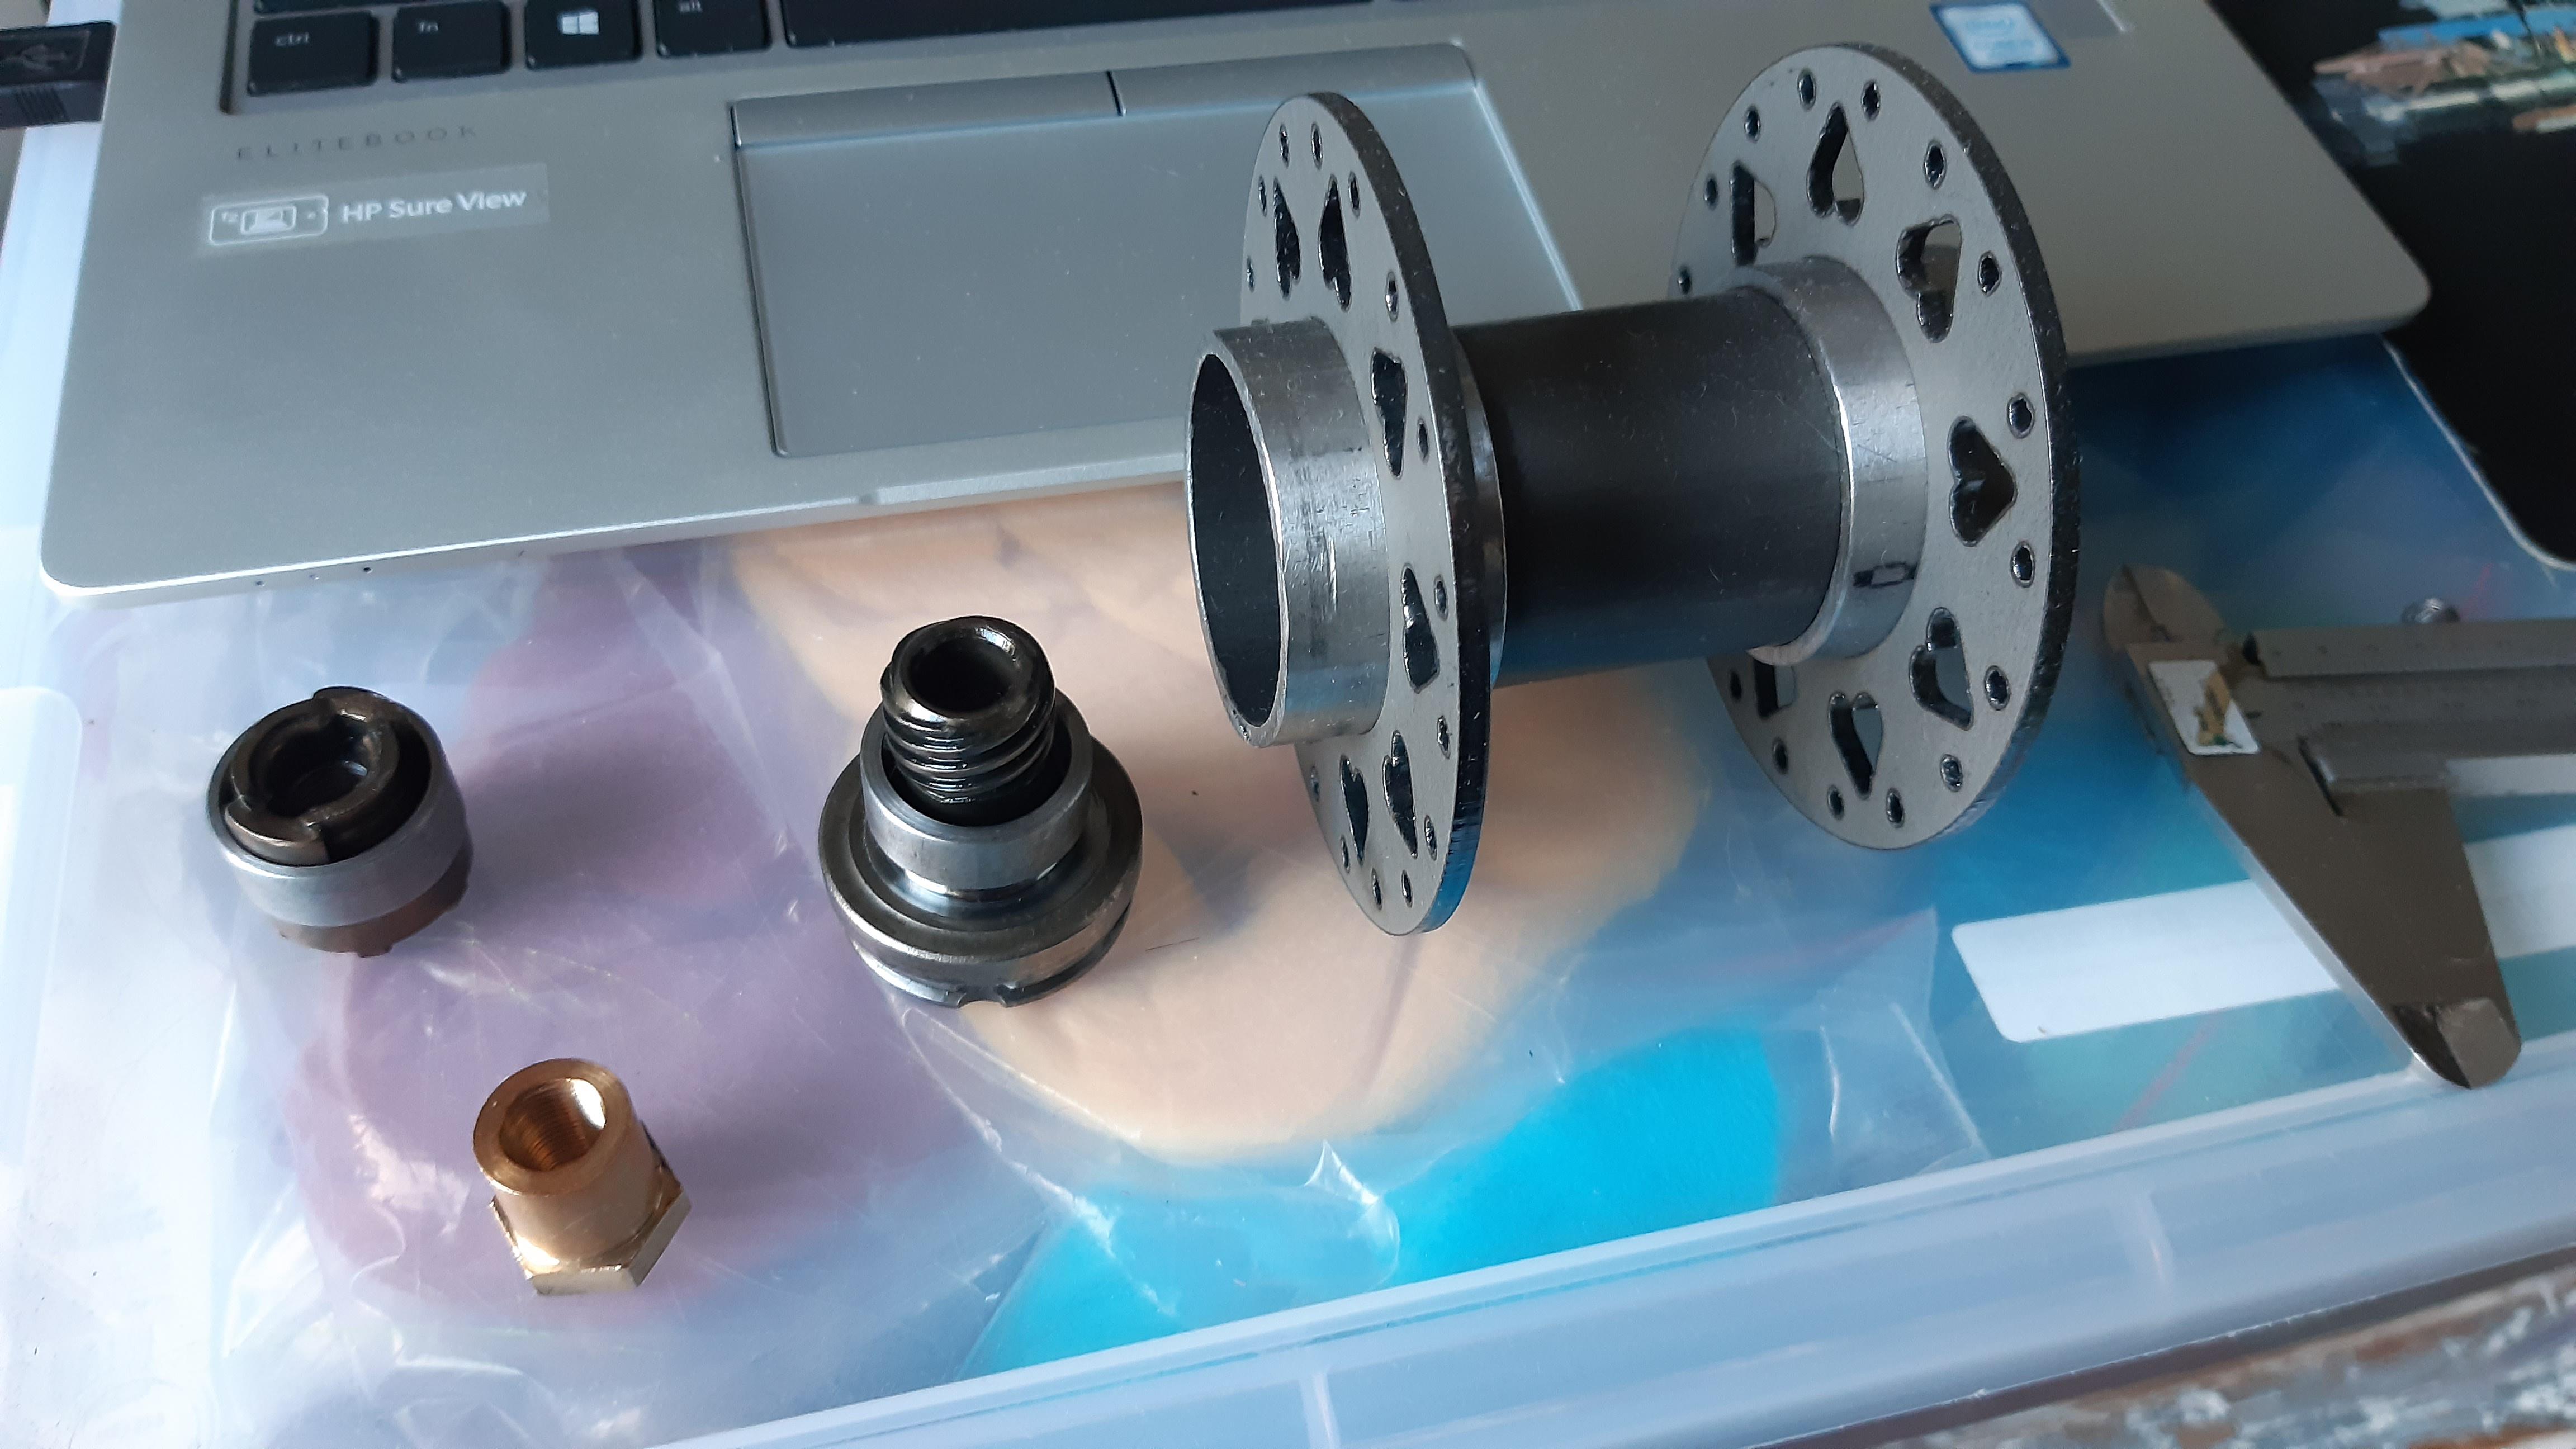
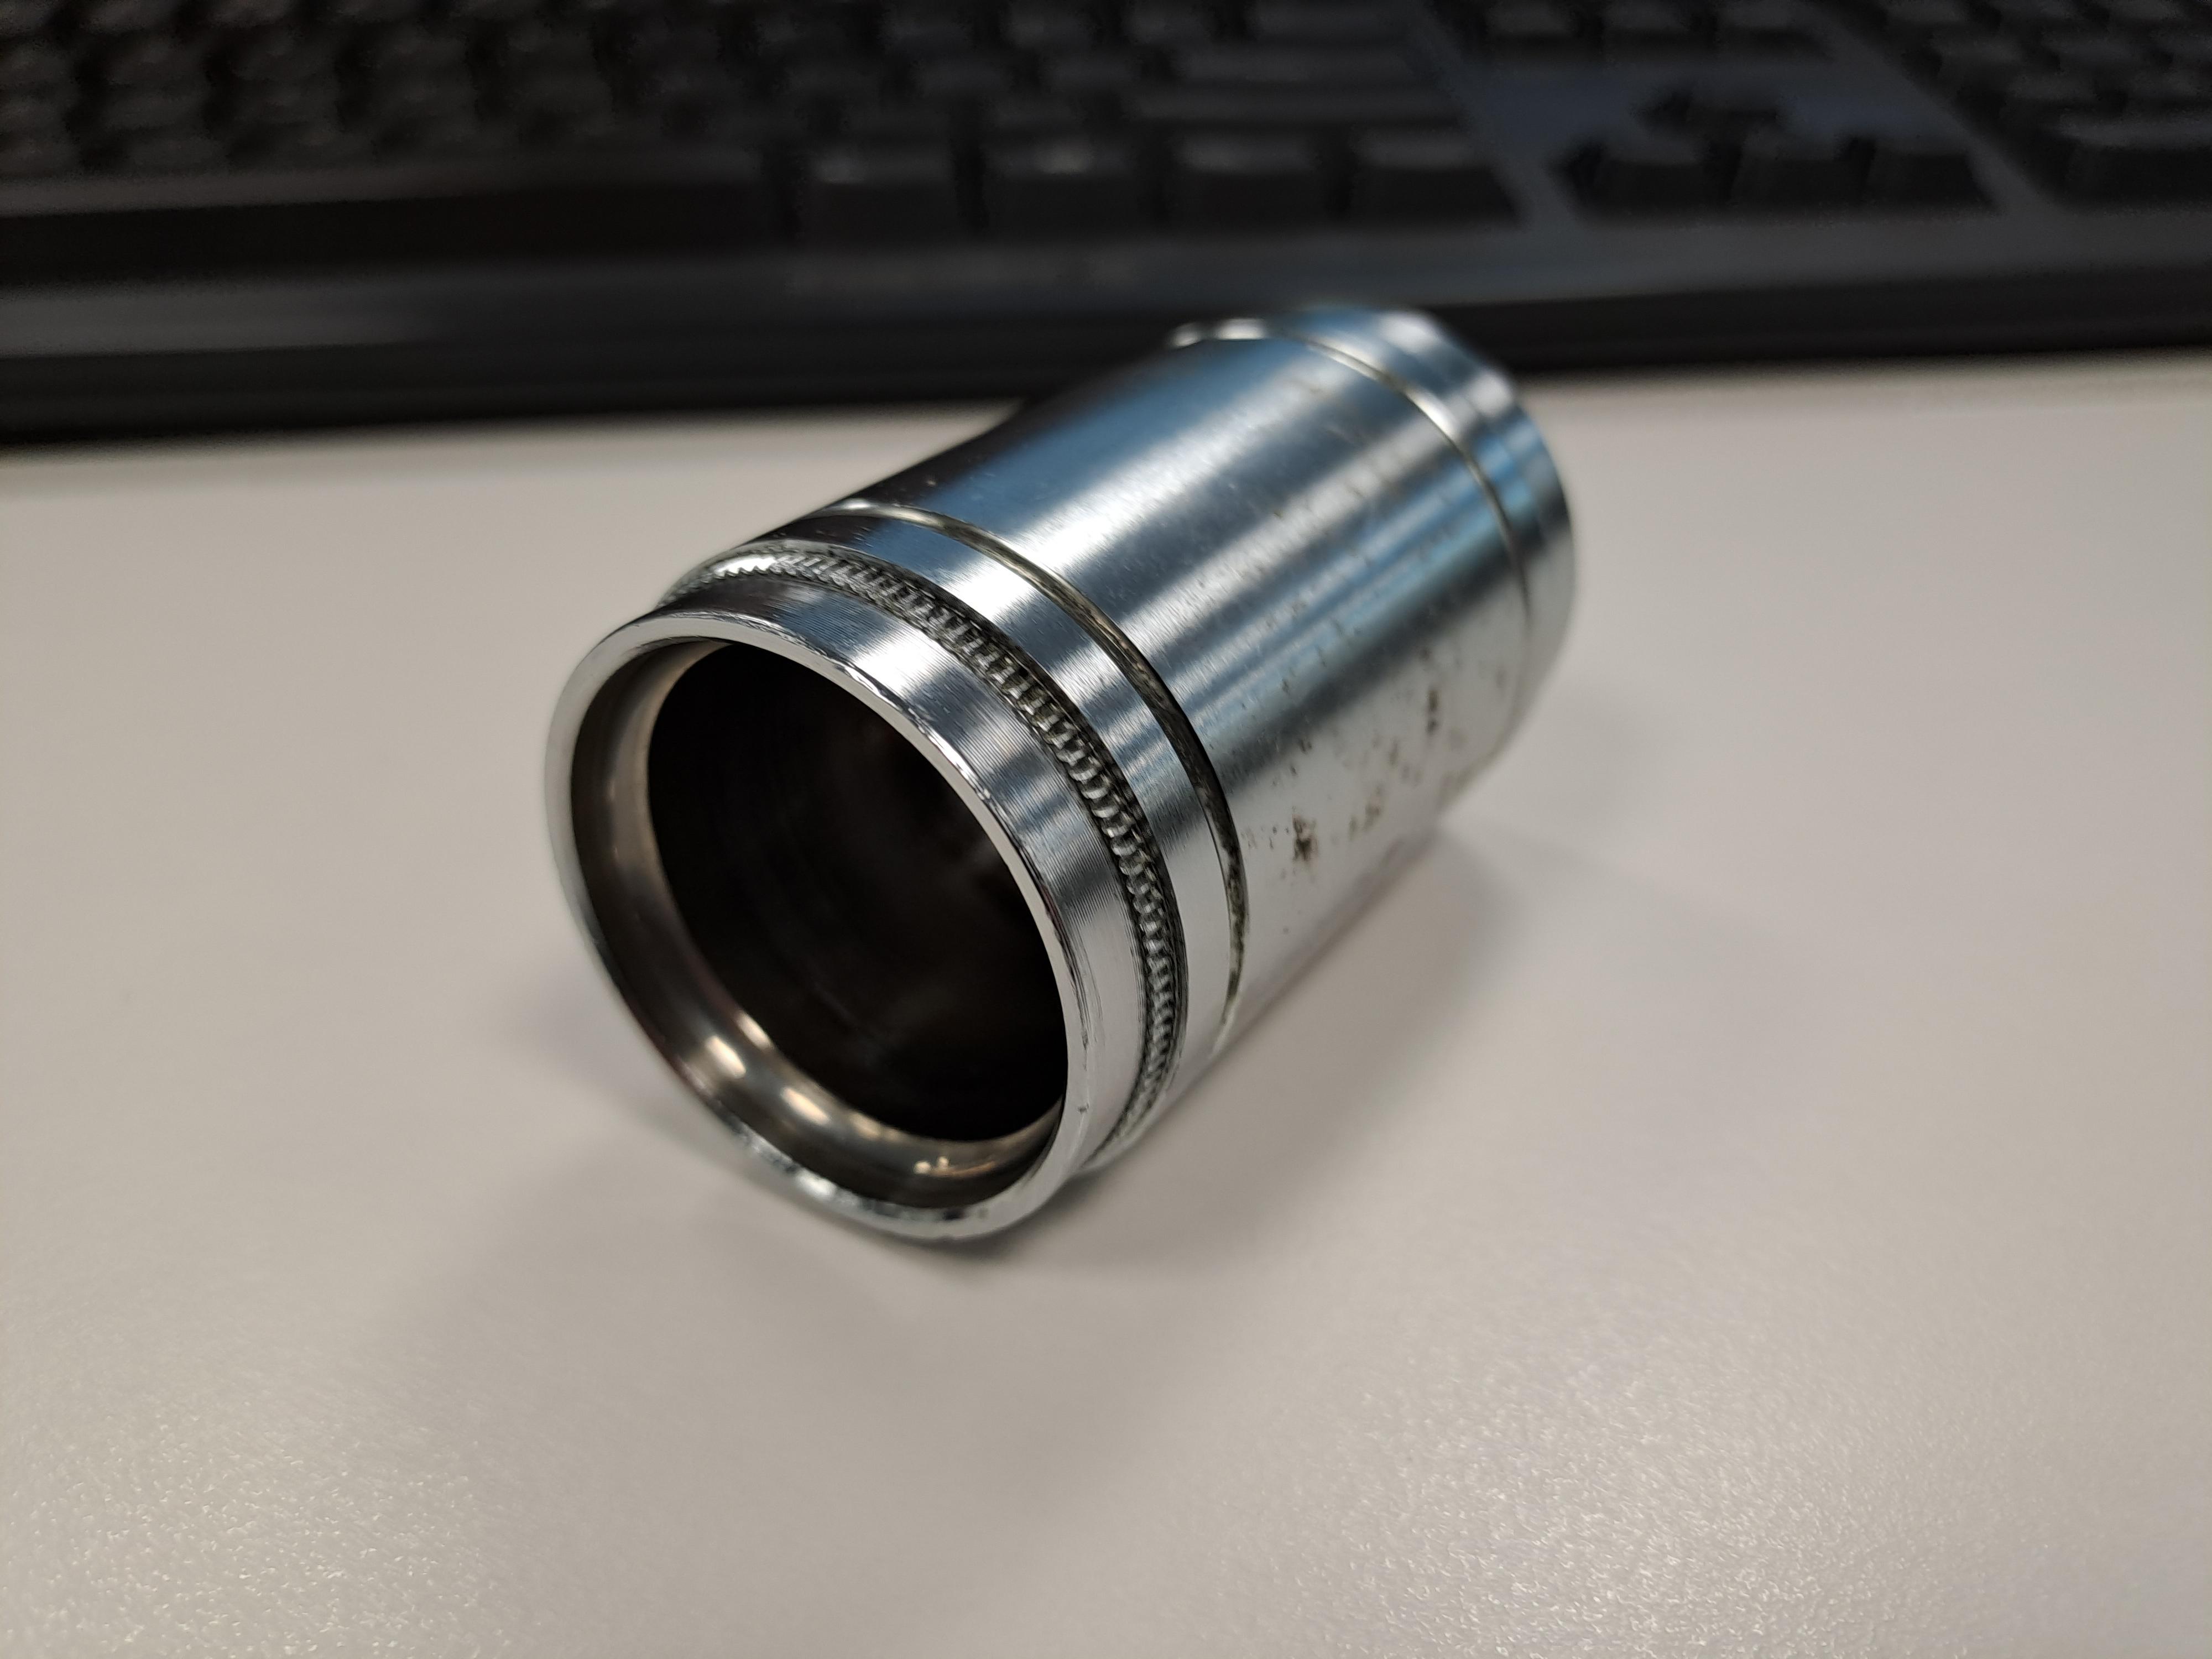
To get industrial bearing cylindrical fit on the location of the original cup-cone bearings, you need to do some milling and use adapters.
On the brake cone (where you assemble the coasterbrake-arm) there were no modifications done, just a adapter ring.

Pictures below where I point with a red pen: I am thinking to 'lock' the adapter-ring on the original parts by creating a little burr. It is already a tight fitting that needs a vice or hydraulic press to assemble. But I like it extra secure without bringing in heat from welding. Some original coasterbrake parts are heat treated for hardness and wear-resistance. On the other hand I am not using loctite for it, since loctite weakens when it gets hot, which is in this case, caused by braking for prolonged times at speeds.

For you wondering: the brass nut is a '17mm wrench fit, M10x1 threaded, 12mm bearing fitting, drive side' end nut.

foO0Ync.jpeg

EDRi7Qv.jpeg

Otbzkx1.jpeg

foO0Ync.jpeg

to7WmwU.jpeg

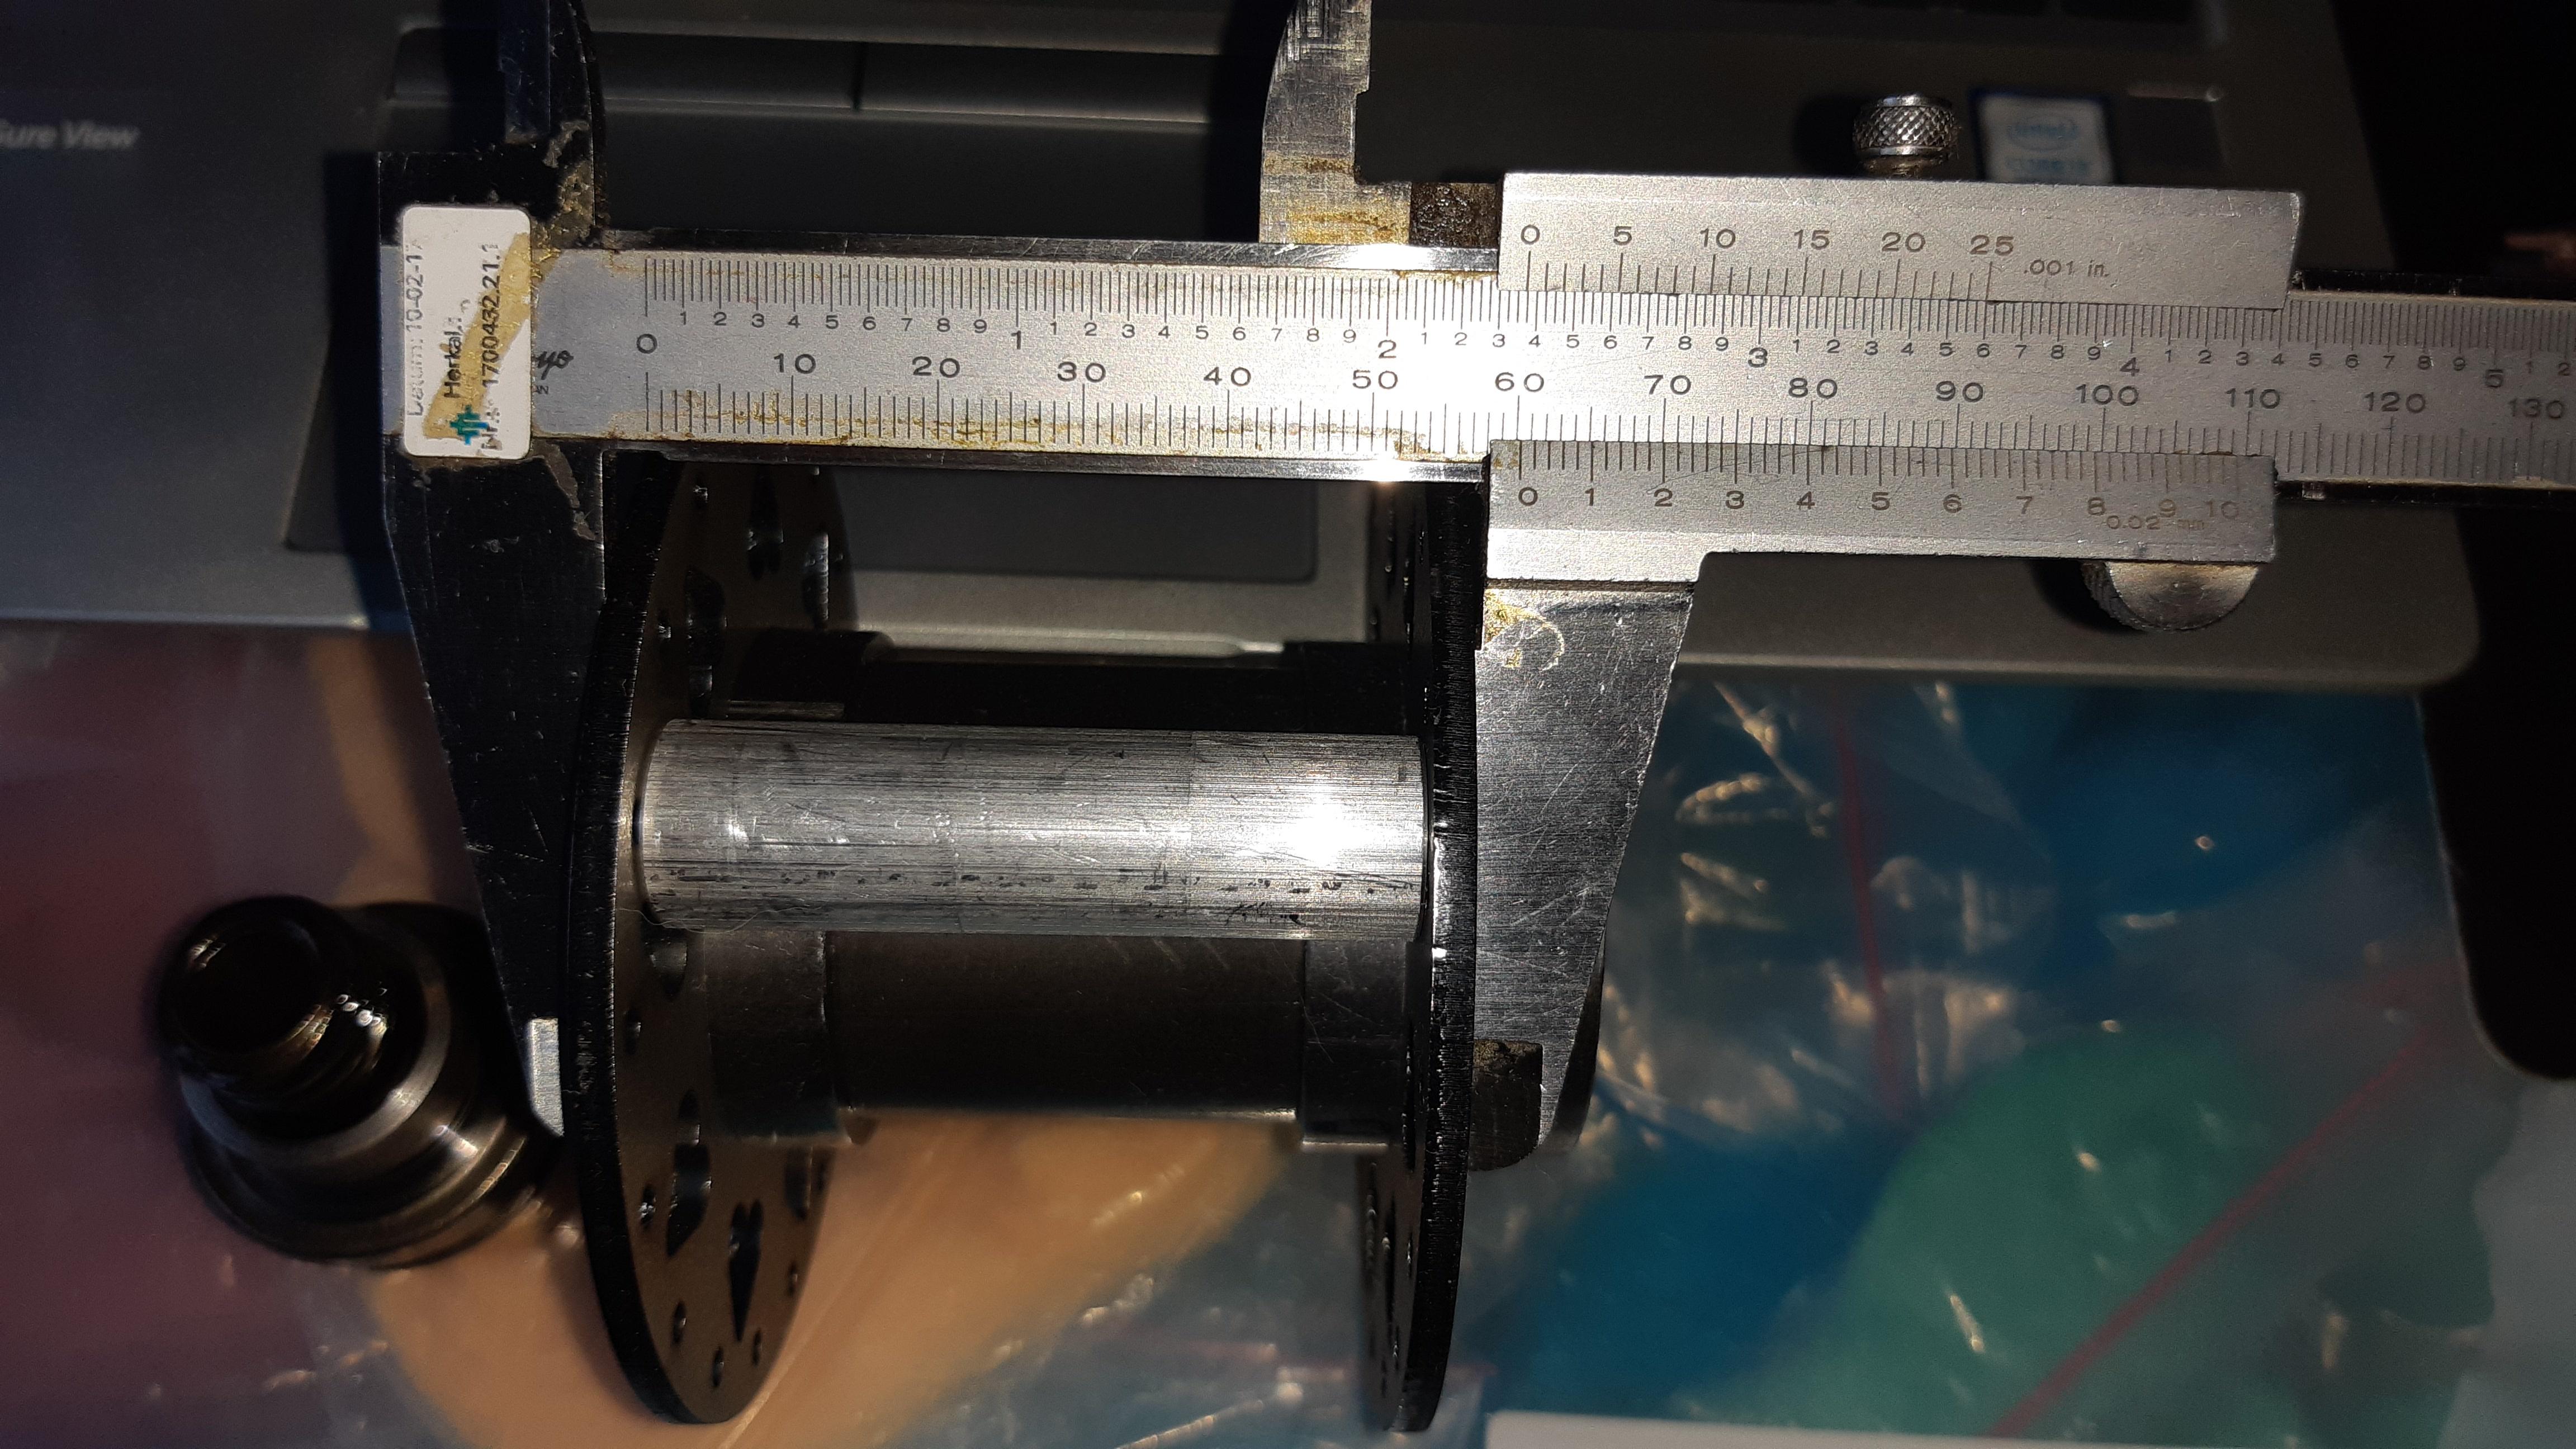
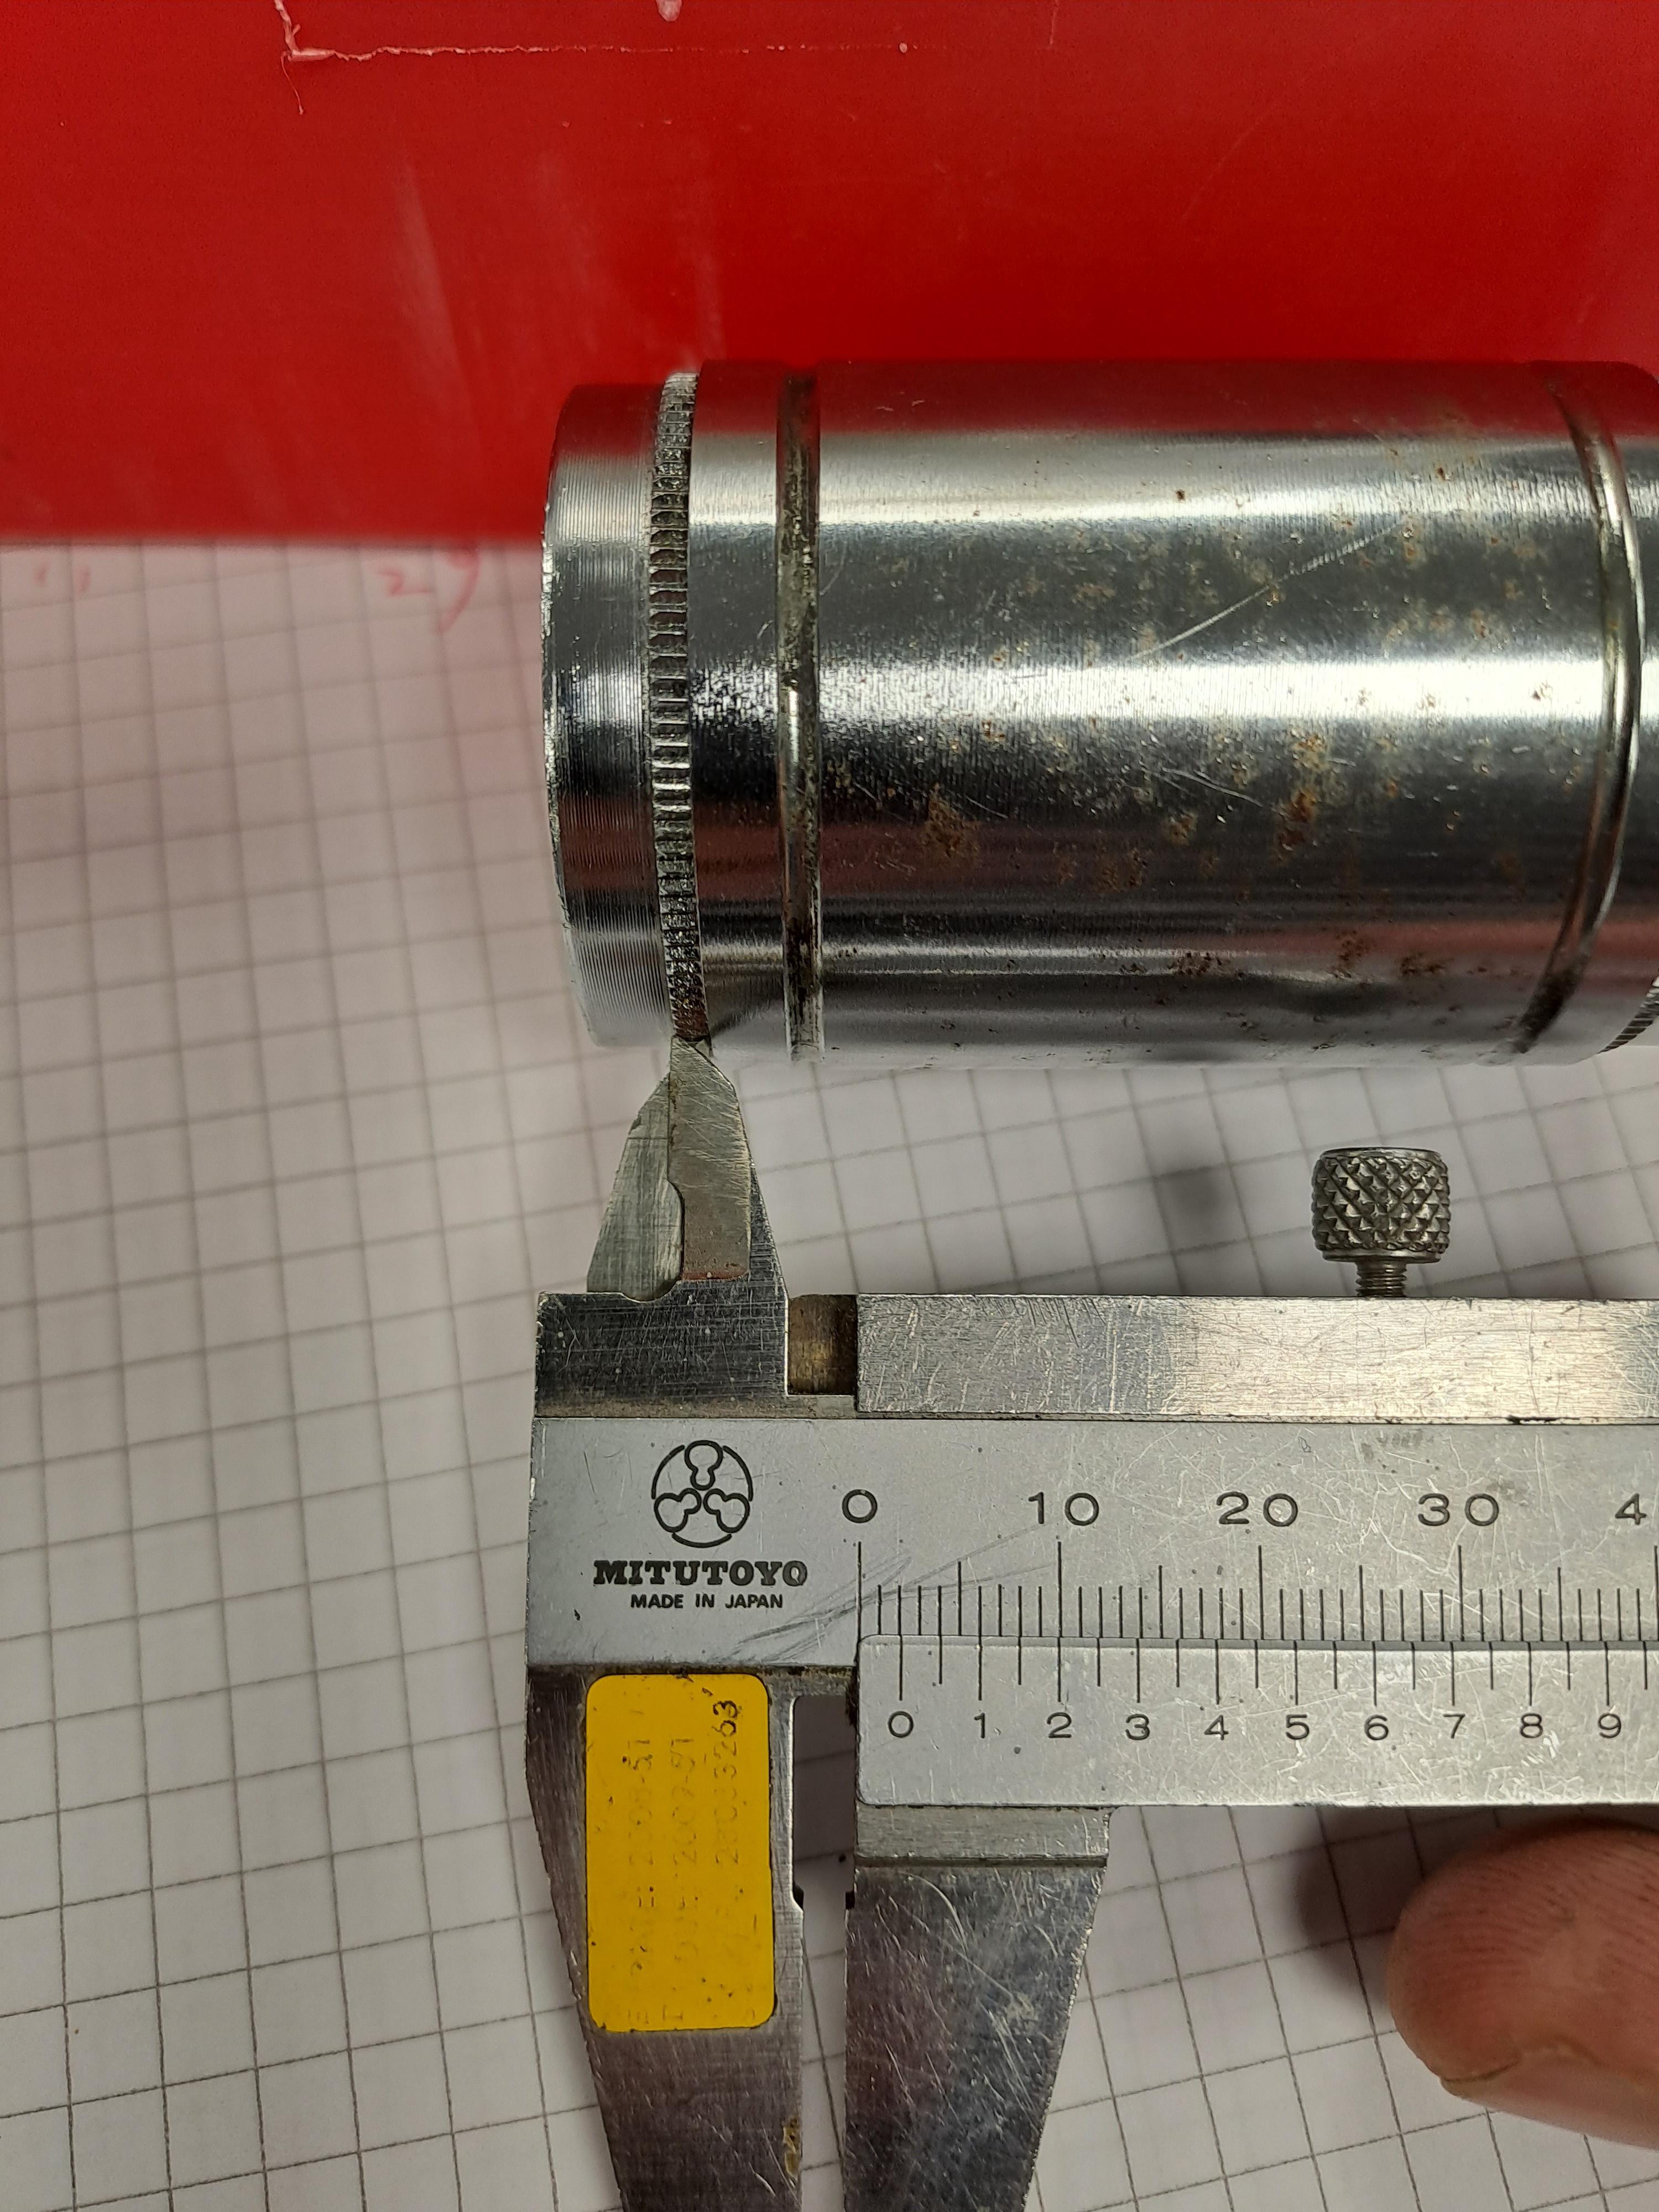
Last picture: Flange width.

With the bushes (3x) in between the flanges and bolts + washers + nuts I can weld or solder the flanges on the base while the flanges remain aligned.

To do in this particular order:
  • Press on the bearing adapters I mentioned in this post.
  • Mill/turn the final fittings.
  • Countersink and debur the flanges before the final welding/soldering, or else I can't reach it with my hand drill anymore.
  • Maybe drill more holes in the flanges, because there is something I need to double check and I haven't thought/observed it before: The 36 spoke holes from the flanges are not symmetrical aligned. I wonder what would happen while building a wheel if they did. If this is figured out then:
  • Press the hub shell inside the CrMo tubes that are now the outer shell.
  • Mill/turn the large bearing fittings in the outer CrMo shell. And finish the complete shell with flanges: deburring, rounding etcetera.
  • Drill a threaded hole through both shells (the CrMo and Shimano shell) to fit a grease nipple. Location to be determined. Somewhere between the flanges depending on the ultimate grease position.
  • Do a test-assembly to check if everything is OK.
  • Powercoat the hub.
  • Final Assembly,

Thanks for reading and let me know if I missed anything.
 
I finally caught up with this one, just because I love the decorative flange work. I don’t own a lathe, so no chance of me turning out stuff like this right now.

I have some bicycle hubs like this where you can press the flanges on and off, but I’m not sure how I could get the spoke indexing correct if I did that. Did you make some kind of indexing tool?

What do you think about the laser cutting versus waterjet cutting on parts like this?

I’ll have to send out a DXF or similar and have them cut.

I am from the days when we had to draw the stuff on mylar with ink, and then an “electric eye” would follow the pattern, and cut your parts with an acetylene torch. It was all big industrial stuff.

I wasn’t doing any delicate parts like this, so I don’t have a clue about lasers and water jets, and only one little experience with EDM.

All the light gauge work I ever drew was Stamped out on an AMADA turret press. I did steel cabinetry & little parts for vending machines.

To be honest, I use a lathe at my employer in the machine shop.
I try and plan the whole thing and do not turn/mill stuff that takes longer than an hour or so.

I did not make an indexing tool. I just use my googly eyes!
I thought about it, but eventually it results in a few mm longer spoke worst case scenario.
The bottom V in my hearts in the flanges must align with a hole on the other flange, then its about right.

I have experience waterjet cutting on aluminum, but not on steel.
Laserjet on steel.
I like it, but some burs are just not great, I always try and round them with a dremel or file. Also for better paint adhesion and less chipping of paint on the corners.
I almost never powdercoat after lasercutting. Deburring first 😉

I really like the oldschool acetylene torch and stamping techniques!
This custom builder on youtube (Japhands Customz or Make it custom, don’t know for sure) uses these. I really like his work!

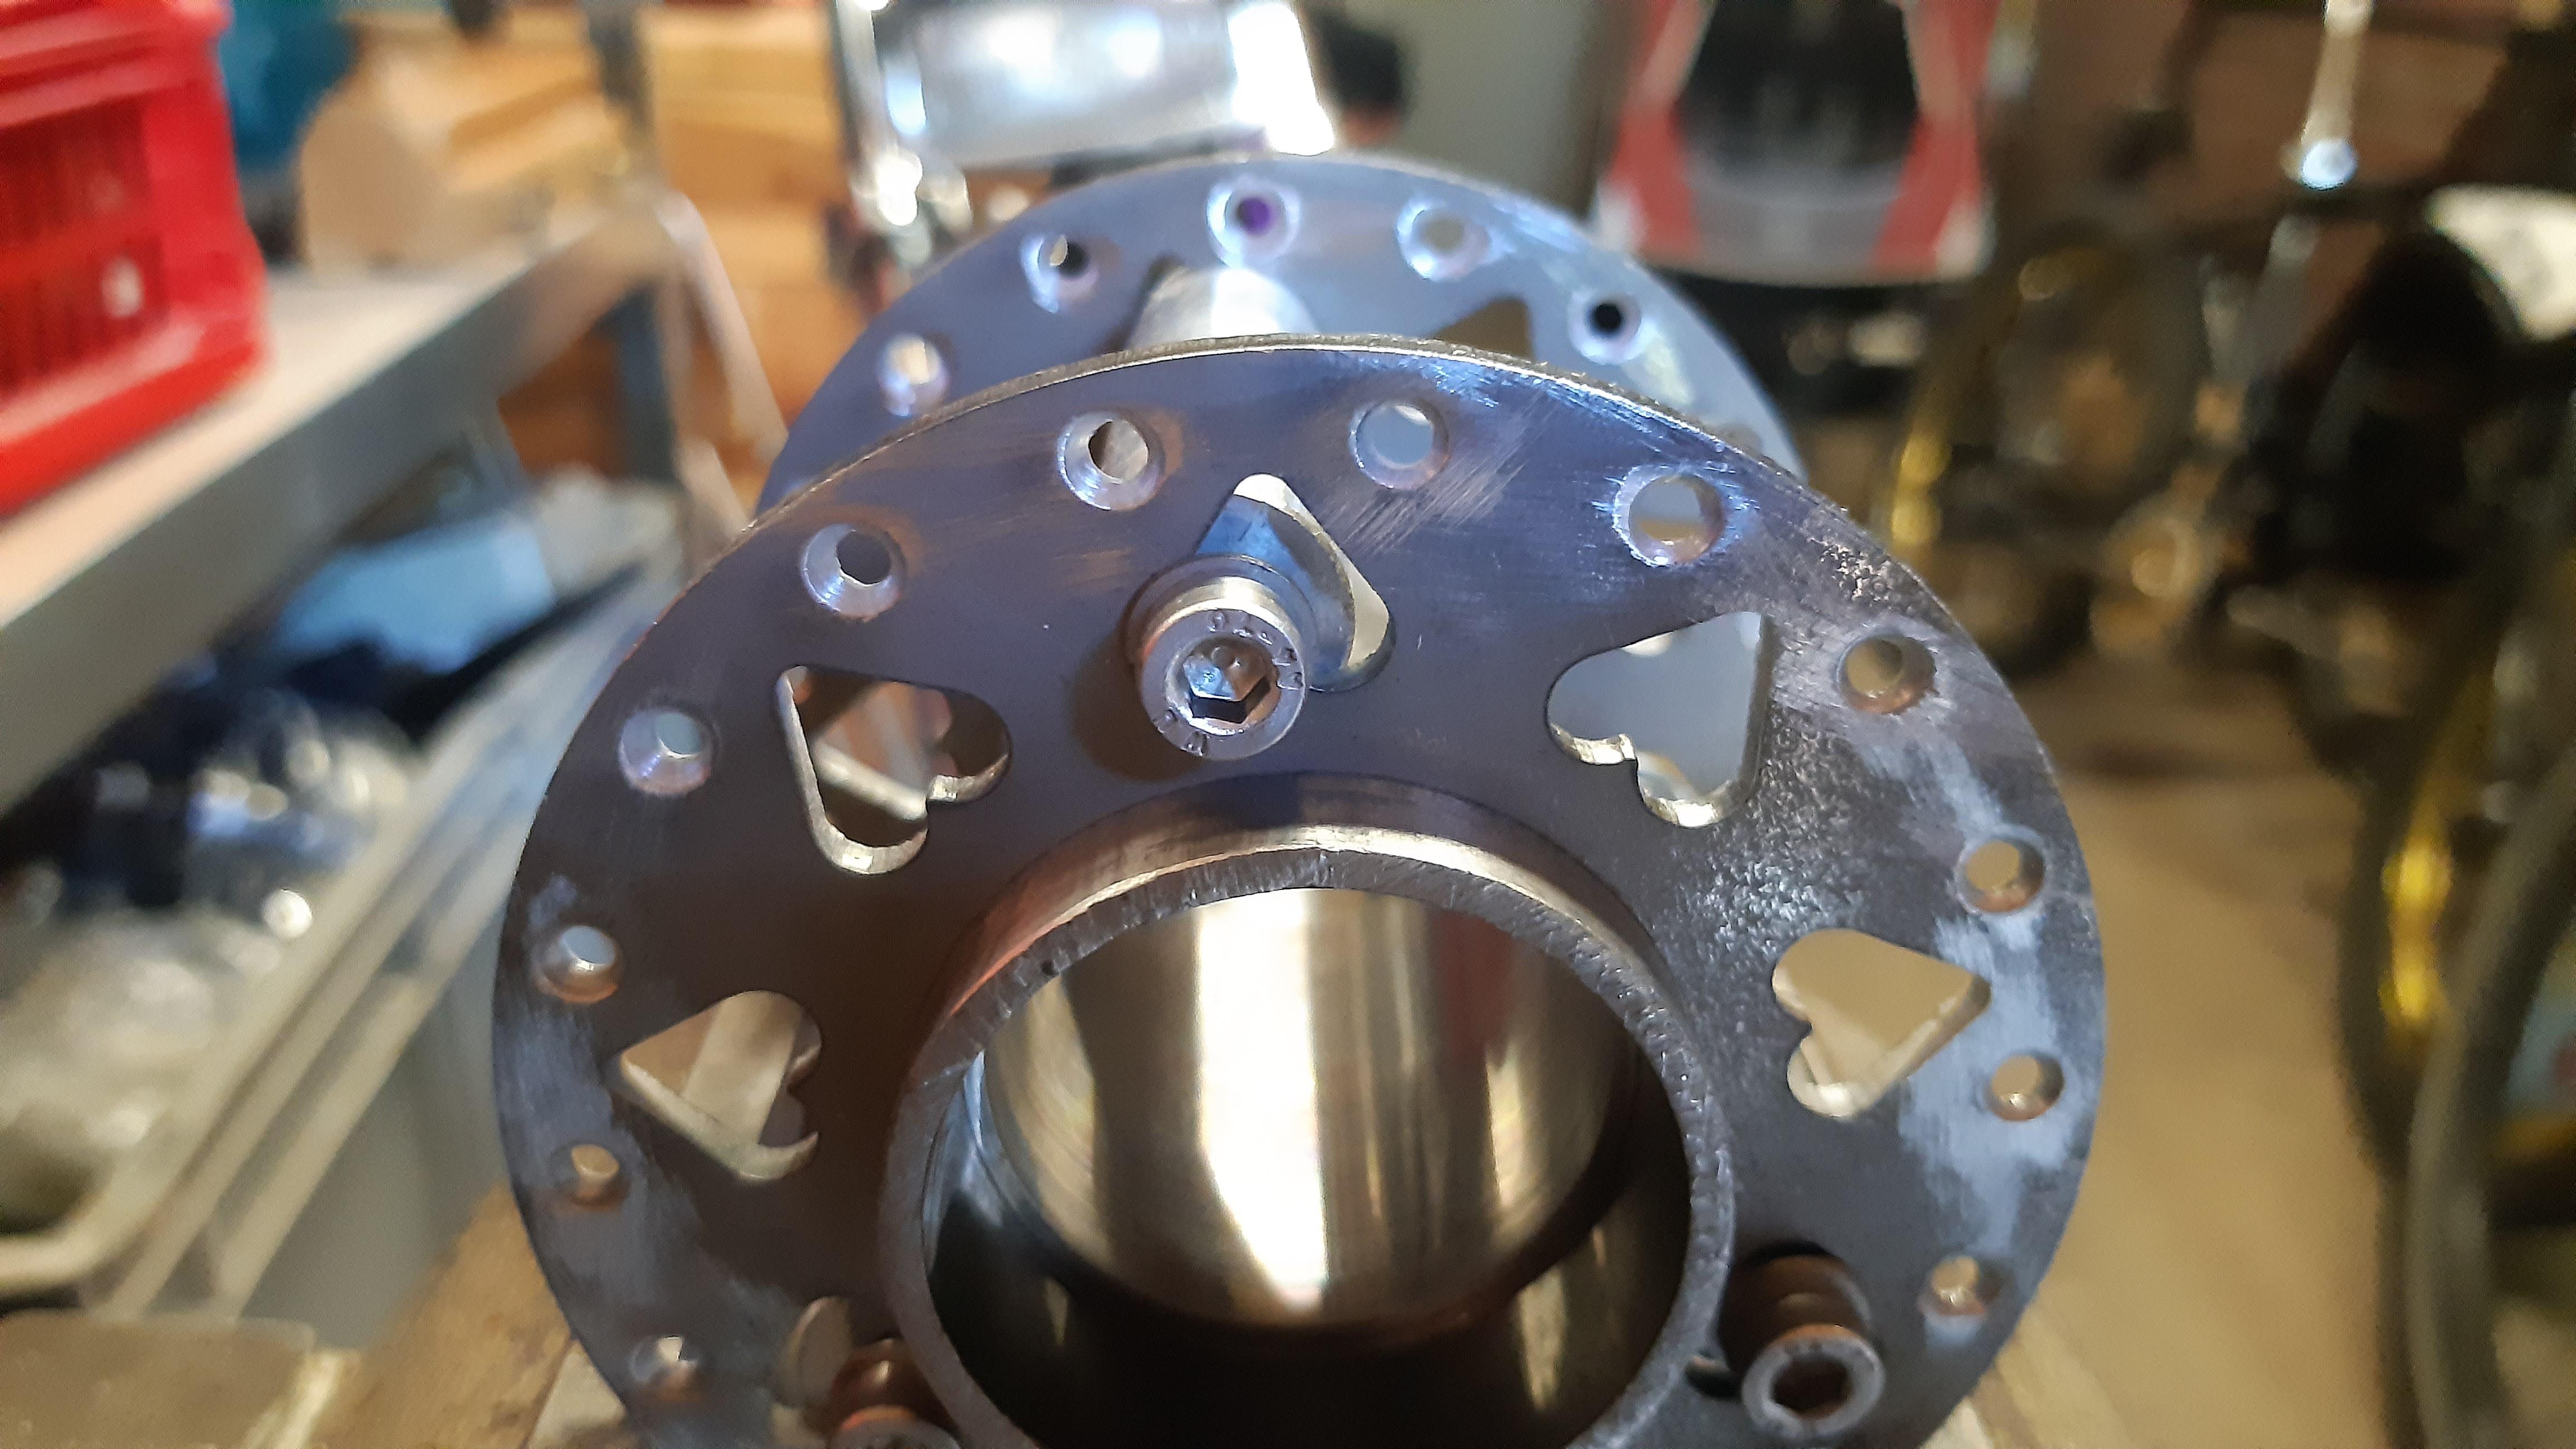
I made countersunk holes on all sides for the spokes. 90 degrees hole entry. Then deburred again with sandpaper.

Ready to weld or solder!
The three bushes and screws through the heart are for alignment when welding.

yx8659N.jpg

6IrDgMo.jpg

PJqd81u.jpg


What do you guys think?
Powdercoat in a colour, rusty rat or nickel/chrome?
Chrome and/or Nickel plated could be rather expensive for a fun tryout.
 
Due to limited time to get to the welding shop near my employer, I haven't worked on the 'industrial sealed coasterbrake hub' anymore.
There are some more parts milled and ready to assemble after welding.

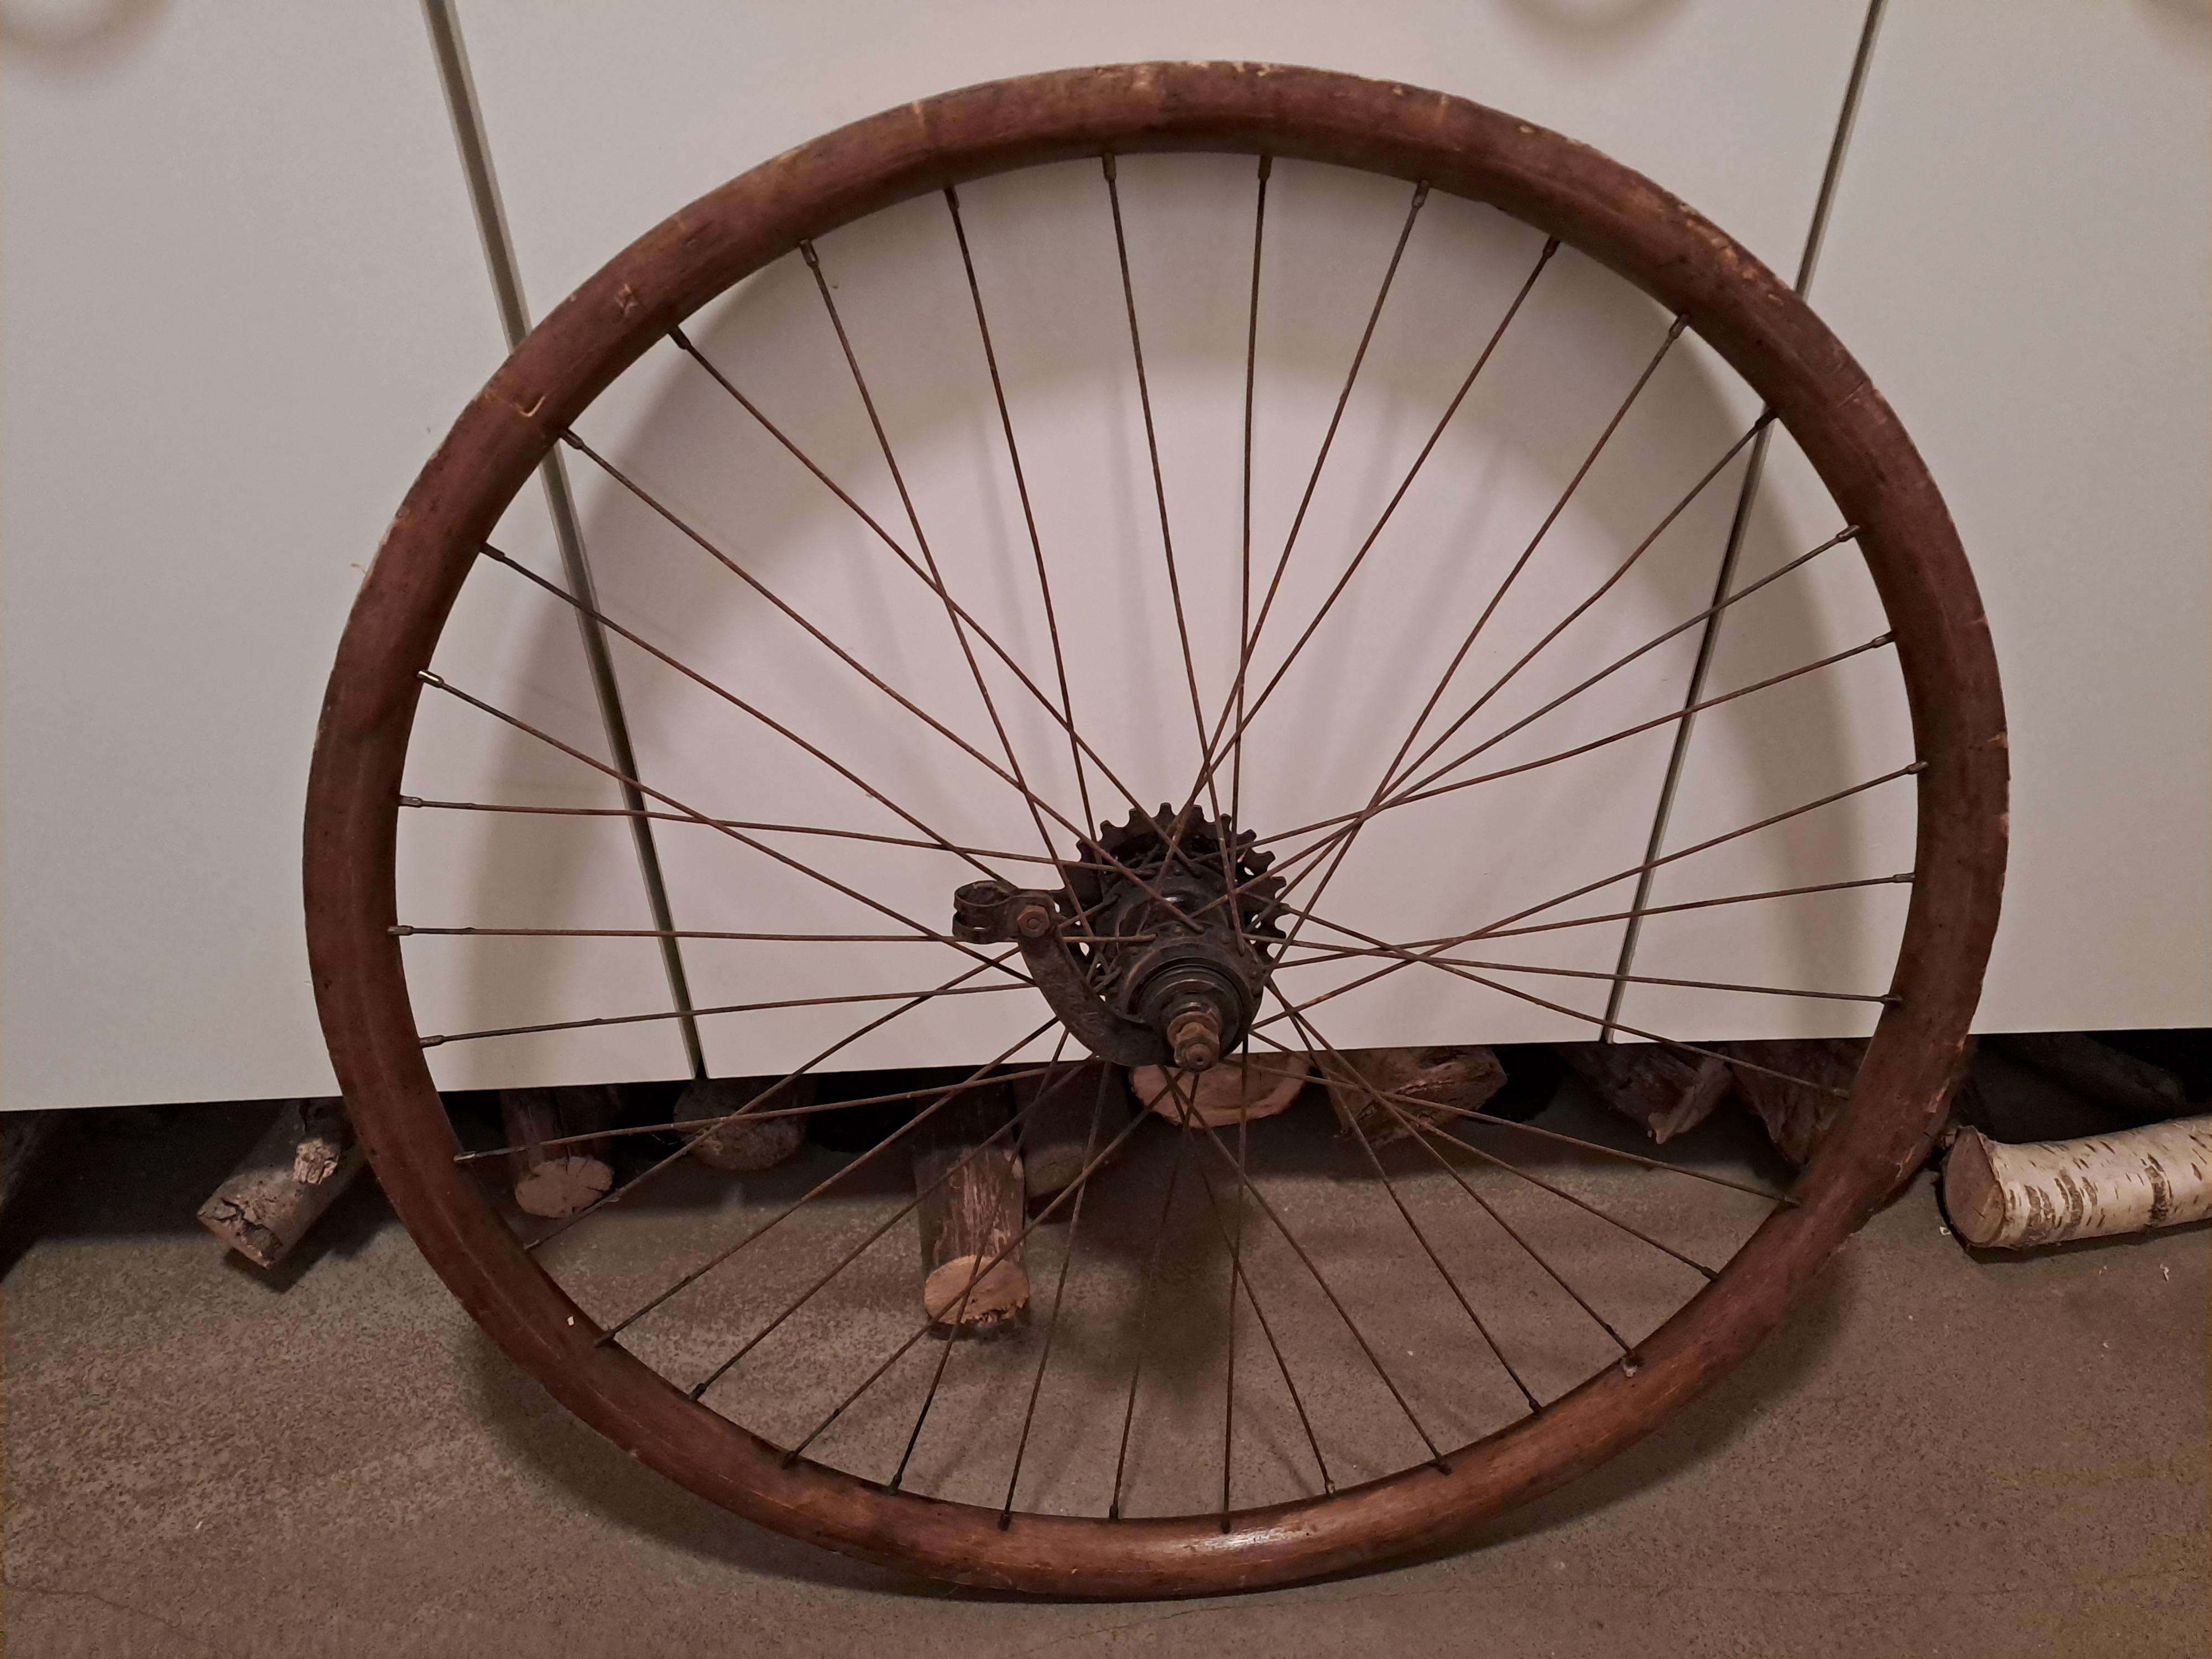
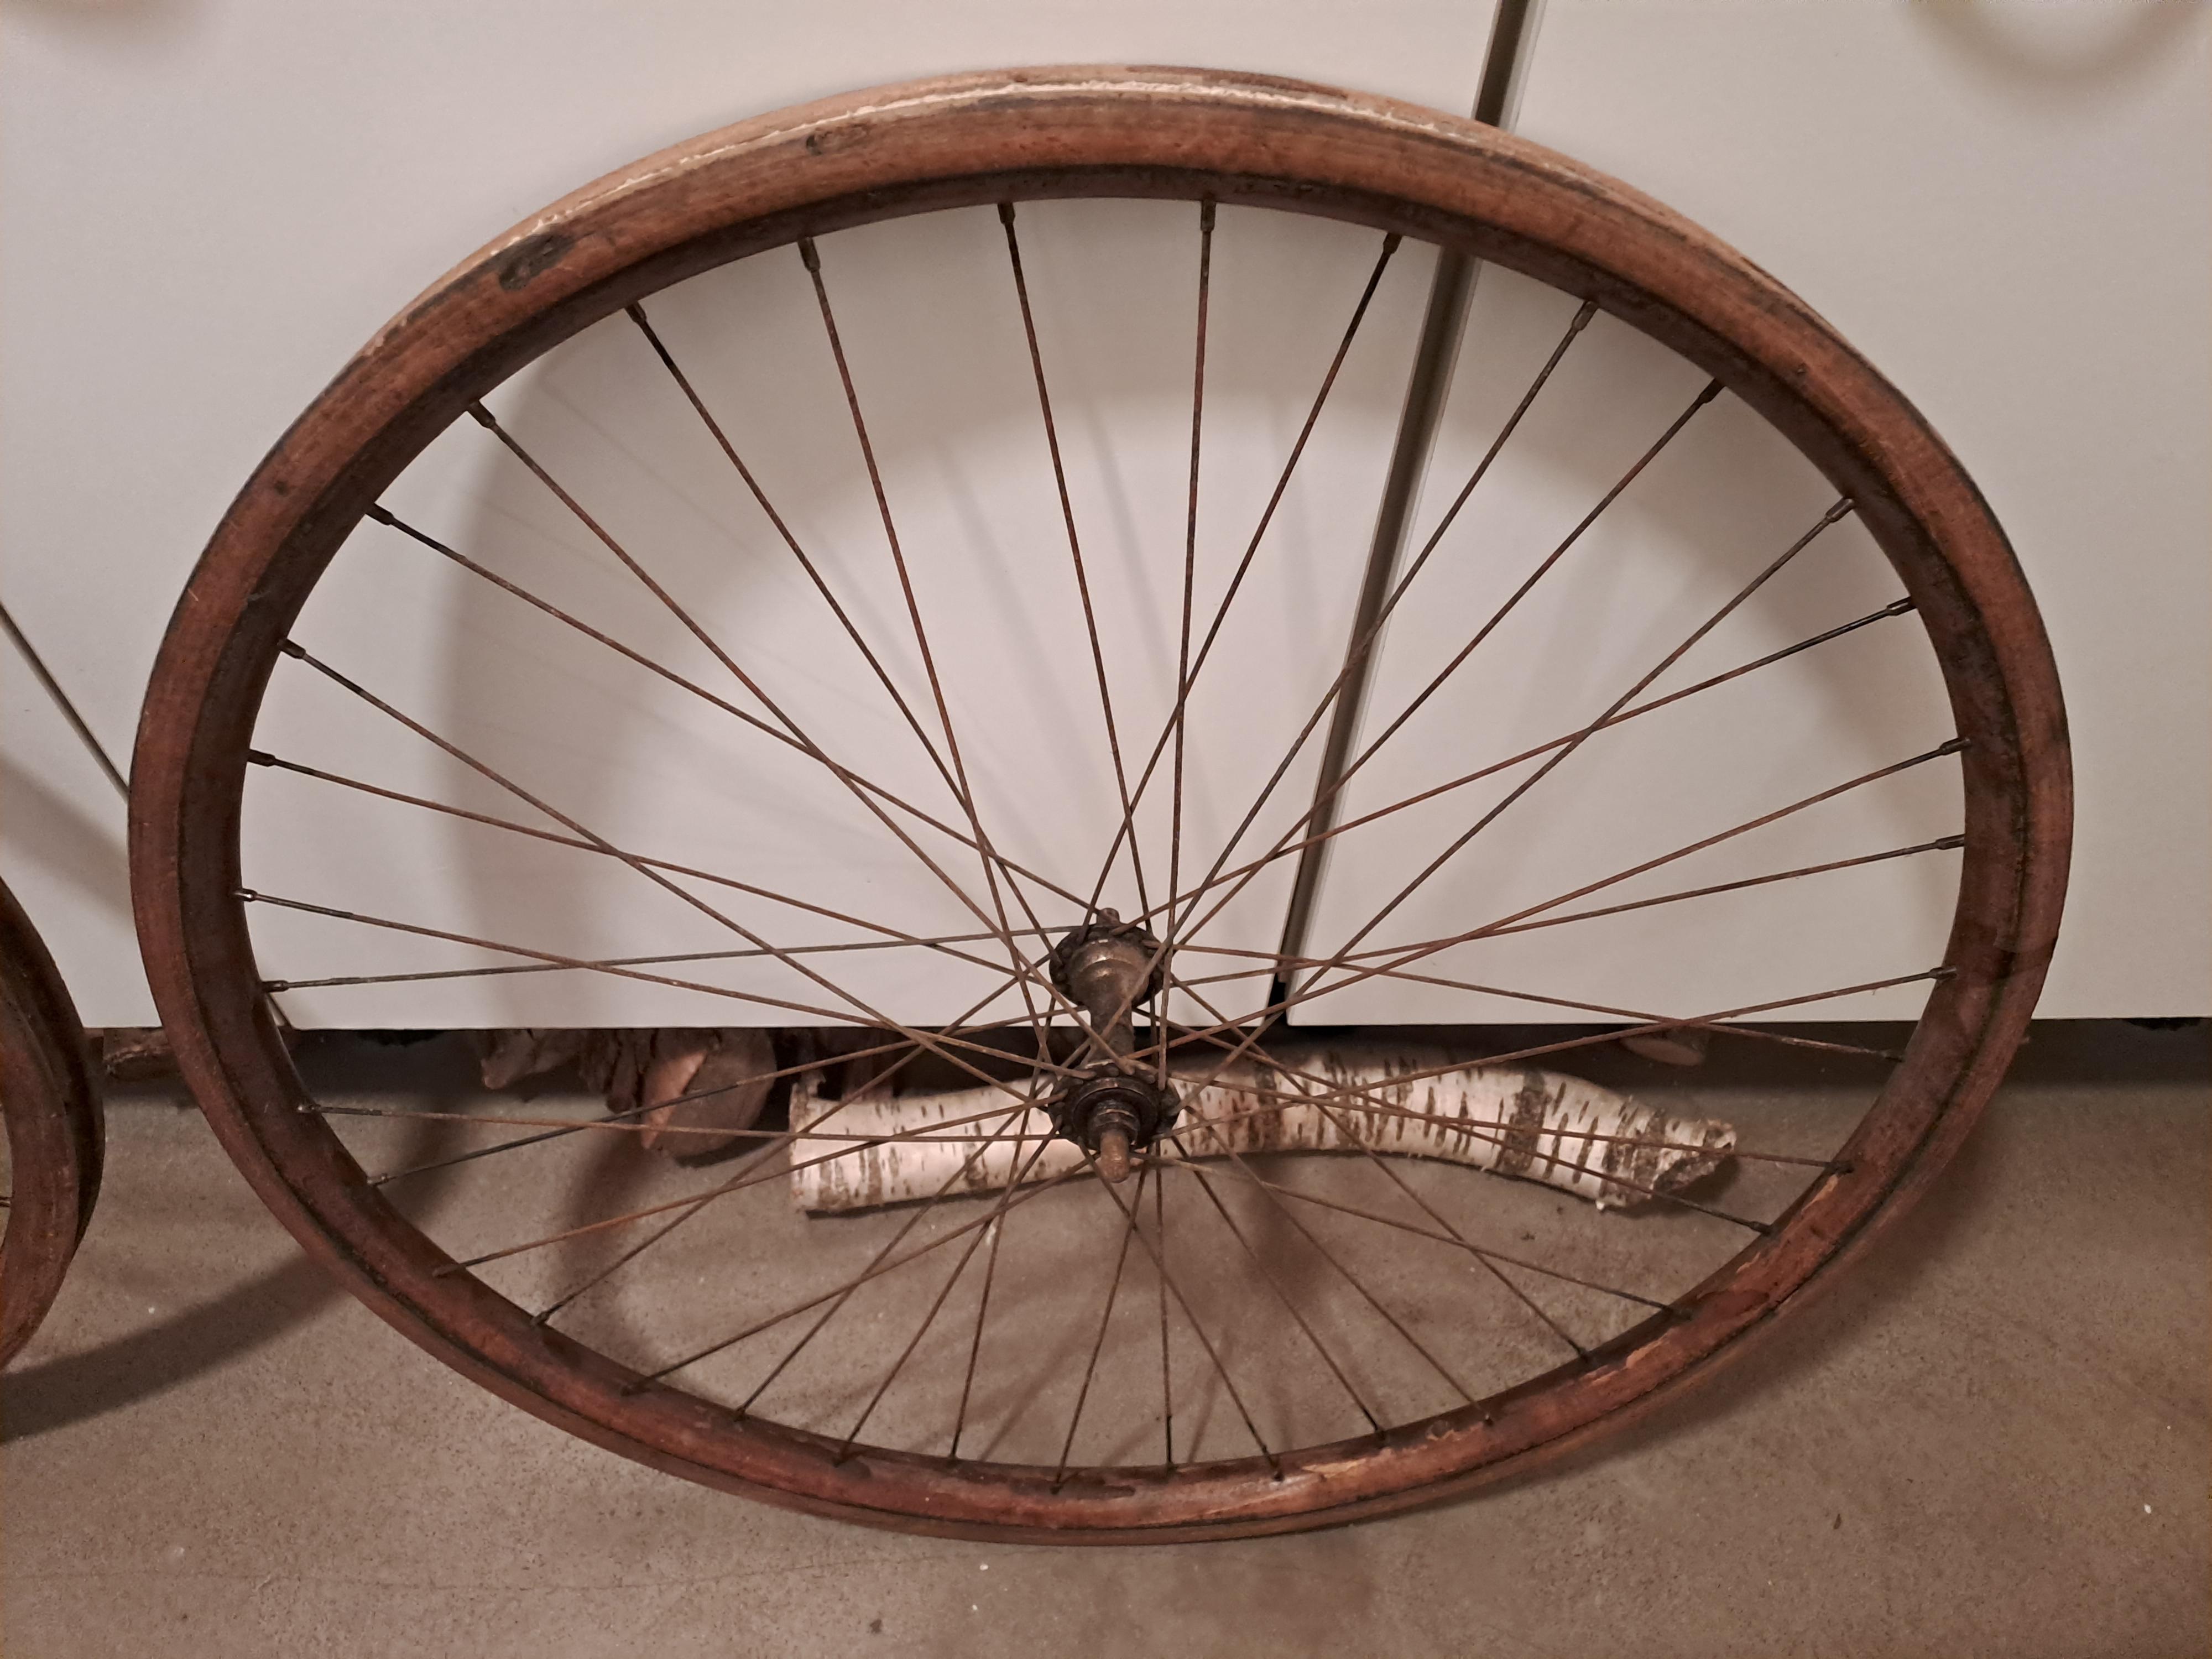
So I found another wheelset on a second hand website. I could not leave it!!
This wheelset was a bit too far from my home and I decided to buy it. It was a total guess! The guy said: its good.... and he did not know anything about the age or worth.
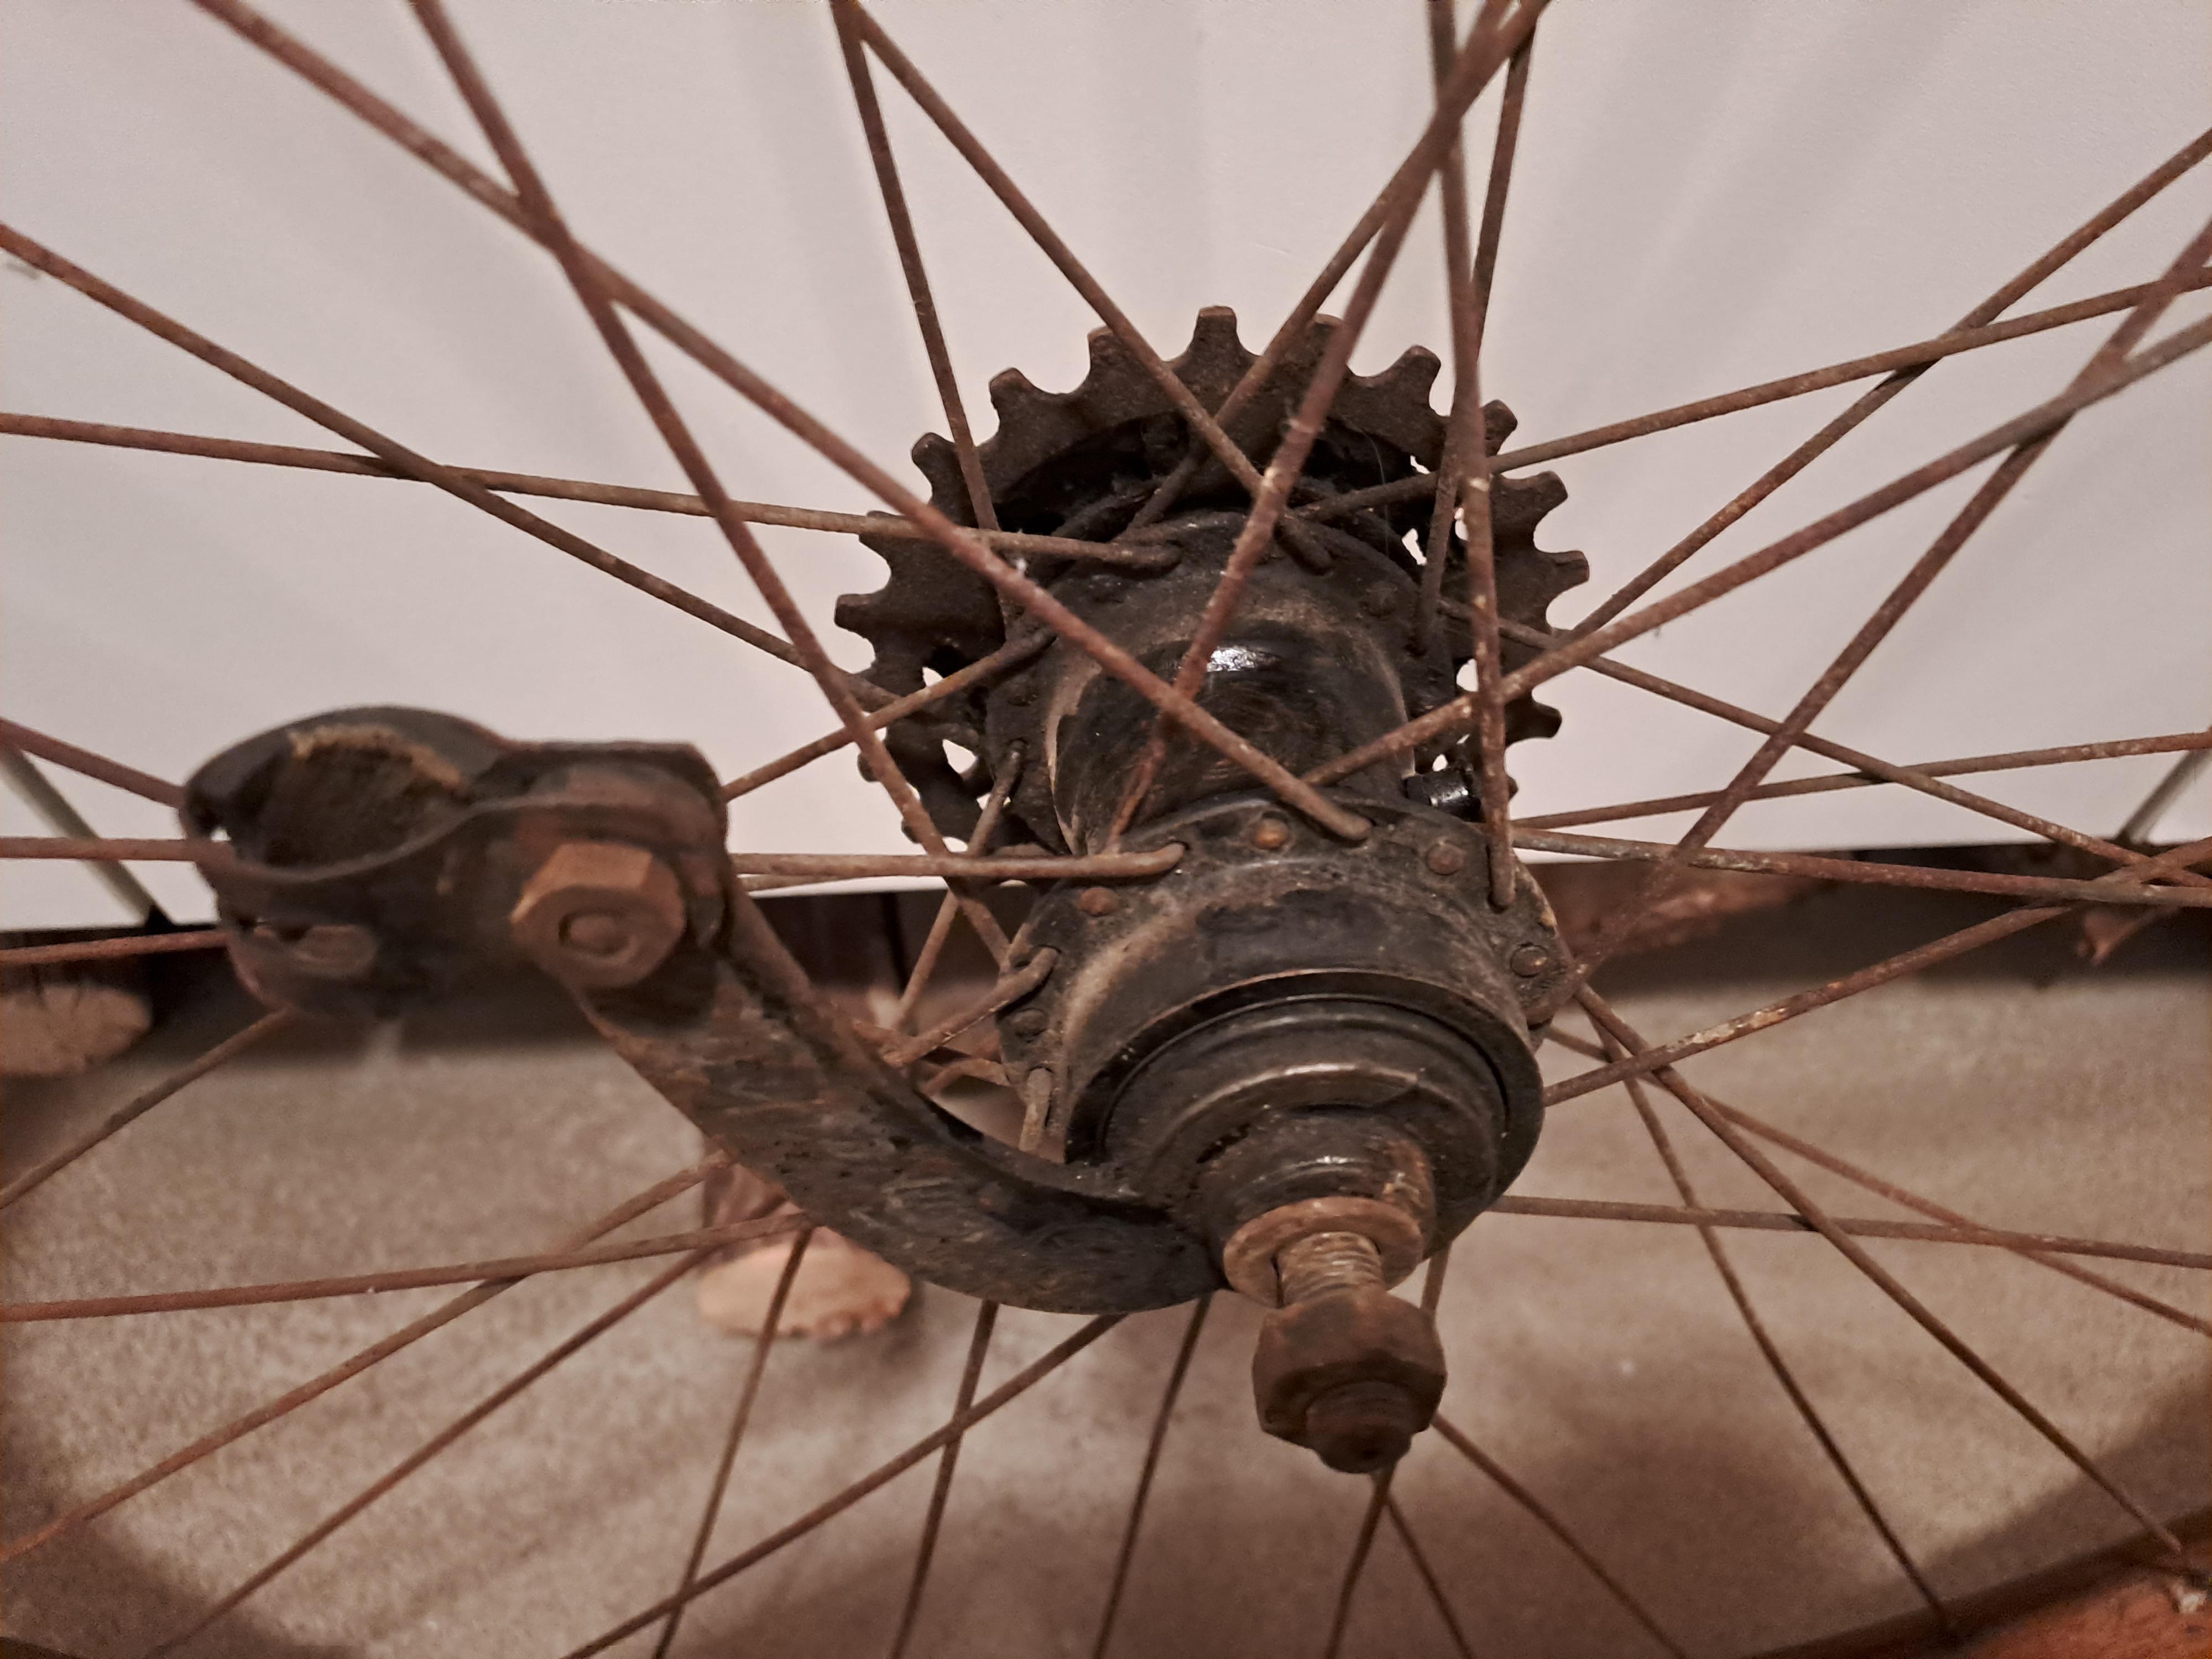
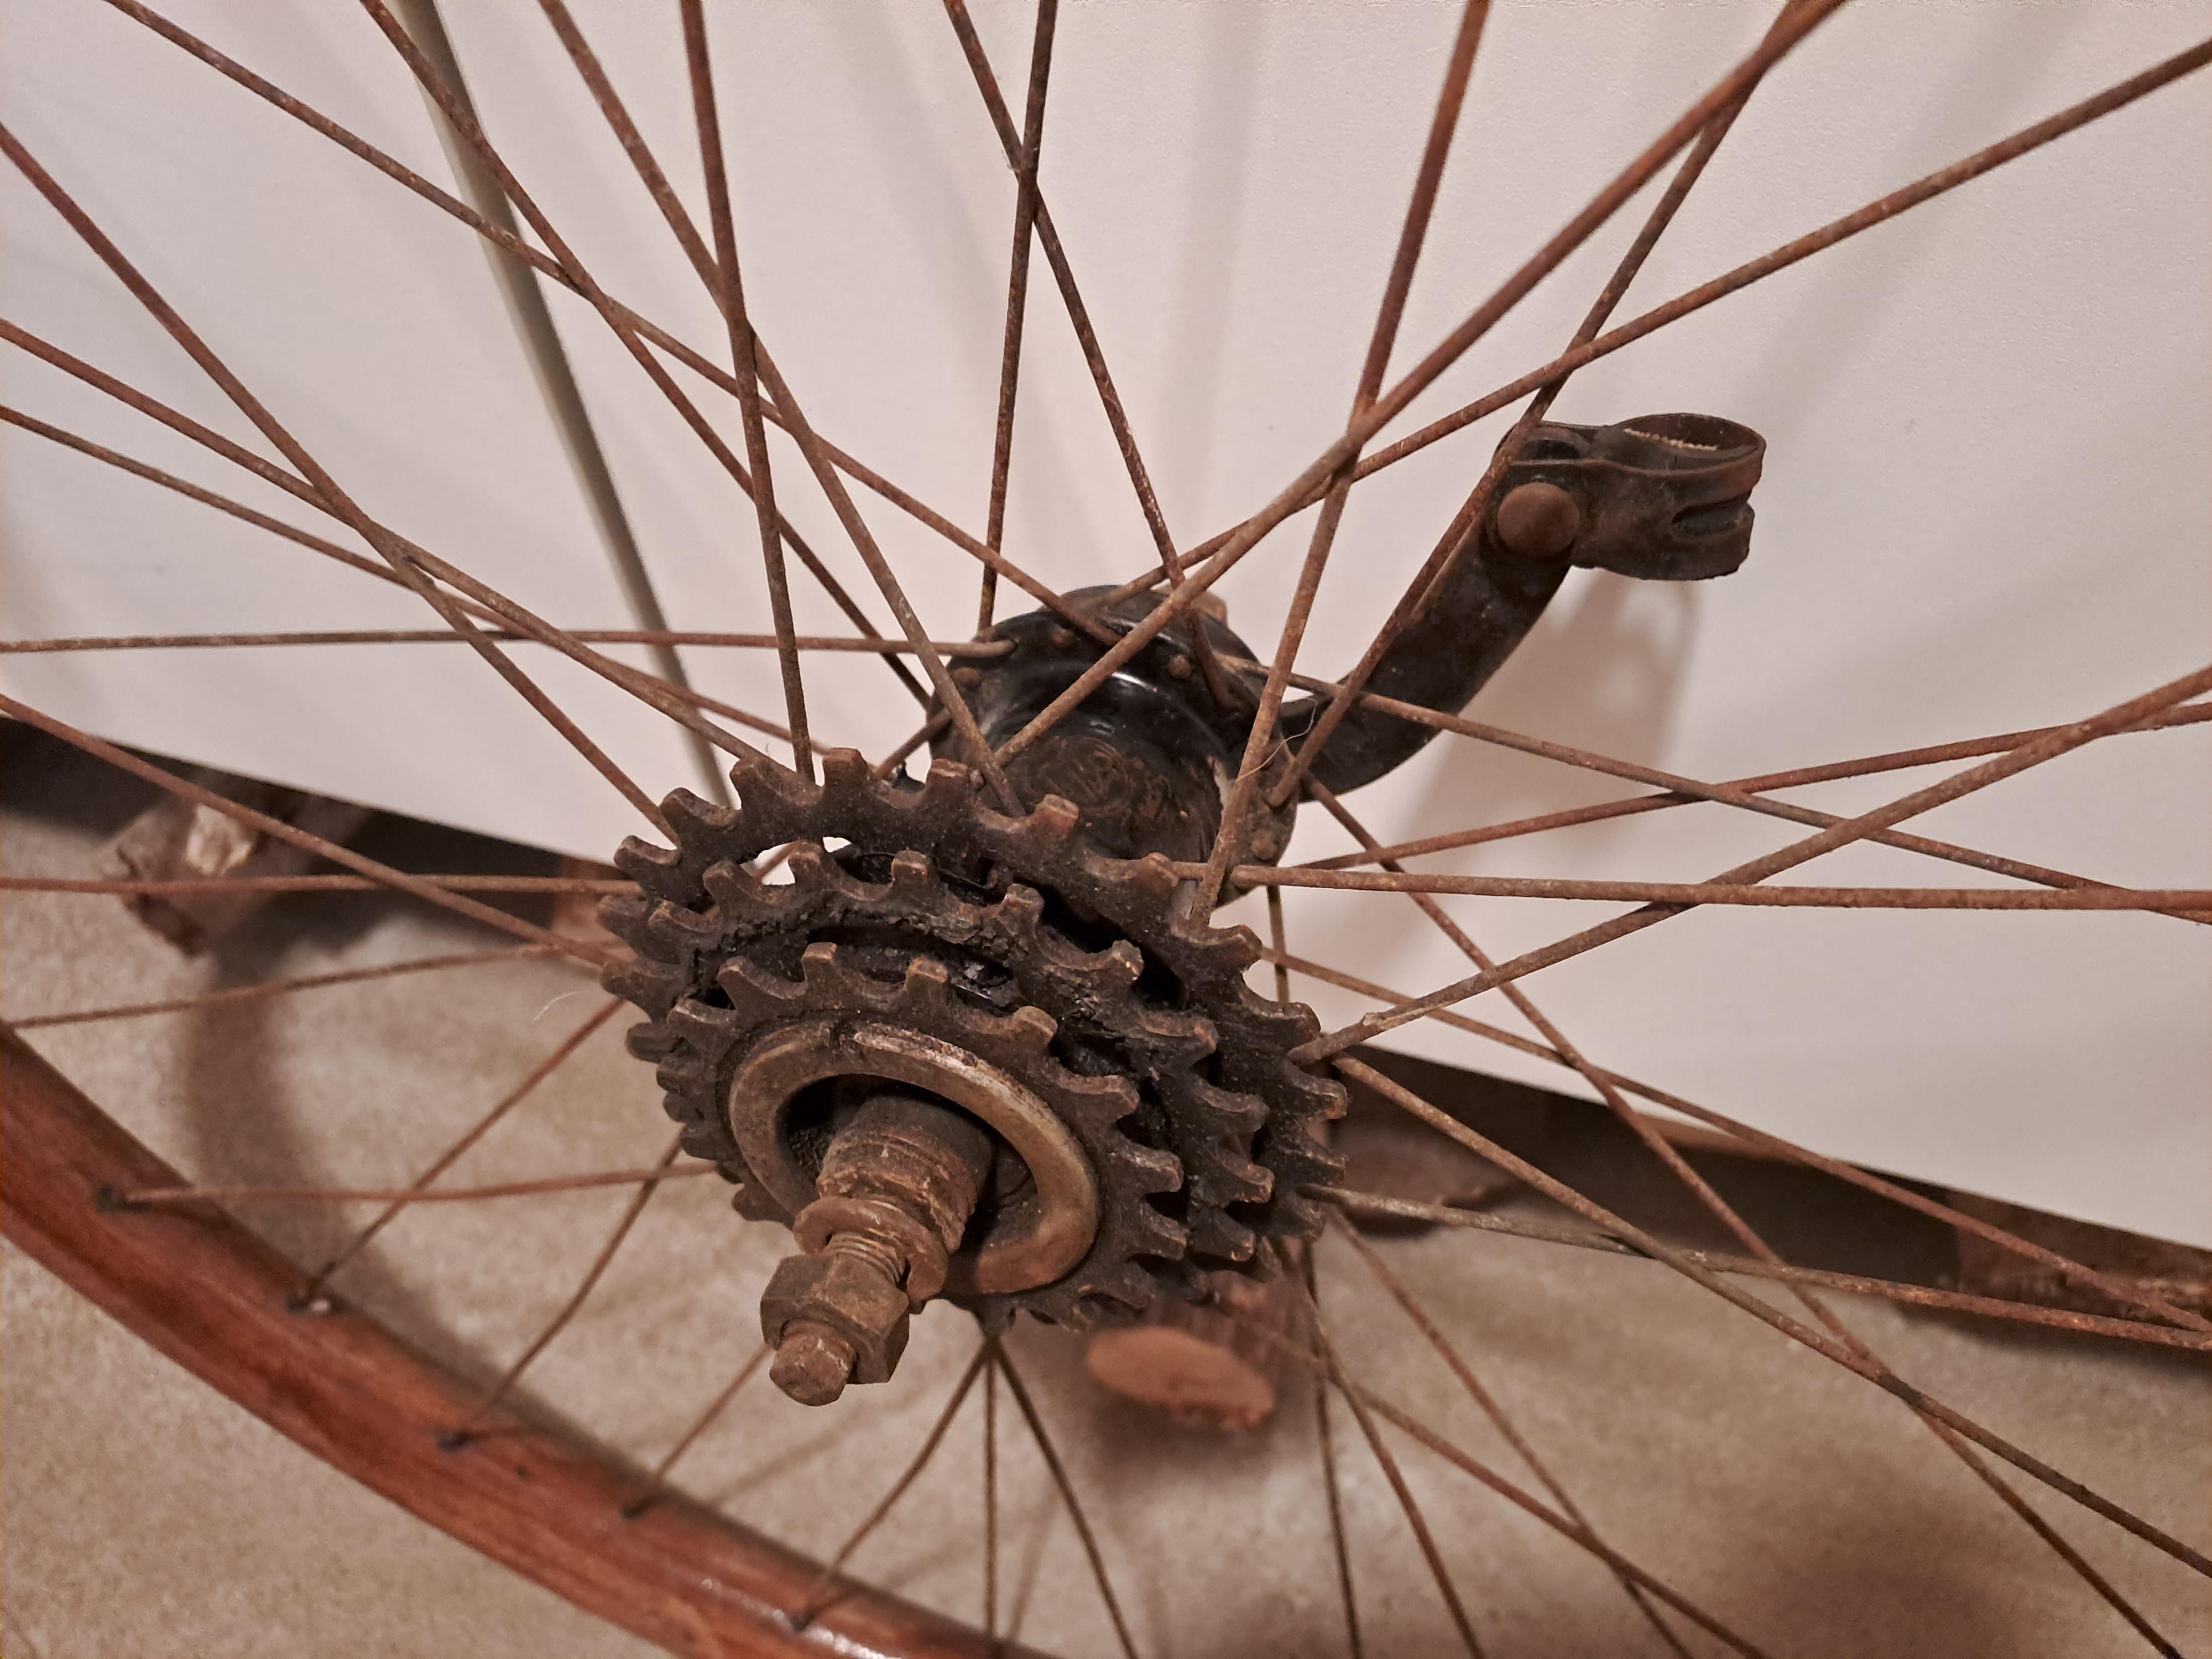
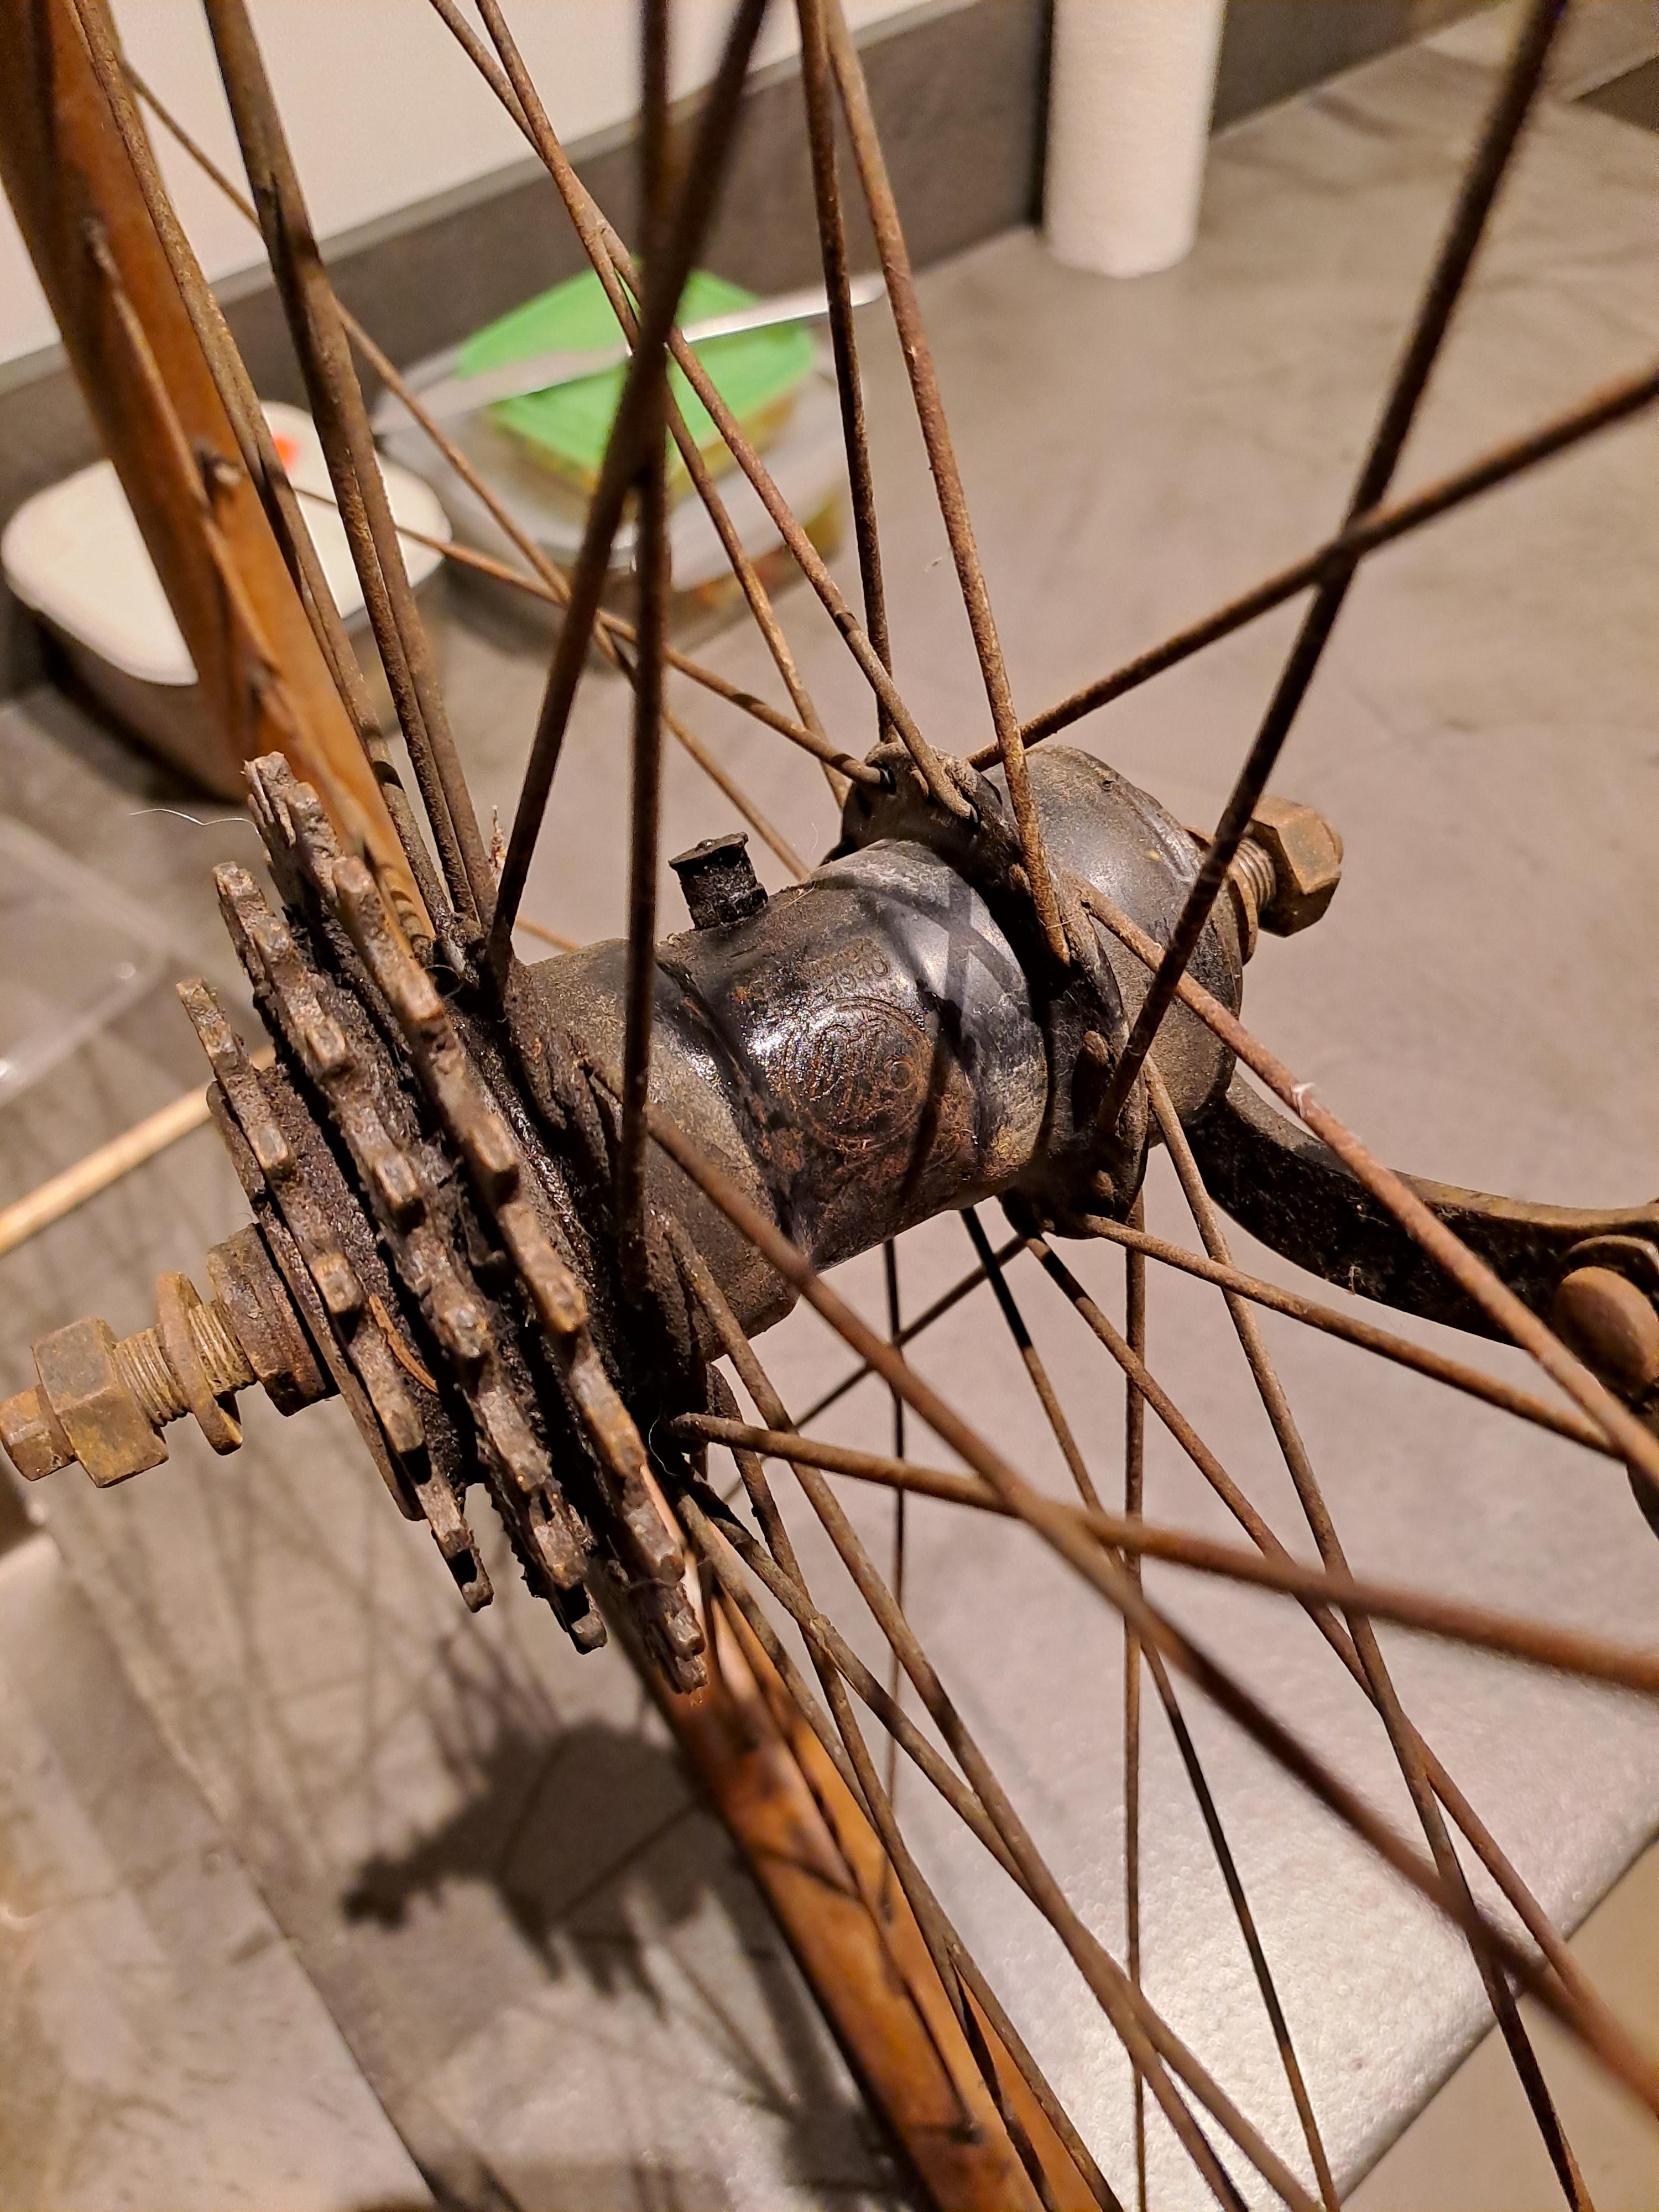
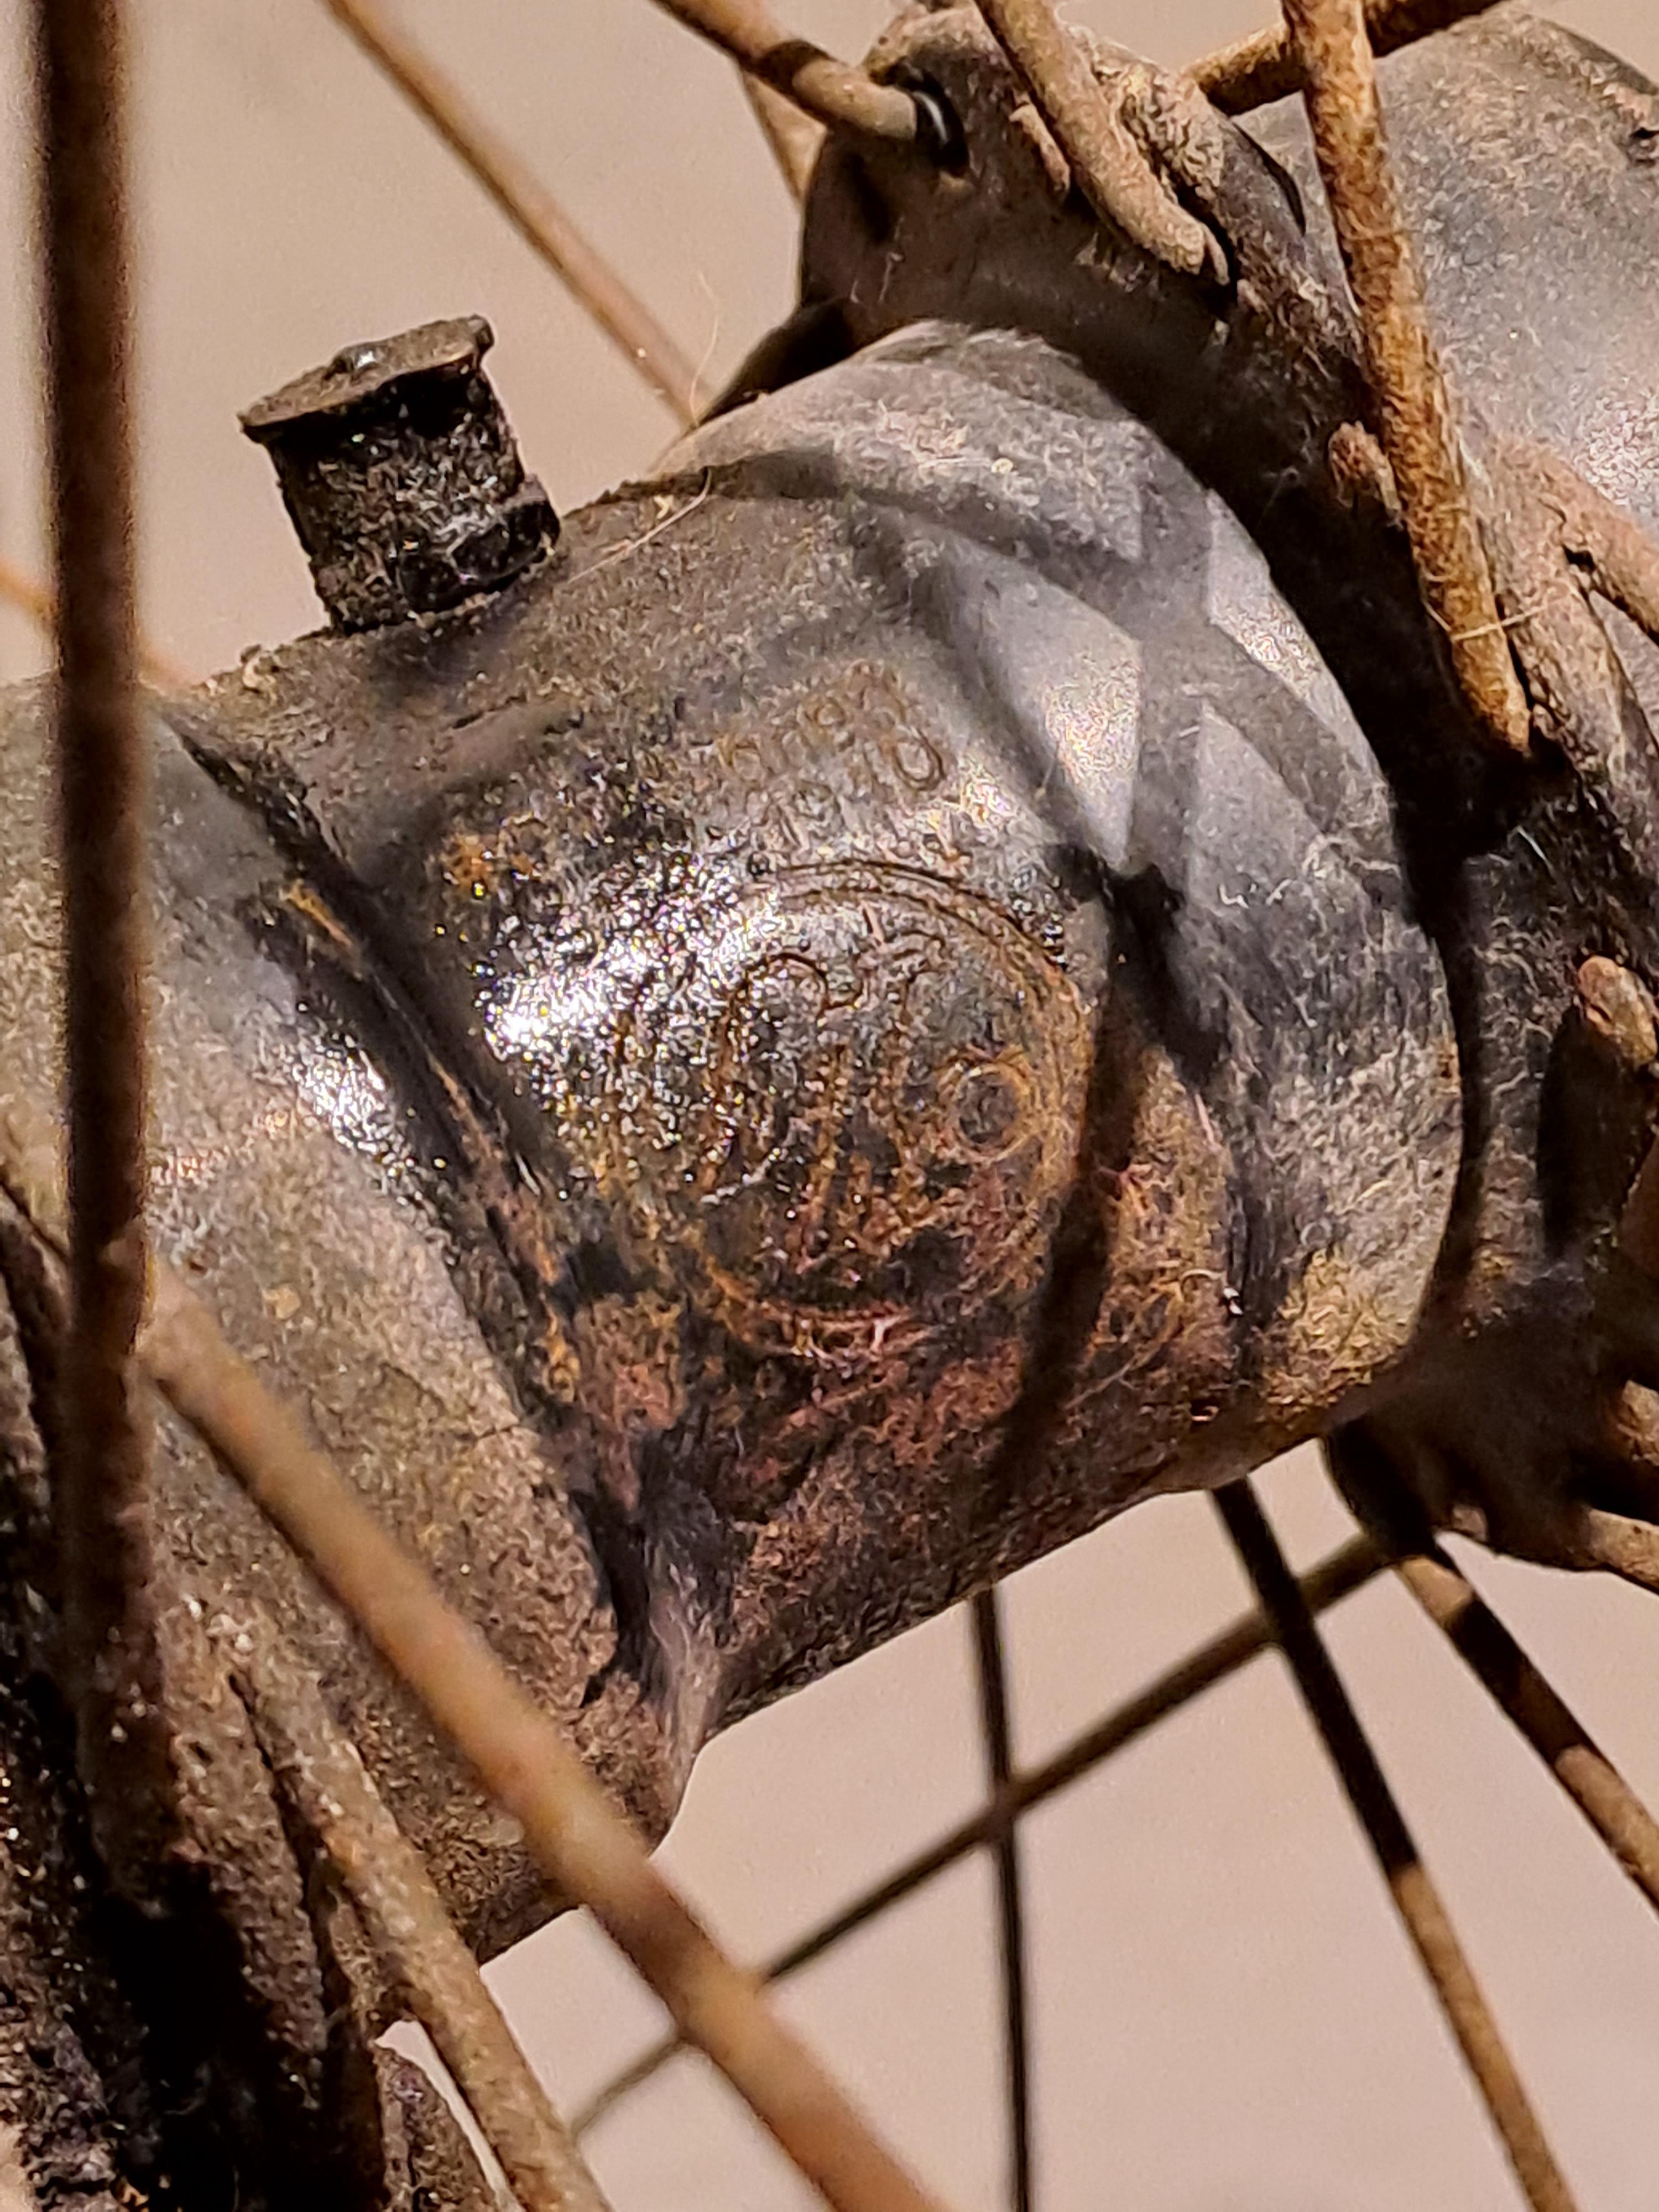
After it came in, I had to brush and clean the hub before a date was shown:
1940 Fichtel & Sachs Torpedo rear hub! Awesome!
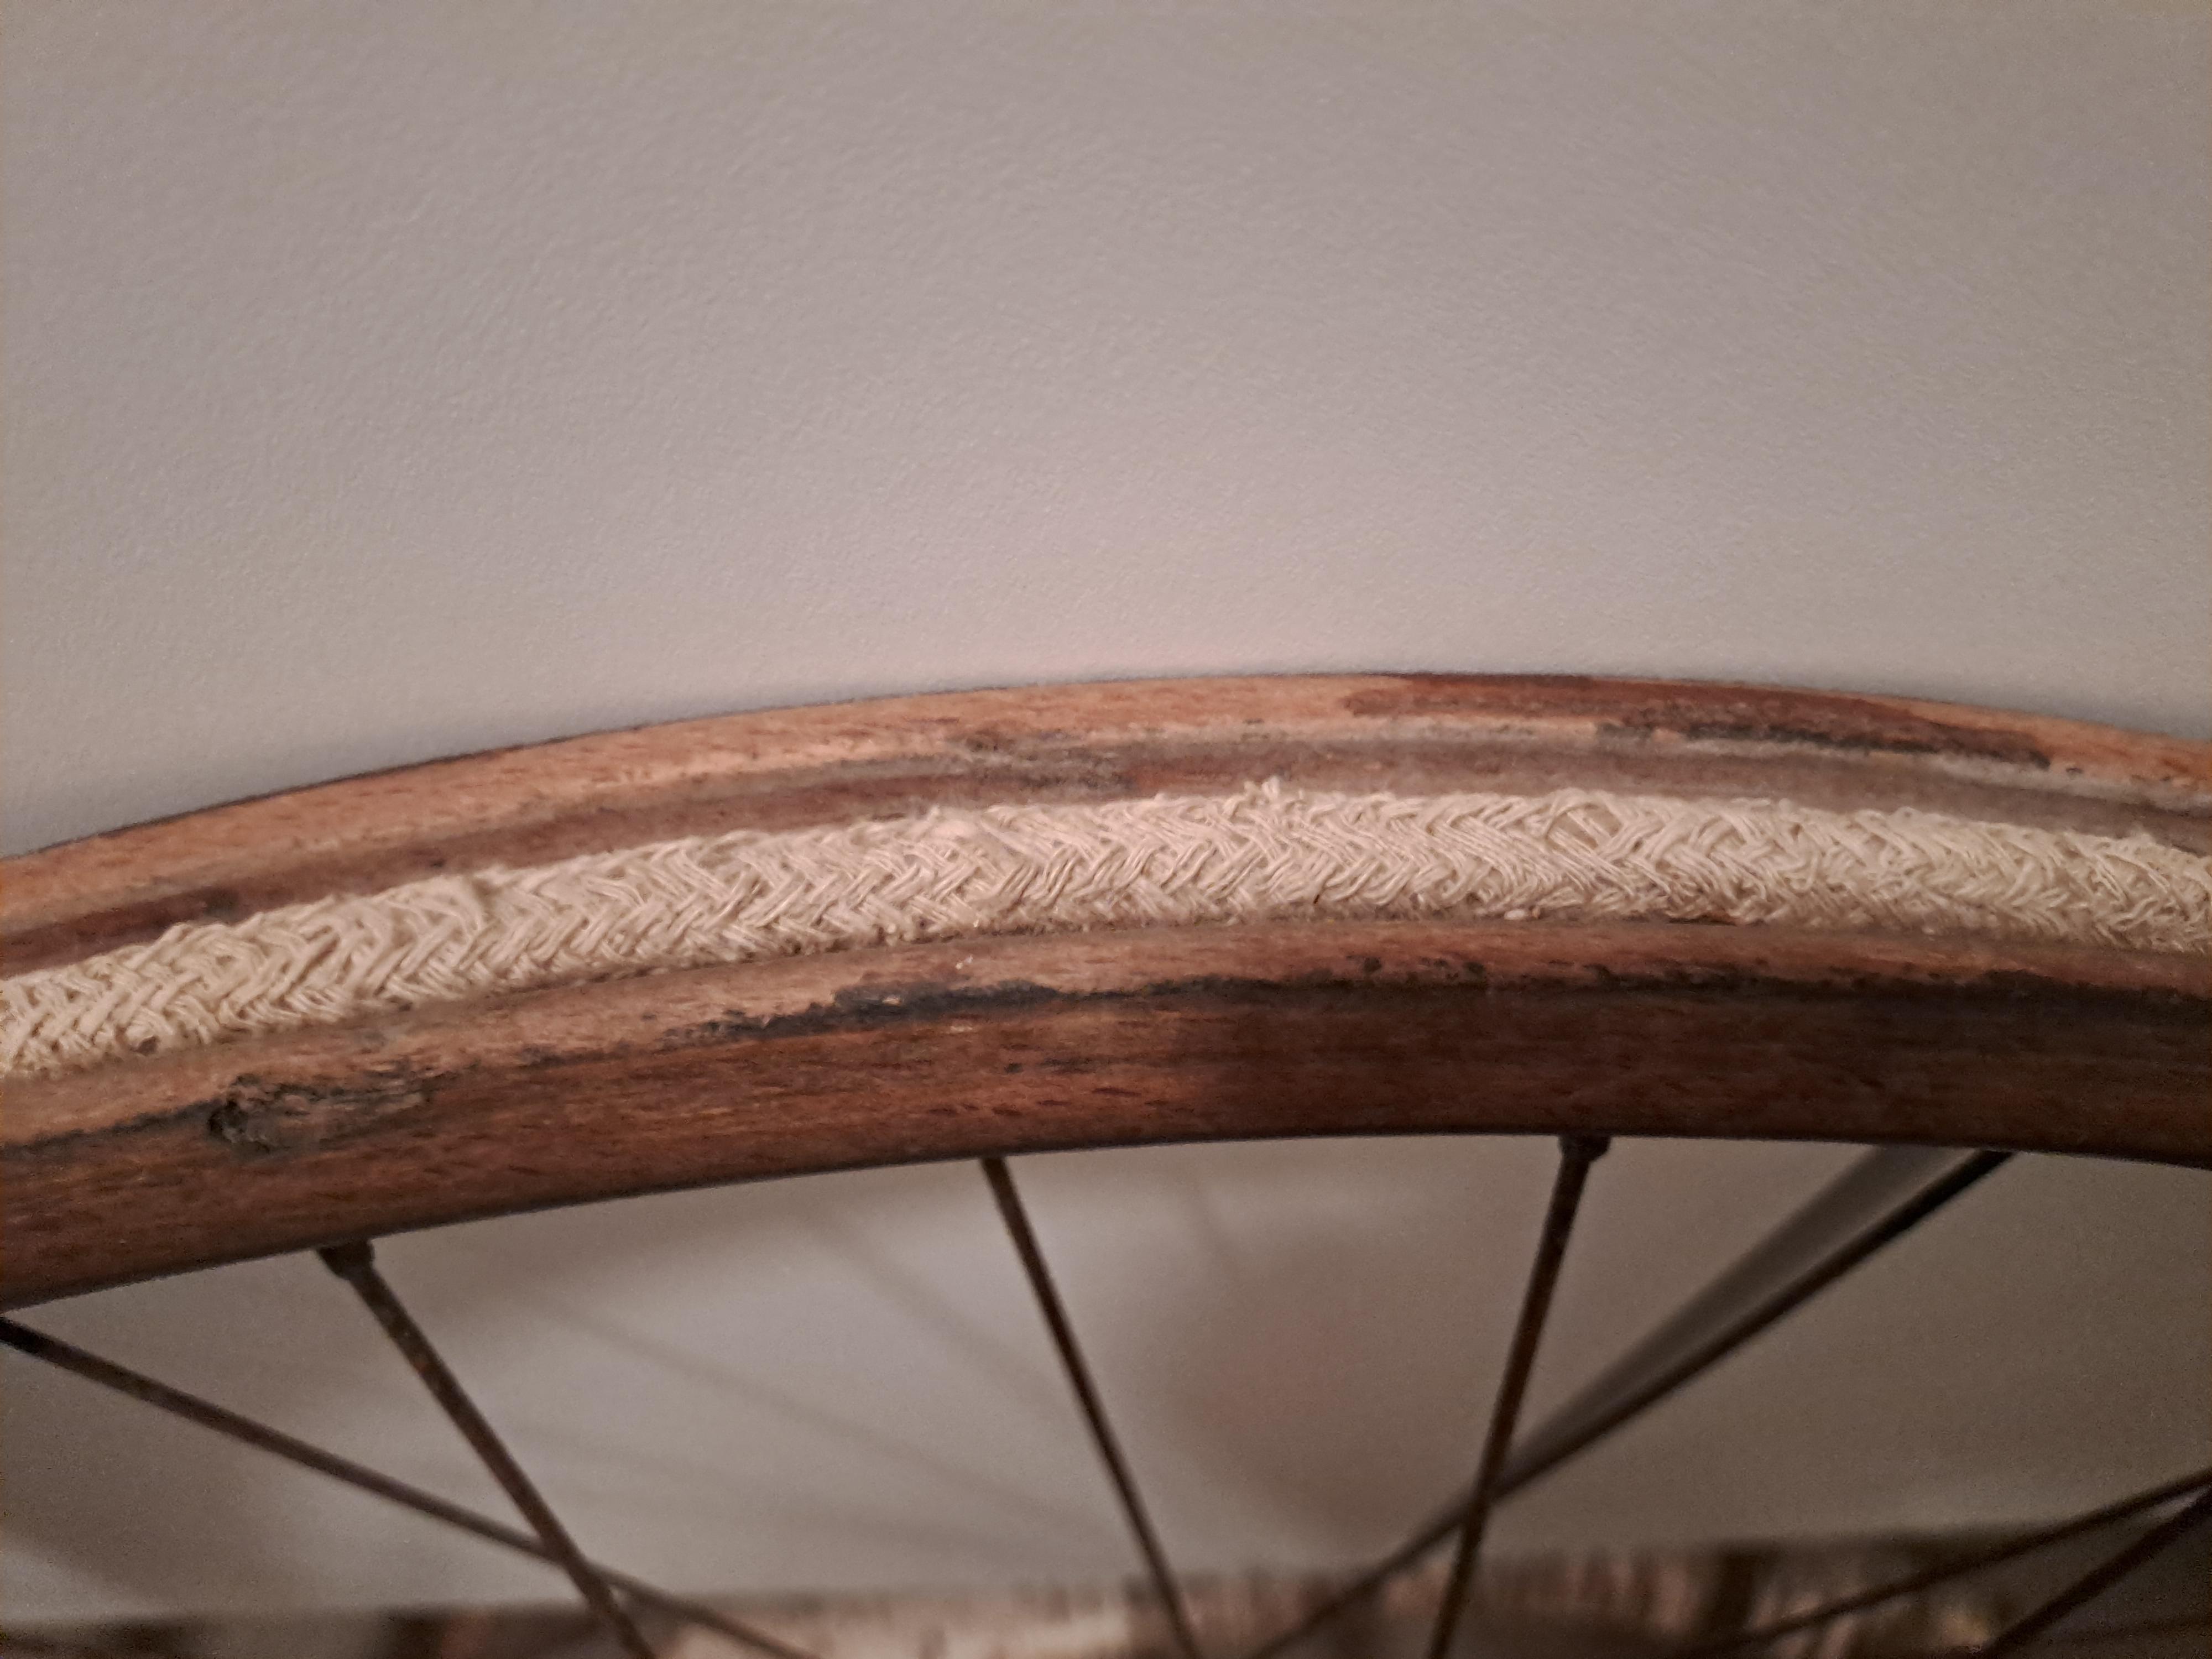
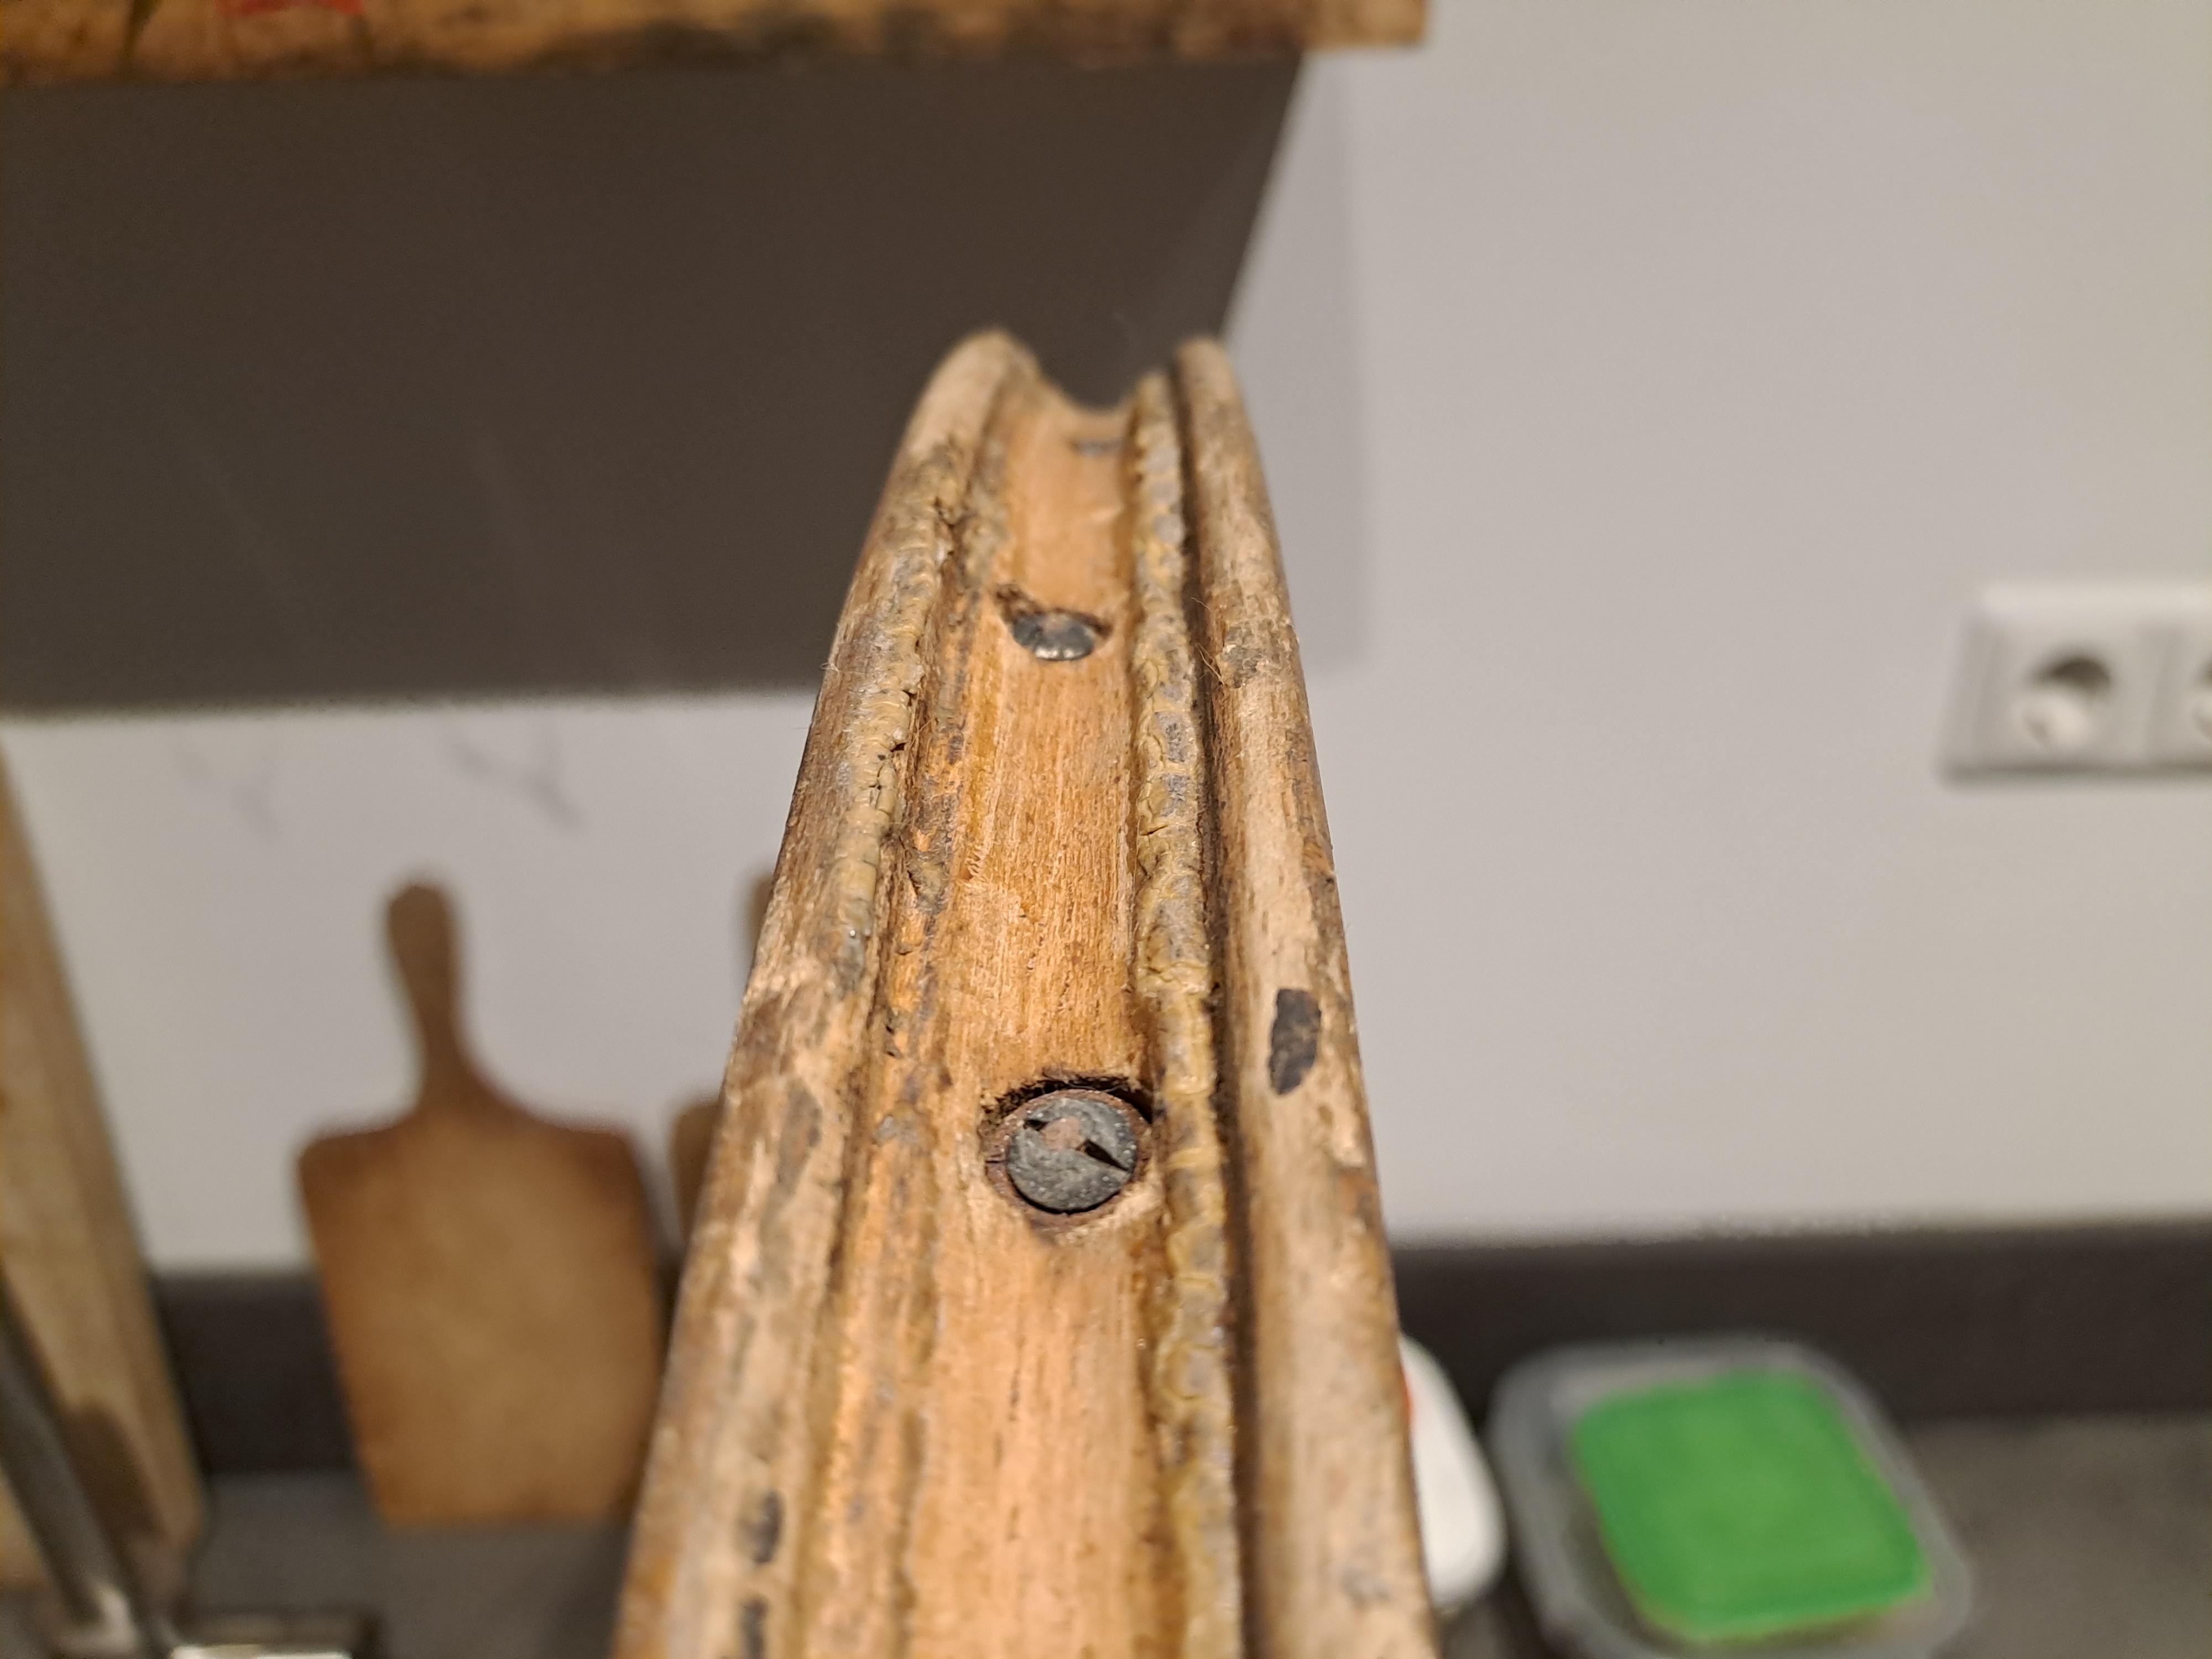
Just a question: what kind of tires go on these rims?
Do you have experience with this since you restored wooden wheels @us56456712 ?

ZiuLI8I.jpg

kVN28dY.jpg

vrFg0Rl.jpg

2qpWcfh.jpeg

Q3eo4SH.jpeg

UVBI7BS.jpeg

7GPNhi9.jpeg

4DvSTmV.jpeg


And my:
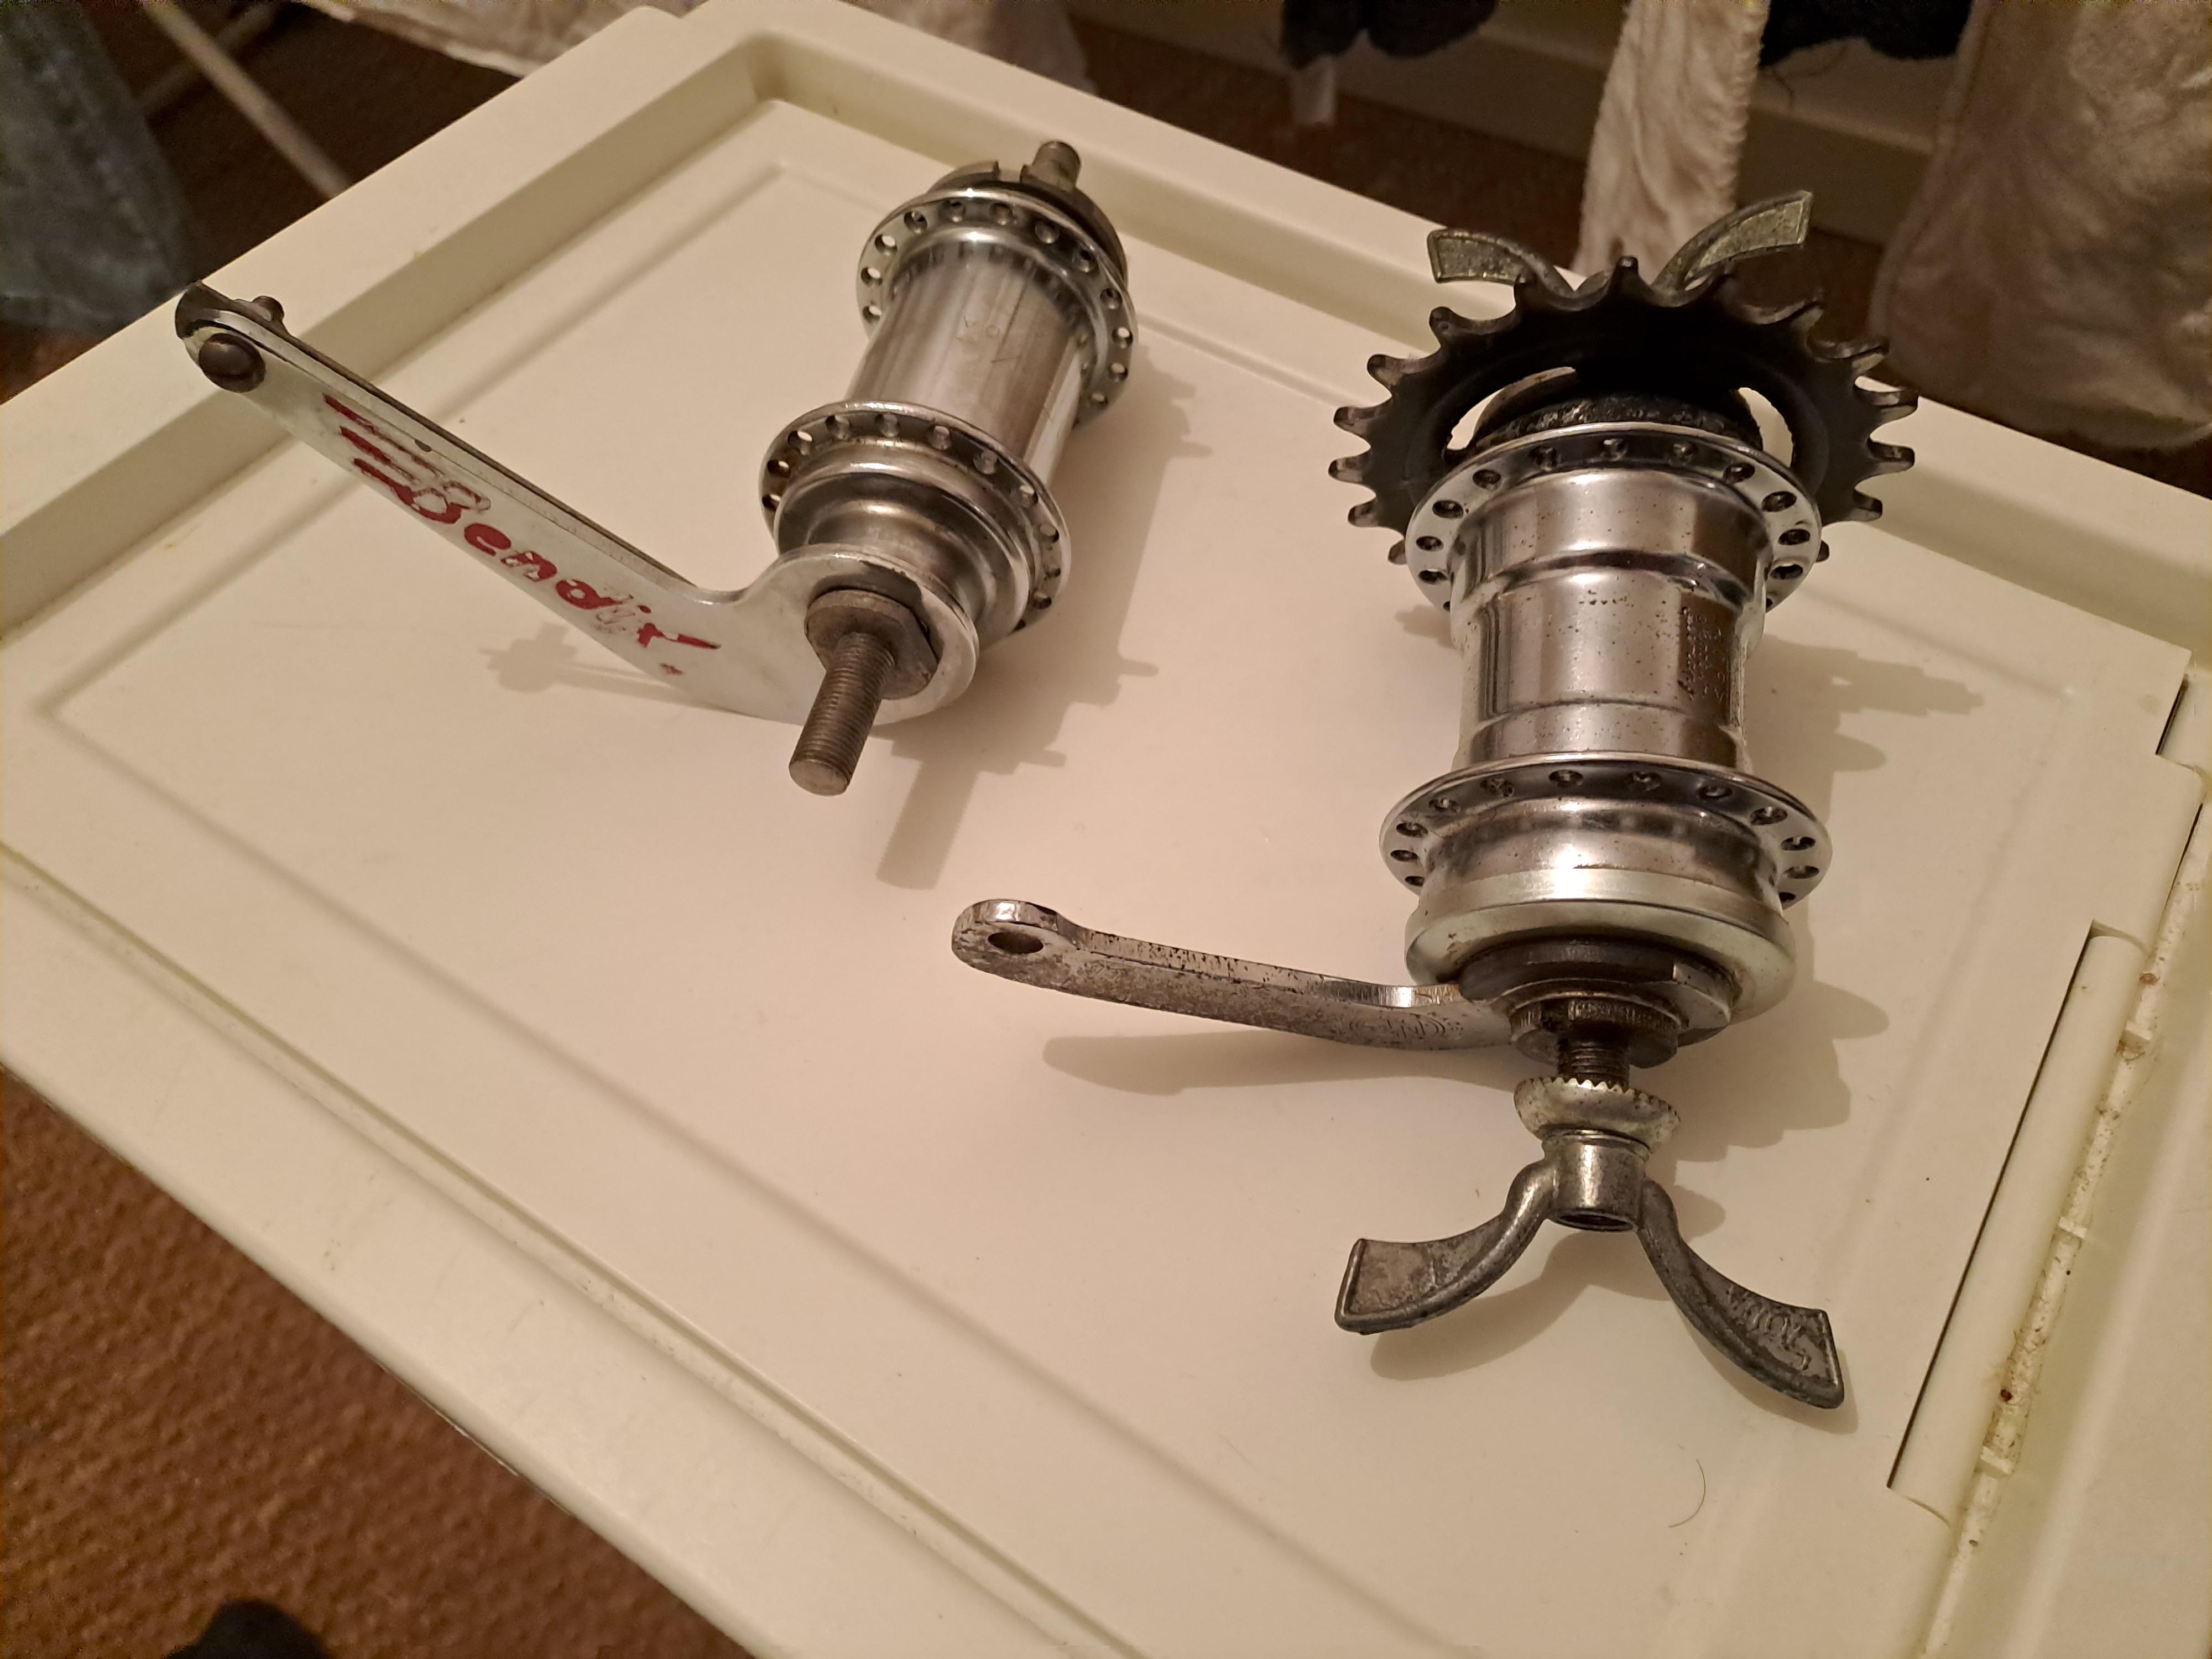
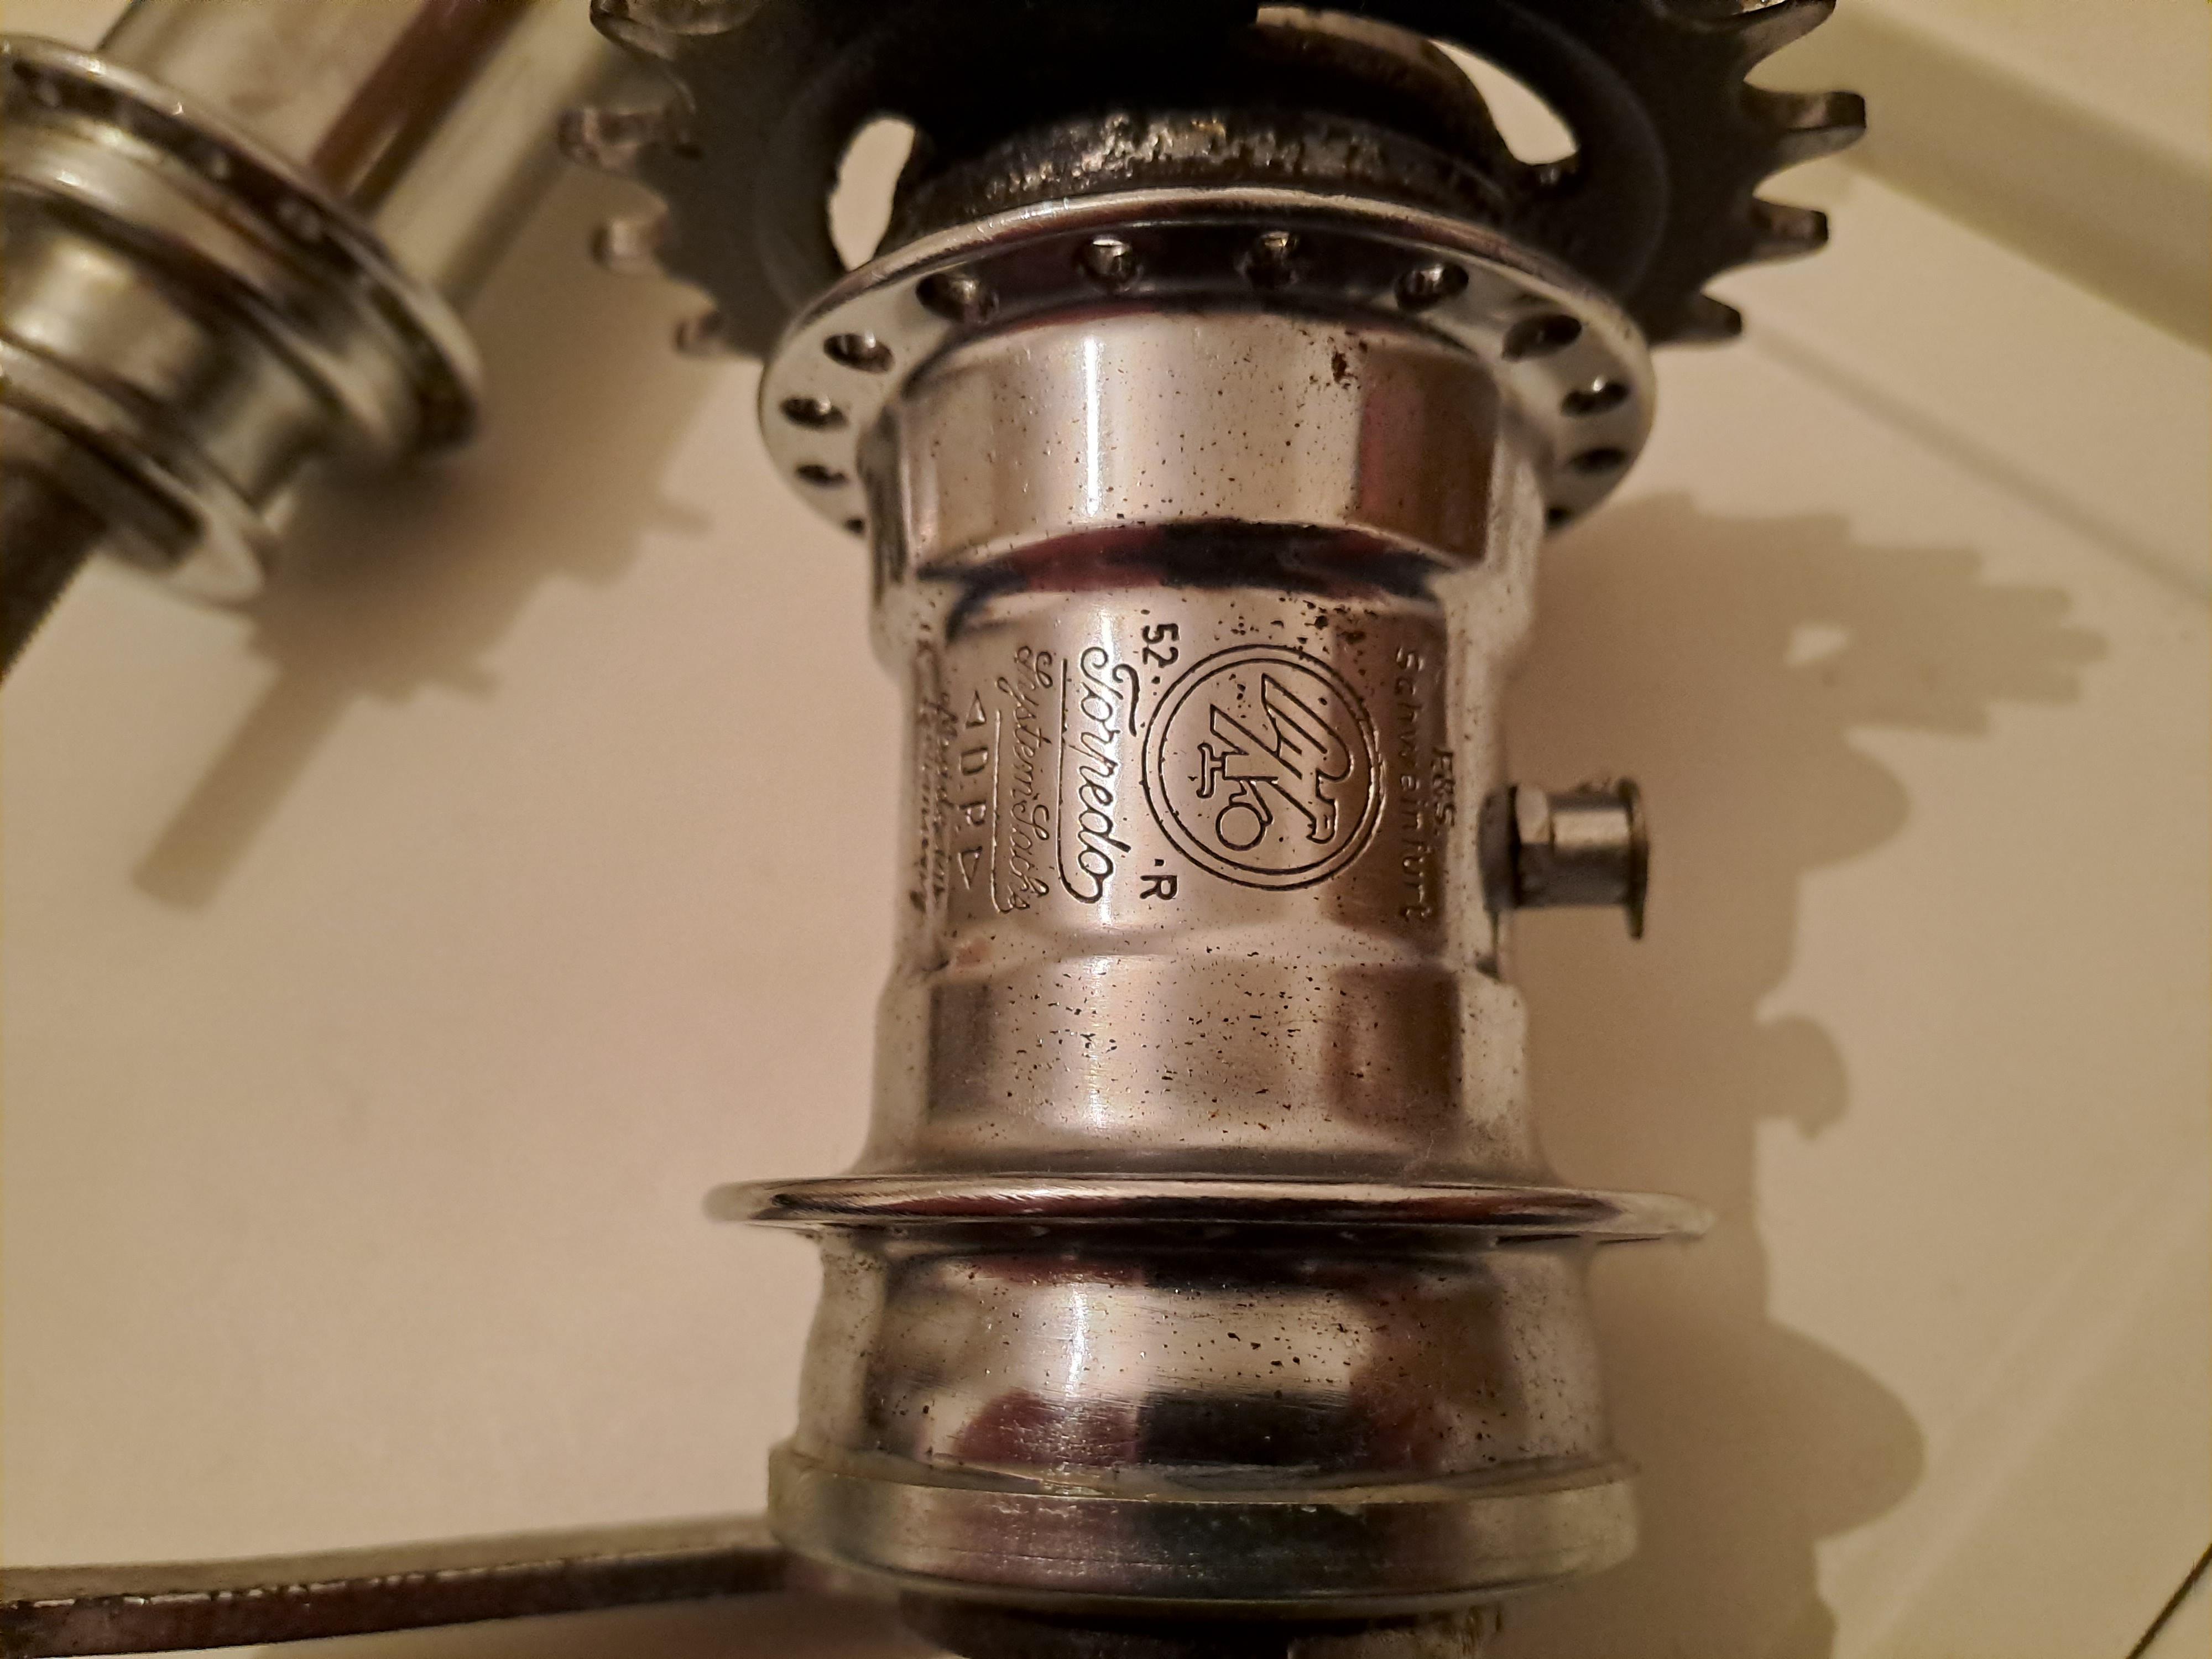
1946 Canadian Bendix hub.
1952 Torpedo hub.
C5lh5Bs.jpg

gGlclCU.jpg


Man I love these old Coasterbrake hubs and their tech!
So interesting they haven't changed in their basic idea since:

1903 (Fichtel & Sachs Torpedo), now Velosteel, Romet.

1909 (New Departure), now Bendix, Shimano CB-series and the rest and their Chinese knockoffs.
 
That’s amazing! And it’s not a Skiptooth either. These were from a derailleur bike?

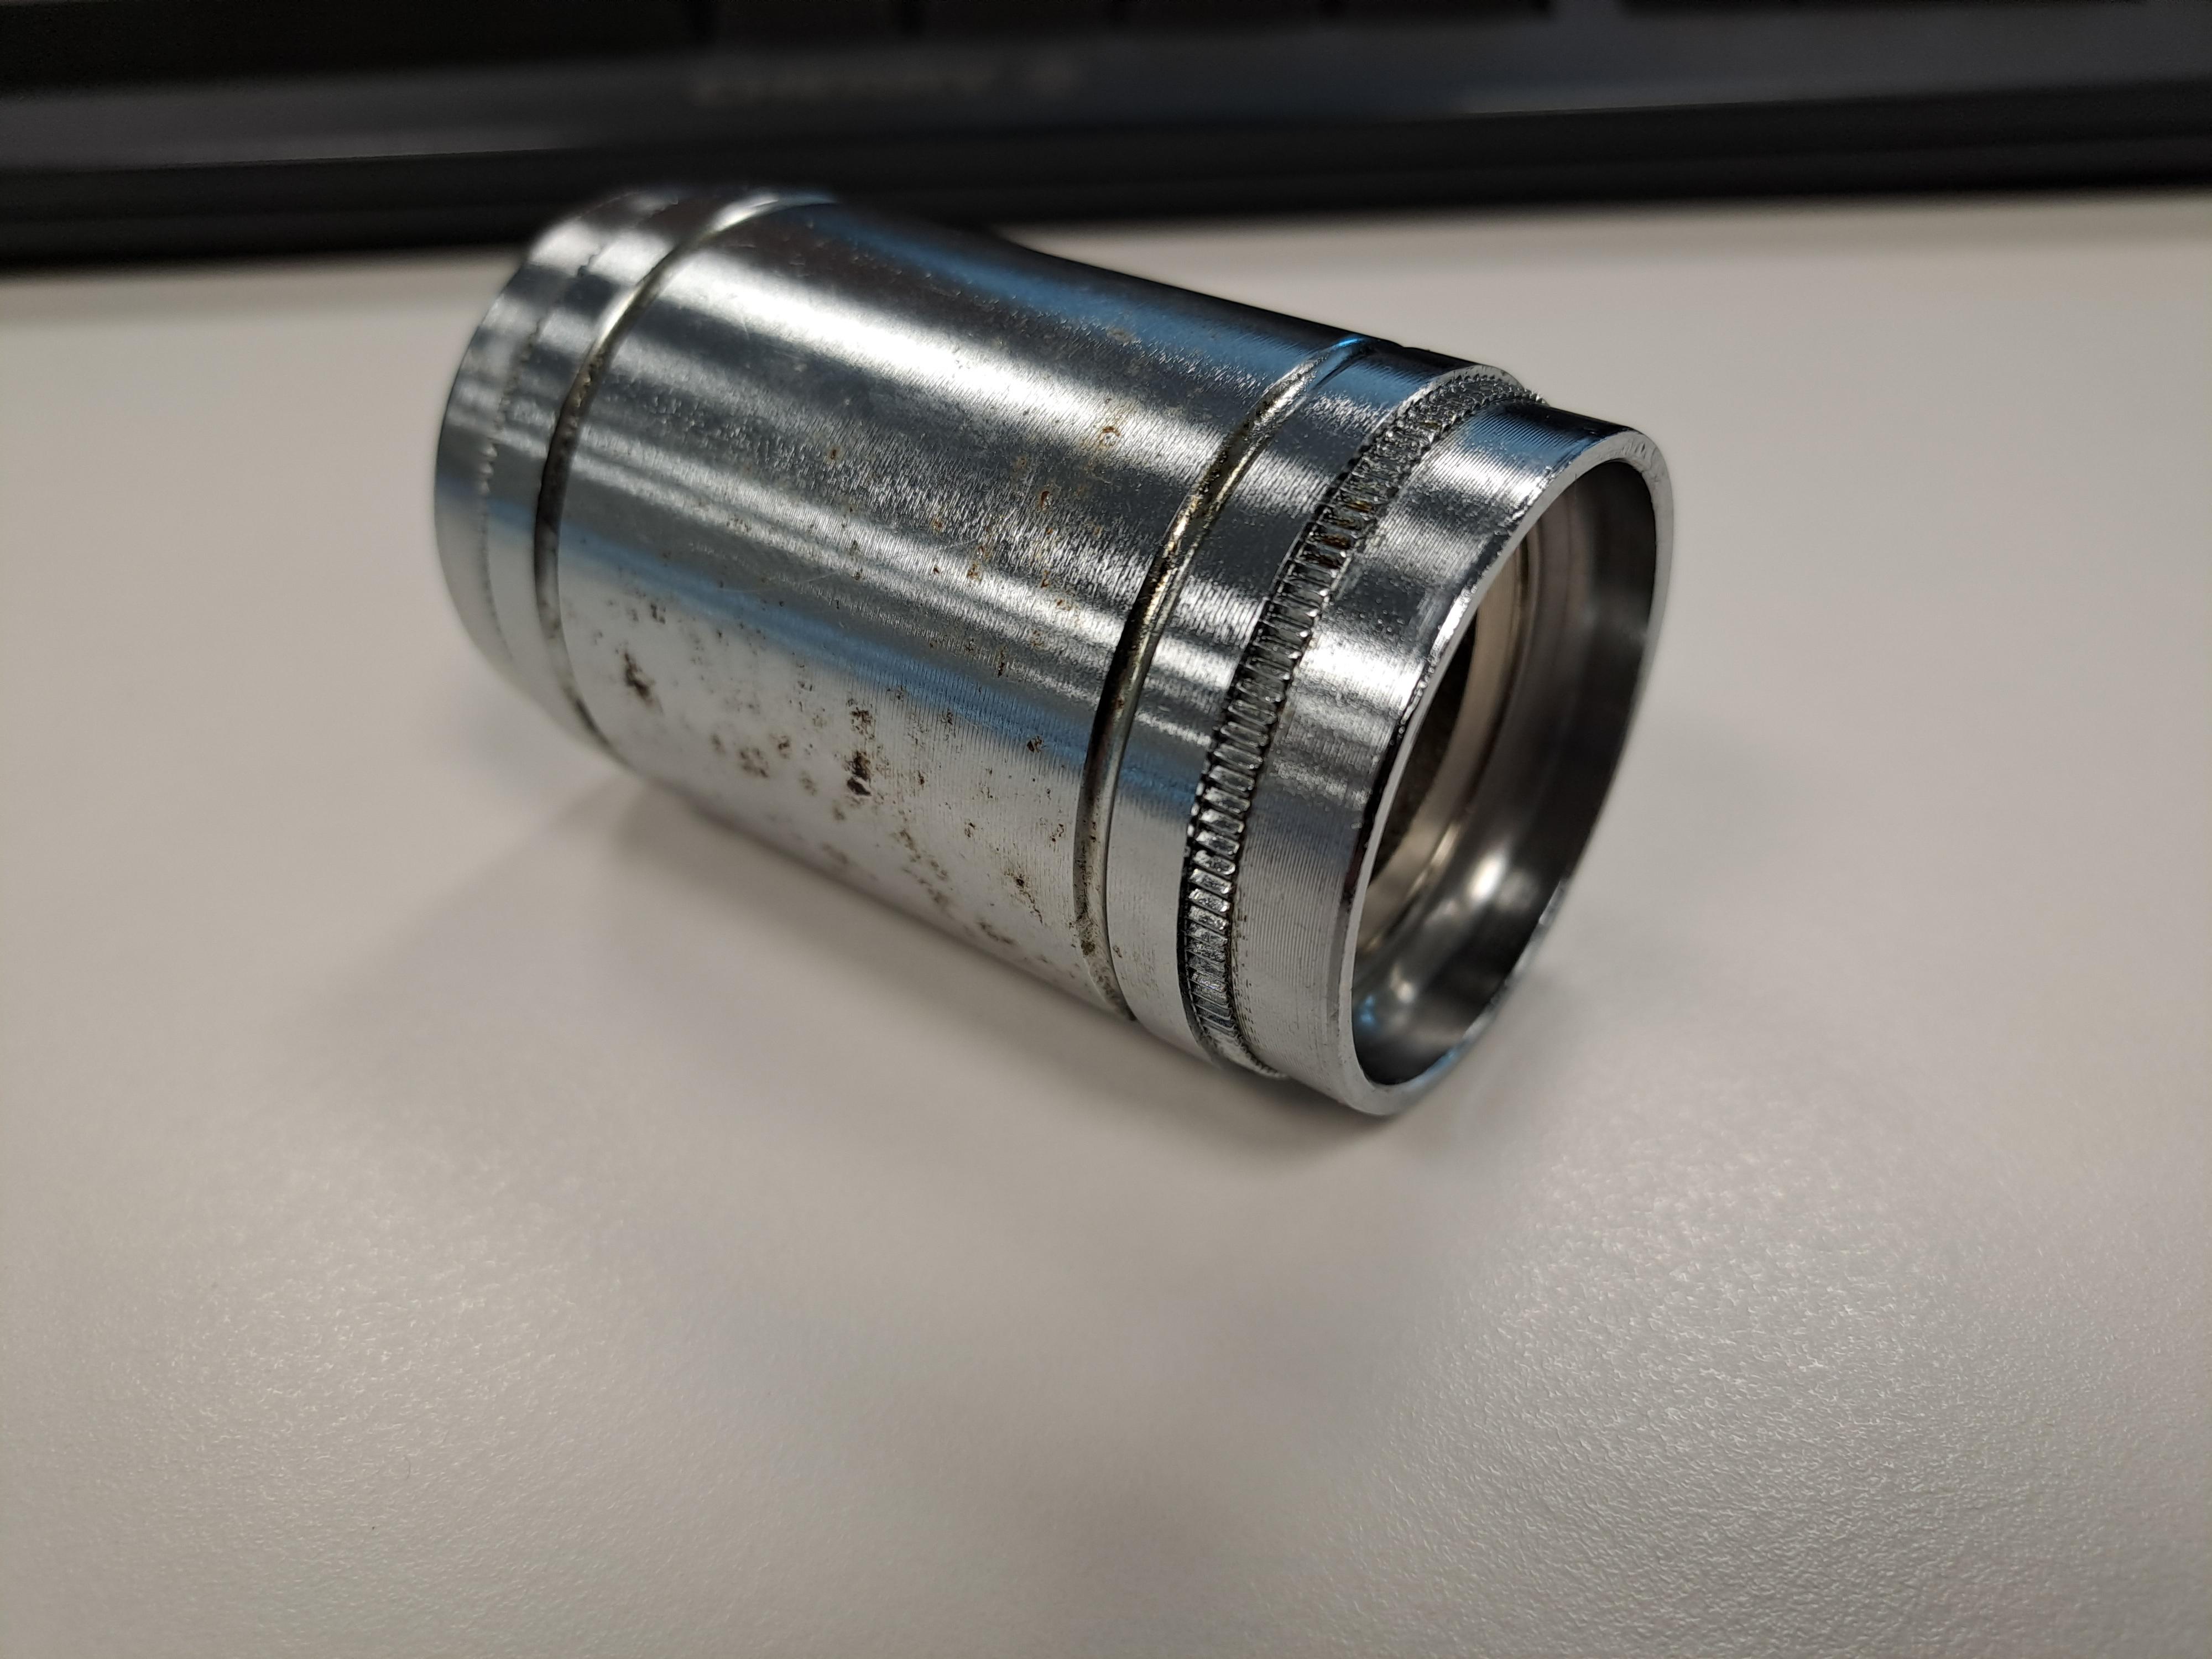
The English bicycle I just did had those woven cloth rim liners as well. They have little metal buckles on them.
Thank you again Ulu!

I think a coasterbrake and derailleur don't go well when braking.
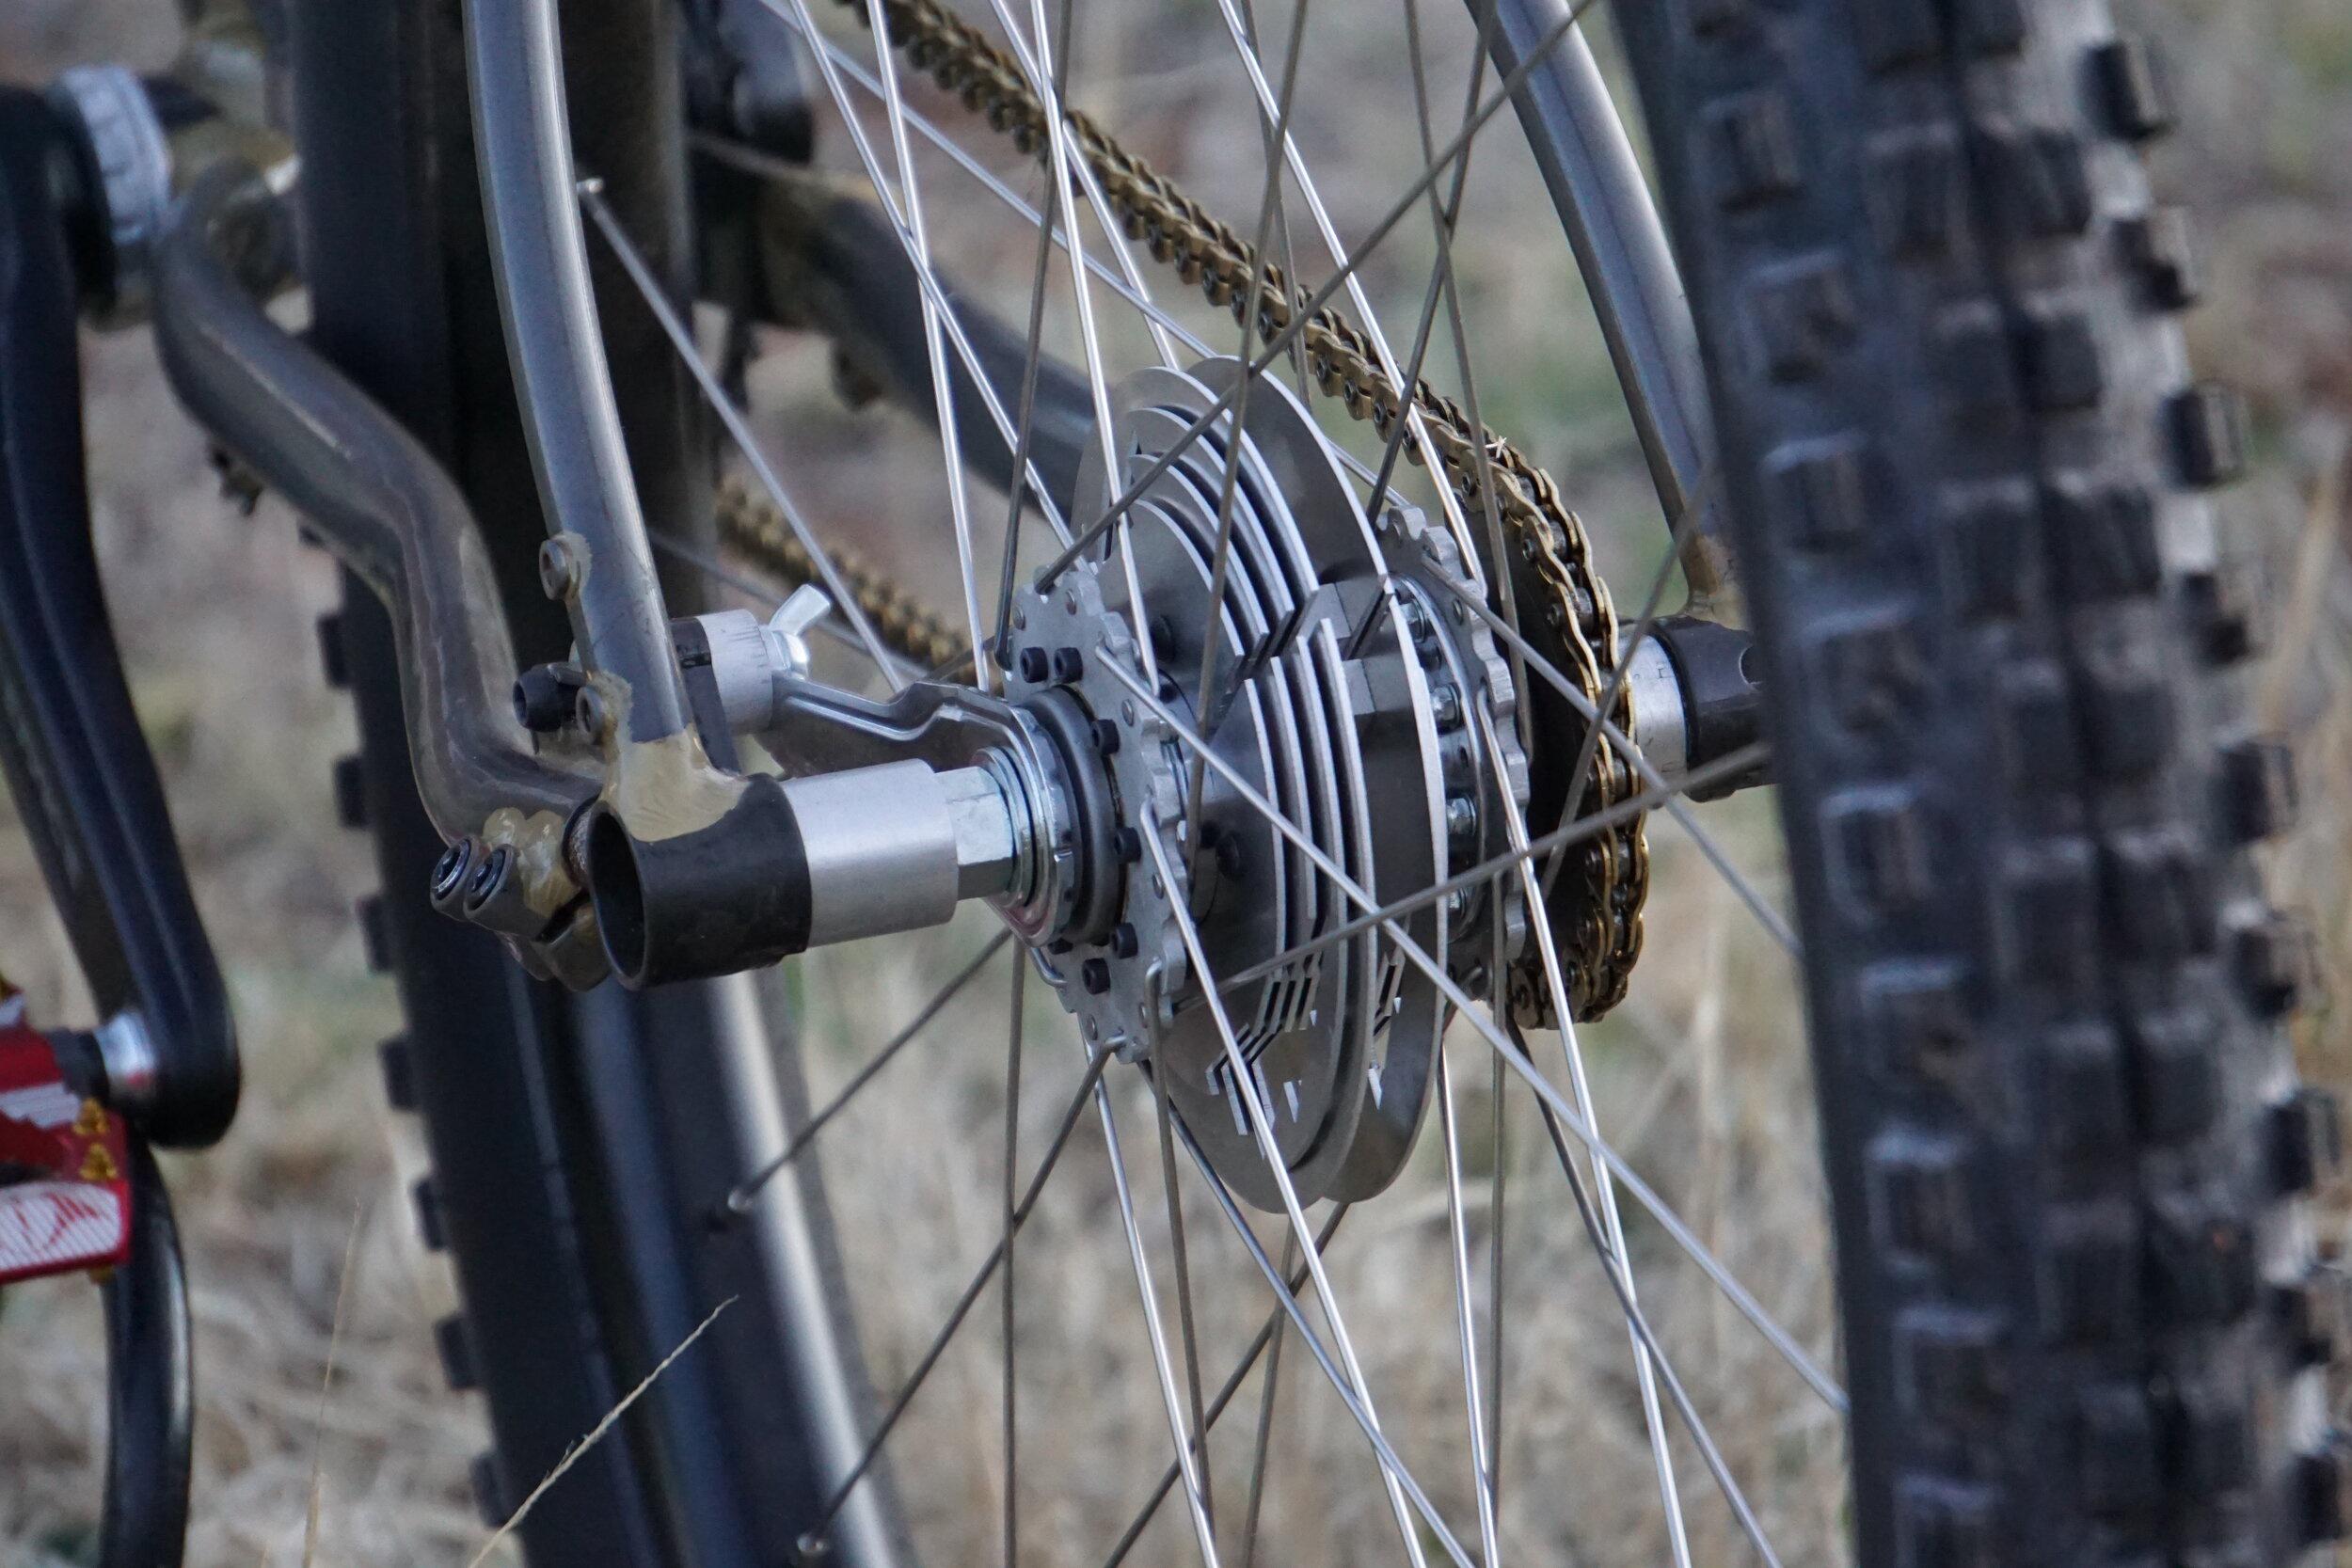
I did read people living in areas with hills/mountains getting off their bike, releasing the rear shaft with wingnuts and putting the chain on a larger sprocket and going uphill. But then you need a 'rigid' chain tensioner to get the coasterbrake to work when back pedalling.

Good question!
 
That’s amazing! And it’s not a Skiptooth either. These were from a derailleur bike?

The English bicycle I just did had those woven cloth rim liners as well. They have little metal buckles on them.
I believe skiptooth was only popular in US. In Europe skiptooth was around when chains were still block chains and not roller chains, and as soon as technology shifted to roller chains around 1910's they switched to regular teeth. While in US they continued with skiptooth to provide some old and new standard compatibility.
 
I found some more CB-E110 hubs since people tend to throw bicycles away with a rusty chain.

I disassembled a hub. Looks perfectly fine! No wear whatsoever. Just some surface rust on the shell.

I decided to have fun with this one as well!

I removed the hub flanges with a press (fairly easy).

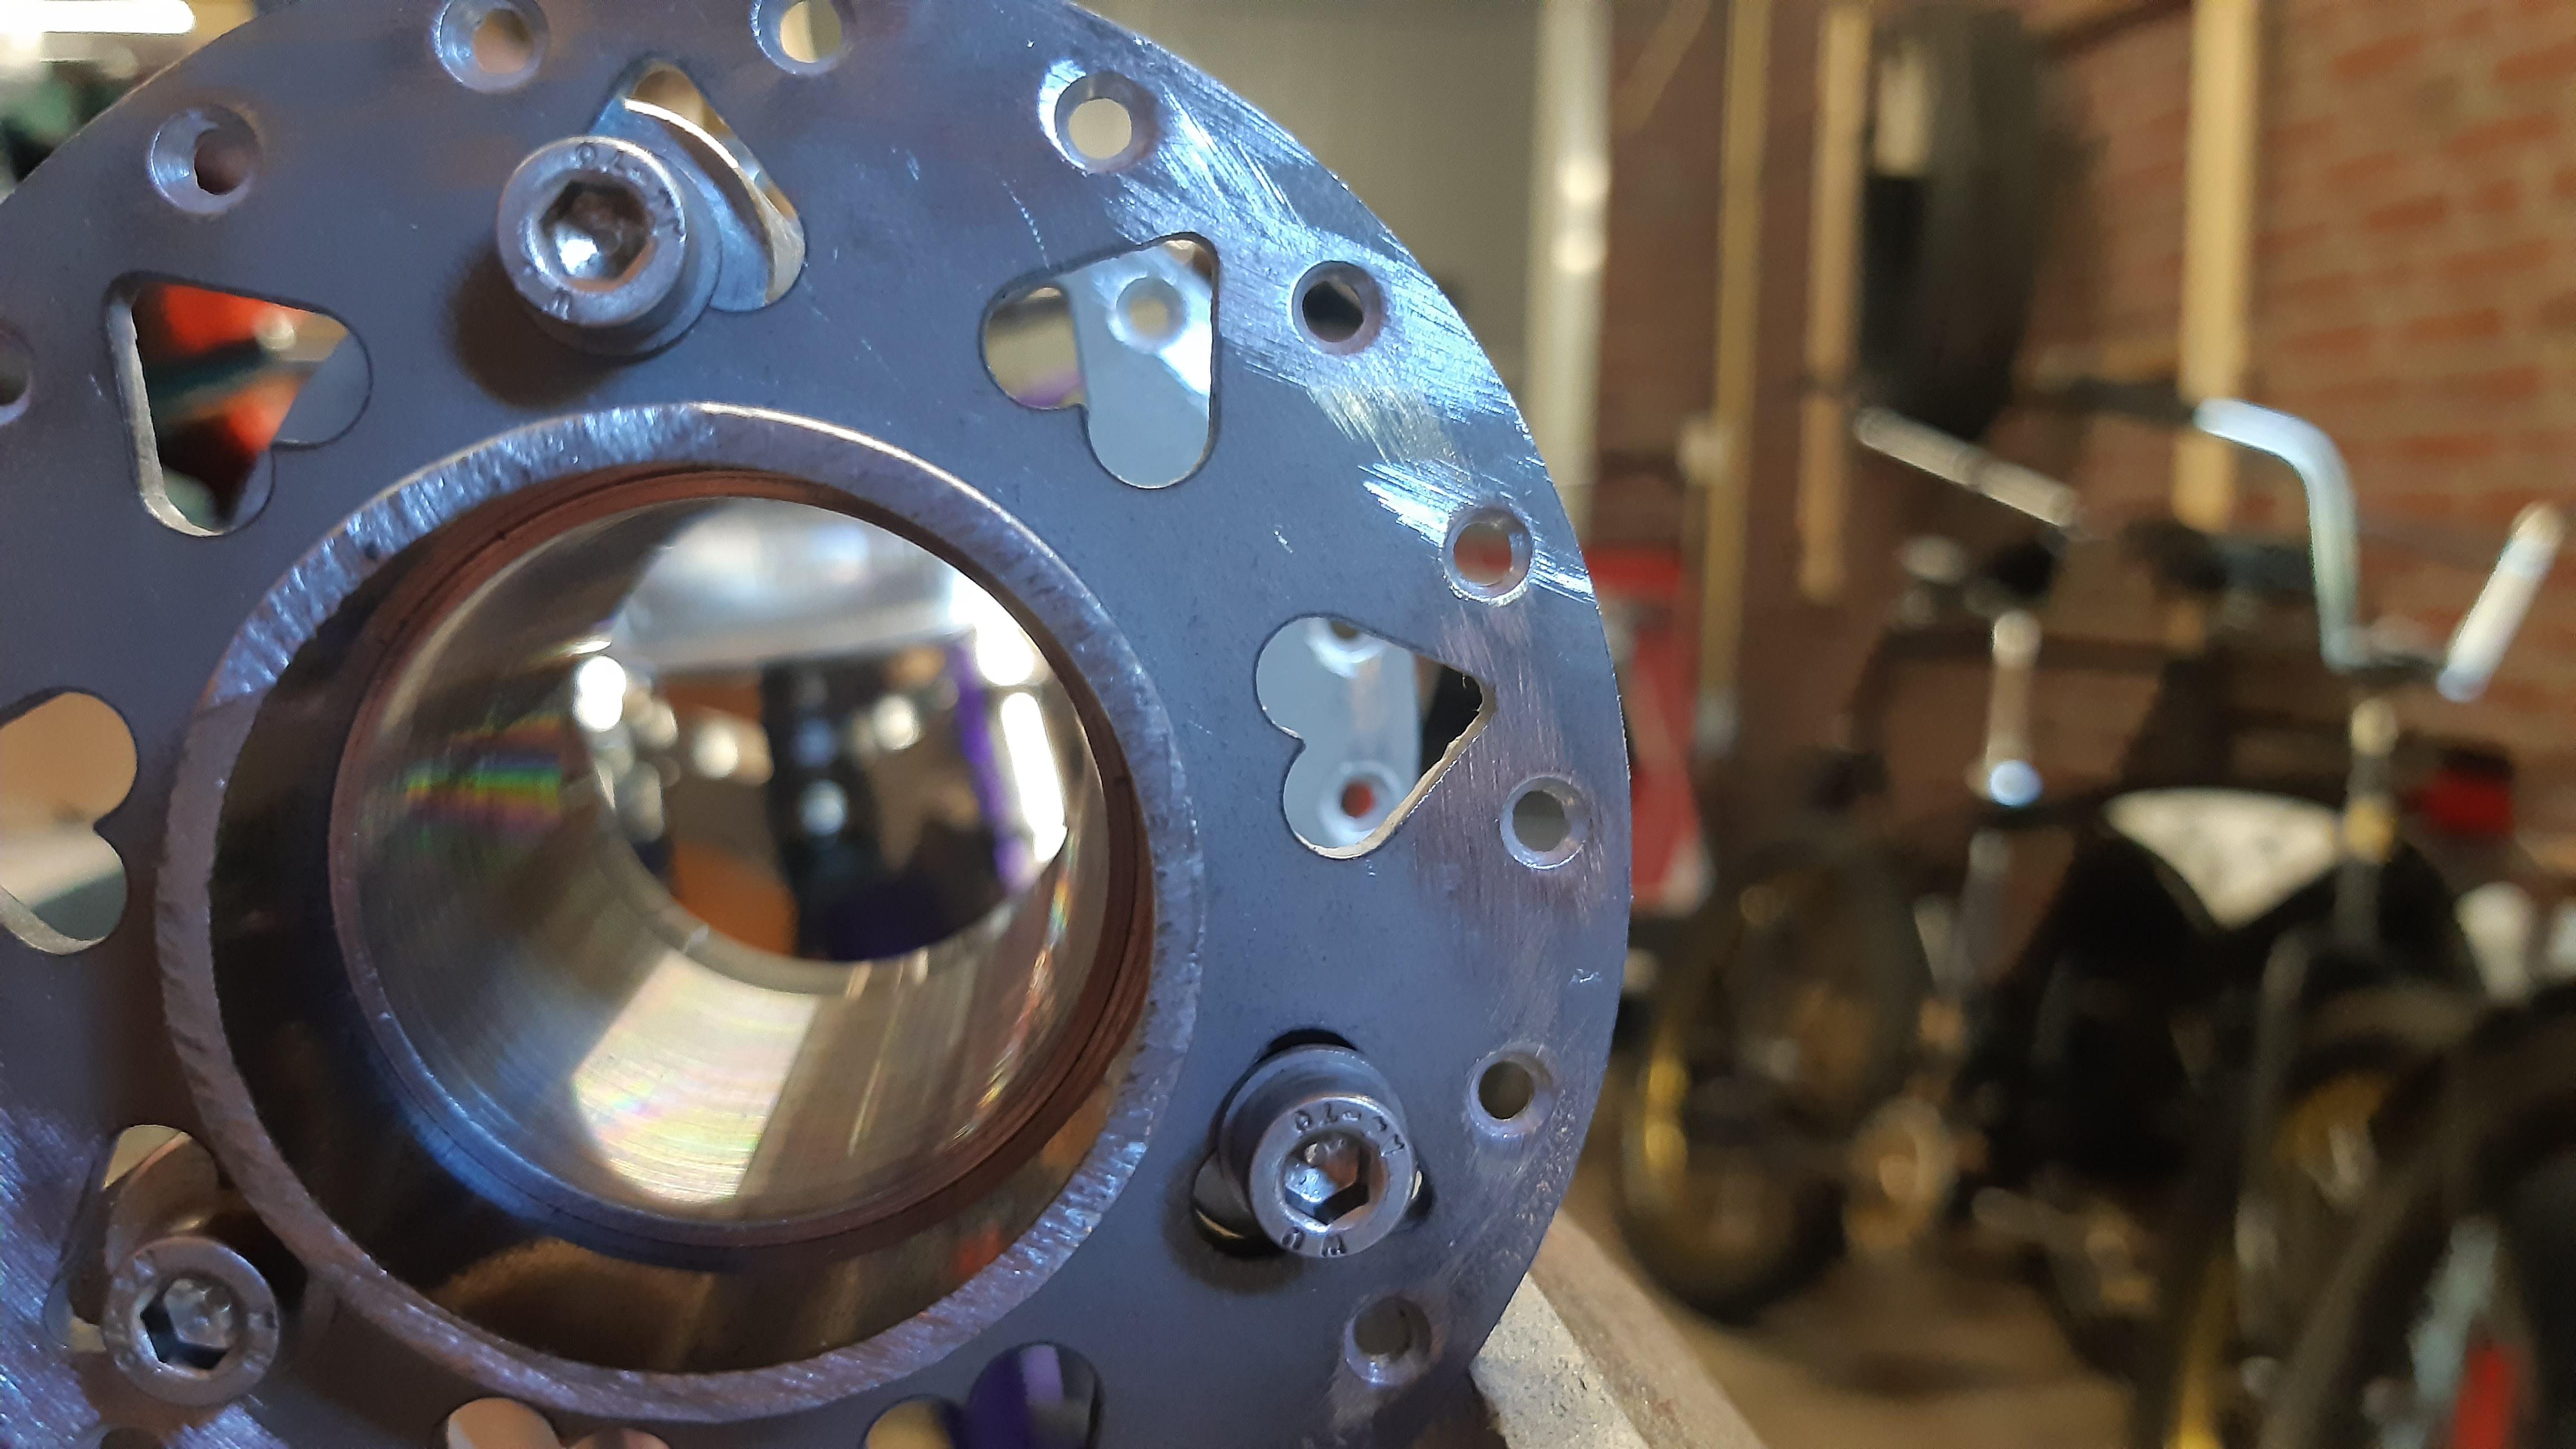
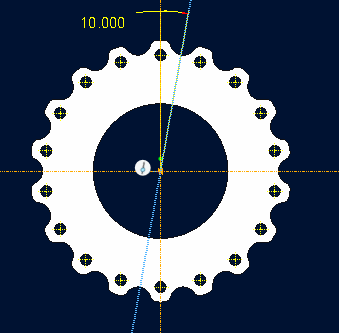
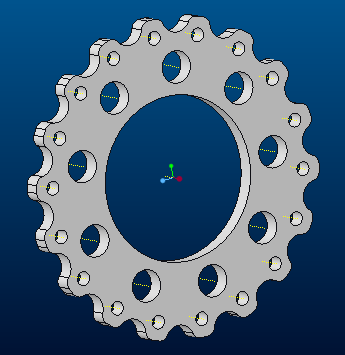
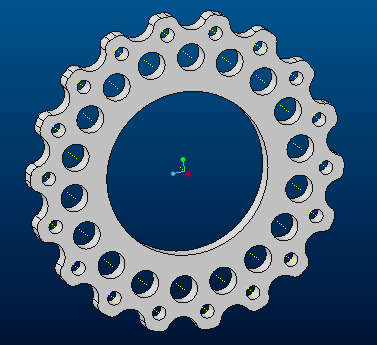
I want to press on some aluminium or steel hub flanges I modeled and cut.
Have to admit, the flange geometry idea/inspiration came from the "Mone cycles" version of the Shimano coasterbrake hub.

WgXz4SQ.jpeg

dqapFEO.jpeg

eIFcyQs.jpeg

MdMyTz7.png

dnfAQxu.png

9 speedholes.

vloTLA6.png

18 speedholes.


qHdO4V1.jpeg

Mone cycles hub with heatsink.

I am not building a heatsink since the Netherlands is flat!
 
On a computer I might call that a heat sink, but on a bicycle I want to call that a radiator. Maybe there’s a real difference in German but not so much over here.

I don’t think the computer case is correct either, because to me a heat sink is a place where you store heat energy for purposeful retrieval as opposed to just radiating away waste heat.
 
I call it a heat sink.

heat sink
noun
: a substance or device that absorbs or dissipates especially unwanted heat (as from a process or an electronic device)

And I can't wait to see what you come up with, Bart
 
I call it a heat sink.

heat sink
noun
: a substance or device that absorbs or dissipates especially unwanted heat (as from a process or an electronic device)

And I can't wait to see what you come up with, Bart
Now I’m wondering what the manufacturer called it.

I’ve never even seen a hub like that before, but it would interest me greatly to see the exploded parts diagram.
 
Back
Top