Thanks buddy! 
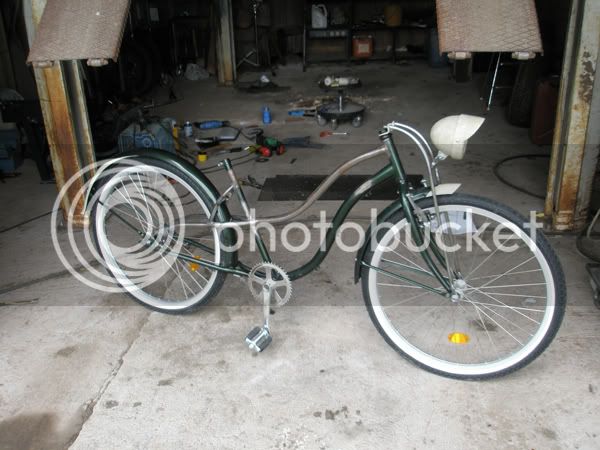
Got some more done:
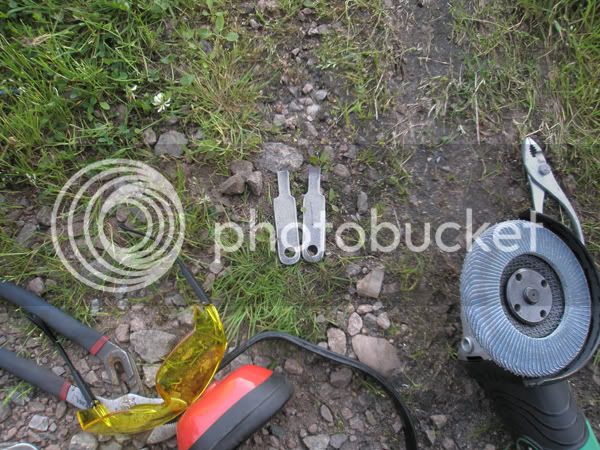
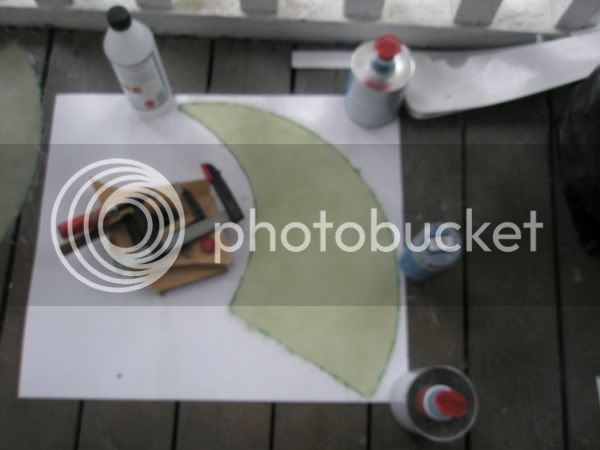
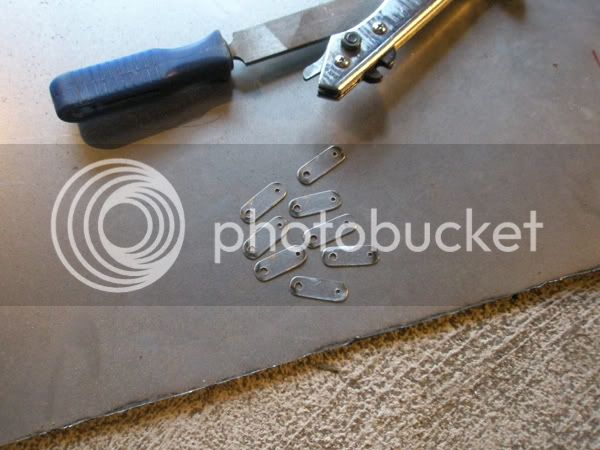
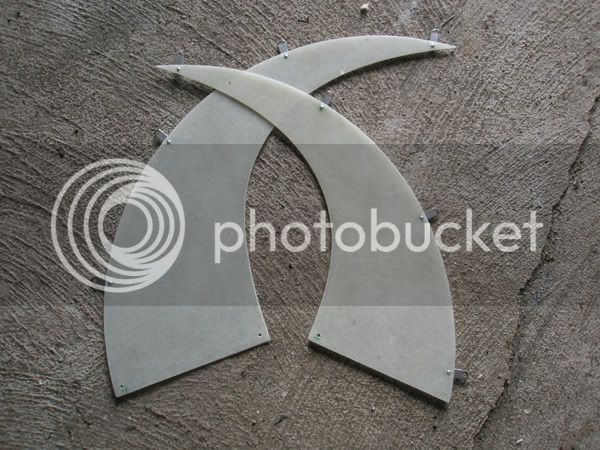
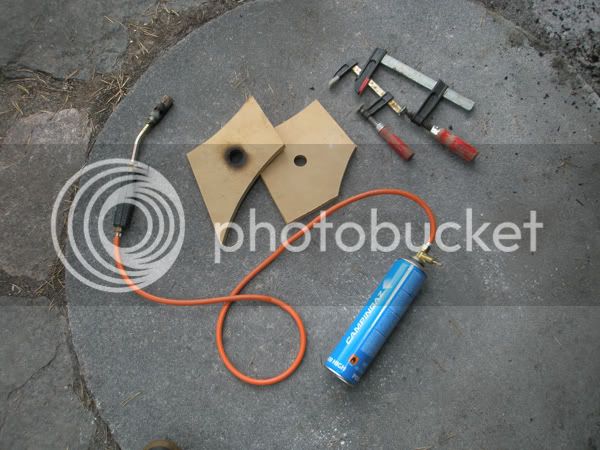
Stuff I use to shape plexiglass. I clamp a piece of 2 mm plexiglass between the MDF-boards and make sure the holes in them align, then I apply heat with the torch and press something with an appropriate shape into the softened plexi.
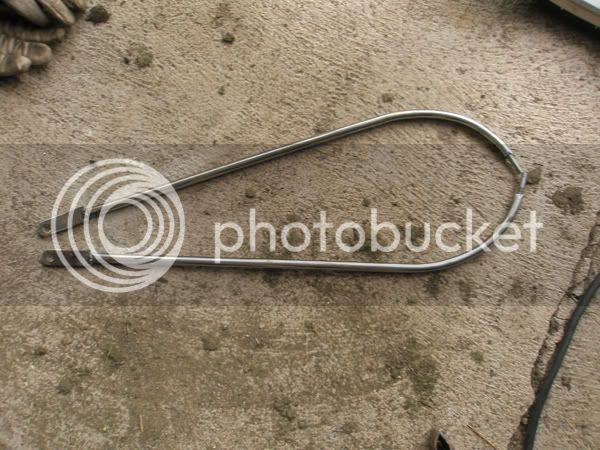
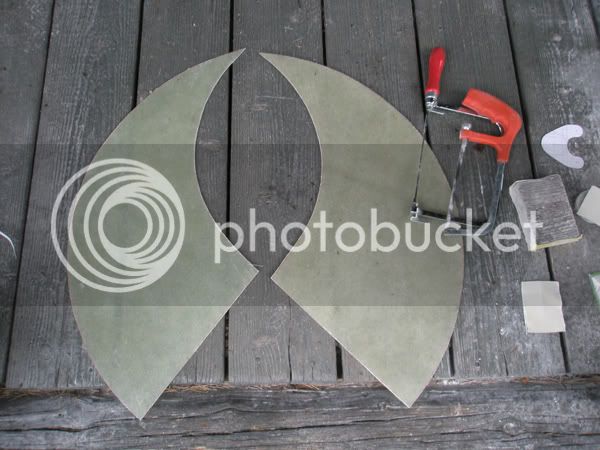
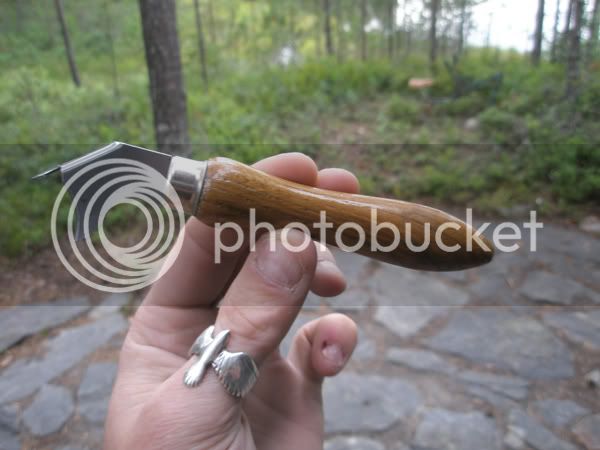
The "something" used to press with! This time the back end of a can opener had the shape I was after. Last time it was a Vic Firth 5A drumstick. Only the finest tools will do... :wink:
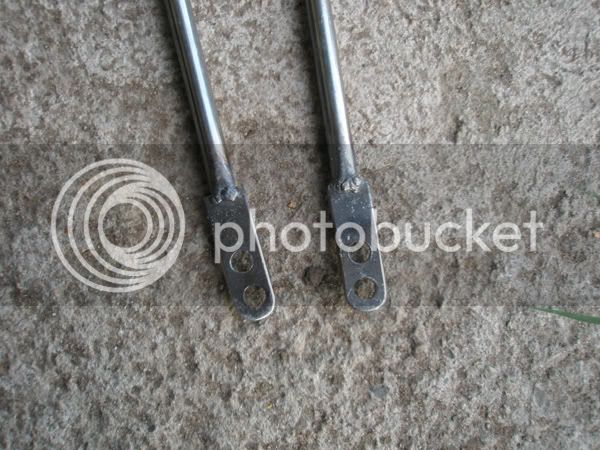
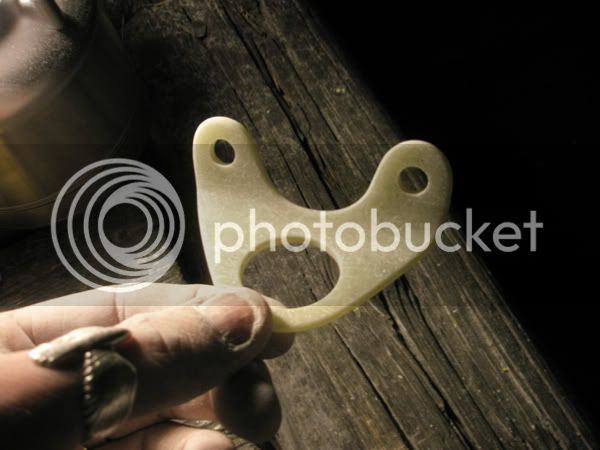
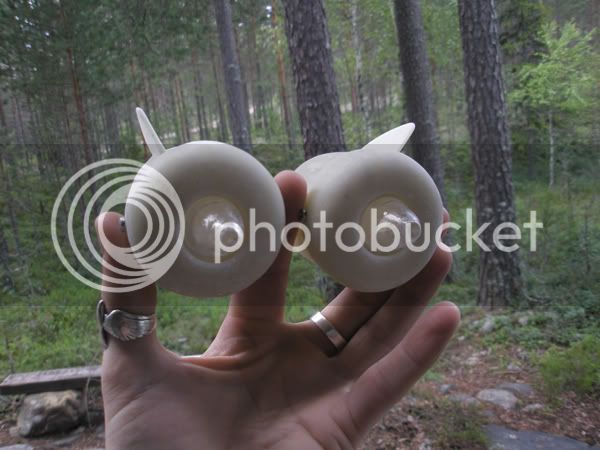
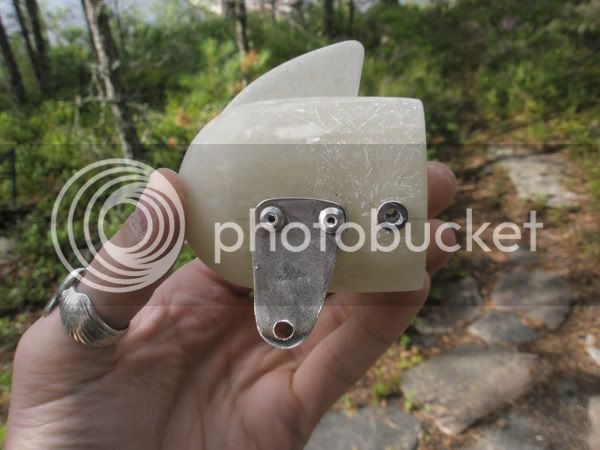
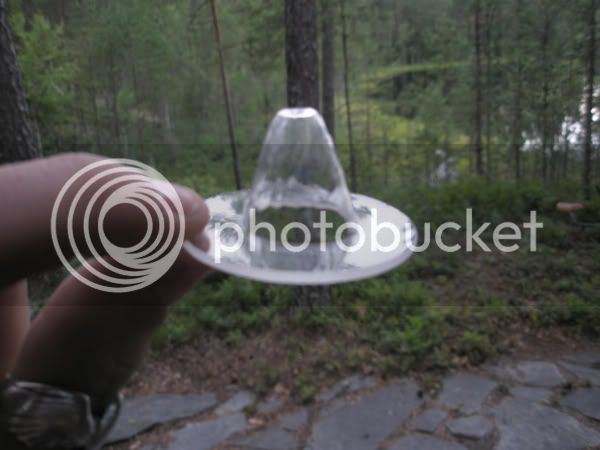
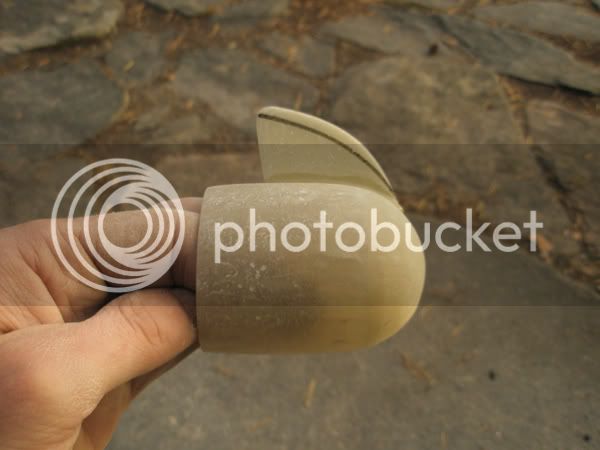
Here's the result. I made a whole bunch of them to make sure I got two that were alike. I also figured I'll probably want some for future builds.
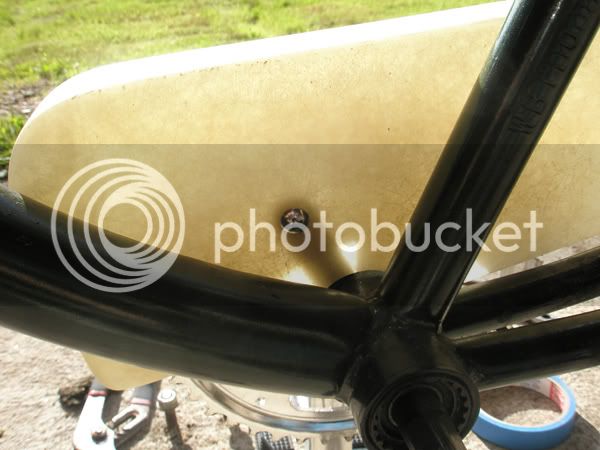
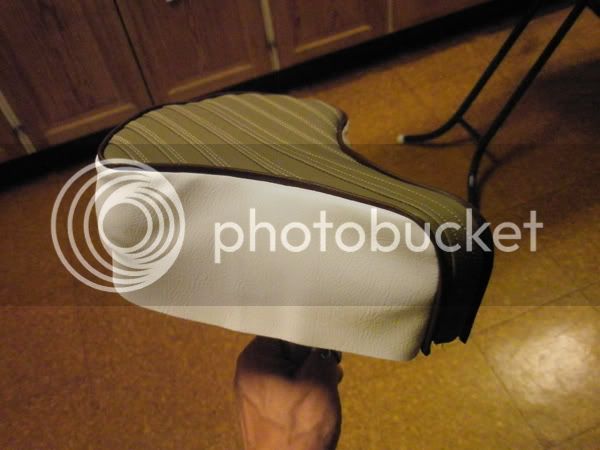
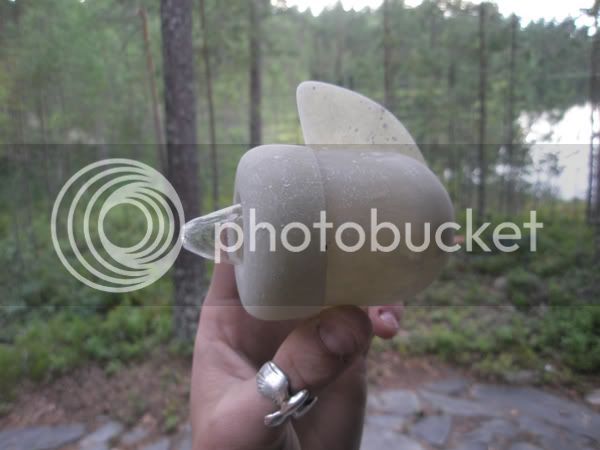
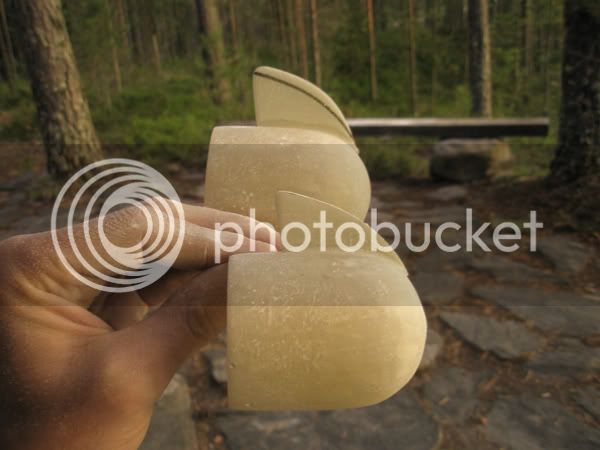
This is what it looks like in place.
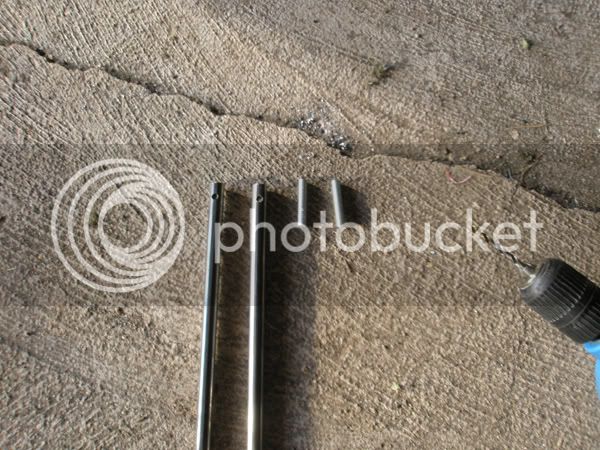
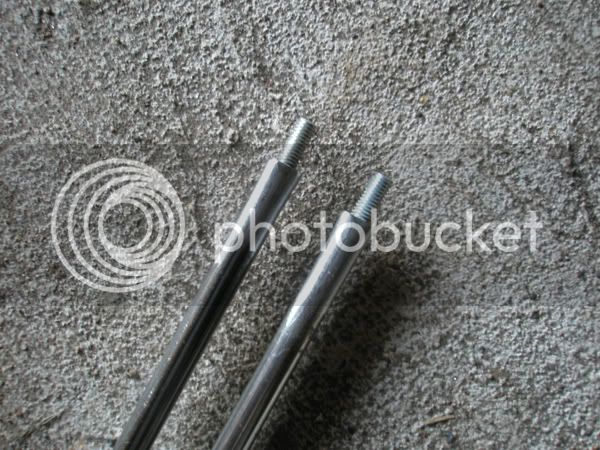
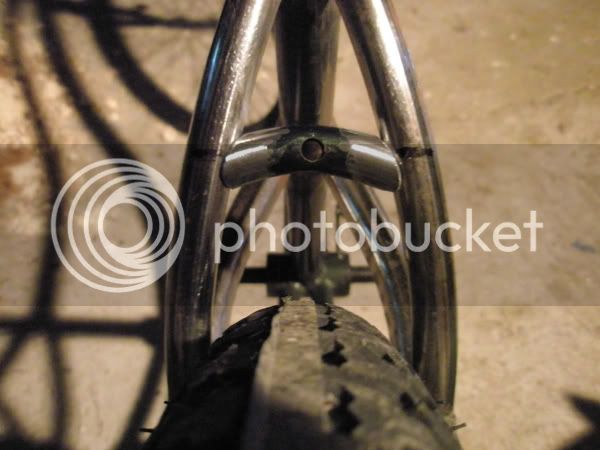
Decided to sand the fins down a little.
Here's the difference it made. Might not seem like much, but it pleases my eyes more. I'll just round off the tips a little.
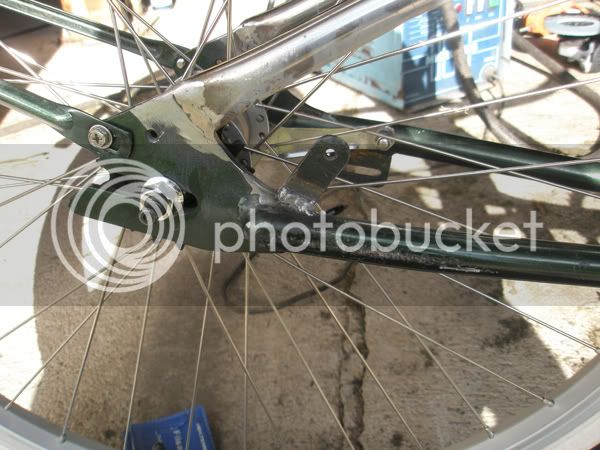
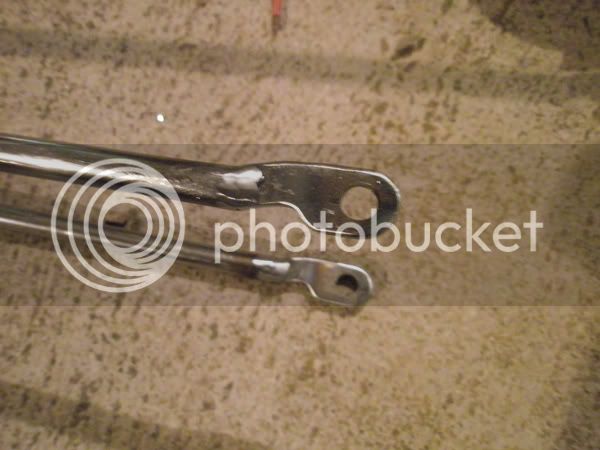
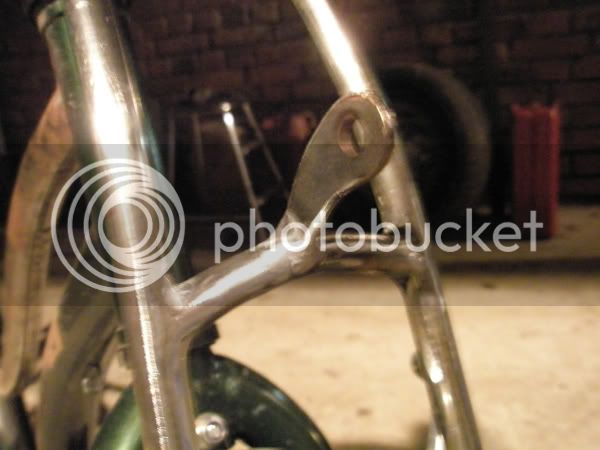
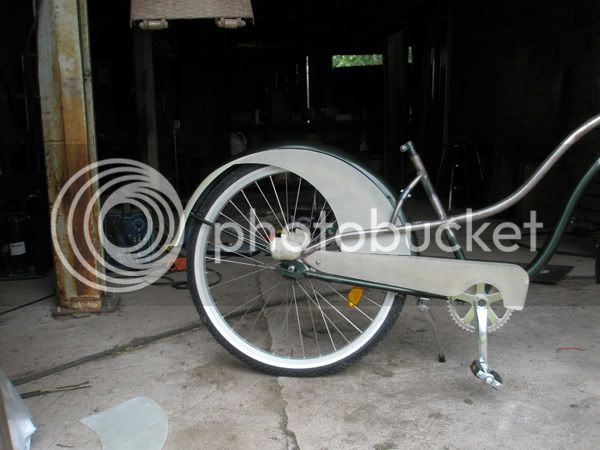
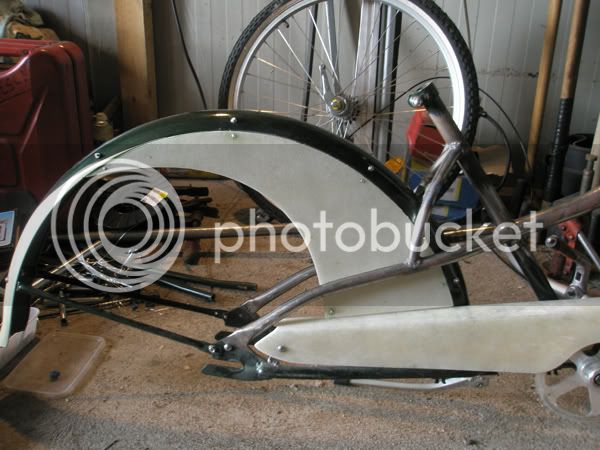
Thought that I'd do some welding today, but once I'd cut and grinded this bracket for the rear fender I found out that I'd run out of wire for my welder. All that were left were just enough to get it tacked in place. I'll buy more tomorrow.
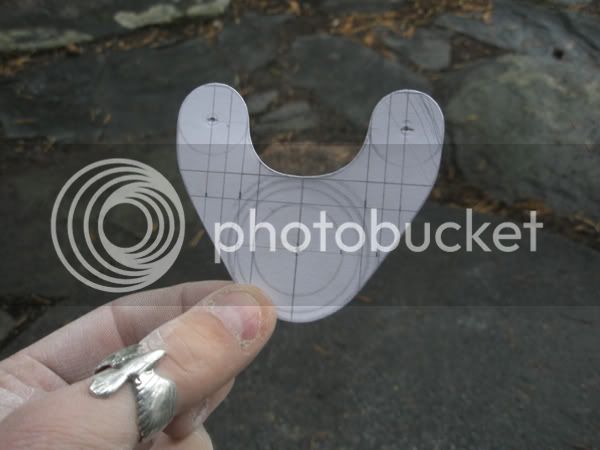
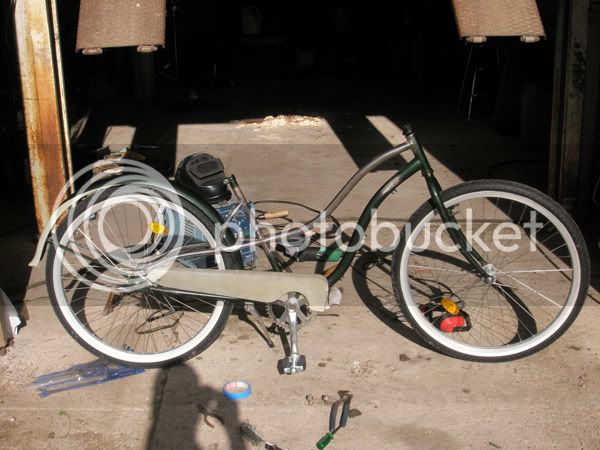
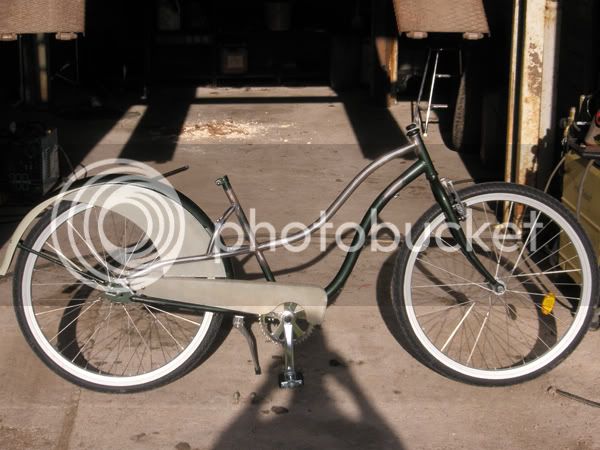
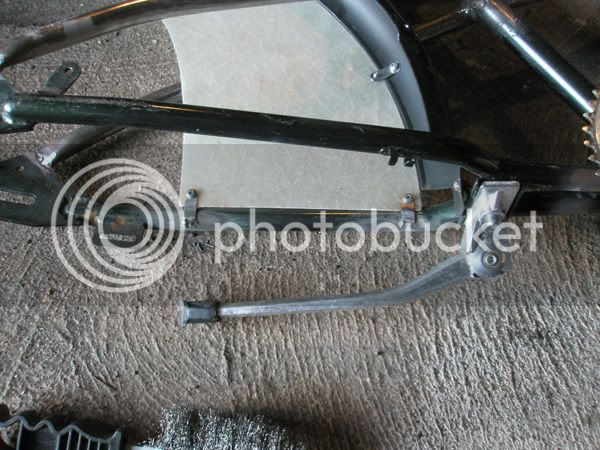
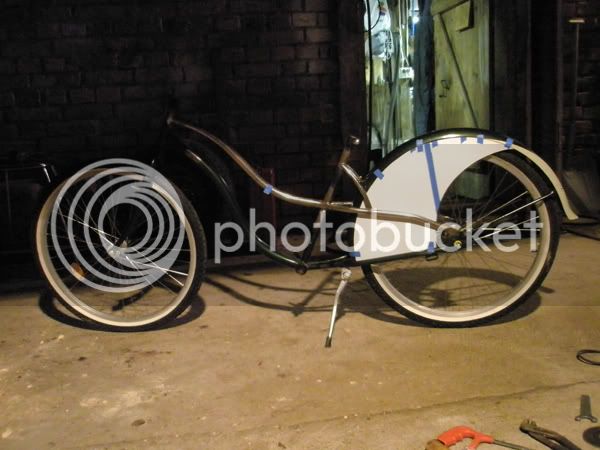
So instead I went on and made a template for the skirtguard.
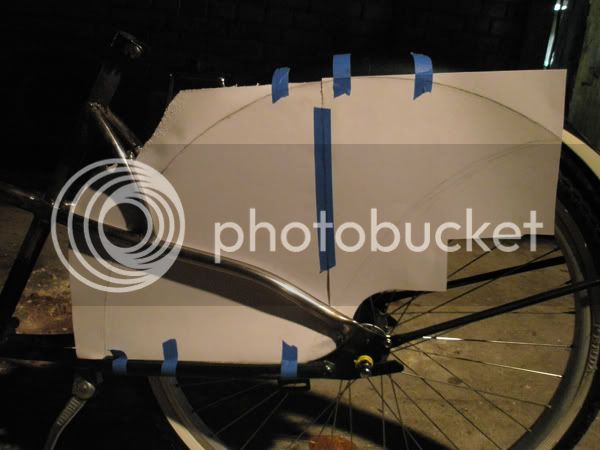
I might change the back curve on the fiberglass guards so that they don't have a too heavy look.
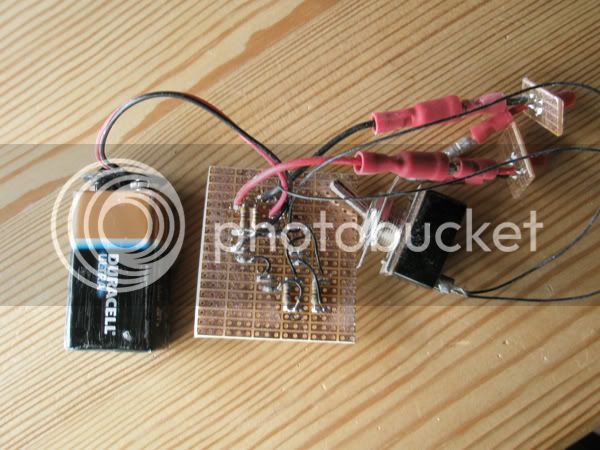
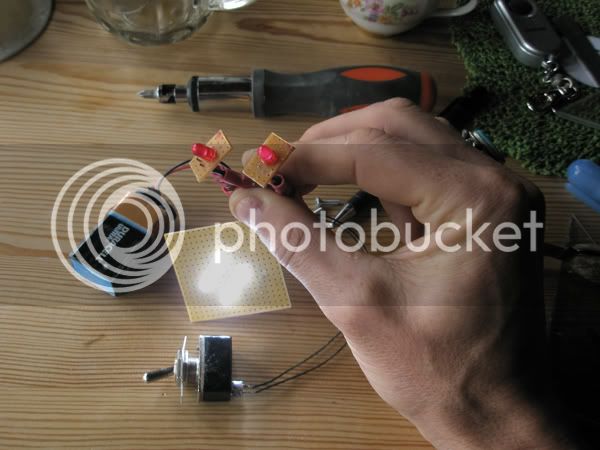
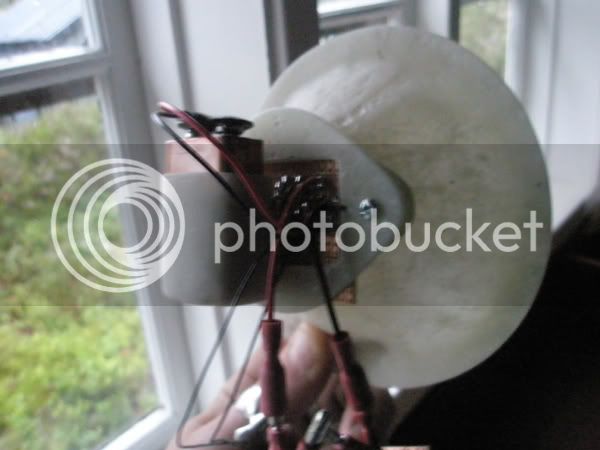
Next will be to make the skirtguards from fiberglass. You probably guessed it! Some more sanding will also be on my evening schedule. I've made a battery holder on the back of the reflector, and I've soldered the LED-circuits for the lights but I've forgot to take photos. I'll show those in my next update! I promise!!! :lol:
This is the man in the woods signing out for today!
Got some more done:
Stuff I use to shape plexiglass. I clamp a piece of 2 mm plexiglass between the MDF-boards and make sure the holes in them align, then I apply heat with the torch and press something with an appropriate shape into the softened plexi.
The "something" used to press with!
This time the back end of a can opener had the shape I was after. Last time it was a Vic Firth 5A drumstick. Only the finest tools will do... :wink:
Here's the result.
I made a whole bunch of them to make sure I got two that were alike. I also figured I'll probably want some for future builds.
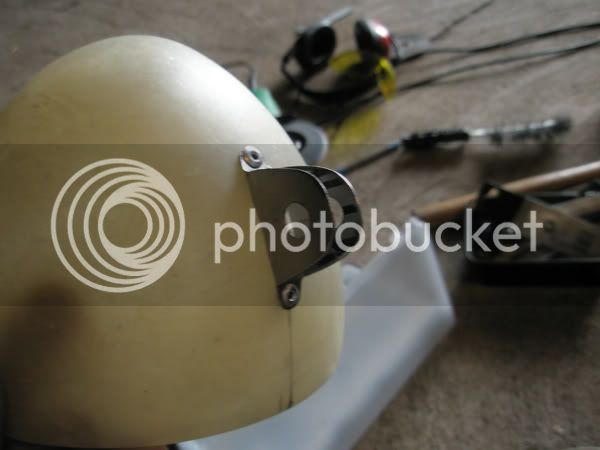
This is what it looks like in place.
Decided to sand the fins down a little.
Here's the difference it made. Might not seem like much, but it pleases my eyes more.
I'll just round off the tips a little.
Thought that I'd do some welding today, but once I'd cut and grinded this bracket for the rear fender I found out that I'd run out of wire for my welder. All that were left were just enough to get it tacked in place. I'll buy more tomorrow.
So instead I went on and made a template for the skirtguard.
I might change the back curve on the fiberglass guards so that they don't have a too heavy look.
Next will be to make the skirtguards from fiberglass. You probably guessed it!
Some more sanding will also be on my evening schedule. I've made a battery holder on the back of the reflector, and I've soldered the LED-circuits for the lights but I've forgot to take photos. I'll show those in my next update! I promise!!! :lol: This is the man in the woods signing out for today!