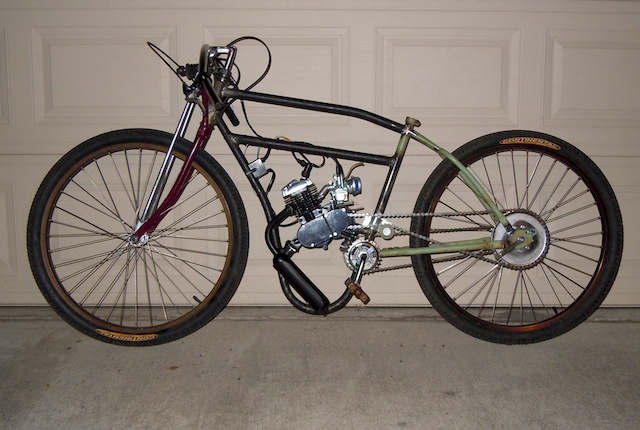
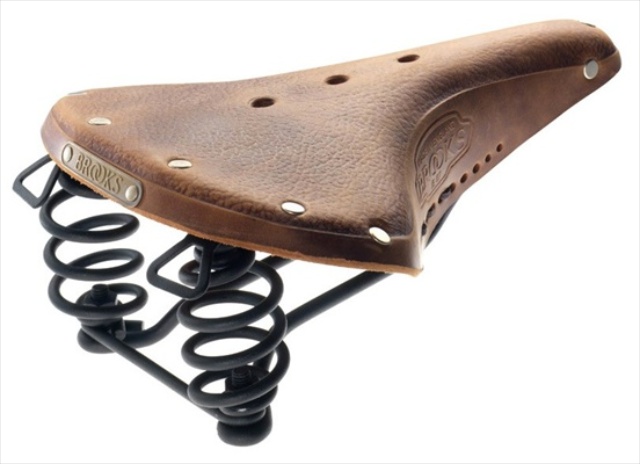
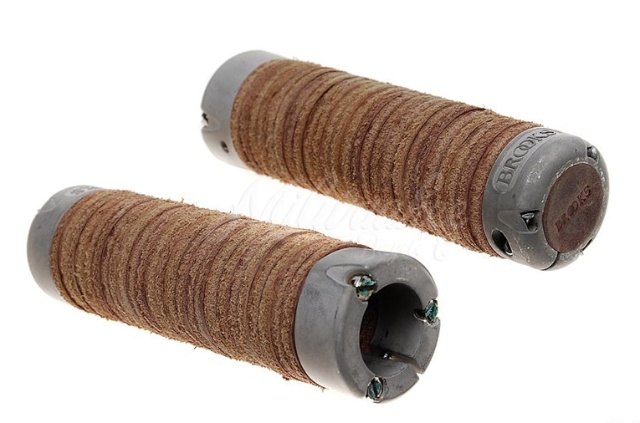
Since my last post, a lot has changed...I've gone off in an entirely (though similar) direction. Since I've already restored a couple of bikes, I decided instead of building a board track racer bicycle that I would build an actual board track racer replica--motor and all.
The black bike in my previous post was the genesis for this project; hence, I'm modeling my design similar (though different) to it. I'm scrapping the direction I was heading (and the parts I was going to use) and starting all over. So here we go...
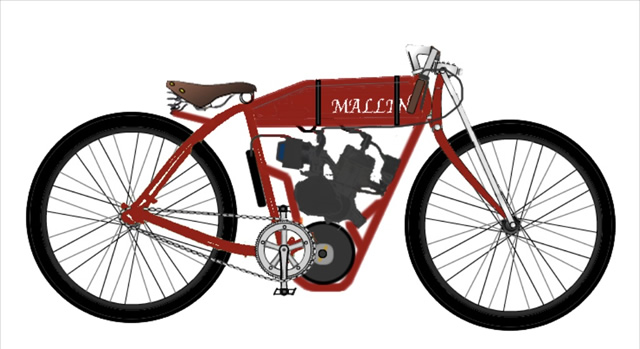
The first thing I did was use various graphic tools to do a mockup of the bike I wanted to build. It's been tweaked a couple three times, but ultimately this is the bike I'm going to build...
I decided to find a girls bike as a starting place. The reason for the girl's bike is that I wanted to design the front of the bike myself. I also like the way the seat stays of a girl's bike terminate into the seat tube. Plus, girl's bikes are traditionally cheaper! Searching the Internet, I found a 1952 Hawthorne on Craigslist. I got it for $35, and the headset and bottom bracket were in fantastic shape. Here's what it looked like when I picked it up...
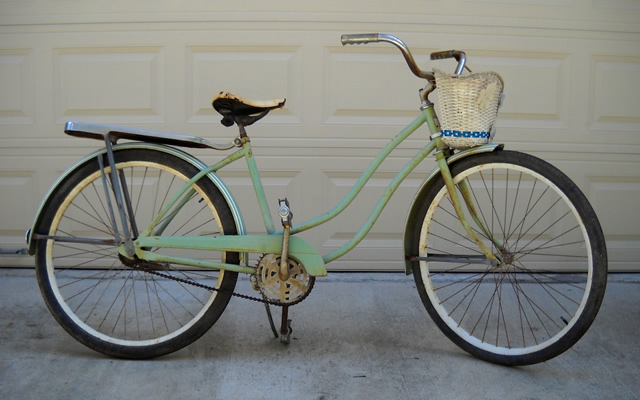
It stayed like that for about 15 seconds before disassembly began...
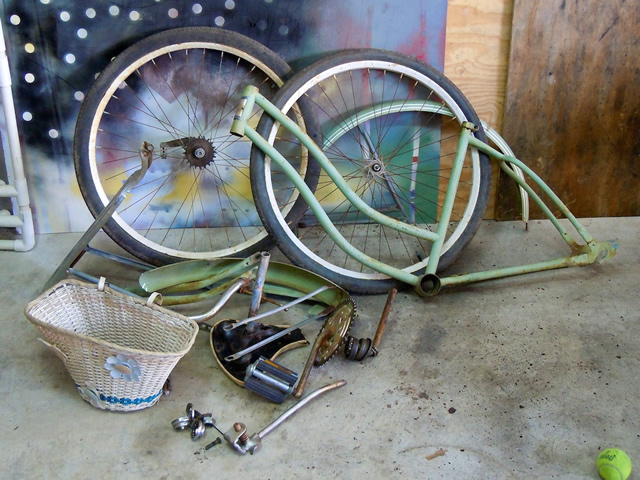
Anyone need a basket? (actually...someone already claimed it!)
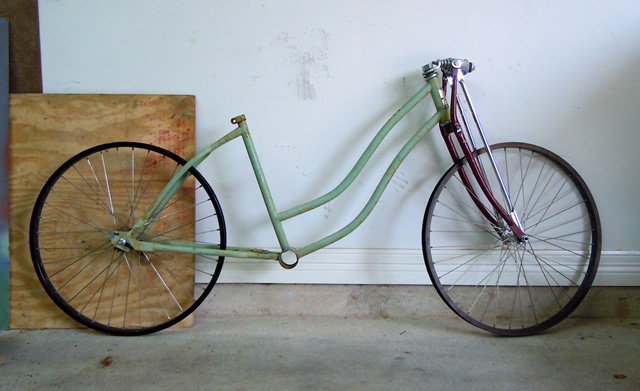
Since then I've been locating parts... I ordered and received the motor kit... and doing a lot of cutting and grinding on black gas pipe that I used for the new tubing. A few parts that I've found were some 12-gauge-spoke wheels and a Schwinn springer front end...
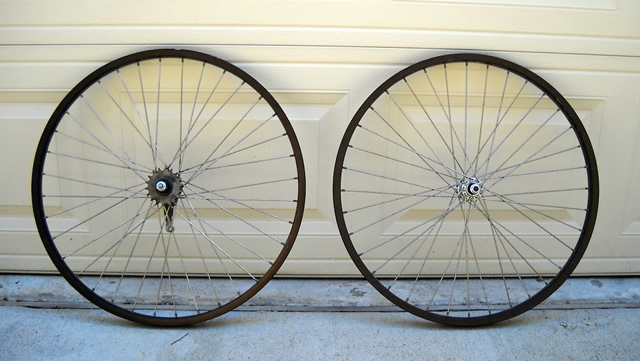
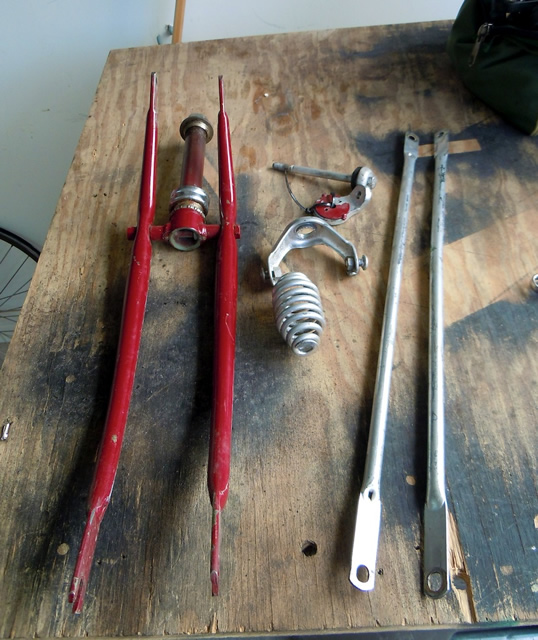
With those wheels and fork installed, the bike looked like this...
Then to the cutting and grinding...
I cut a new top tube out of gas pipe and fitted it to the bike...
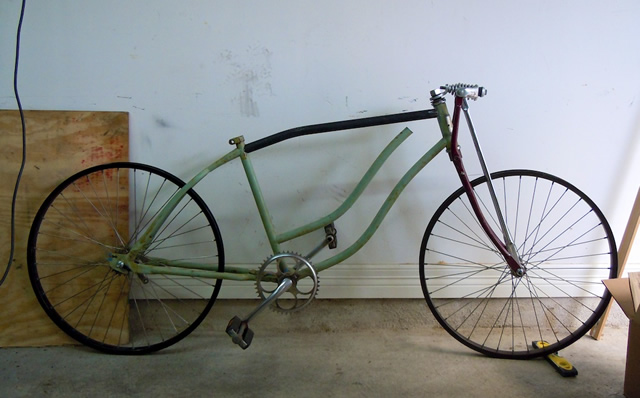
My buddy Sergio welded it to the bike...
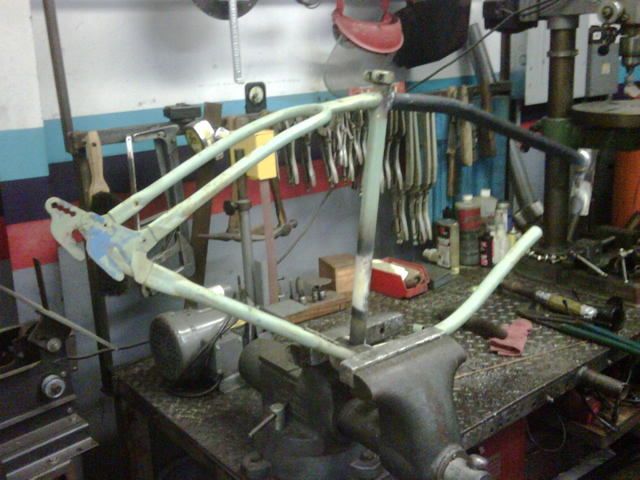
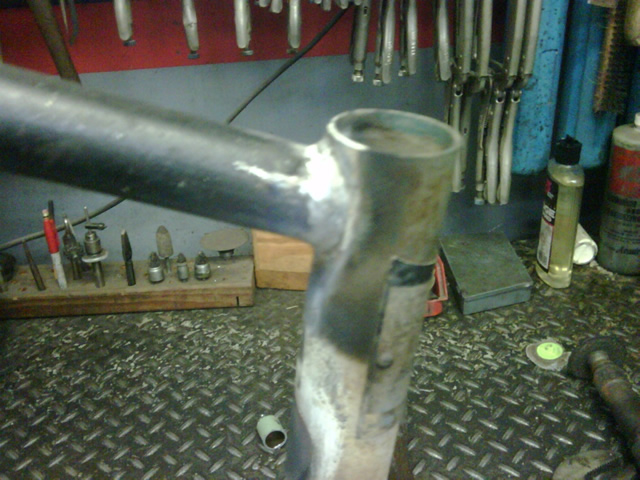
Next I needed to build a bottom tube. With a little measuring and figuring, Sergio and I came up with a template for the down tube that matches many of the original board track racers.
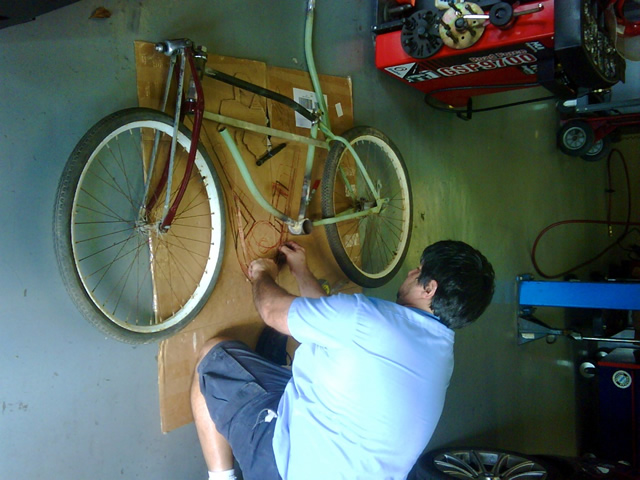
The problem was figuring out how to bend the pipe. We tried stuff the pipe full of sand and using heat to bend it, but at the end of the day, I ended up taking the pipe to a pipe bending company; they made short work of it...
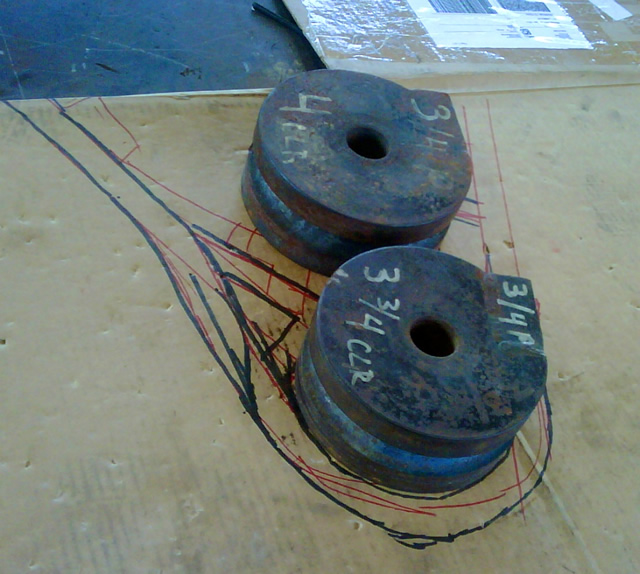
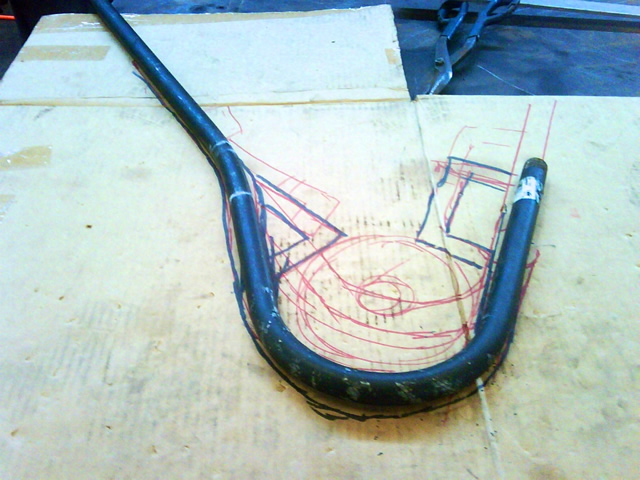
Here's what the template looked like and these were the pieces the tube was bent around...
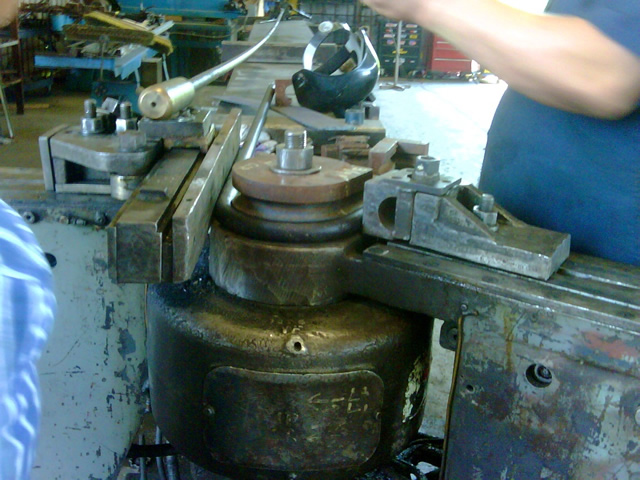
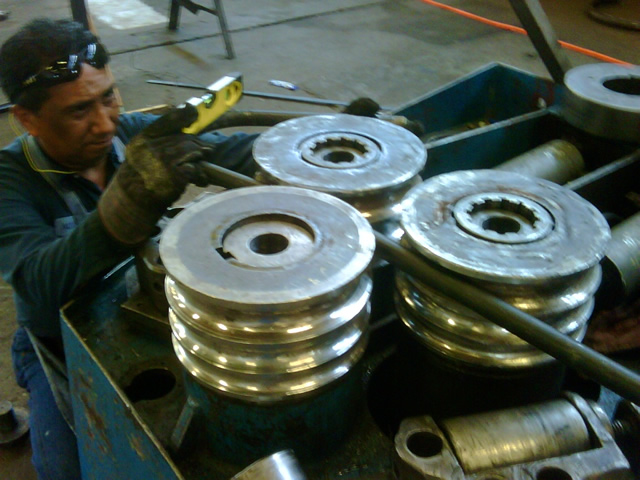
Here's the pipe-bending machine...
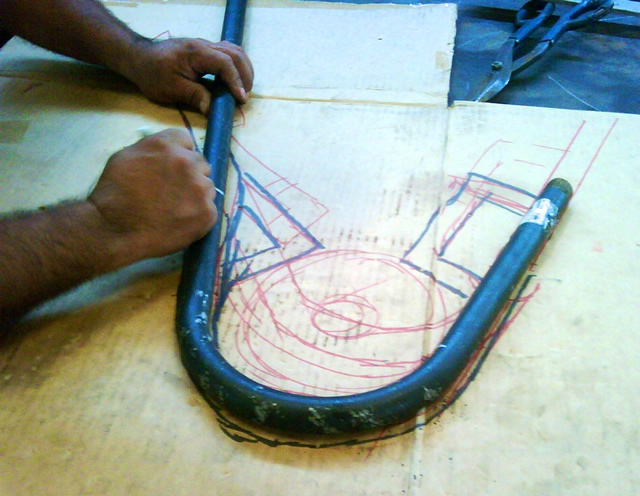
Here's where the guy is marking for the final bend based on the template...
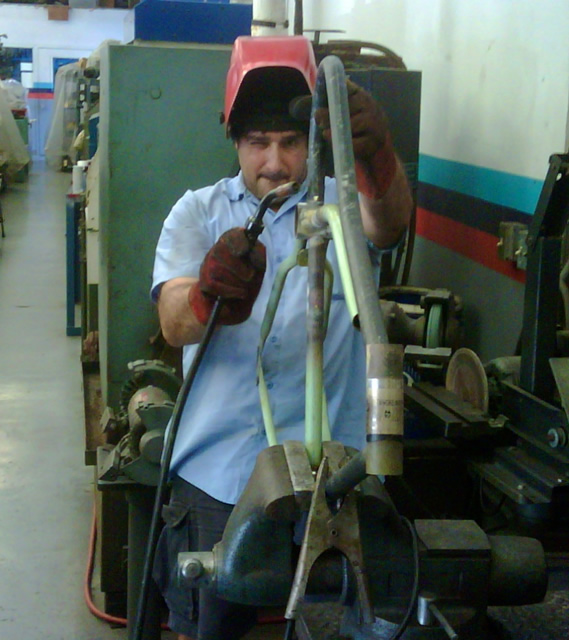
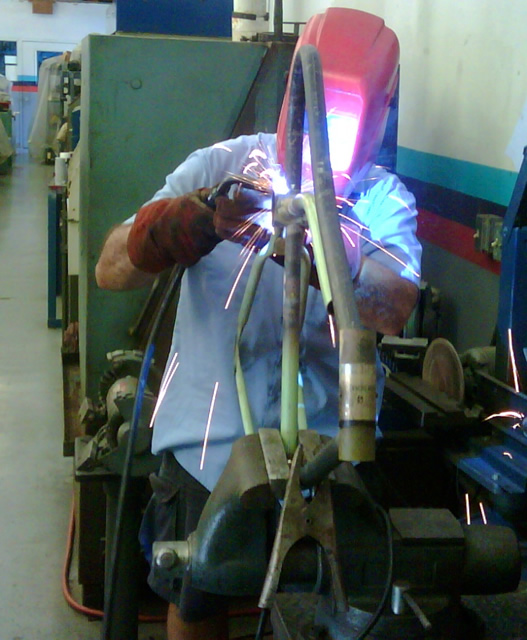
Then back to Sergio for some precise welding!
And we also figured out where and how the motor should be mounted in the frame...
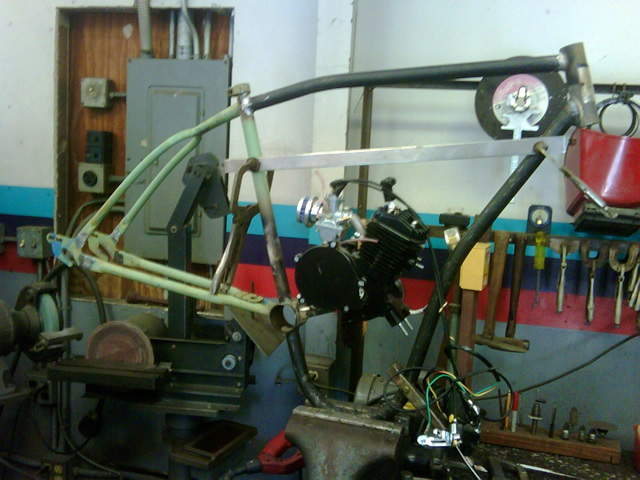
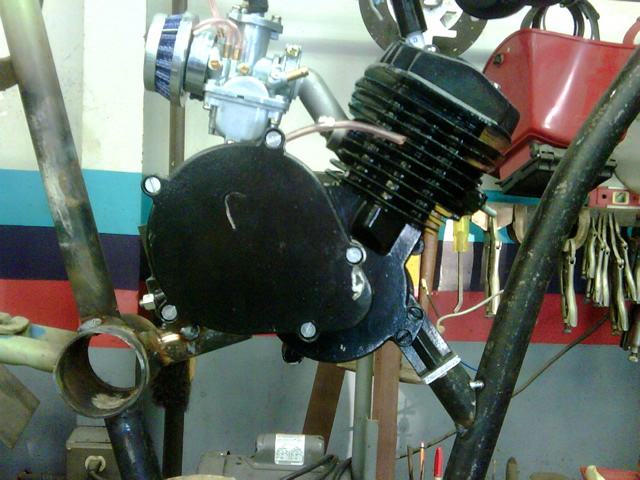
And more cutting, grinding and welding pipe...
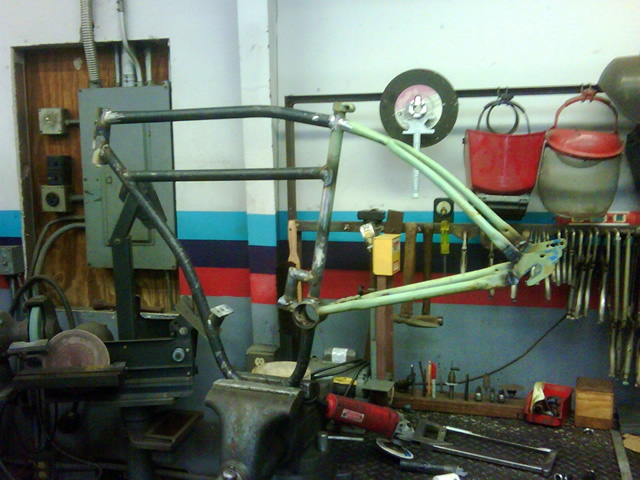
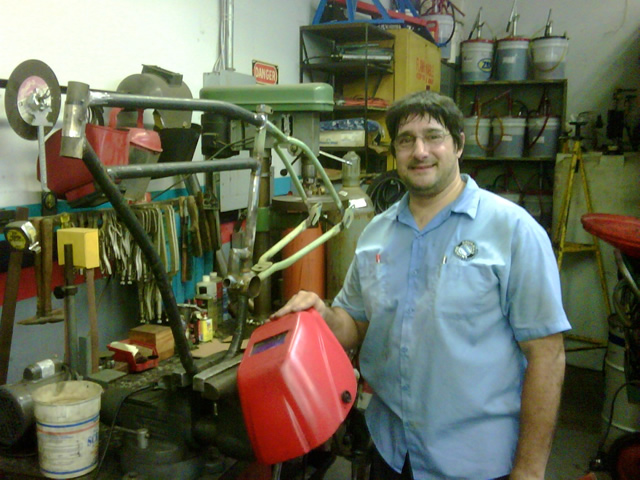
All done (for now anyway). Here's Sergio standing with his welding handiwork!
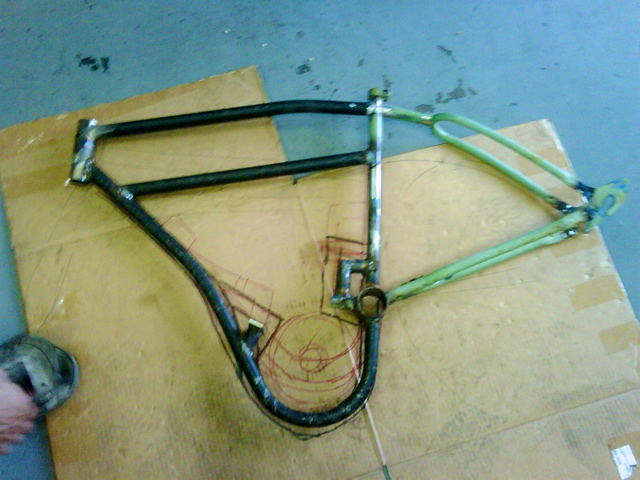
Here's what the frame looks like relative to the template...
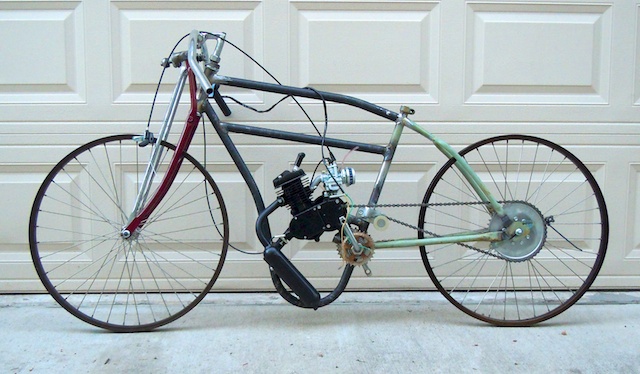
And here's where I am on the bike itself...
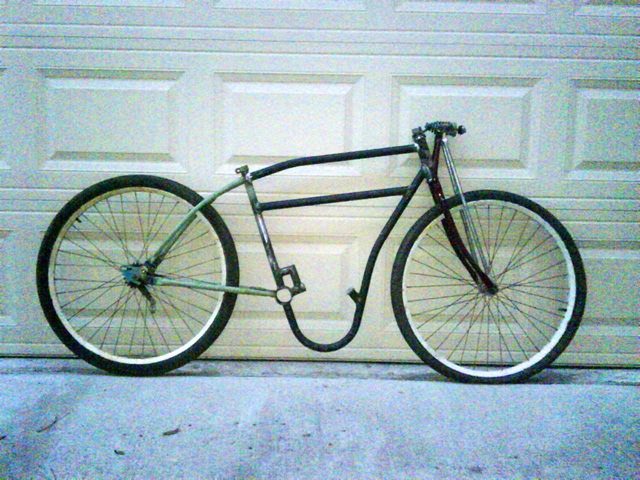
...and the front tire is flat in that picture...and the new tires are a bit taller, so the frame will be a little more off the ground than it appears to be in the picture.
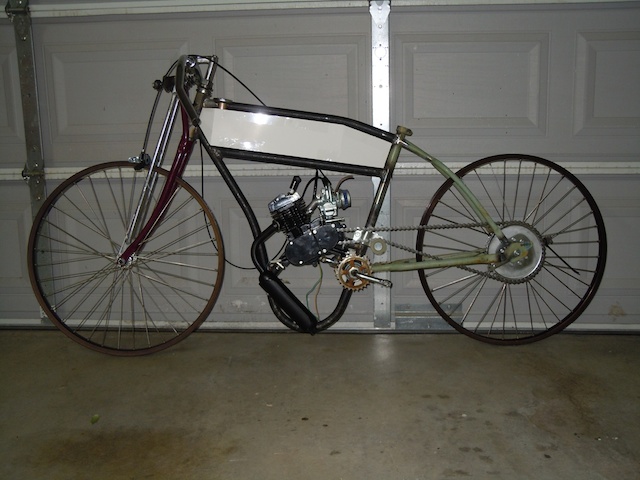
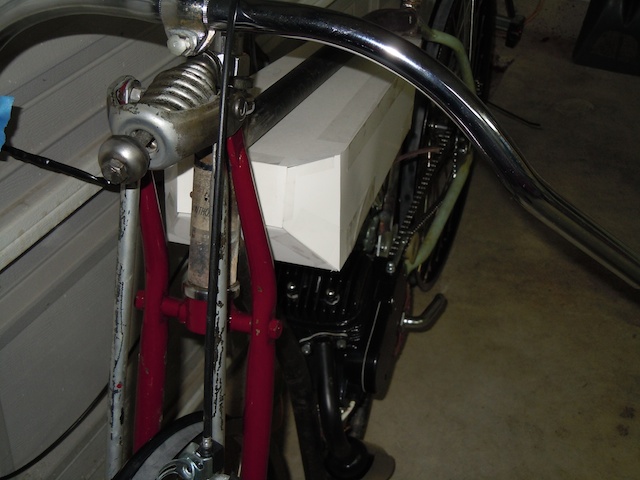
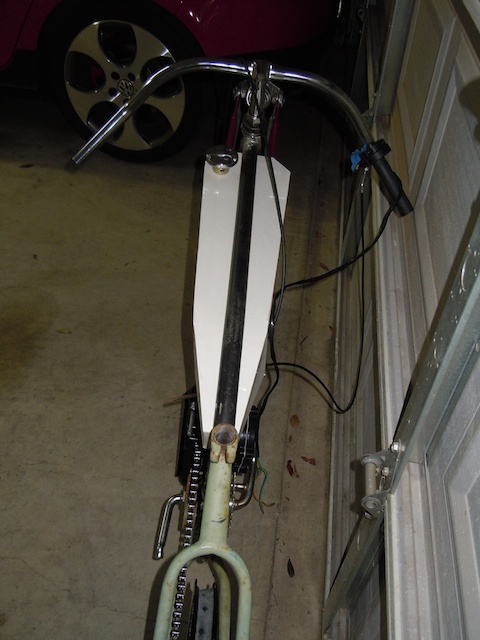
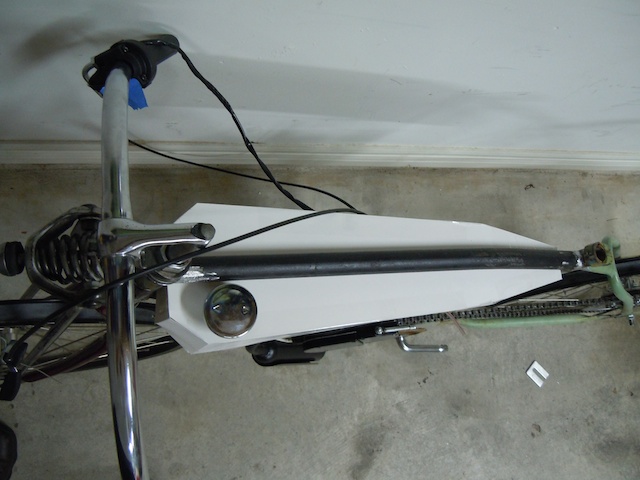
While I wait for parts, I'll be cleaning up the welds and fitting the pieces I do have to the frame. I also need to mock up a gas tank with some cardboard and design an "oil sump."
Stay tuned...
The black bike in my previous post was the genesis for this project; hence, I'm modeling my design similar (though different) to it. I'm scrapping the direction I was heading (and the parts I was going to use) and starting all over. So here we go...
The first thing I did was use various graphic tools to do a mockup of the bike I wanted to build. It's been tweaked a couple three times, but ultimately this is the bike I'm going to build...

I decided to find a girls bike as a starting place. The reason for the girl's bike is that I wanted to design the front of the bike myself. I also like the way the seat stays of a girl's bike terminate into the seat tube. Plus, girl's bikes are traditionally cheaper! Searching the Internet, I found a 1952 Hawthorne on Craigslist. I got it for $35, and the headset and bottom bracket were in fantastic shape. Here's what it looked like when I picked it up...

It stayed like that for about 15 seconds before disassembly began...

Anyone need a basket? (actually...someone already claimed it!)
Since then I've been locating parts... I ordered and received the motor kit... and doing a lot of cutting and grinding on black gas pipe that I used for the new tubing. A few parts that I've found were some 12-gauge-spoke wheels and a Schwinn springer front end...


With those wheels and fork installed, the bike looked like this...

Then to the cutting and grinding...
I cut a new top tube out of gas pipe and fitted it to the bike...

My buddy Sergio welded it to the bike...


Next I needed to build a bottom tube. With a little measuring and figuring, Sergio and I came up with a template for the down tube that matches many of the original board track racers.

The problem was figuring out how to bend the pipe. We tried stuff the pipe full of sand and using heat to bend it, but at the end of the day, I ended up taking the pipe to a pipe bending company; they made short work of it...
Here's what the template looked like and these were the pieces the tube was bent around...

Here's the pipe-bending machine...

Here's where the guy is marking for the final bend based on the template...


Then back to Sergio for some precise welding!


And we also figured out where and how the motor should be mounted in the frame...


And more cutting, grinding and welding pipe...

All done (for now anyway). Here's Sergio standing with his welding handiwork!

Here's what the frame looks like relative to the template...

And here's where I am on the bike itself...

...and the front tire is flat in that picture...and the new tires are a bit taller, so the frame will be a little more off the ground than it appears to be in the picture.
While I wait for parts, I'll be cleaning up the welds and fitting the pieces I do have to the frame. I also need to mock up a gas tank with some cardboard and design an "oil sump."
Stay tuned...


