Looking good! Can't wait to see it finished.
You are using an out of date browser. It may not display this or other websites correctly.
You should upgrade or use an alternative browser.
You should upgrade or use an alternative browser.
Little Red Express Trike
- Thread starter pvwacko
- Start date

Help Support Rat Rod Bikes Bicycle Forum:
This site may earn a commission from merchant affiliate
links, including eBay, Amazon, and others.
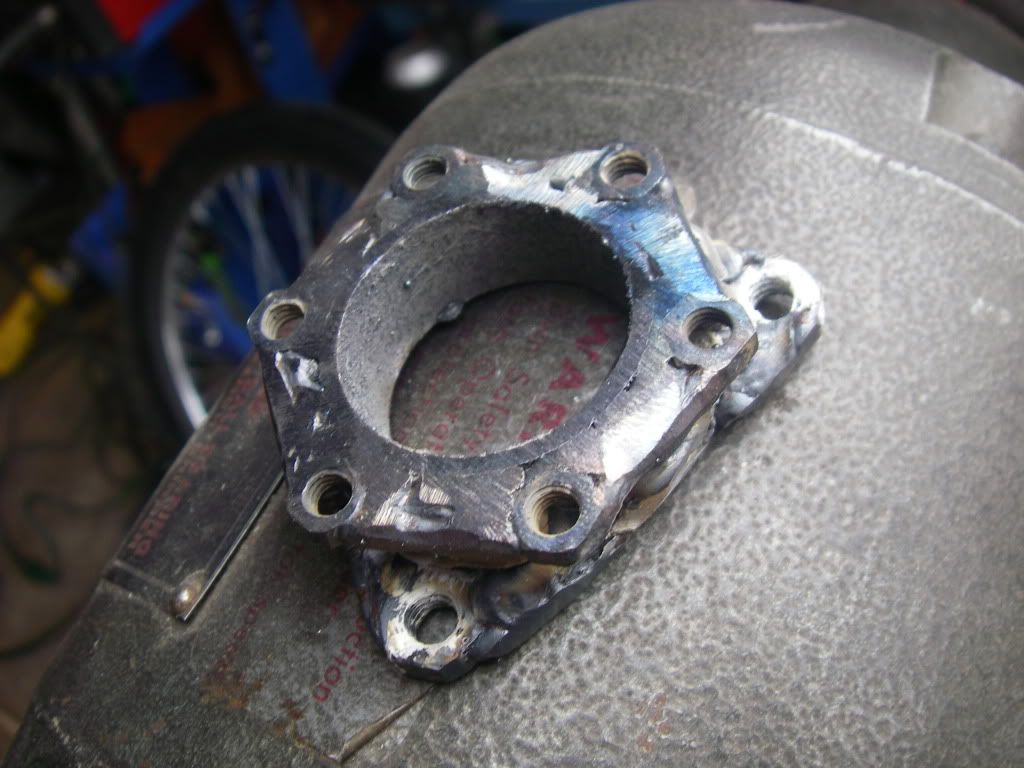
Well it's about time... I finally gave up thinking about the disc brake adapters and just made a set. They aren't perfect and I still know how I would have liked to have done them if I had a lathe and mill. However... my grinder got me where I needed to go. Not going to explain much unless you want to know more... I'll let the pictures do the talking.
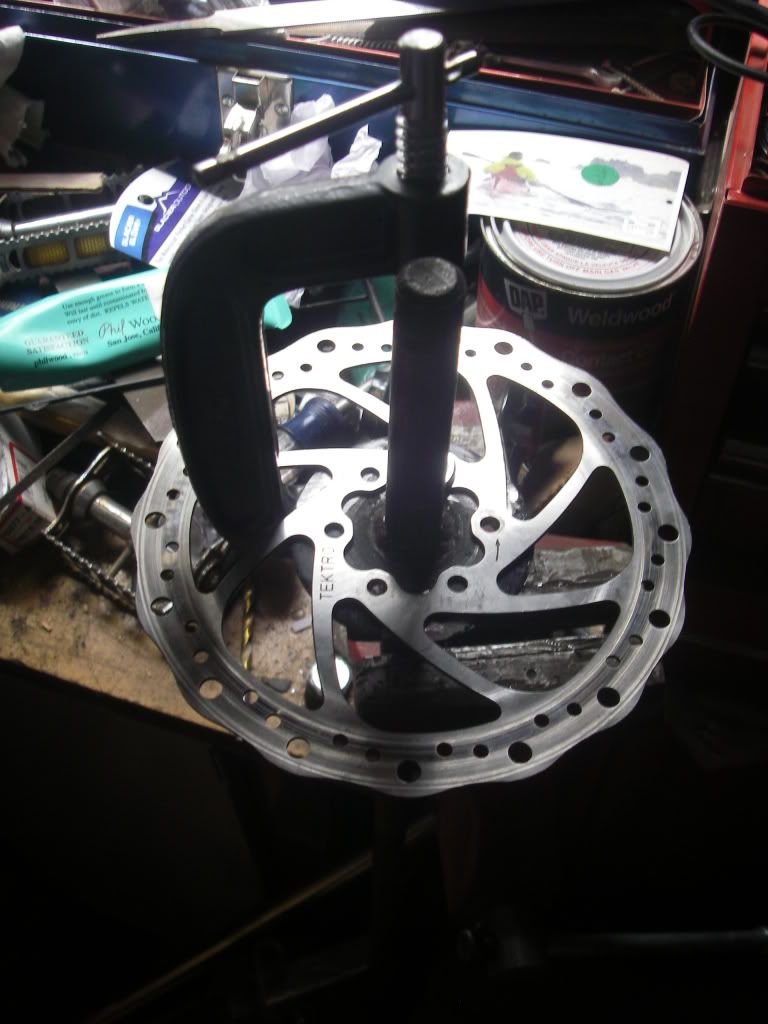
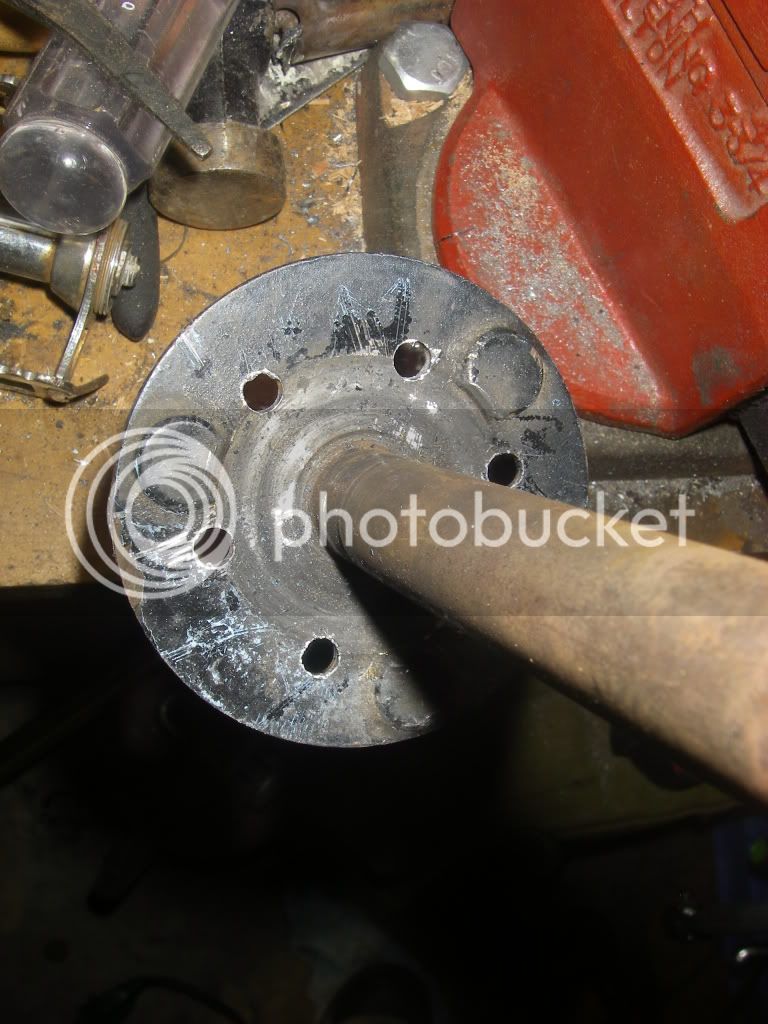
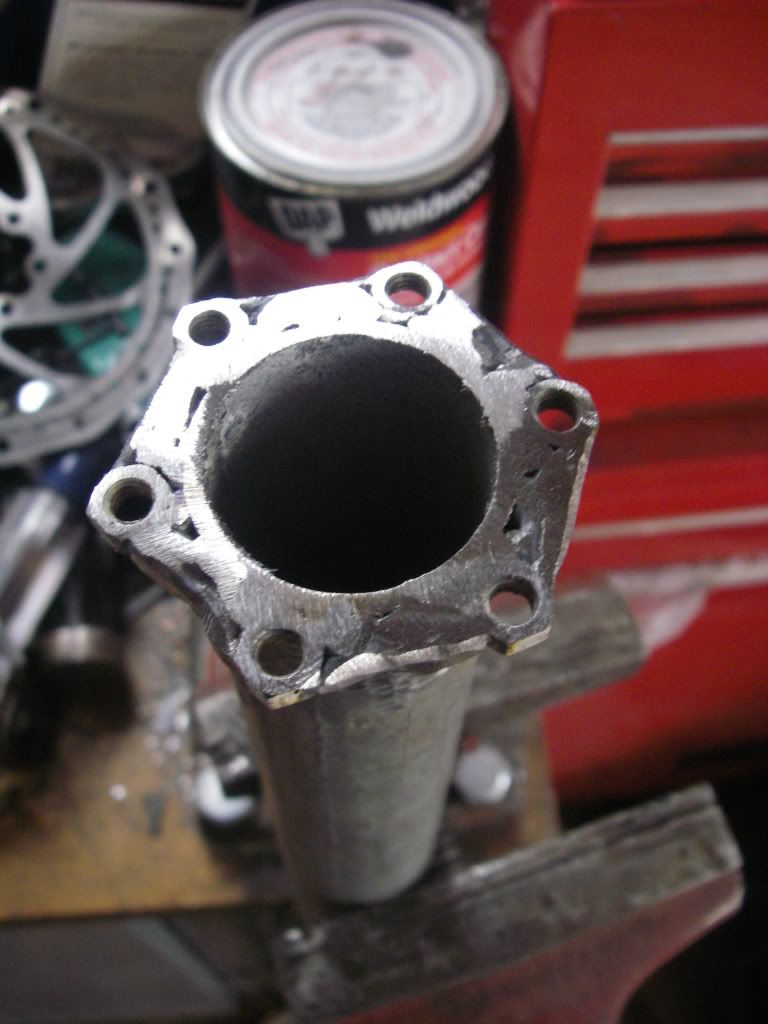
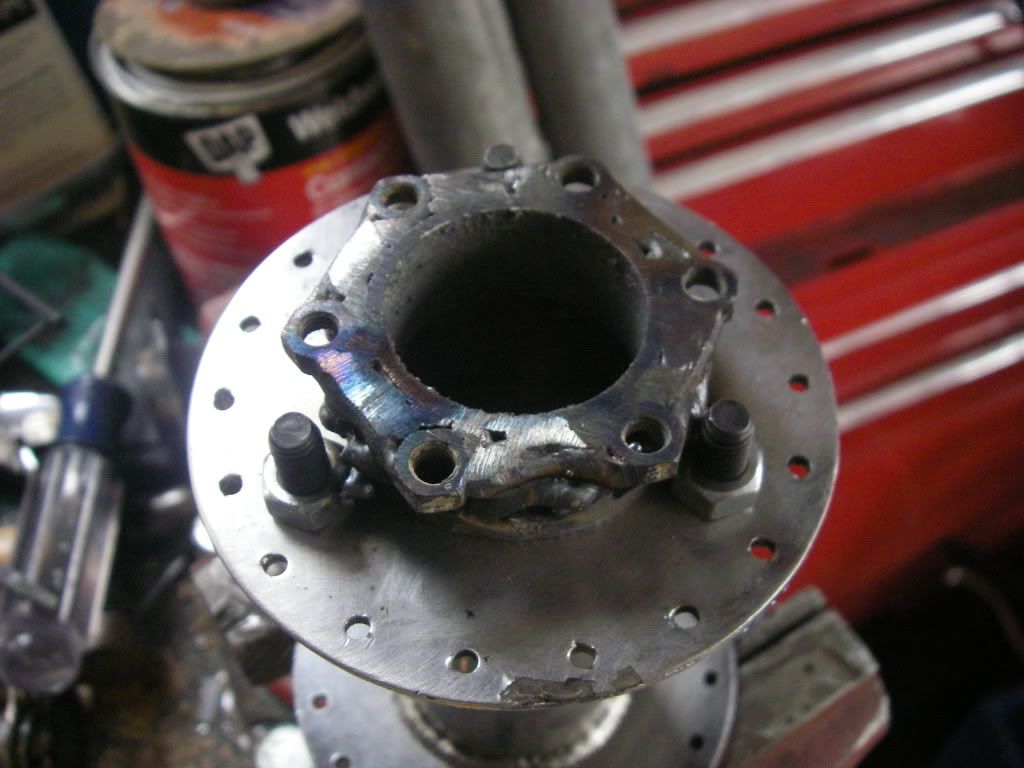


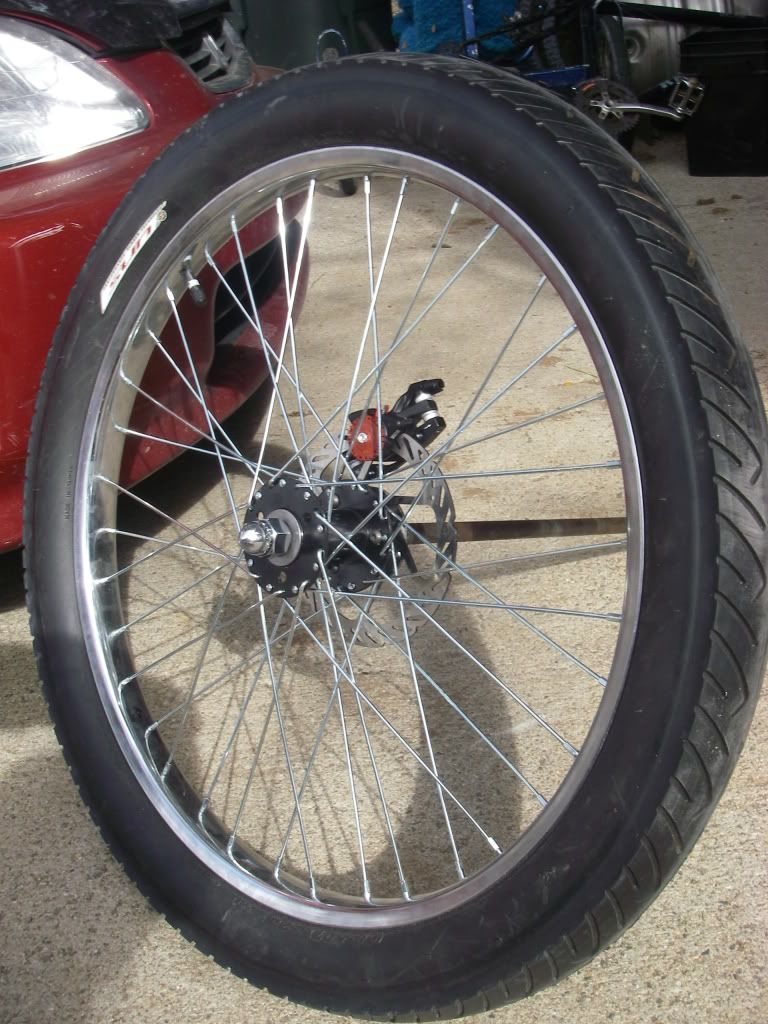
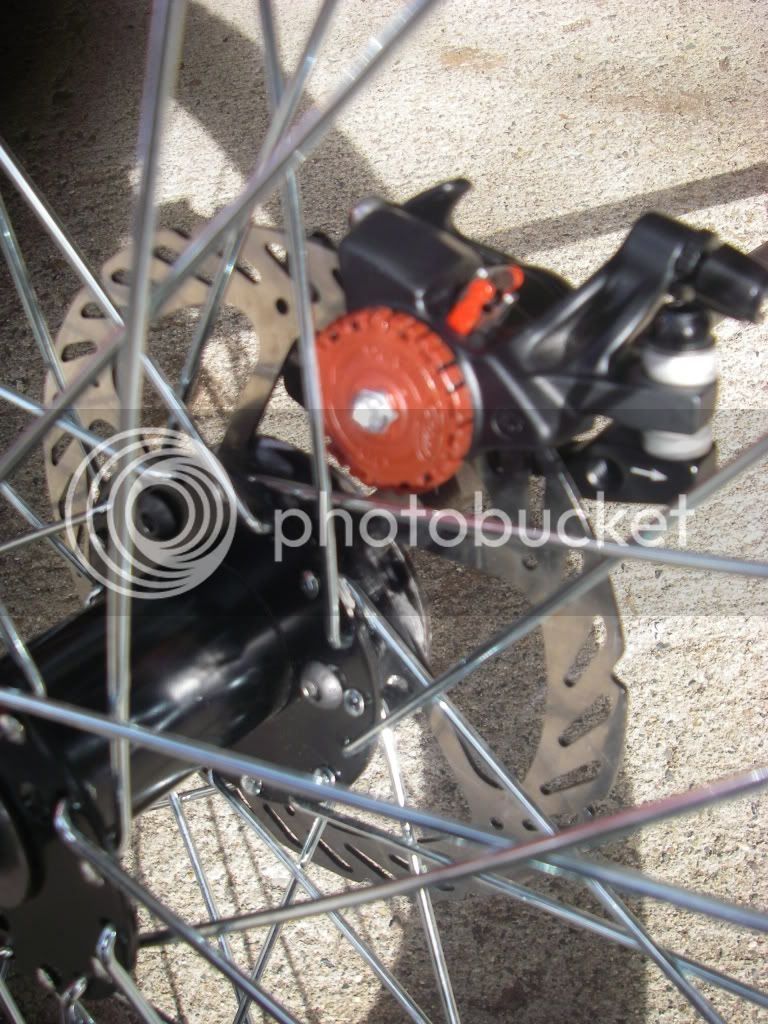
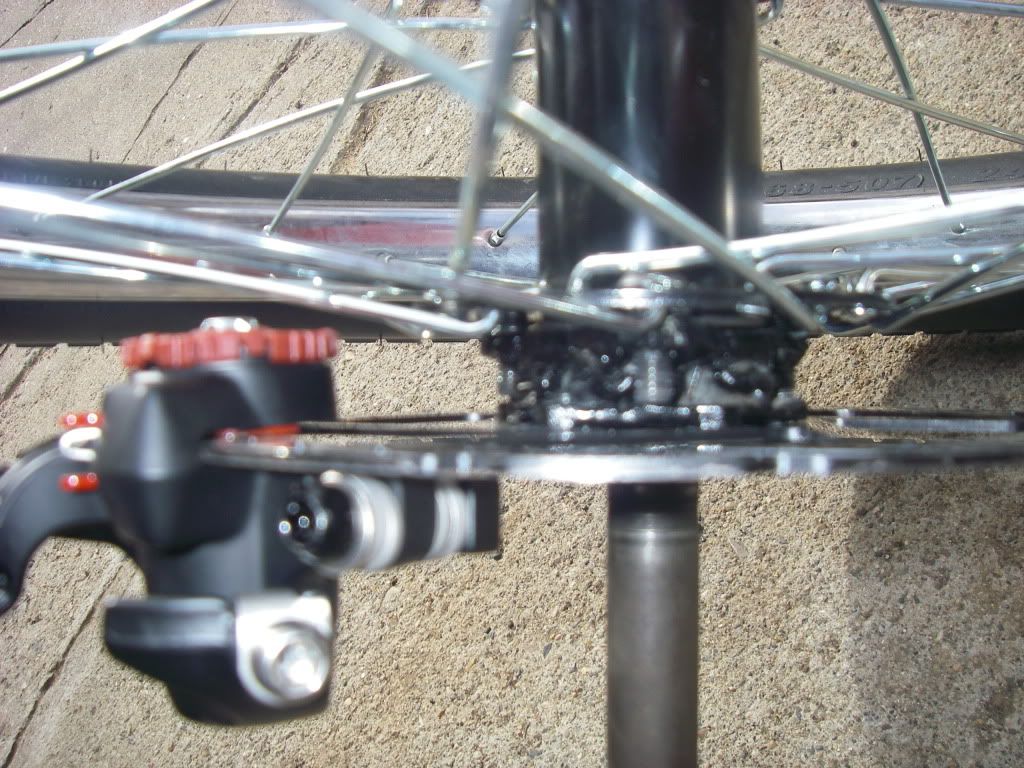
Here are some pictures of the drive-side wheel all mounted up. Need to weld the caliper mount onto the frame still, and build the adapter for the other side. Plenty of room for the caliper to clear the spokes! that's what I was the most worried about.
also found this cool knob for the jockey shift at the used hardware store. I need a better picture but the rust is stripped off and the knob has been sanded and clear coated... looks really sweet and fits the theme with the red. now back out to the shop!
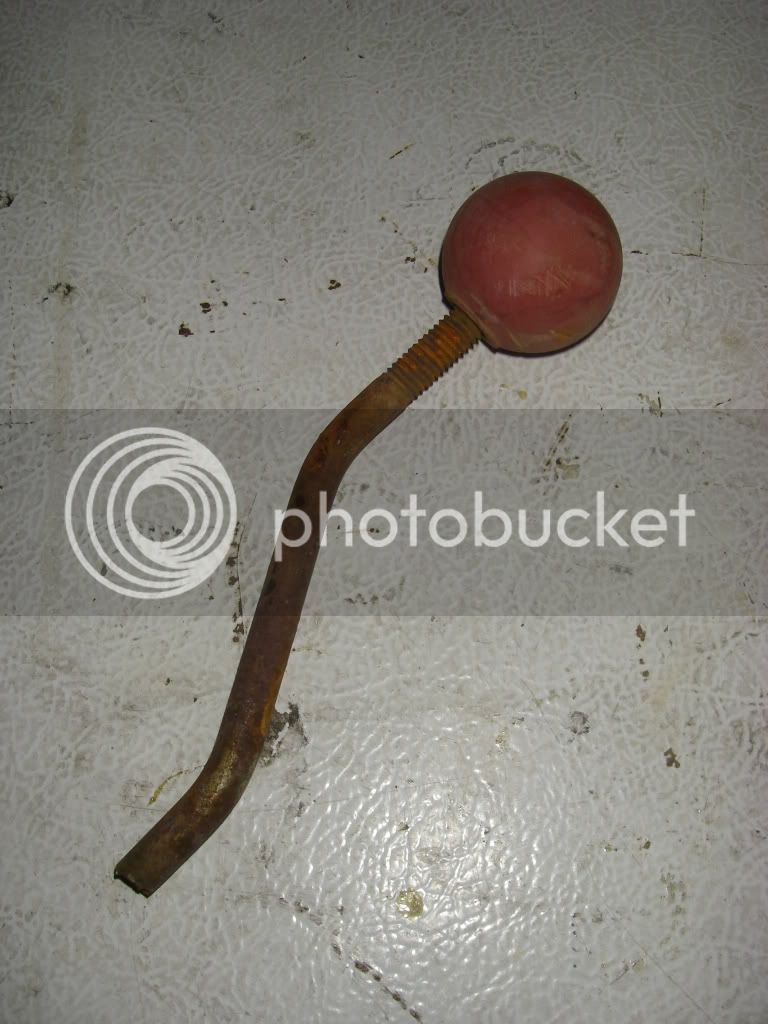


also found this cool knob for the jockey shift at the used hardware store. I need a better picture but the rust is stripped off and the knob has been sanded and clear coated... looks really sweet and fits the theme with the red. now back out to the shop!

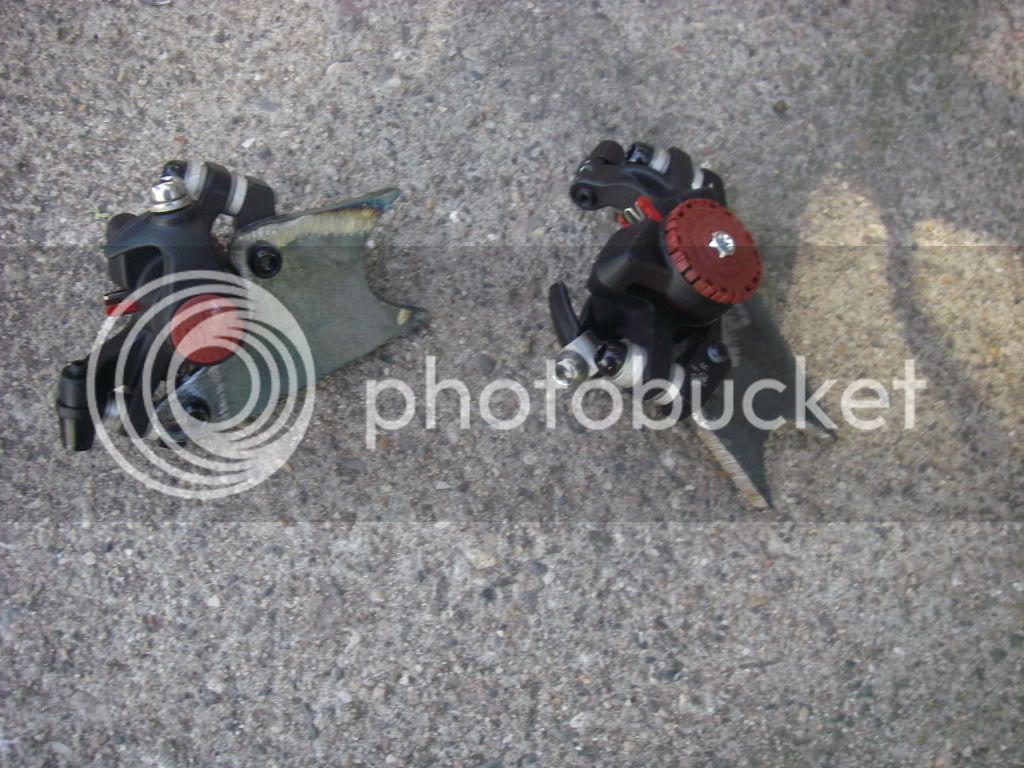
Last pictures for the night! Both disc adapters are finished... just need some spacers to get the clearances just right. Also a picture of the refurbished soon-to-be jockey shifter.
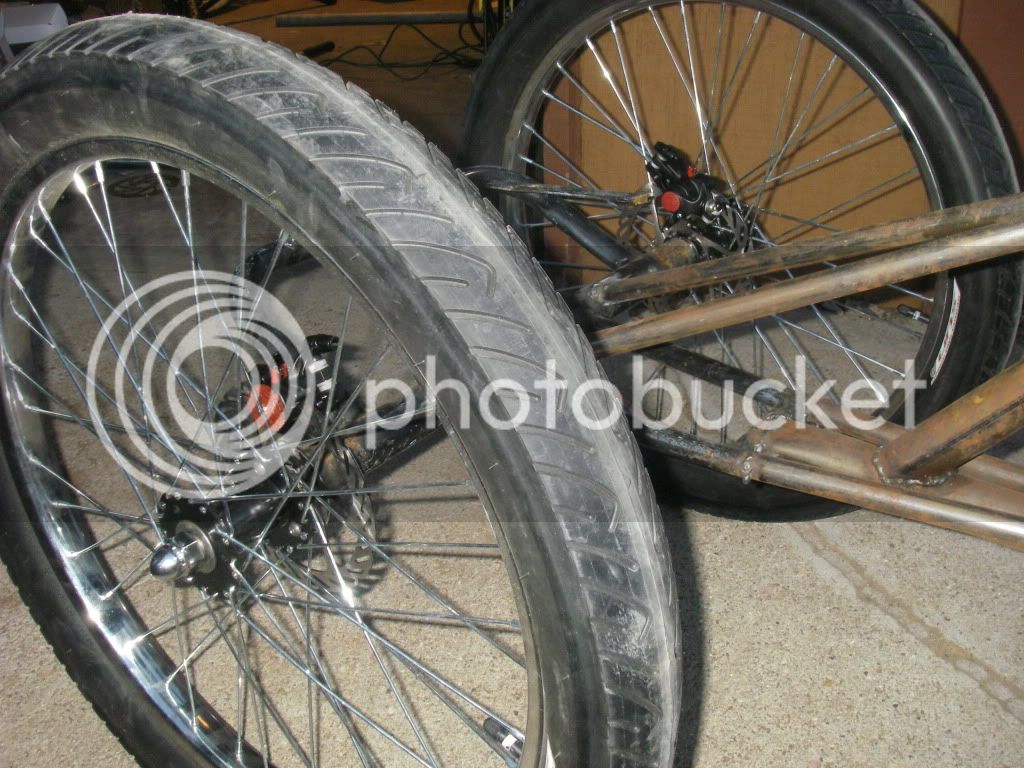
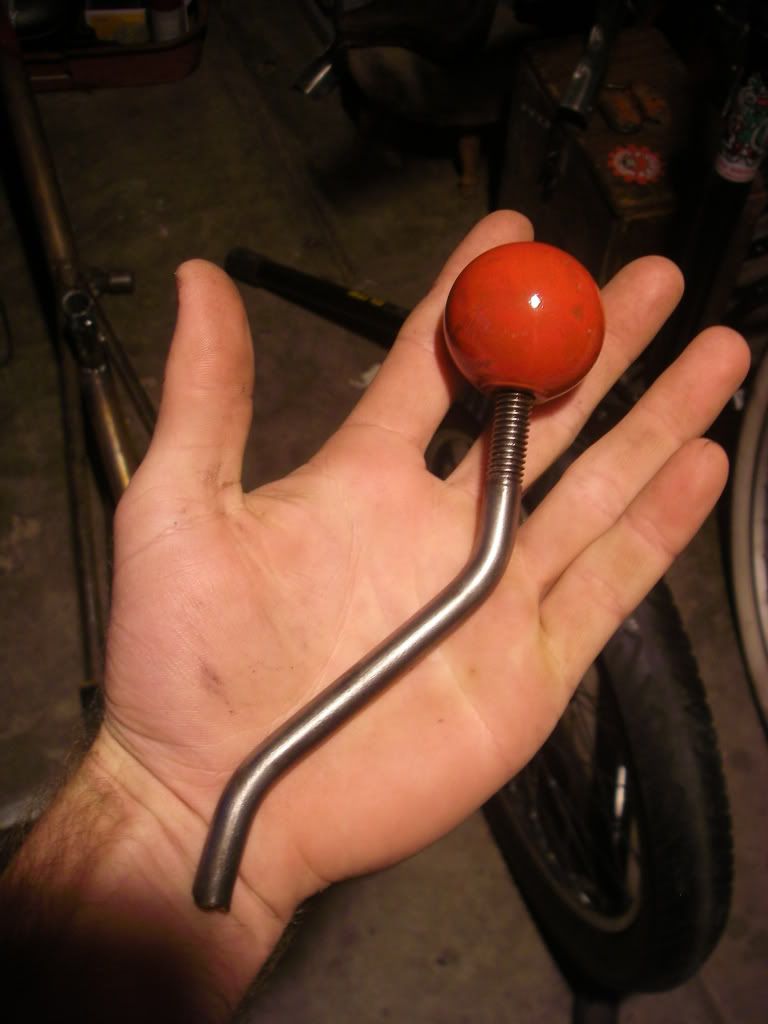
Hope to get some work done on the caliper mounts tomorrow...


Hope to get some work done on the caliper mounts tomorrow...
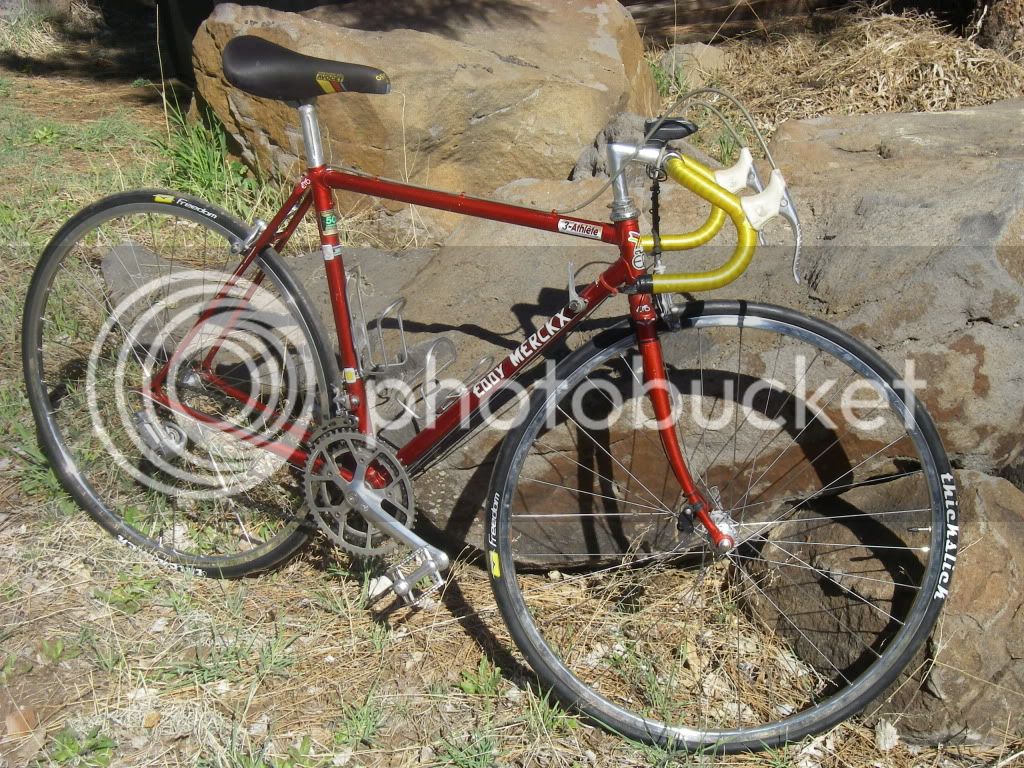
It's been a while since I updated this but school and other projects have gotten in the way. This restoration took quite a bit of my time recently... All original 1985 Eddy Merckx with full campagnolo. Not rat rod but definitely stylish!


$19.99
$24.99
Top Brass Bicycle/Motorcycle Chain Picture Frame 5" X 7" Photo - Faux Bike Chain
Old River Outdoors (USA Merchant)

$19.99
Electra Glide Wall Decal 2ft Long Sport Harley Davidson Bike Motorcylce Sticker Man Cave Garage Boys Room Decor
FatCat Wall Graphics
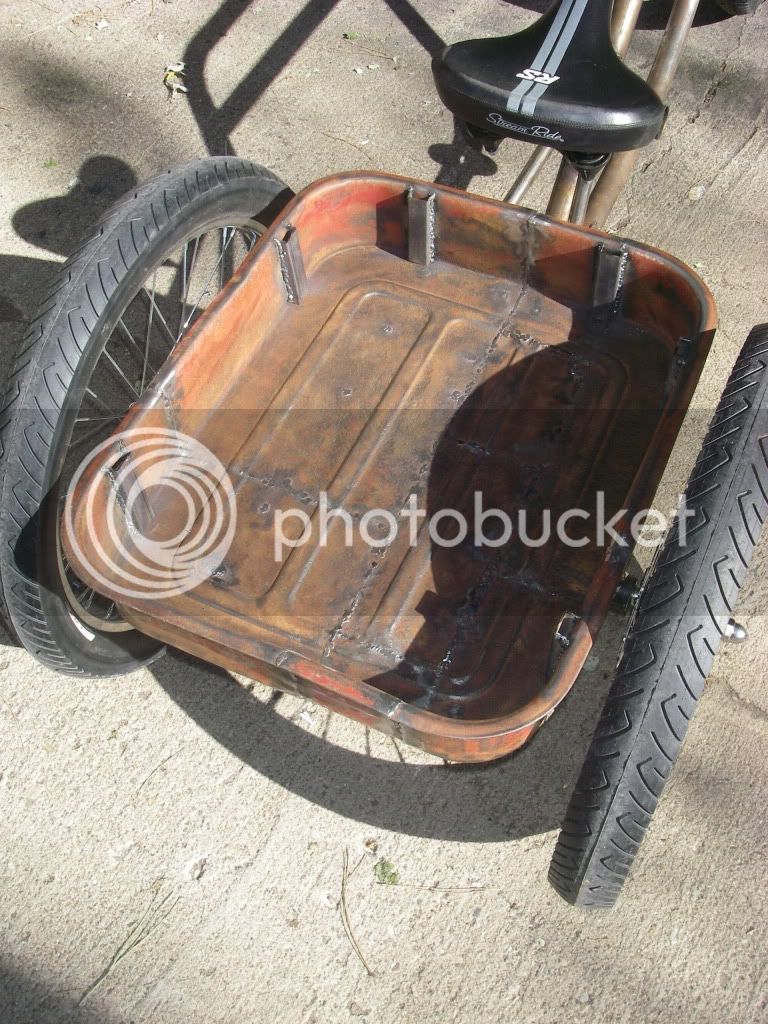
cranking again on this one... it's an on and off relationship! Got the stake pockets welded onto the bed.
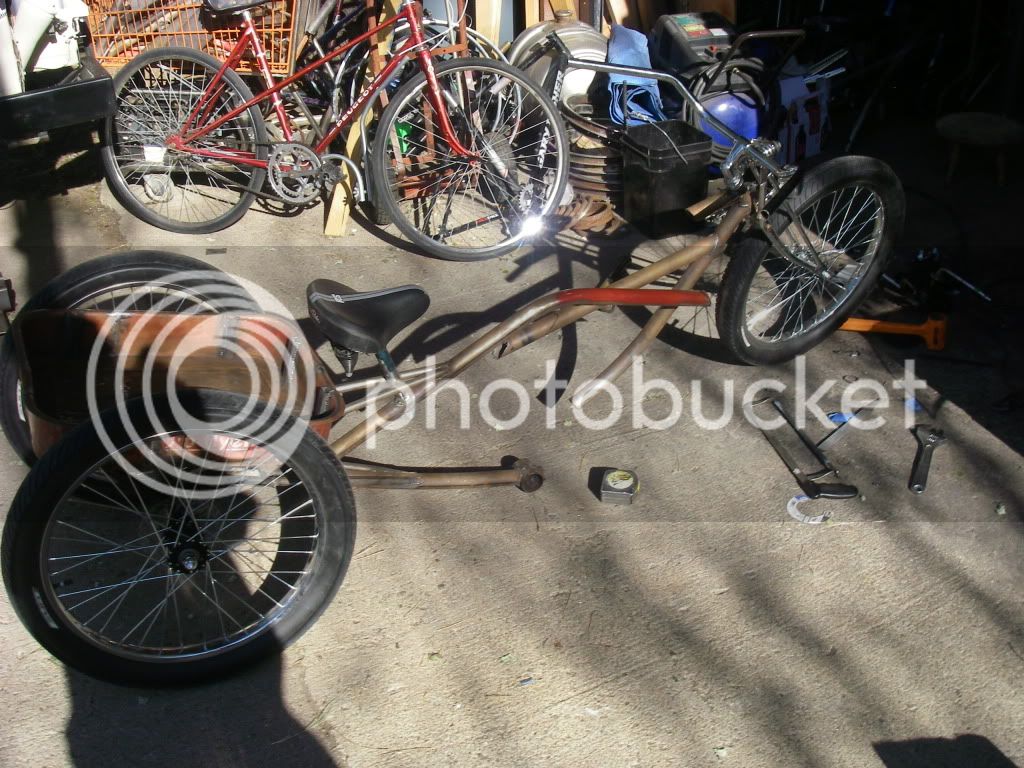
Also decided to shorten the frame a little! Makes it more comfortable to ride.
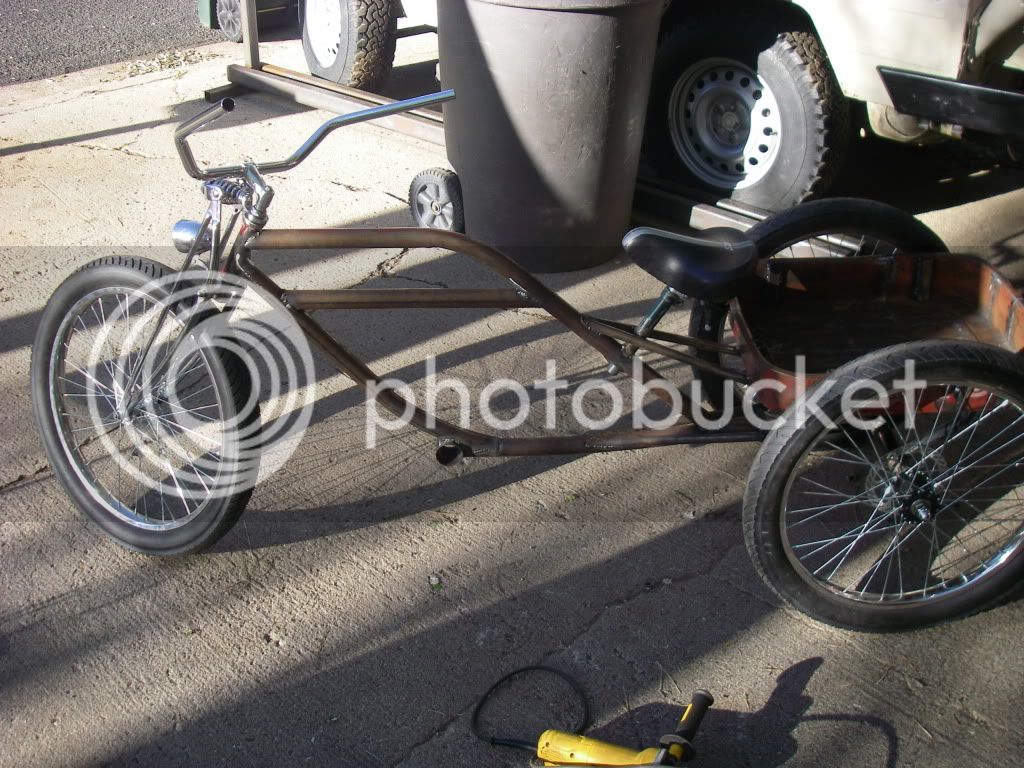
I like the bottom bracket coming out the bottom of the downtube.
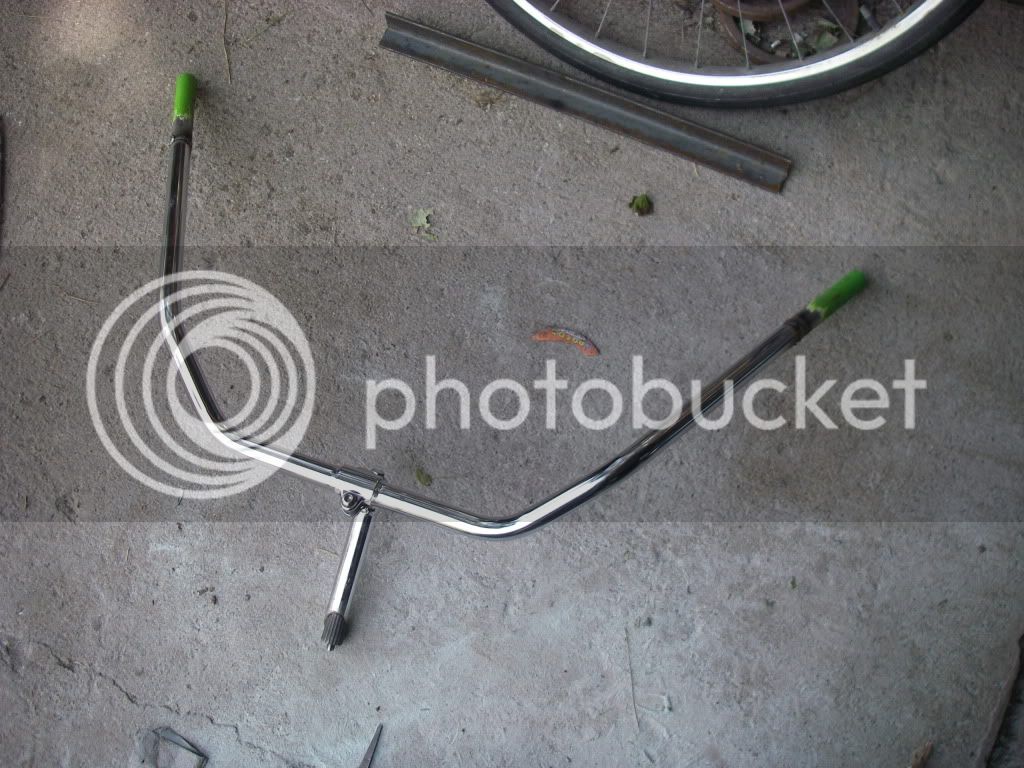
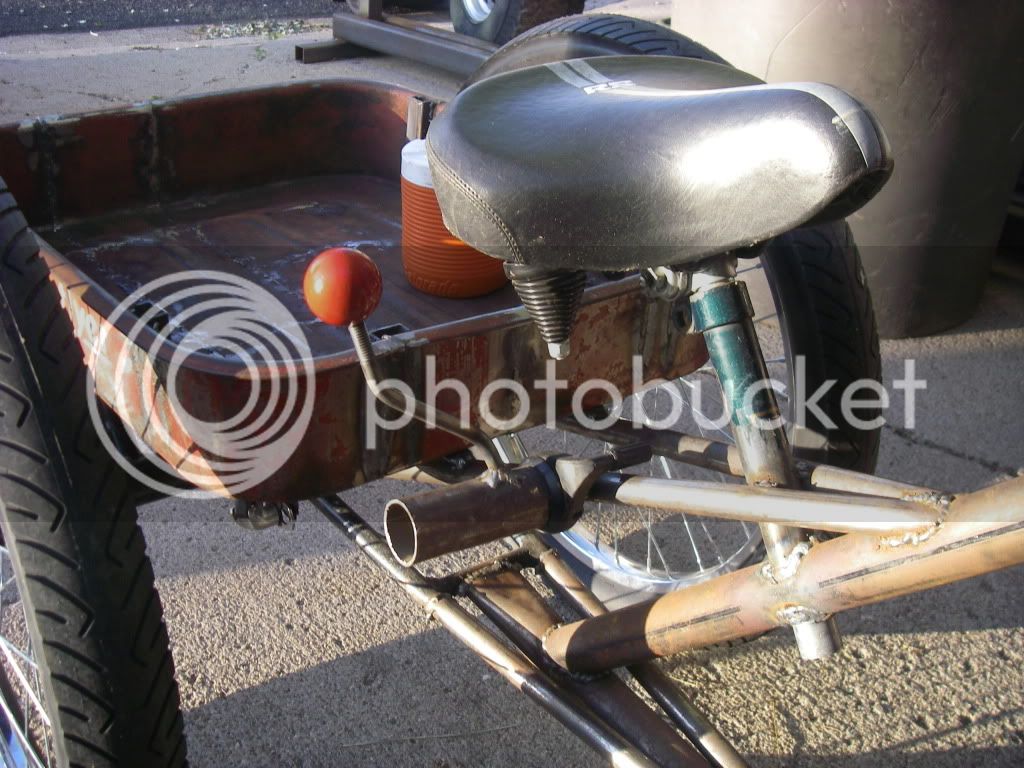
Last but not least I worked on a jockey shift a little as well. Hope to get the drivetrain in order tomorrow before work.

Also decided to shorten the frame a little! Makes it more comfortable to ride.

I like the bottom bracket coming out the bottom of the downtube.

Last but not least I worked on a jockey shift a little as well. Hope to get the drivetrain in order tomorrow before work.

- Joined
- Mar 10, 2009
- Messages
- 1,465
- Reaction score
- 1
Glad to see you're makin' progress! 8)
Great job with the frame mod . . . looks like it was supposed to be like this all along! :wink: How much did you take out, anyway?
Is a spray-in bedliner gunna be a part of the plan?
Keep up the good work!
Great job with the frame mod . . . looks like it was supposed to be like this all along! :wink: How much did you take out, anyway?
Is a spray-in bedliner gunna be a part of the plan?
Keep up the good work!
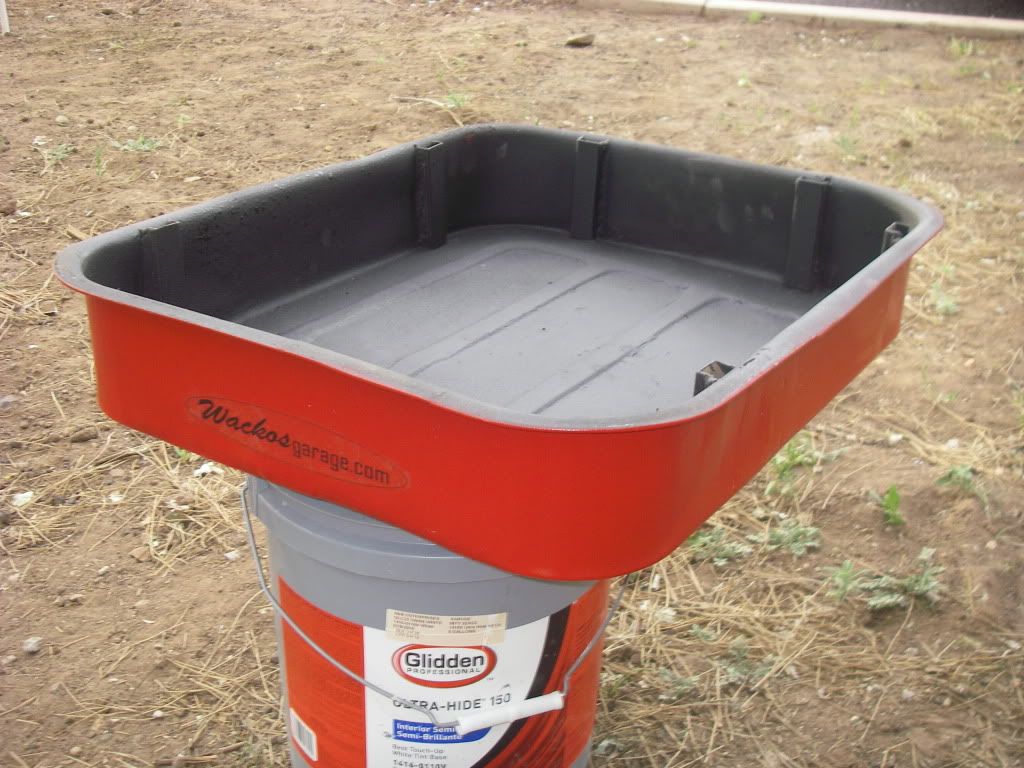
I took out almost 6" of frame length. With the old length I had to lean forward to reach the bars and now it's more cruiser feeling. I was actually going to try using the rubberized undercoating on the inside of the wagon to see how it looks. A little bit of filler needs to happen before that to cover some of the wobbles from the welding, and I'm afraid of burning through trying to grind the seams too flat.
X-RAY said:i dont remember if it was discused before, but for some reason i was assuming you were goin with wood slats in the bed.
it will have wooden stake sides but the bed will be rubberized. the buyers of this trike own a brewery and want to fill up the bed with ice to keep mini kegs cold.
I got the shifting dialed in today! Just need to make the caliper mounts tomorrow morning. then final dialing in before tear down and paint. Goal is to finish by friday. Pictures to come tomorrow.
I dig your design.
Ok, a little heavy on the pictures today so there will be two posts to get myself back up to date.
Made the caliper mounts this morning!
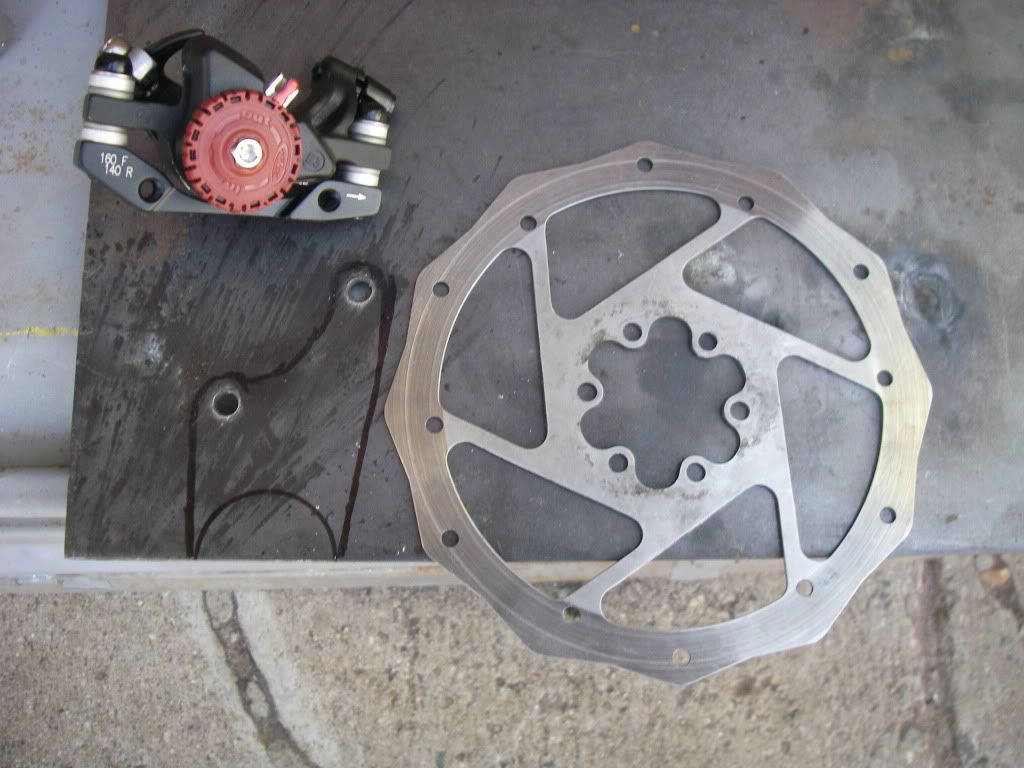
a little grinding!
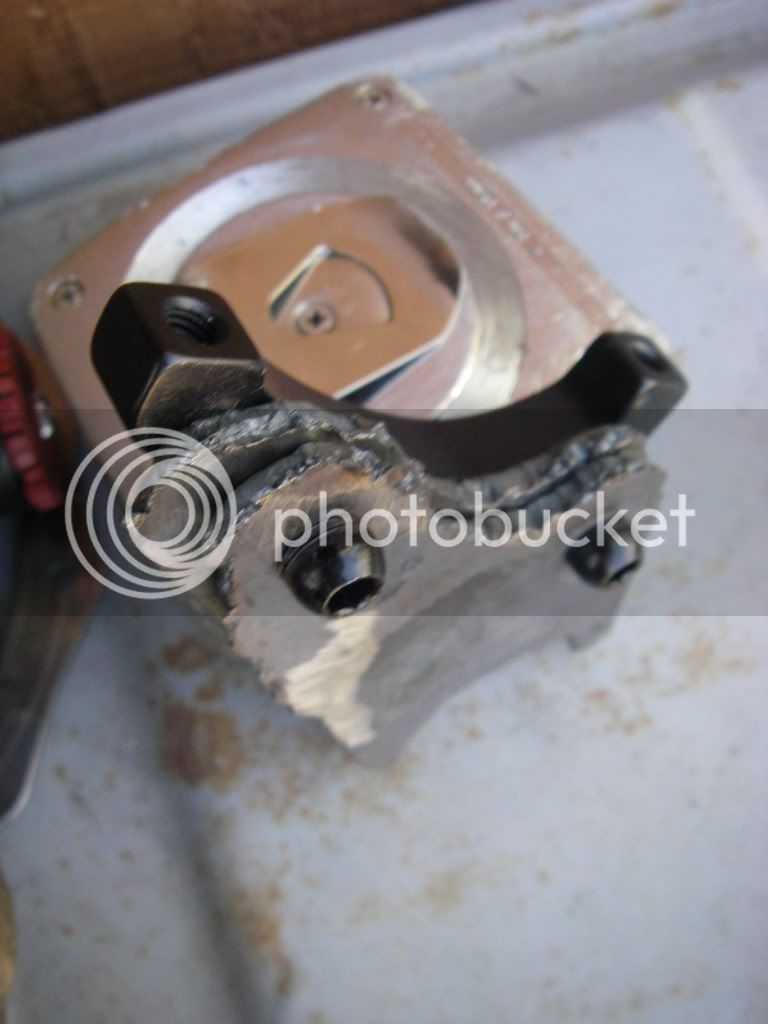
ready to weld on. I put all the adjustments in the middle so I would be able to have room to adjust them completely in the final build up.
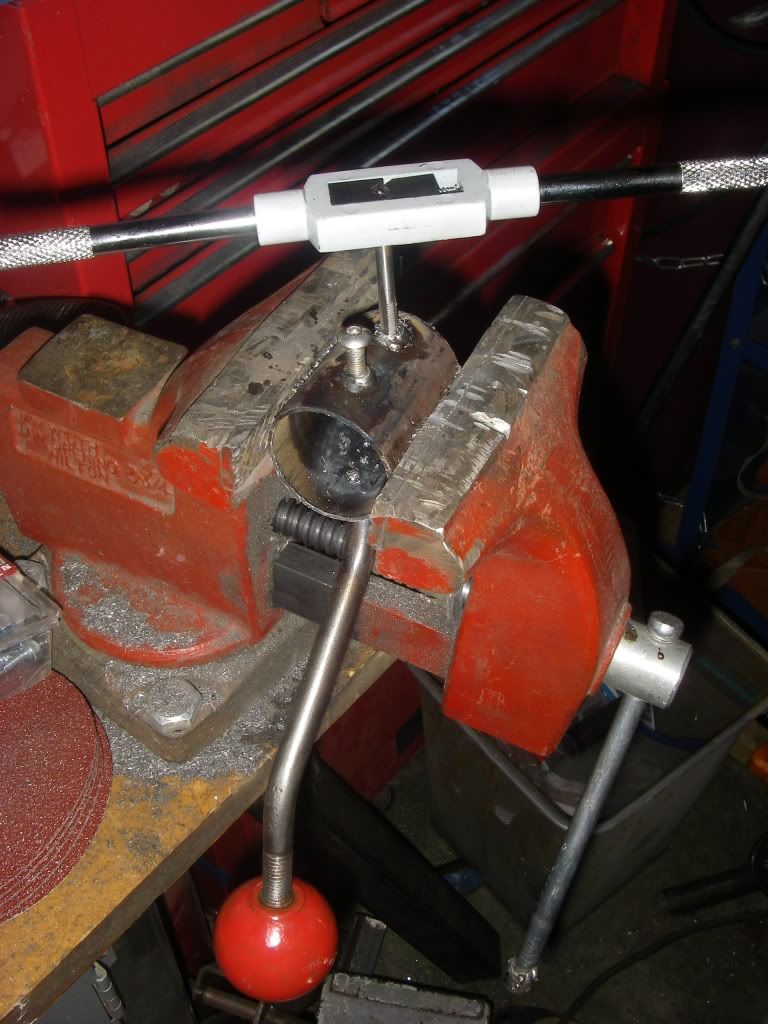
also added some set screws to the jockey shift.
Made the caliper mounts this morning!

a little grinding!

ready to weld on. I put all the adjustments in the middle so I would be able to have room to adjust them completely in the final build up.

also added some set screws to the jockey shift.

Then it was down to the bike shop to play with the brake cables and adjust the shifting for a run up and down the block.
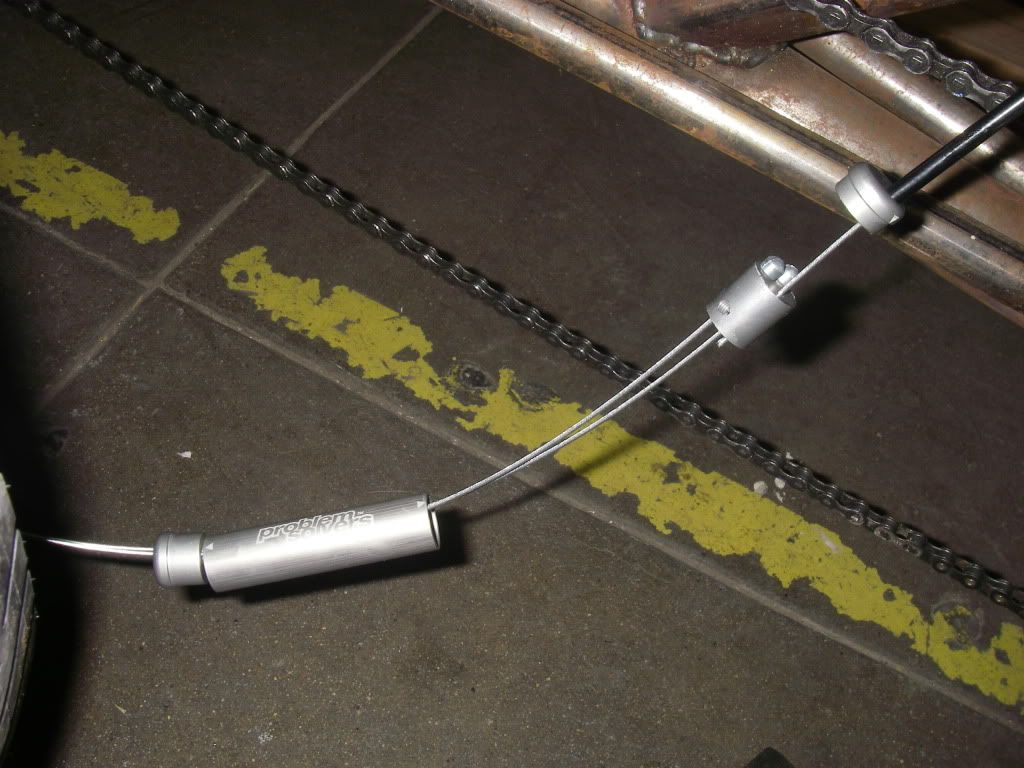
this is the problem solves cable doubler going together.
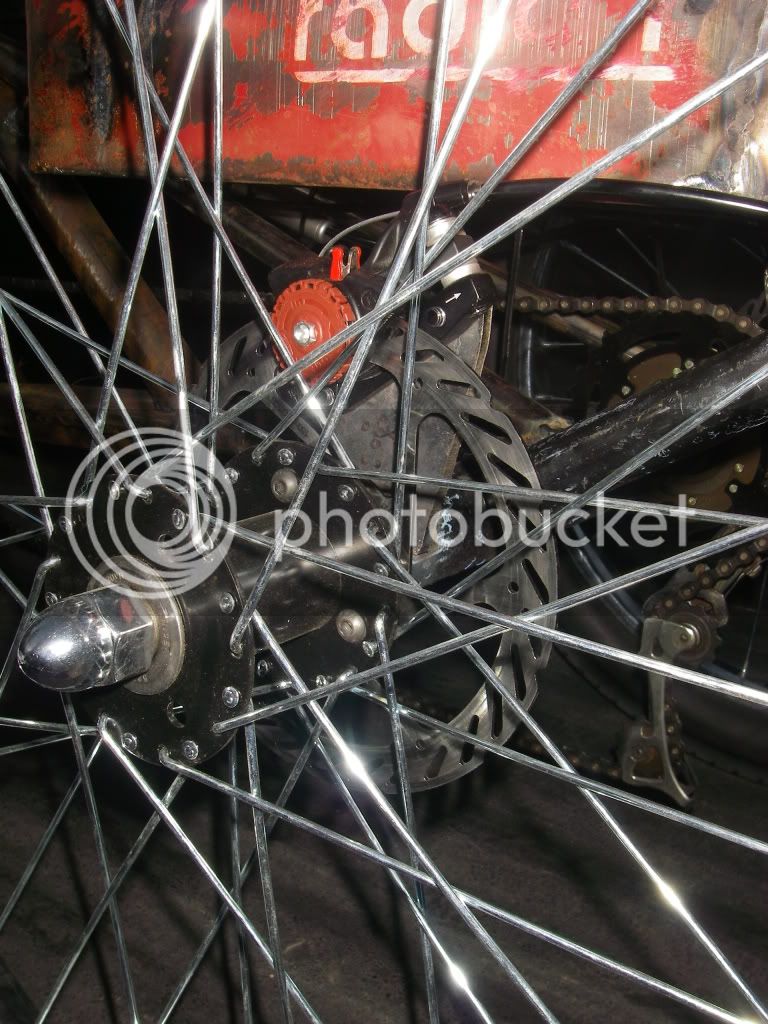
here is one of the calipers mounted up.
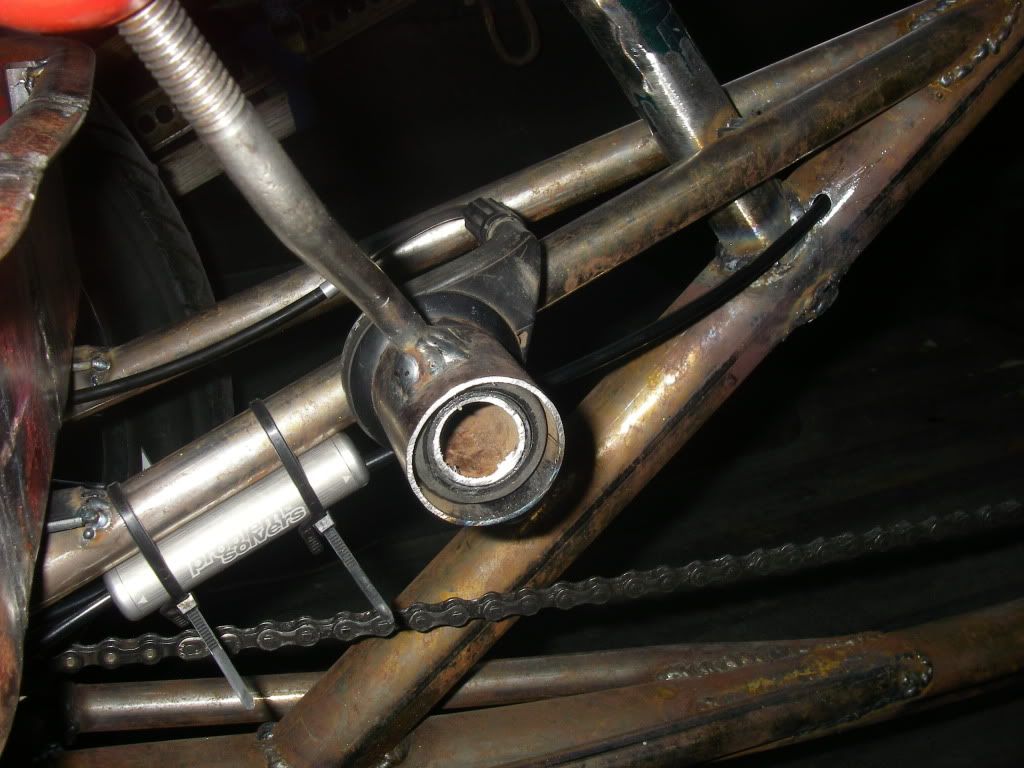
cable doubler in place temporarily and also visible is the through frame brake routing. still need to cap off the shifter which I may get a handrail cap for.
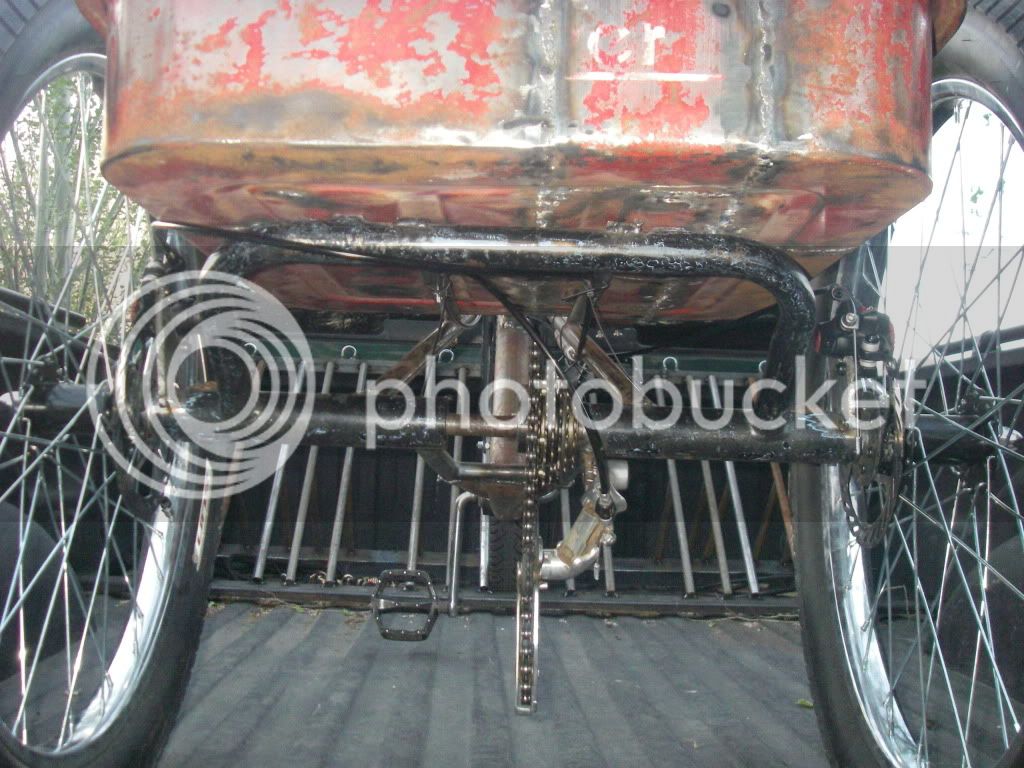
kind of busy in this photo but you get the idea of what's going on to move and stop this beast! still need to fabricate the bumper then it's time for tear-down, prep, and paint.
this is the problem solves cable doubler going together.

here is one of the calipers mounted up.

cable doubler in place temporarily and also visible is the through frame brake routing. still need to cap off the shifter which I may get a handrail cap for.

kind of busy in this photo but you get the idea of what's going on to move and stop this beast! still need to fabricate the bumper then it's time for tear-down, prep, and paint.

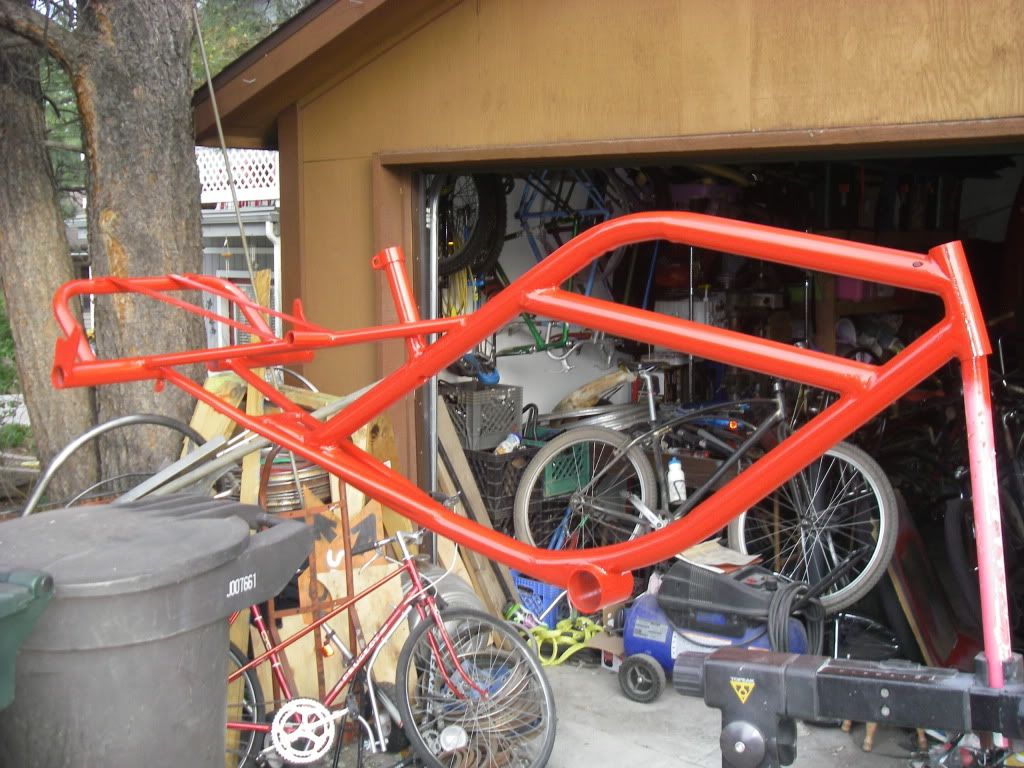
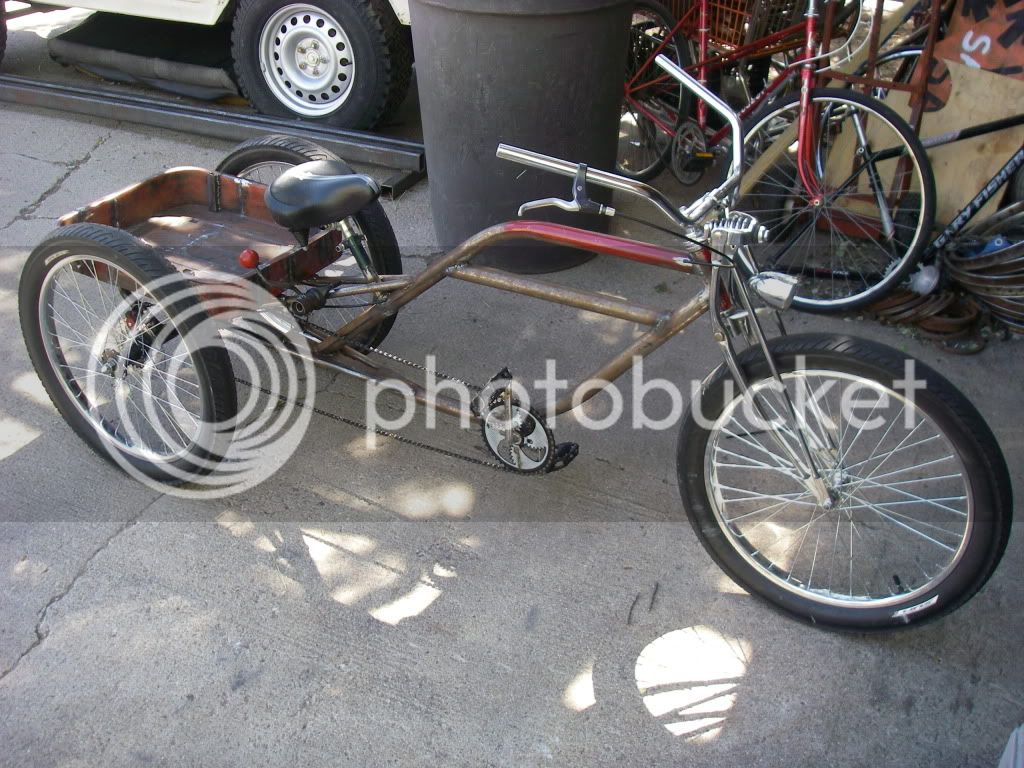
took the trike apart this morning for final weld cleanup and paint. Here it is before the teardown...
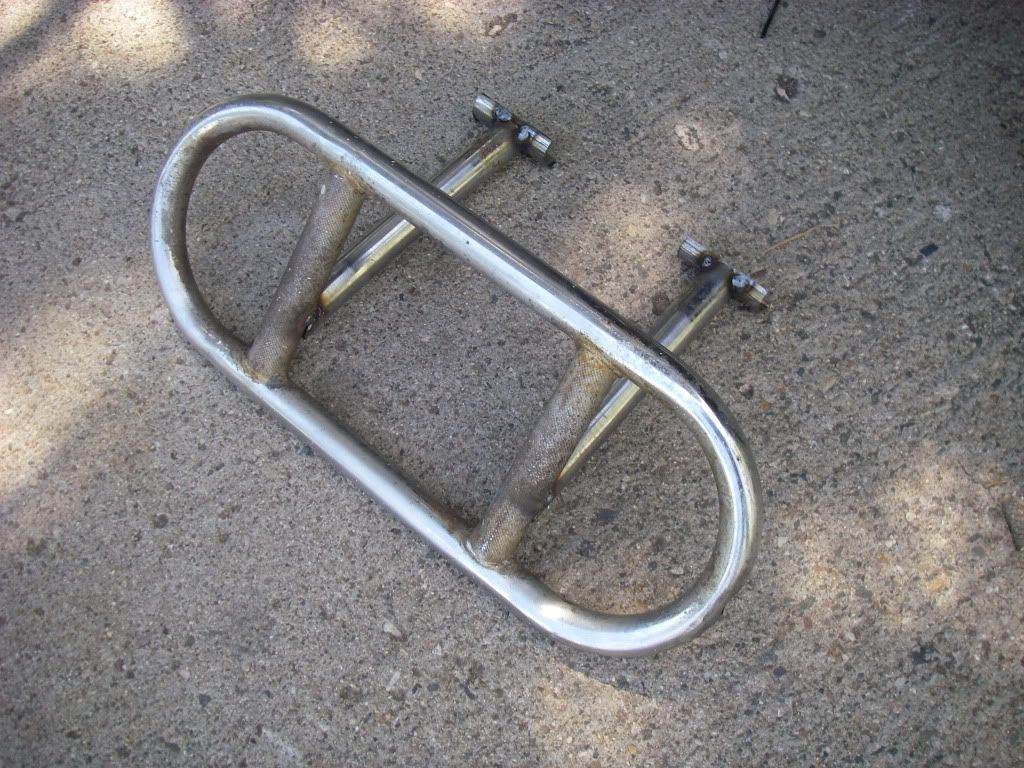
I also made the bumper today! need to do final welding and polish it to bolt on.
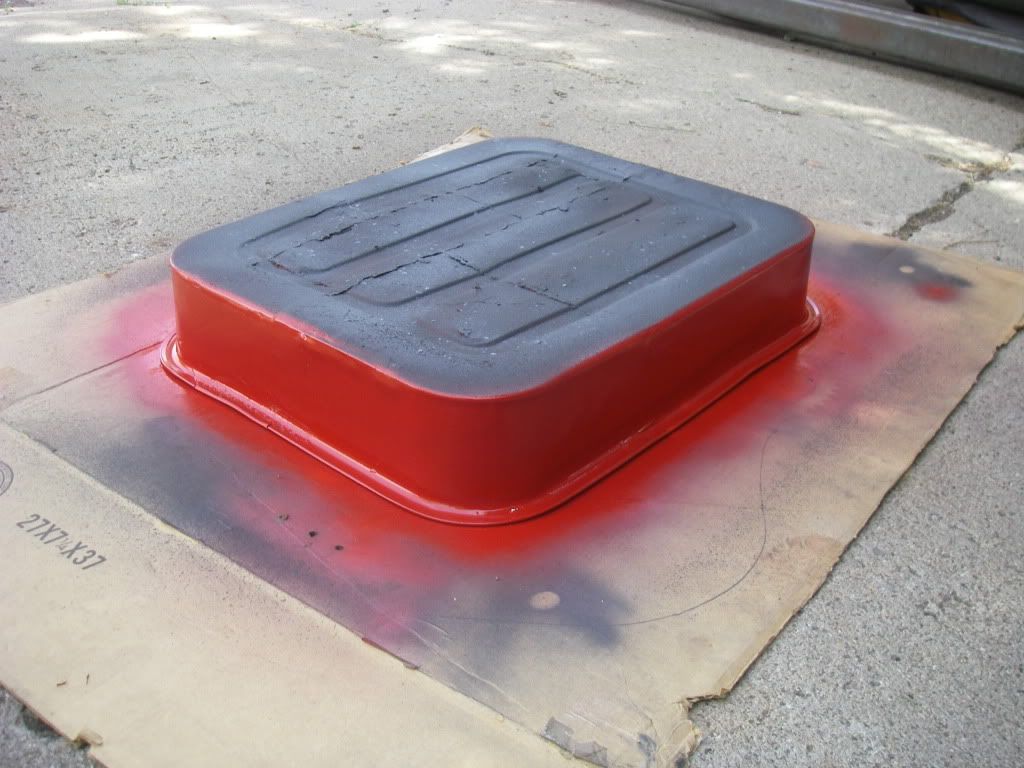
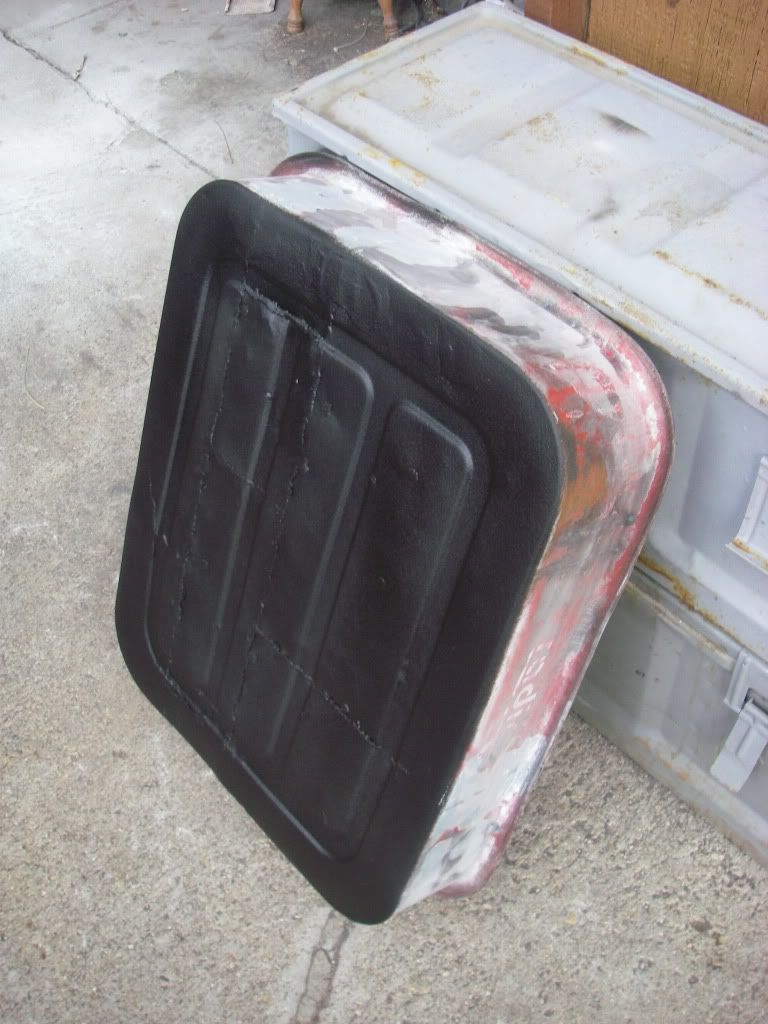
got some undercoating which I will be using on the bottom of the bed and inside. threw it on the bottom to see how it looked. patience required to not let it run!
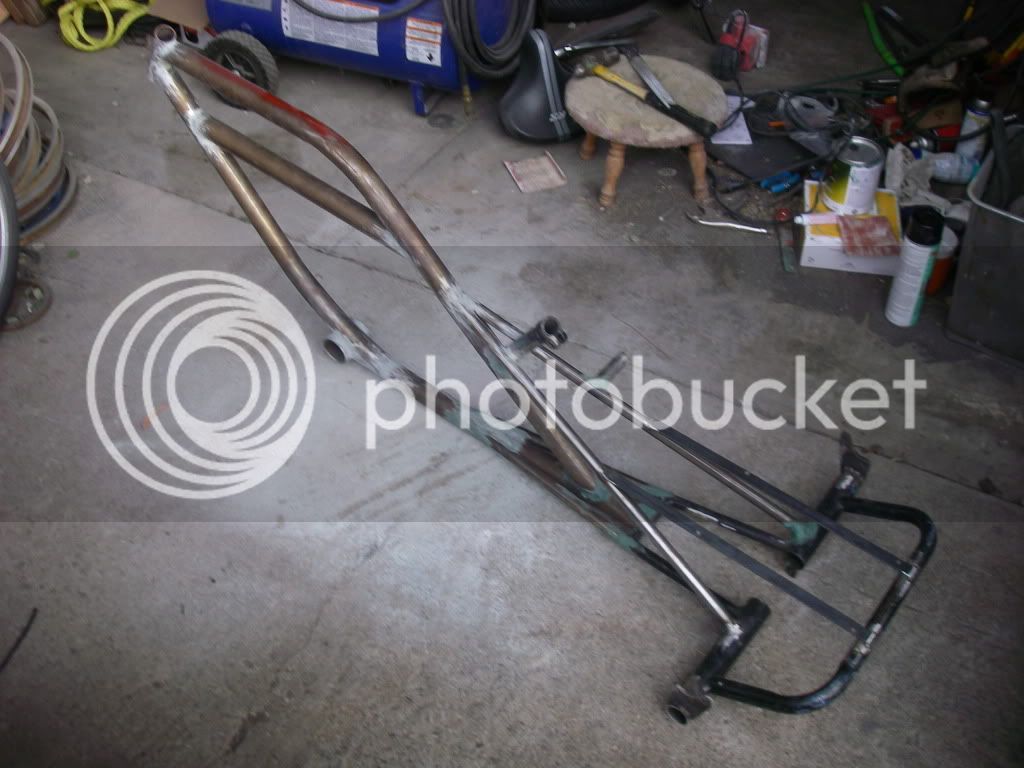
little bit of body work on the welds and hopefully I can get some paint on tomorrow! Friday is closing in fast!

I also made the bumper today! need to do final welding and polish it to bolt on.

got some undercoating which I will be using on the bottom of the bed and inside. threw it on the bottom to see how it looked. patience required to not let it run!

little bit of body work on the welds and hopefully I can get some paint on tomorrow! Friday is closing in fast!

Nice!


