(MBBO#04 Class 2) PEDRO. (PEDRO GOT A NEW OWNER!)

Rat Rod Bikes Bicycle Forum

Help Support Rat Rod Bikes Bicycle Forum:

This site may earn a commission from merchant affiliate links, including eBay, Amazon, and others.
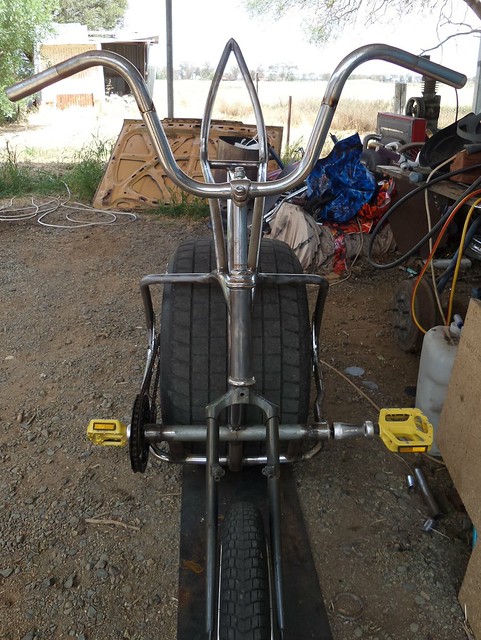
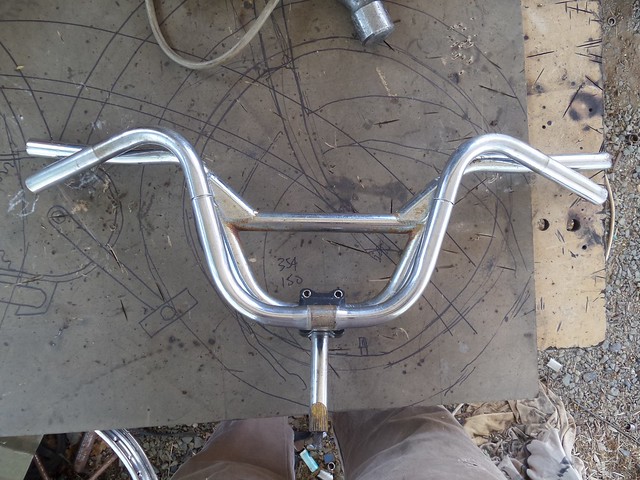
Started today by working on the bars, decided to cut and reweld the mini apes with less pullback, that would also get the width out similar to the BMX bars for extra stability.

Here they are cut, moved and sleeved but not yet welded placed over the BMX bars:
22213465280_a0f282a9c4_z.jpg


Tacked and on the bike:

21780349713_fe475d27c0_z.jpg


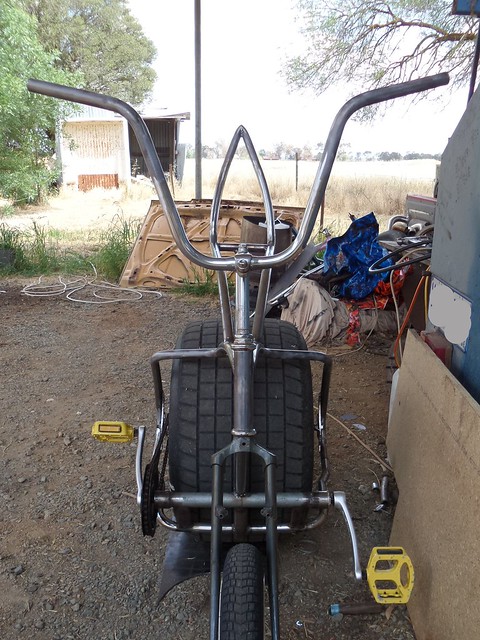
Test sitting on the bike and looking at them fitted, I decided I did not like the way the bars curved down to the ends, it made the bike look sad and I also thought the bars might be even more comfortable slightly higher, so I cut up yet another pair of BMX bars and used the bar ends off them to extend the original mini apes into mid size apes but with a narrow centre for knee clearance... These are the bars this bike needed:
22214604279_400d12726f_z.jpg


Took it for a ride and it is so comfortable and much easier to control now!

That ride highlighted the need for brakes though, almost got myself into trouble by going way too fast and not being able to pull up!

So... On to the brake!

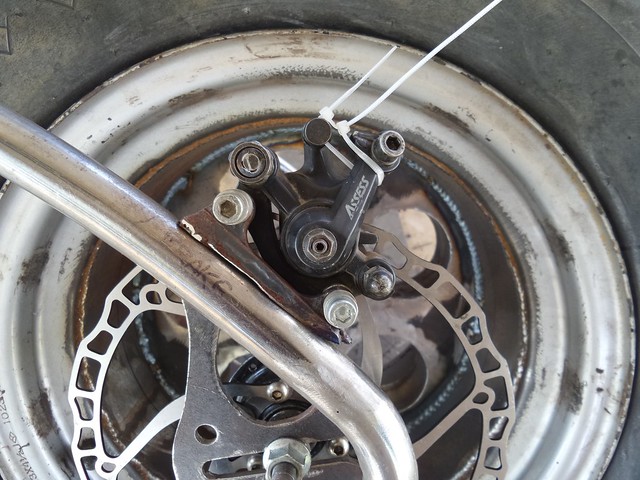
Fitted up the 203mm/8" disc and worked out where the calliper would mount best, turned out the angle of the seat stay was almost perfect!

I bolted a mount on and cable tied the brake closed tight to the disc and was ready to tack the mount on:
22412261511_6c6468b295_z.jpg


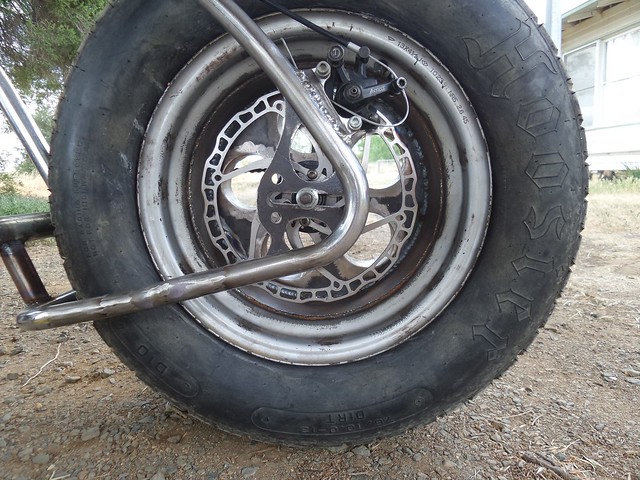
Weld, weld, weld and this is the result after refitting the calliper and wheel:
22388271832_128a736fbf_z.jpg


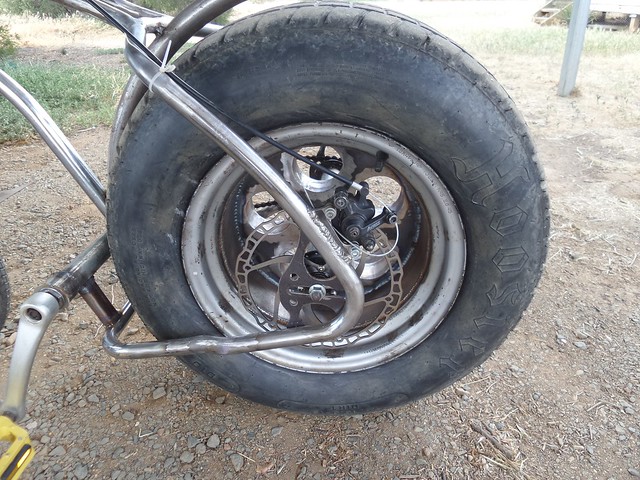
A functioning brake! And it works really well!
22213709148_684b028ea6_z.jpg


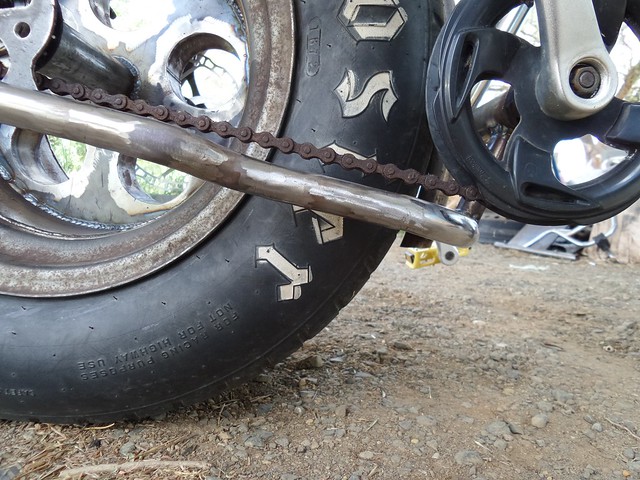
Last thing I did was to bend the chain stay down slightly on the drive side to give more clearance to the chain, it was occasionally bouncing just enough that it would mess up the paint when it was done, a couple of chocks of wood and a tap or two and now it has 1/4" of clearance:
22412279771_8b1918b309_z.jpg


That is it for today, I took it for a good ride, it is rather nice to ride now, happy to go fast and I can actually brake too!

Luke.
 
Teased me all the way to the end.....waiting for that ride with brakes video with you leaving a gigantic patch on the pavement / gravel flying into the camera lens!:bigsmile: You really made progress today. And your paint idea sounds exciting. This "flake gun" how is that different from a regular paint gun? Not that I even know what a regular paint gun, says Mr Rattle Can.....
 
Teased me all the way to the end.....waiting for that ride with brakes video with you leaving a gigantic patch on the pavement / gravel flying into the camera lens!:bigsmile: You really made progress today.

I might have to get that video for you soon! Today was a good day, I still have the seat bolting area to build and some cable guides to add, trim the brake bosses off the forks and one other little thing, but it is getting close now!

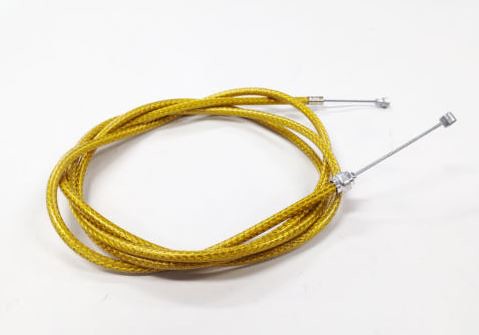
Ordered a nice cable for it yesterday, I no longer need that 120" long tandem cable with these shorter bars, so more options:

22421108211_82d82866e1.jpg


And your paint idea sounds exciting. This "flake gun" how is that different from a regular paint gun? Not that I even know what a regular paint gun, says Mr Rattle Can.....
That particular gun sprays flakes out dry...

As I understand it, flake used to be done "wet" by mixing the flake with clear coat and spraying 2 coats over a matching colour base coat, followed by 5 or so coats of clear and a wet sand to smooth it out, the result was that the paint was an even colour and there was some sparkles to it, but less contrast.

The other option was spraying 5-6-7 coats of flake and clear to get full coverage with the flake allowing lots of contrast, but some areas will have flake on top of flake adding to the roughness, then the 5 or even more clear coats and a wet sand to smooth it out, this resulted in a much sparklier paint job but very thick, lots of product used and more liable to crack or shrink...

The new way of doing it is to spray your black primer followed by a slow dry clear and while the clear is still wet you use the dry flake gun to "blow" the flakes onto the wet paint at low pressures, they stick to the paint and any extra just falls off rather than adding excess thickness, then you need about 3 coats of clear and a wet sand to smooth it out. The result is full even coverage, lots of contrast and flip in the colours but without the excessive paint layers.

It can also apply much bigger sized flake than a standard spray gun. Apparently they don't block up like a clear mixed flake will and they use less flake and less clear coat is needed to smooth it all out.

I have never done any Metal flake in the past, but this new method seems far simpler and less likely to go wrong, all the painting can be done in 2 days as opposed to weeks which is important with a deadline in the mix...

Luke.
 
So if you grab the brake hard and peddle backwards you can do a cool standing still wheelie?
Hahaha. That would be awesome, I'd actually have to try it. After a few beers of course.(wouldn't want to feel the impact of my body hitting the ground.) :blackeye:
 
So if you grab the brake hard and peddle backwards you can do a cool standing still wheelie?
Hahaha. That would be awesome, I'd actually have to try it. After a few beers of course.(wouldn't want to feel the impact of my body hitting the ground.) :blackeye:
Ah... No... It has a freewheel... :21: Would be awesome if you could though!
How many votes do we get?!?
As many votes for separate bikes as you want in one sitting is the way I normally organize it. :thumbsup:

---------​

Big day today!

ORDERED ALL THE PAINT GEAR AND FLAKE!
:banana::banana::banana:

Bit the bullet and laid down the cash, I have built bikes for less than what I am spending just on paint for this bike... :eek: Still, I really want this to be a show bike, and this is what it needs!

---------​

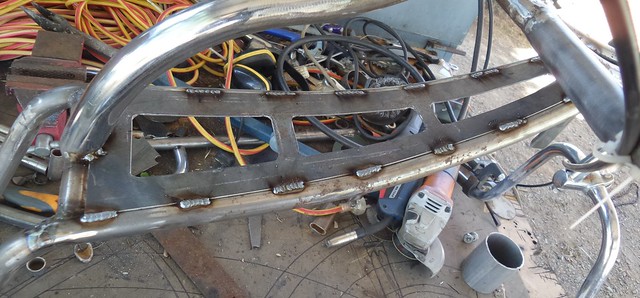
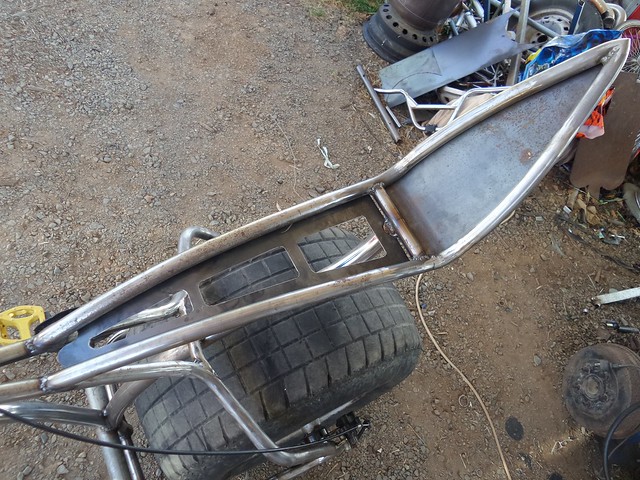
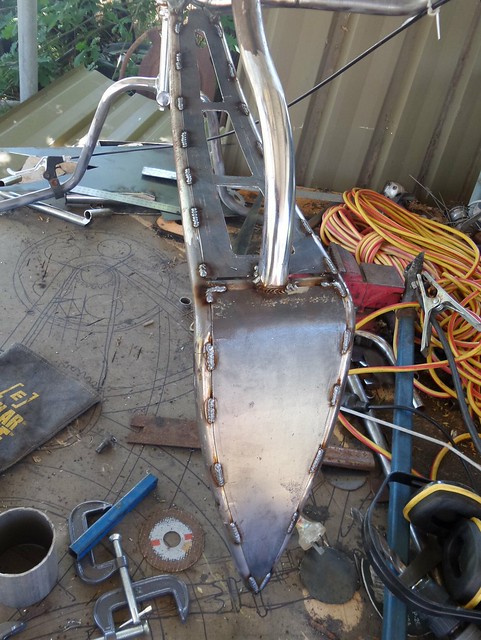
When I got home I went to work putting in the seat base. There will be plywood bolted to this that the padding and fabric will staple and glue to, should be a nice, professional looking job when it is done.

Lots of drilling and trimming on this bit, but it saved some excess weight and will allow a view through to the underside of the seat which will also be upholstered:

21803445084_bedf7633ab_z.jpg


Then on to the rear section which is completely covered:

21805072453_49636abdbb_z.jpg


That was it for the day:

21805064733_ed3661ab95_z.jpg


Getting close now...

Luke.
 
Oh no he didn't!!
:21: Gotta try keep them guessing! My sneaky, sneaky plan is not really working. I get too excited about progress!
As fat as that back tire is you could do trike style rear fenders, one on each side with a tail light on each and a plate in the middle...then those bits you cut out could be the tail light housings. .

Carl.
Cool idea! Not thinking about fenders on this bike though, but I have been toying with a chainguard idea...

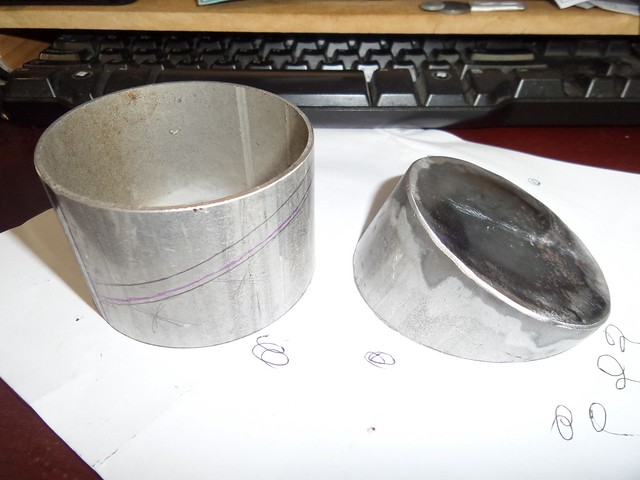
Yes, the angled metal pieces are mounts for tail lights! They will weld on to the seat back.
Should have them on, the chainguard done and the ply cut for the seat soon. Getting close to painting time then!
:rockout:
Looking forward to doing some metalflake! Been wanting to try it for nearly 20 years, but had heard some stories about how hard and how expensive it can be, but doing it with the dry flake gun apparently it is a different story!

Luke.
 
Carl and OJ got it! Taillight mounts...

They will weld to the back of the seat and the taillights will mount to them.

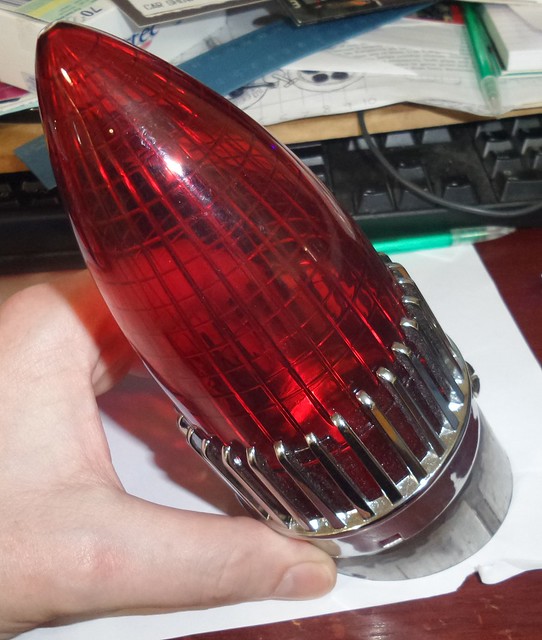
Now to choose lights... What do I have that suits a 3" diameter mount and would suit this bike? Oh, and I need to have two of them...

Just kidding, the seat and mounts were built to suit these:

22294077029_b728faf55f_z.jpg


Bought these years ago for a build that never happened, pretty sure this is the right bike for them...

Luke.
 
Um... Been struggling with that exact issue! Just have to make sure I don't wheelie it I guess?
:D

Luke.
Maybe you could tuck them partially under the seat instead of directly off of the back. I'm sure that with your metal skills that you could transition the horizontal tubing for the lights into the curved bottom seat rails.
 
Last edited:

Latest posts

Back
Top