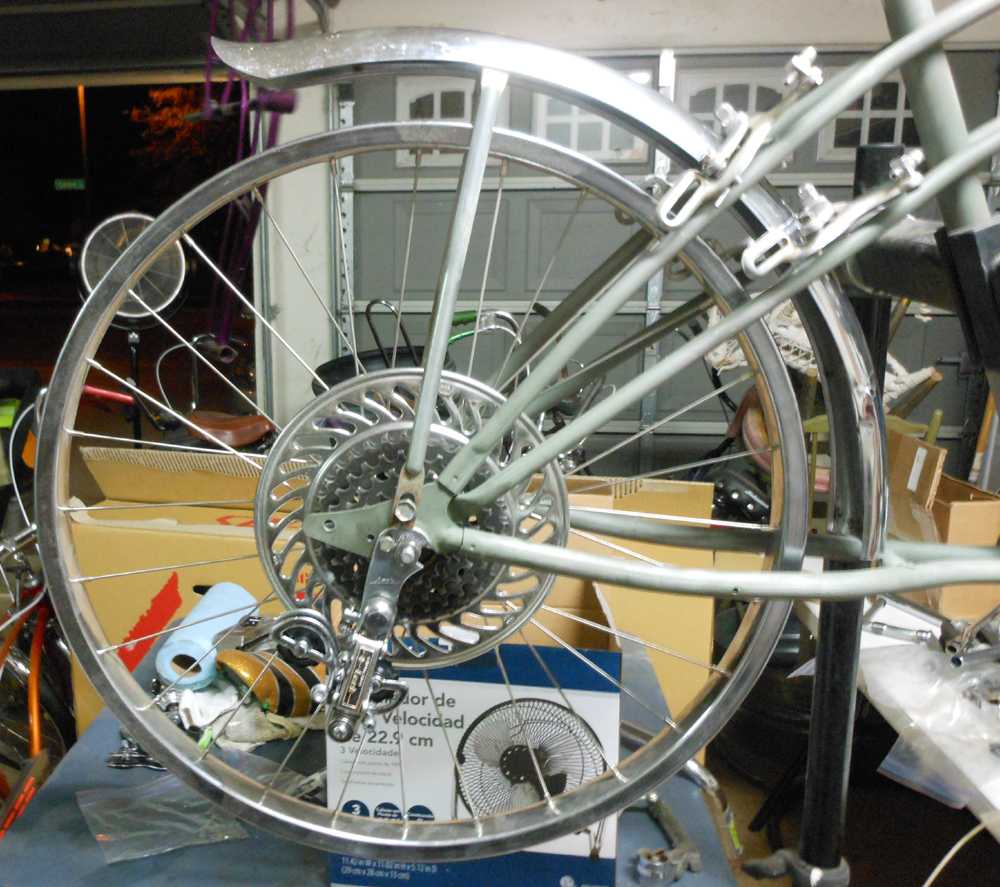
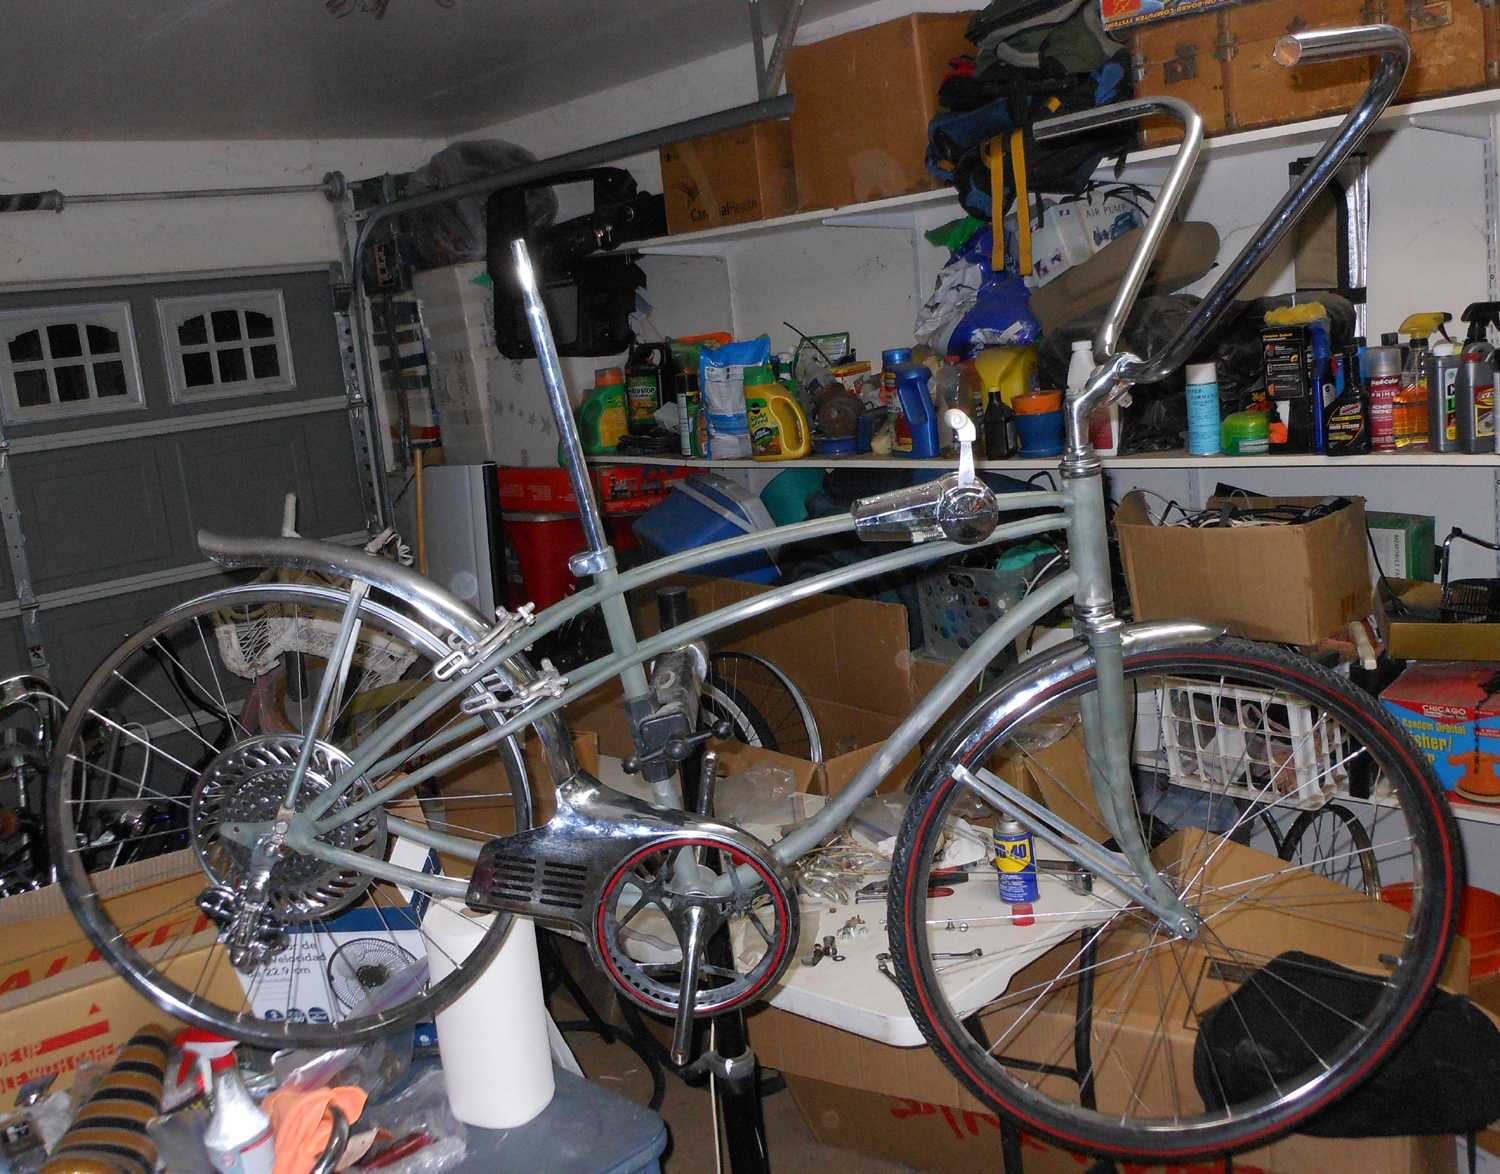
Yes I am. It's a green primer, as you can see in the first pic. But, as I'm smoothing it out I keep finding small imperfections in the metal. I saved this bike from going to scrap, so I think it saw a rough life. I'm giving it some long needed love.
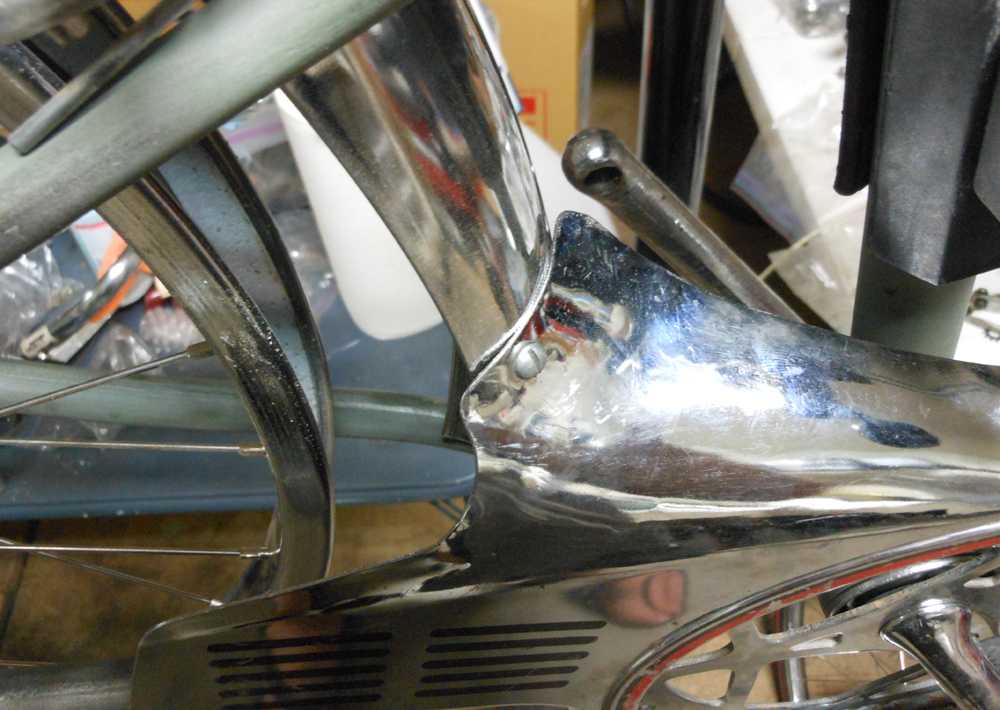
Besides the dings and flaws in the metal, the frames were hastily built I think. There was a lot of welding bead drips all over the frame I had to attack with a file. Those, and the dings, weren't something anyone would really notice, especially you guys only seeing pics. But... I have this perfectionist issue. I know it would have flaws. I'd know where they would be. I would stare right at them for long periods of time. I can't have that. So... this frame is getting a lot of work.
Once I have it all smoothed out I'll build it up before I start hitting it with another coat of Etch and 3 or 4 coats of Build primer. Then more sanding... THEN the paint.
 Just looked up Visalia on the internet. Looks like beautiful country you live in....
 )
)