Rattled (ex ≈ PeaceTogether ≈ name change)

Rat Rod Bikes Bicycle Forum

Help Support Rat Rod Bikes Bicycle Forum:

This site may earn a commission from merchant affiliate links, including eBay, Amazon, and others.
Sweet work buddy!!!! Lots of cool details going on here.
I really like the nosecone light!!!
 
Thanks guys. :D

Luke, I am planning on adding more welds to a lot of the welded areas, especially the high stress points. Might even add in some gussets in some places before tidying up and prepping for paint. :roll:
 
Great job on the bike, glad to see you got to use the spotlight in it's entirety. I've used a couple on different builds and always took the handles off because I couldn't figure out how to mount the whole thing. Cool and unique mounting bracket, it fits the rest of the build.
 
junknutz1975 said:
Great work on the shifter! 8)
Really comin together here!
:mrgreen:

Thanks junknutz. Yeah, I am pleased at how it worked out in general. I'm not that happy with the actual gear stick though. It's a bit long at the moment and touches my thigh a bit, so I will either just shorten it or make another one :roll:

Missing Link said:
Great job on the bike, glad to see you got to use the spotlight in it's entirety. I've used a couple on different builds and always took the handles off because I couldn't figure out how to mount the whole thing. Cool and unique mounting bracket, it fits the rest of the build.

Thanks Missing Link. I was determined to use the whole thing. I have been saving it and the other one I have to put on a suitable car... but I realised that I might not have another cool car any time soon, so I decided to use this one on this bike. Besides, if a cool rod or custom happens along sometime in the future, I can always take it off the bike :wink:
 
Another small update...

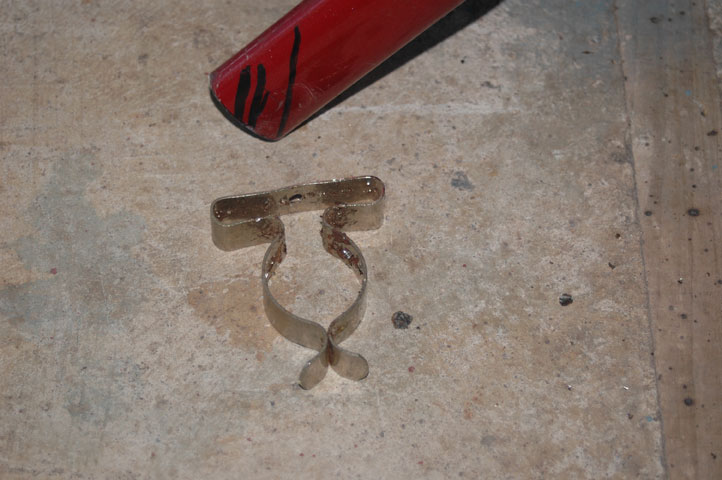
Found a clip to hold up the center stand...
45_StandClip.jpg


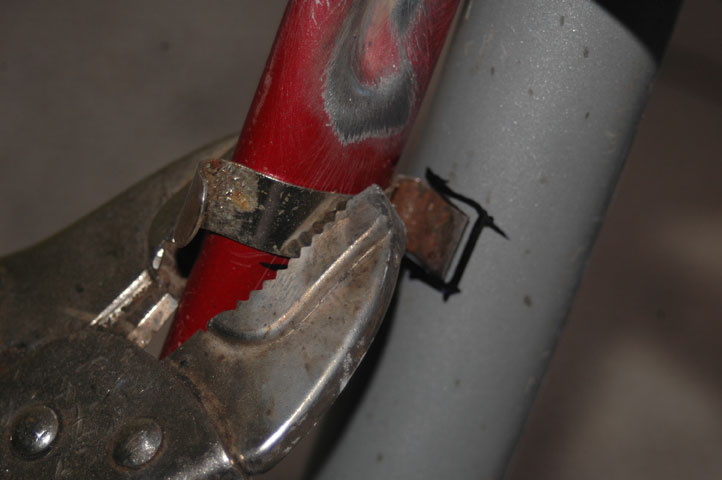
Cut it in half and lined it up...
46_StandClip.jpg


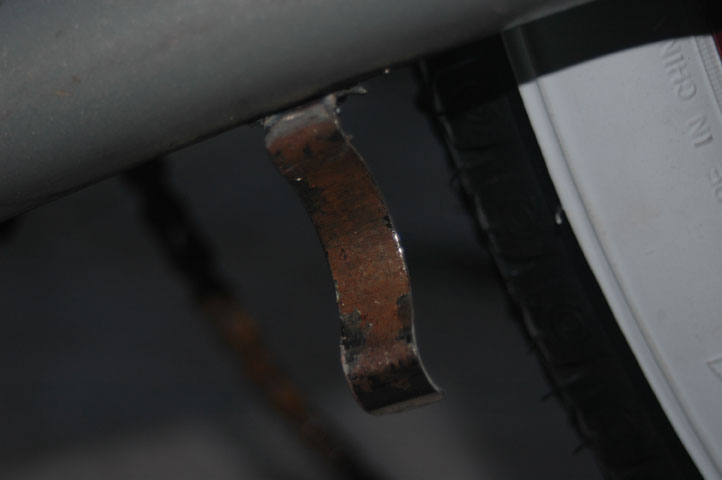
Then welded it on and did the same on the other side...
47_StandClip.jpg


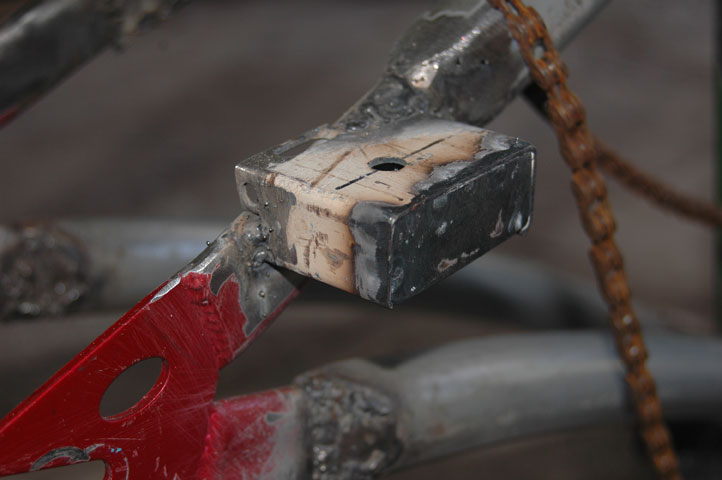
Welded the tail light mount on...
48_TailLightMount.jpg


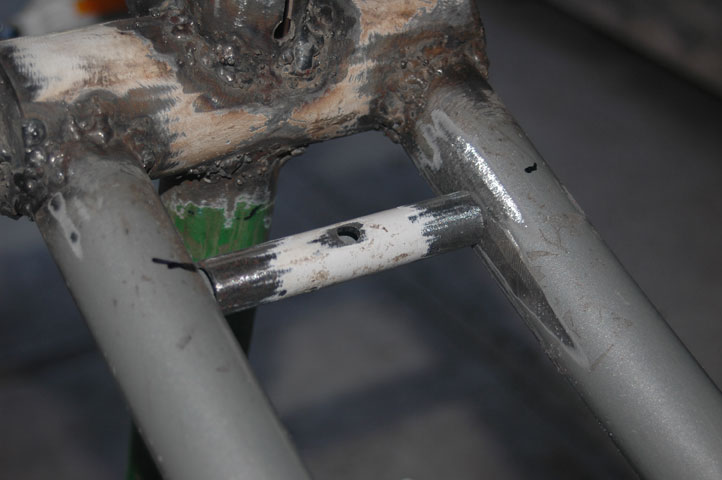
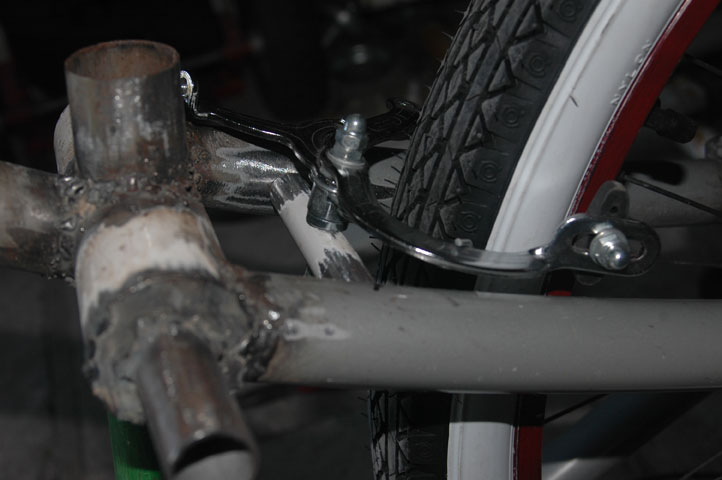
Did a mount for the rear caliper brake. Lined it up...
49_RearBrakeMount.jpg


50_RearBrakeMount.jpg


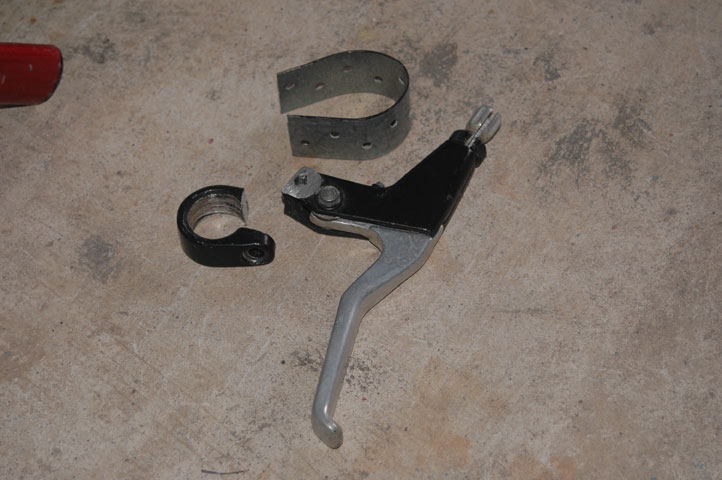
Prepared a brake lever...
51_RearBrakeHandle.jpg


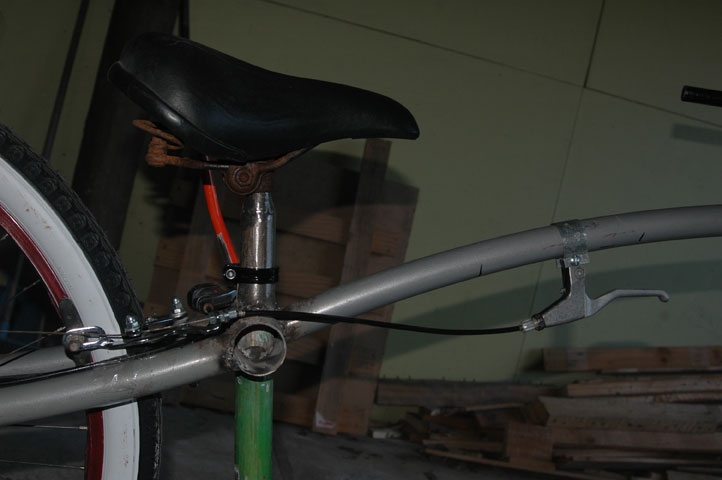
Set up the rear brake...
52_RearBrakeSetup.jpg


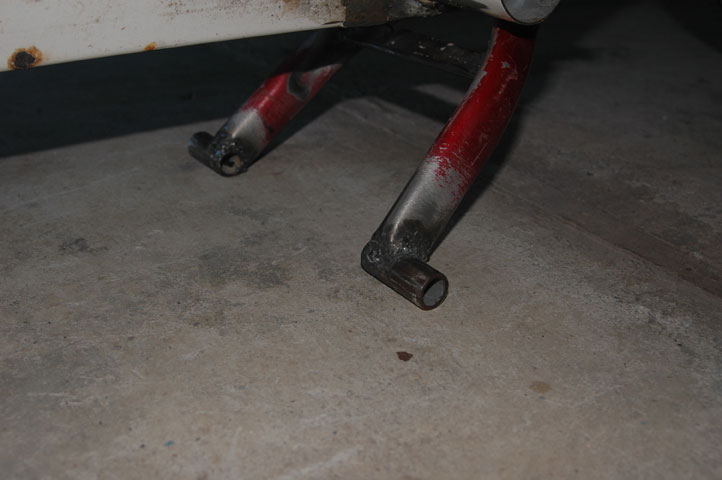
Welded some feet on the stand...
53_StandFeet.jpg


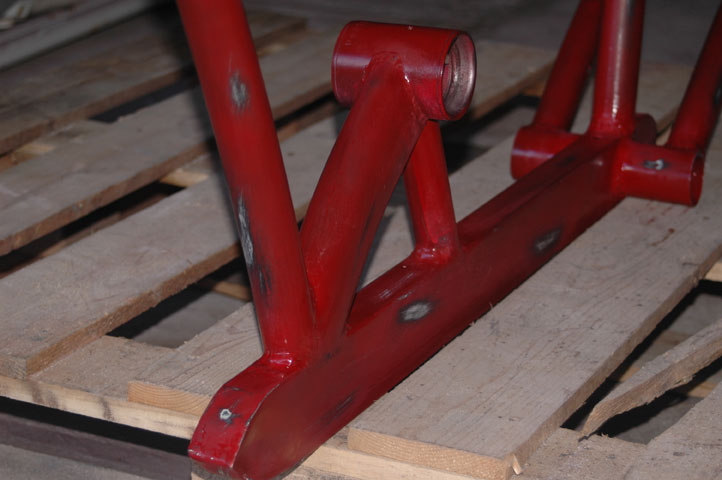
I have since broken the bike down and gone over the frame adding weld to the important areas.

Next I'll be trying to tidy them up before painting. :D
 
You've been hard at work on the details.
I look forward to seeing this baby painted
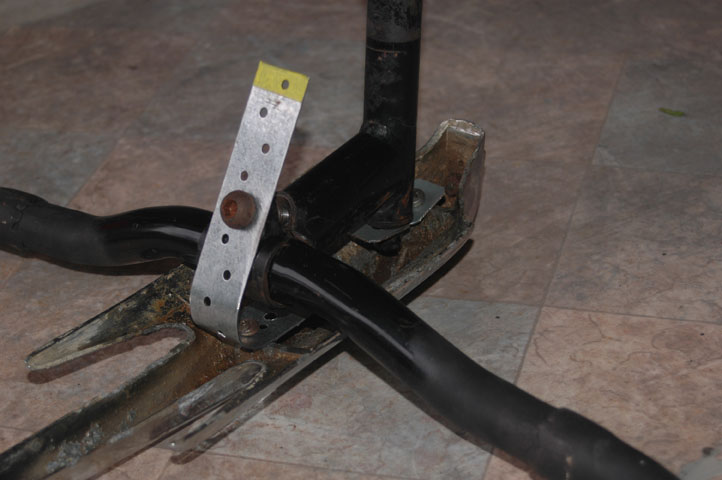
 
A quick update...

I have made the mounting brackets (still need trimming) for the 1946 Ford hood ornament to go on the handlebar...

55_HoodOrnament.jpg


Here is what it looks like...

54_HoodOrnament.jpg
 
Hoodies are awesome on bikes!
Yours looks like it was made for that spot!
 
Glad you all like the hood ornament... had to get something on there that has an 8 on it :p

Another update...

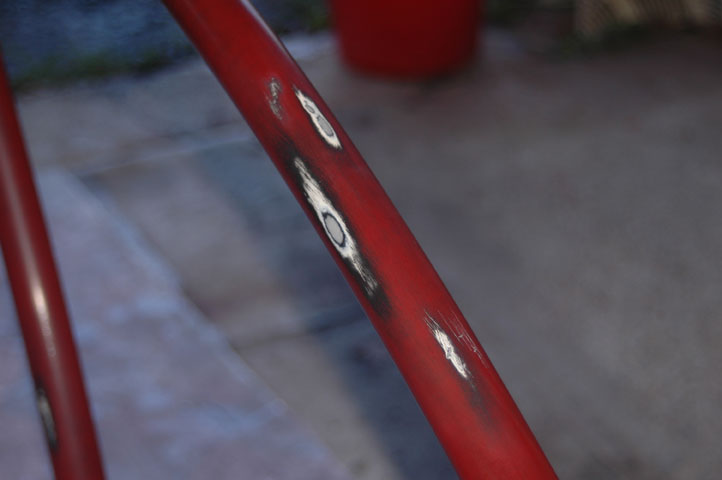
I forgot to take in progress shots, but here are a couple of shots showing the fake patina on the frame, which I am not that happy with but it will do...

56_Patina.jpg


57_Patina.jpg


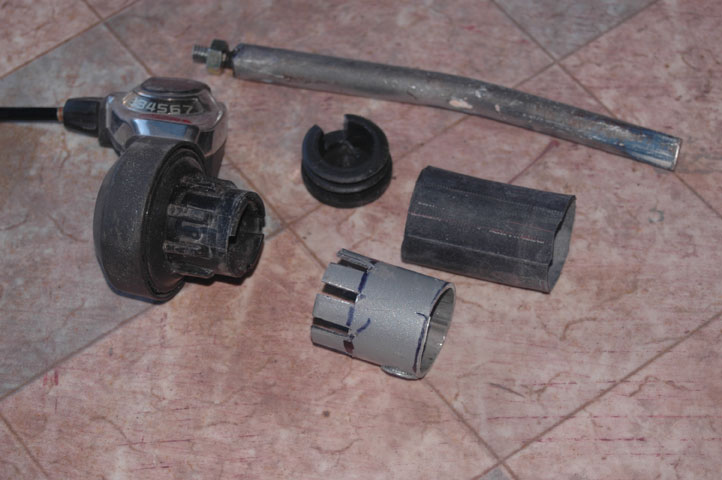
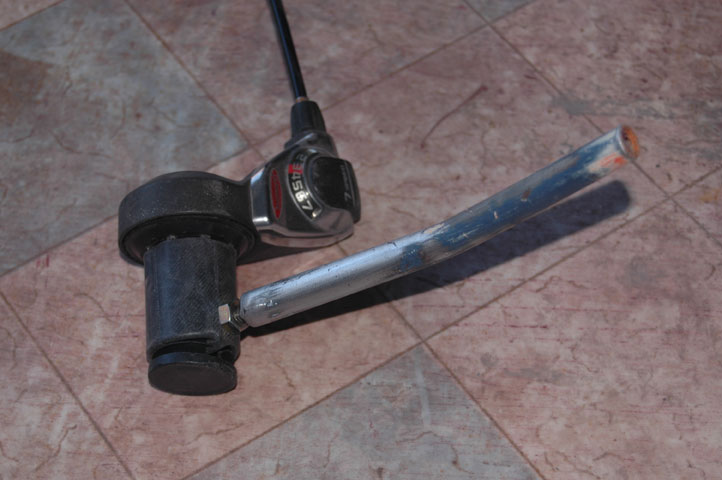
These are the parts for "tidying up" my gear lever, a bit of old inner tube and a plastic end plug...
58_GearLeverParts.jpg


The inner tube piece goes over the metal slotted bit to cover it and then the end cap is pushed in to hold it. It will be pushed in properly when finished...
59_GearLever.jpg


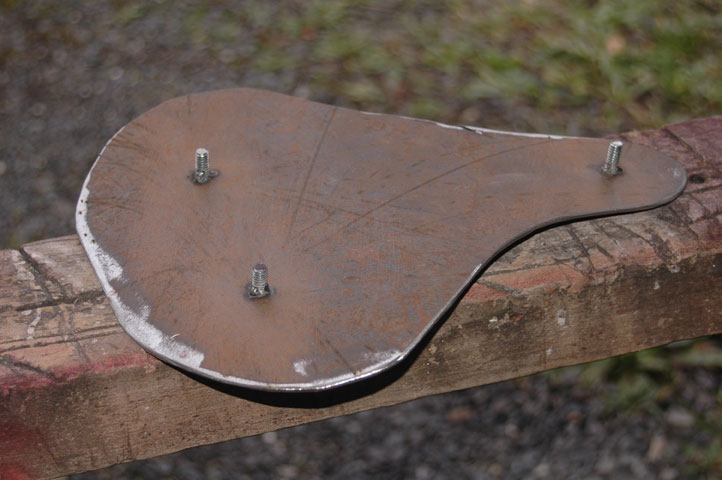
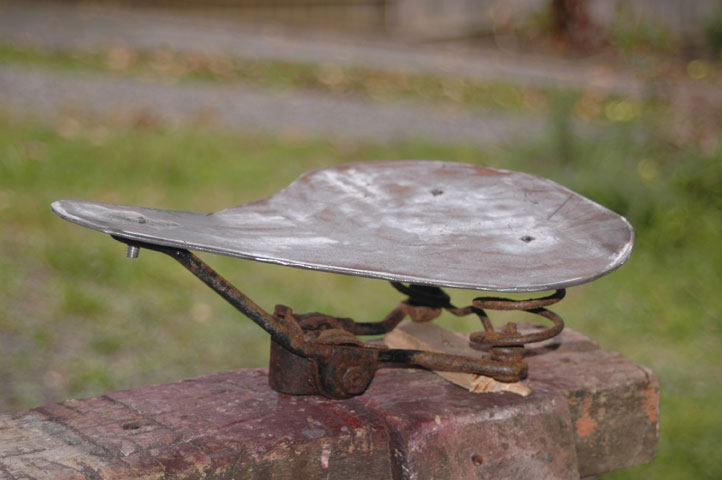
Cut out a metal seat pan and welded on some mounting studs...
60_Seat.jpg


Doesn't look too bad. It will hopefully have some foam attached and some sort of material over it, but have not decided what yet...
61_Seat.jpg


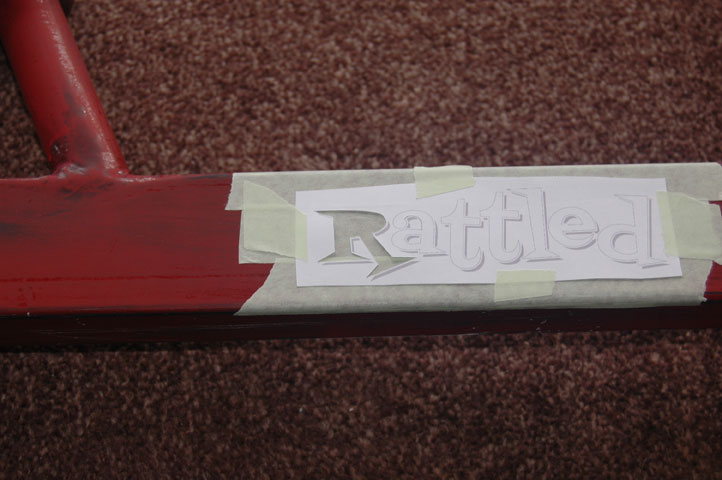
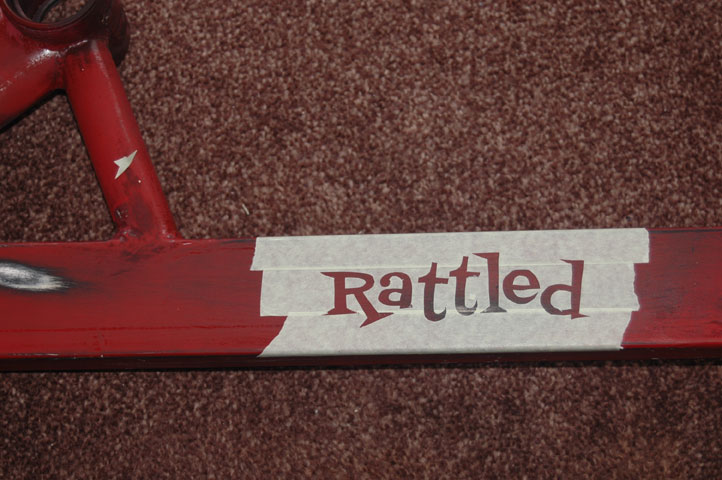
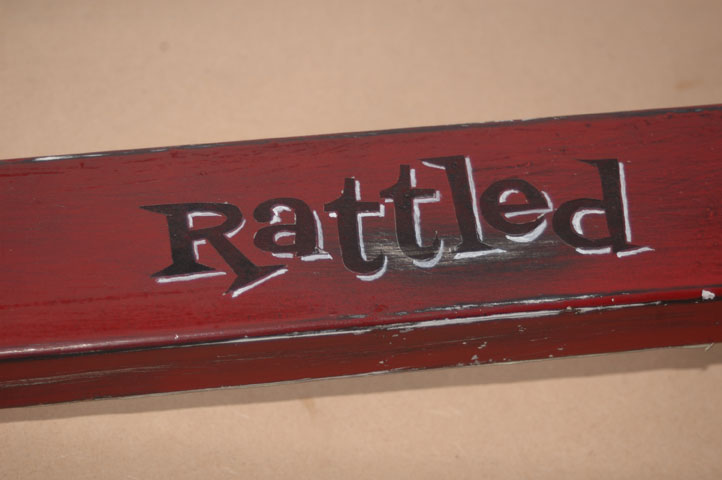
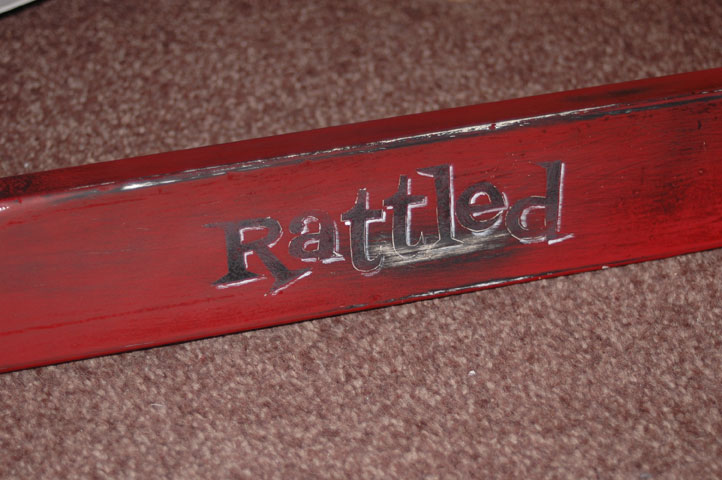
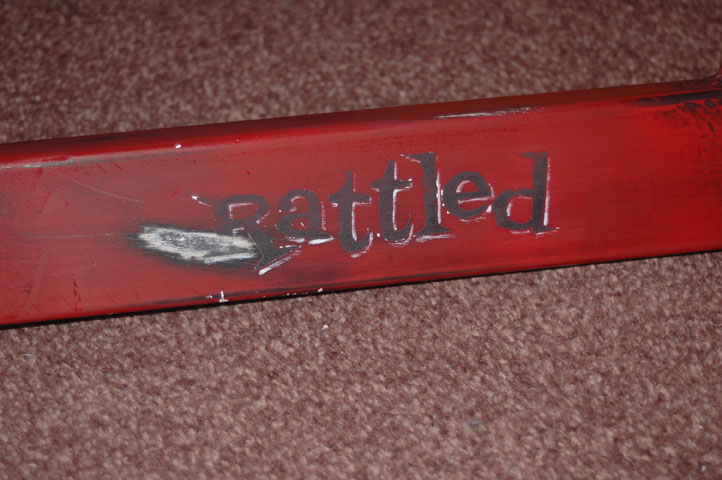
I also painted the "Rattled" name on the bottom frame rails. These are the steps...

Printed out a template and taped it to the area that I had masked off, then cut it out using a sharp hobby knife...
62_NameTemplate.jpg


This is the resulting mask...
63_NameMask.jpg


Here is the resulting name without a shadow line...
64_NamePaint.jpg


And here it is with the shadow outline...
65_NameOutline.jpg


The finished name after weathering it back with sandpaper. Left side...
66_NameFinishLeft.jpg


And right side...
67_NameFinishRight.jpg


Time to start reassembly... 8)
 
As expected, that is some cool work with your logo!!!!
 
Thanks guys :D

Tommy Atoms said:
Lots of detail on this one. I thought you were finished but you just keep going. Nice job.
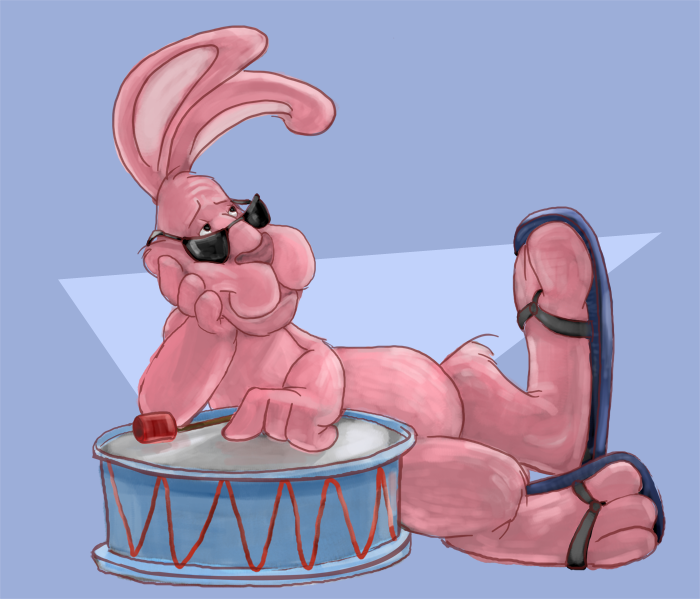
Yeah, that's me... the energizer bunny. Except most of the time like this...

02092007-762967.png


:lol:
 

Latest posts

Back
Top