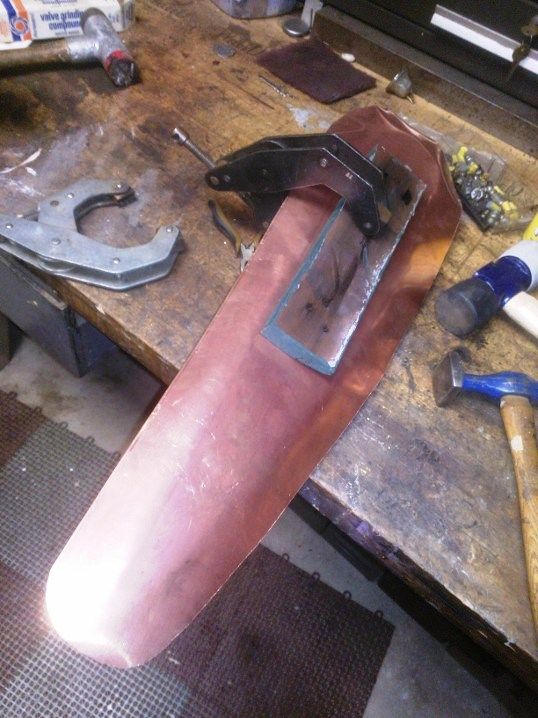
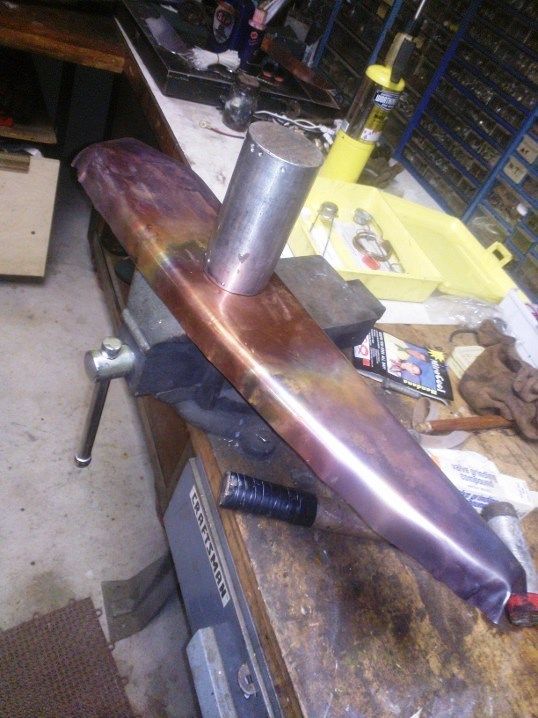
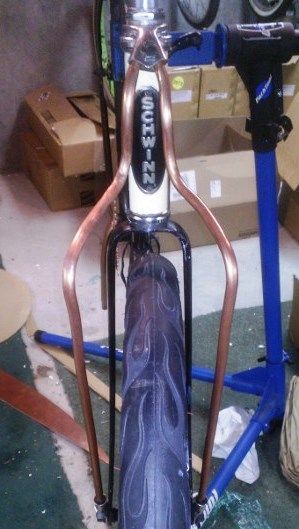
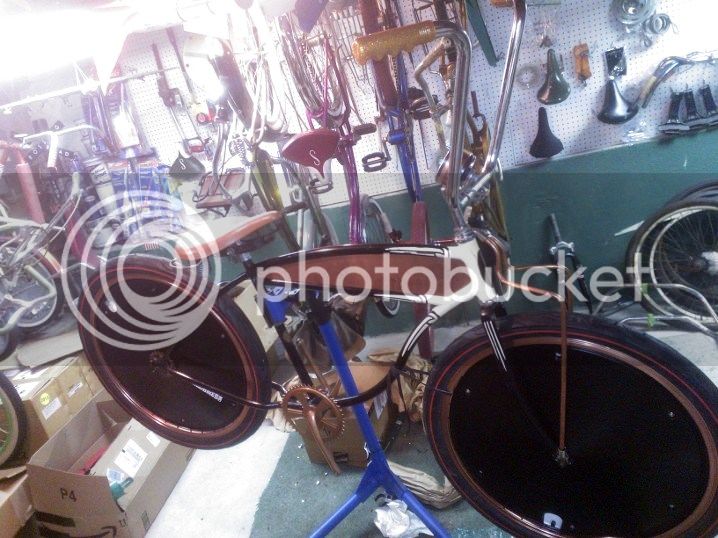
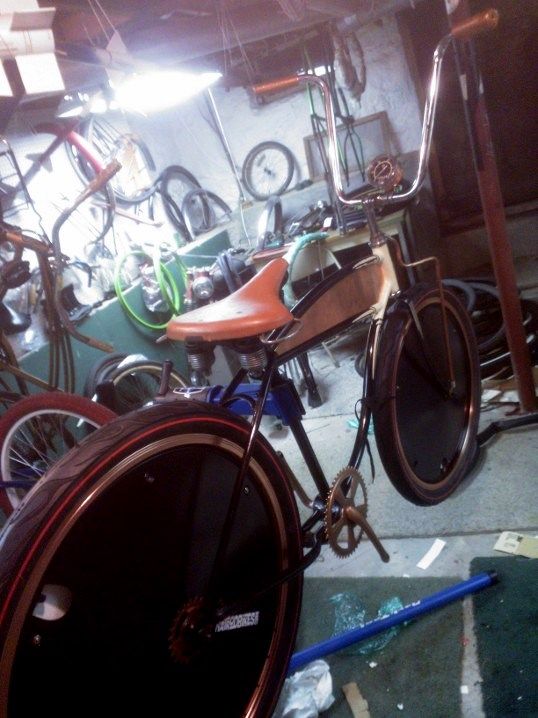
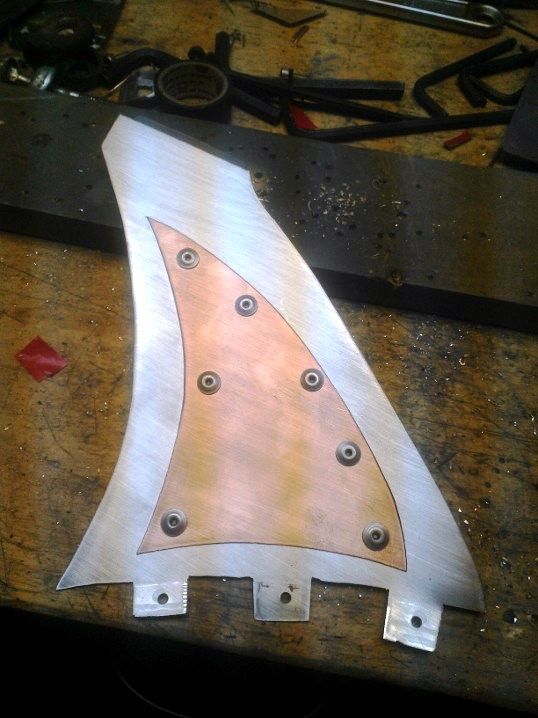
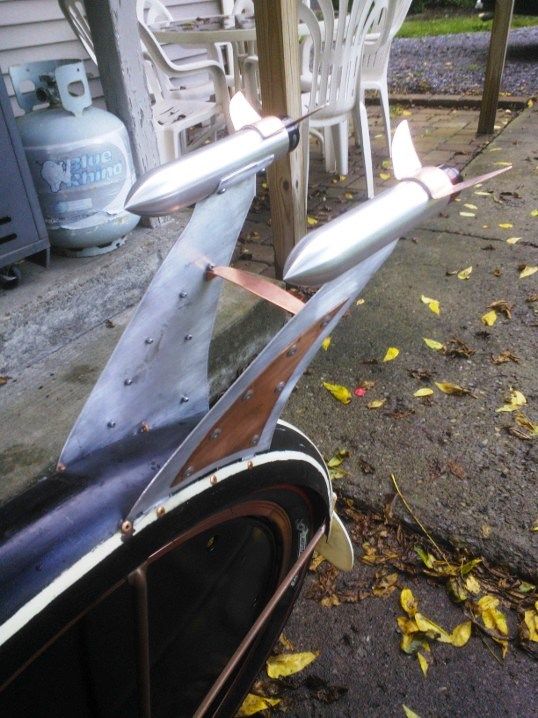
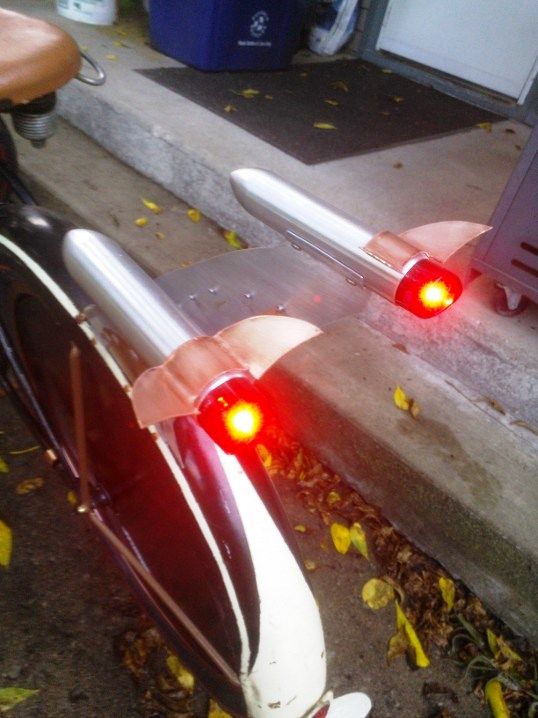
OK, fins up! Sorry for the delay in reporting, but a busy day at work and frequent conference calls prevented posting. The fin modules were finished last night, with the copper accents riveted on:
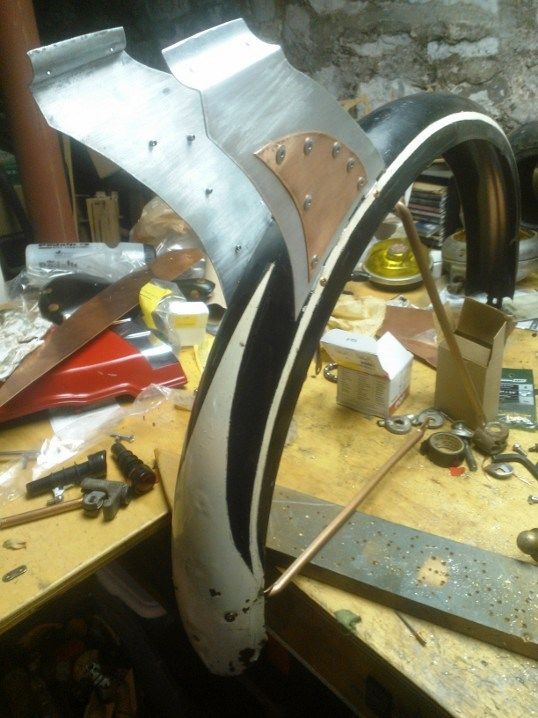
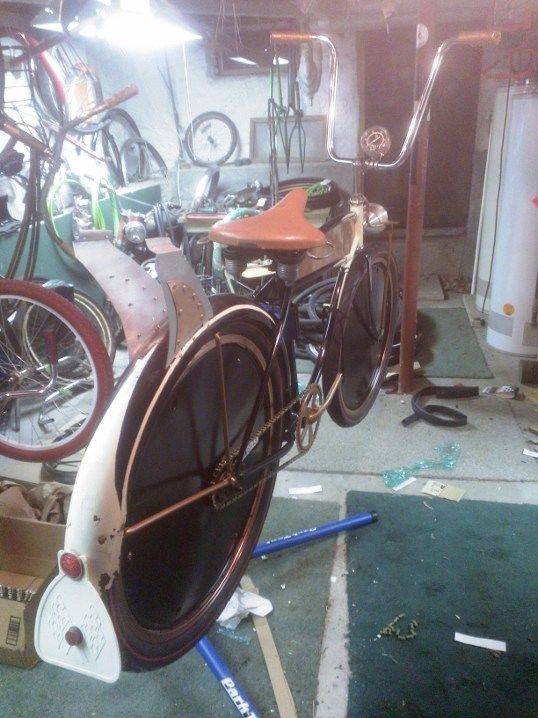
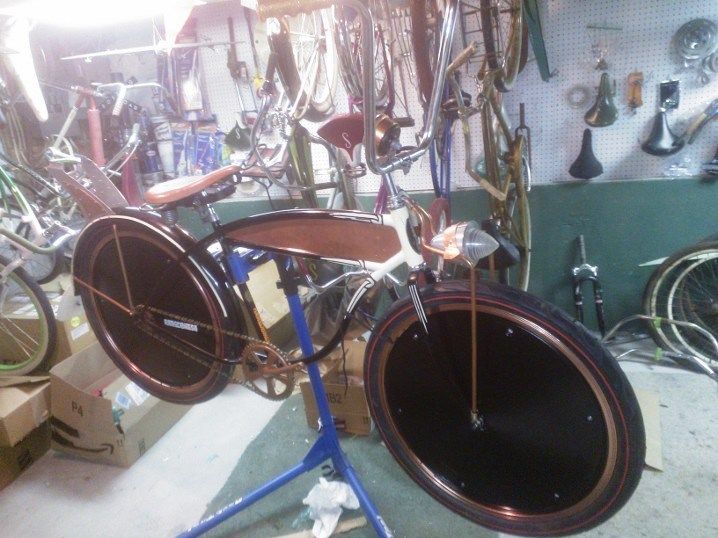
I used aluminum rivets to contrast the copper, elsewhere I am using copper rivets to contrast the aluminum. The fender stays were also riveted on with copper, though due to the larger preexisting holes in the stays, I had to make little curved washers for them to pull against. The fins were attached to the fender after the stays. Basically the front and rear tabs are bent outward against the underside of the fender, then riveted, the middle tab is bent inward and riveted so as to provide some stability and make it non-removable (at least not easily). The finished fender (sans rocket lights):
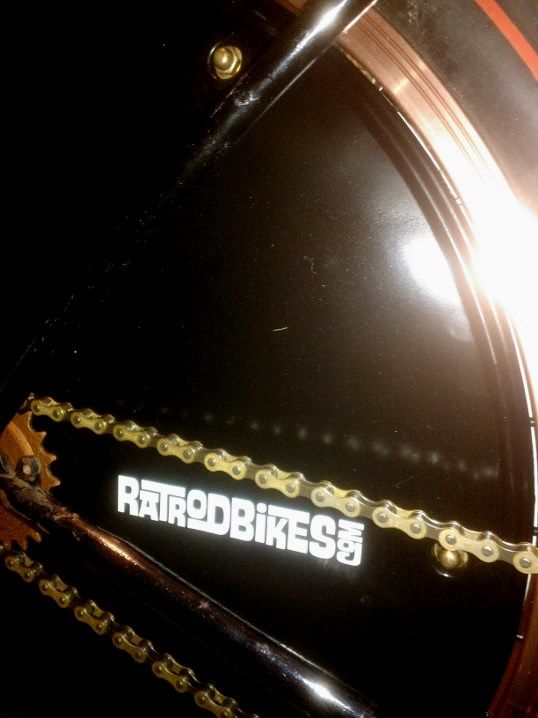
I also dug up a cross-flagged mudflap in my shop, so I attached that too. And, you can see, I made up a chain for it.
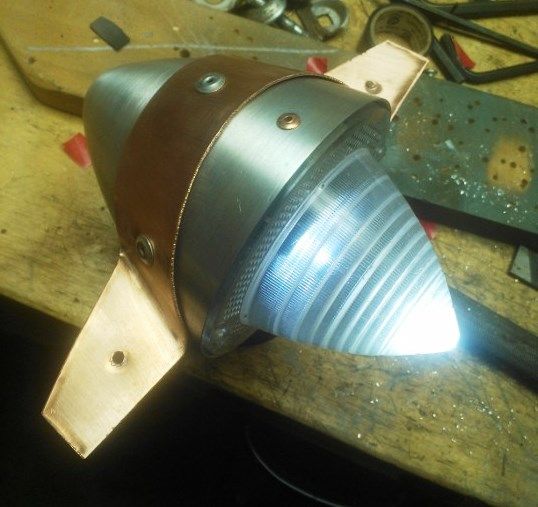
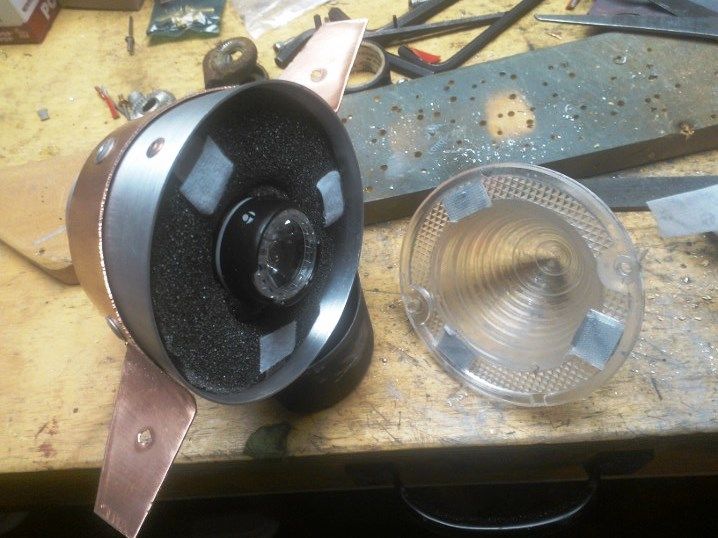
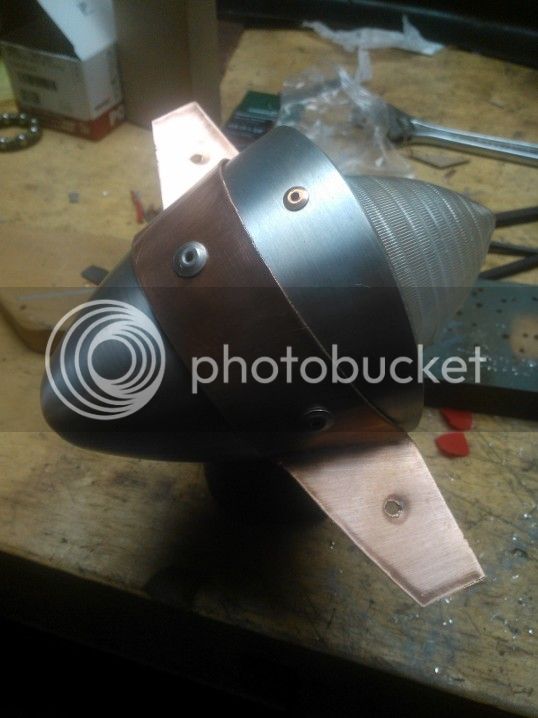
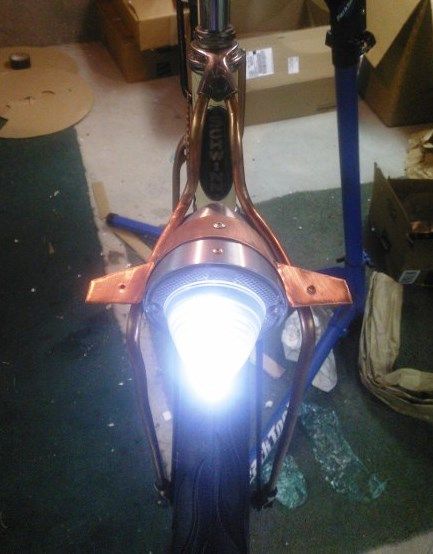
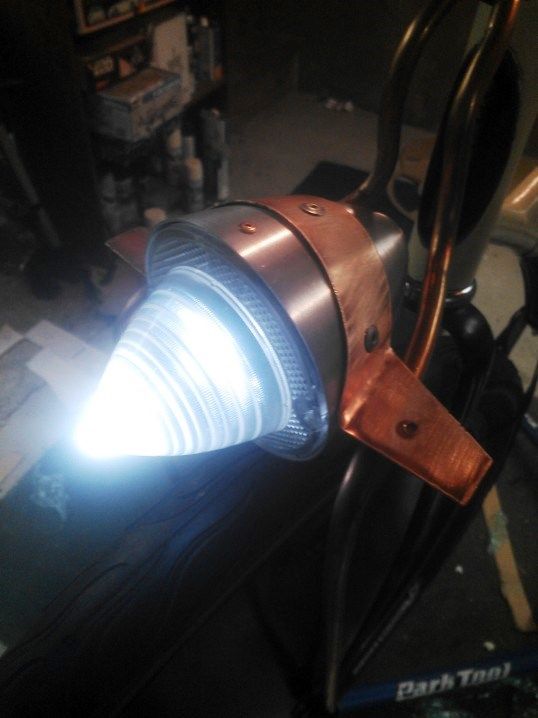
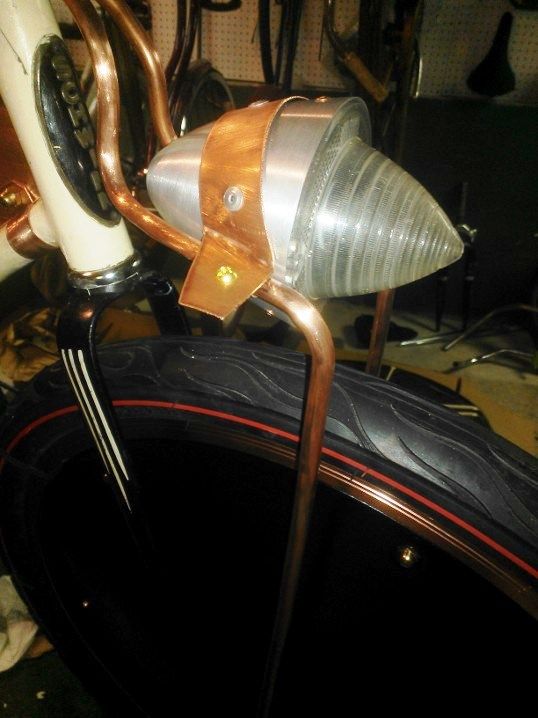
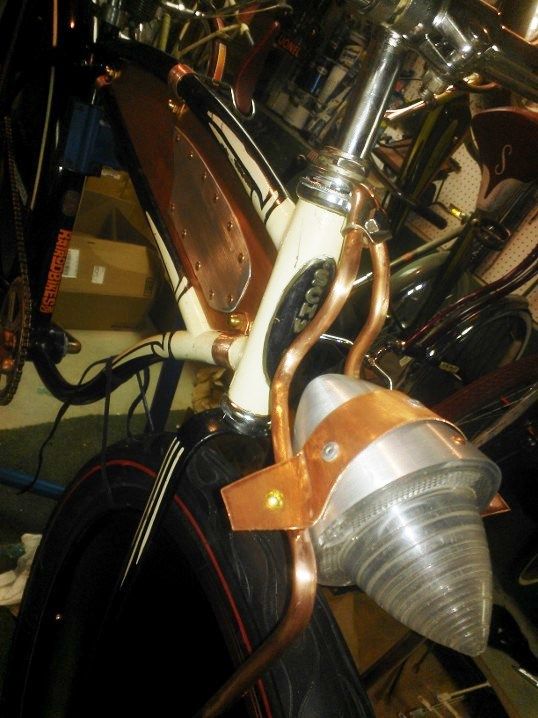
Now, about that headlight. I used a scrap of copper sheeting to make a mount bracket, which I formed over the cone, then flared out the ends. My original plan was to simply wrap under the light, then form the end extensions over the truss rods, sort of crimping it down. But since the cone was actually a parabolic shape, the sheet strip doesn't just form straight over the middle of the cone. It winds up curving forward from the centerline to the ends. A little tweaking got it to fit the compound curvature better. As I got to looking at it, though, I realized that the mount bracket looked pretty cool, especially with the "wings" on the sides. So, I decided to install it with the bracket on top, so the cone hangs from it. It'll actually be attached to the truss rods with P-clamps underneath the wings, so they can stick out the sides.
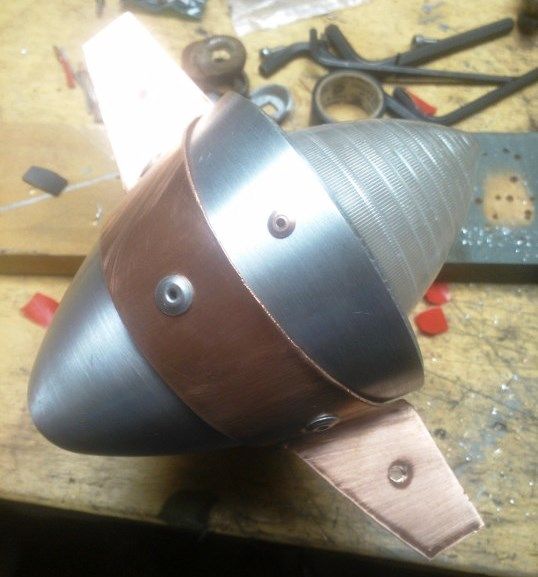
As mentioned before, aluminum rivets were used to accent the copper bracket. The lens is attached with velcro. I made 3 right angle brackets out of steel scrap and riveted them inside the cone (using copper rivets). Velcro strips are adhered to the tabs, and to the back of the lens. The original plan was to use magnets (that would stick the steel tabs), but that didn't provide enough holding force.
The steel tabs do double duty, in that they also restrain the foam insert that keeps the light unit in place. The velcro allows me to remove the lens easily to turn it on or off; we'll see if it holds it well enough to prevent it from being bounced off. Assembled light:
It reminds me of some sort of pudgy cartoon airplane.
More to come!

