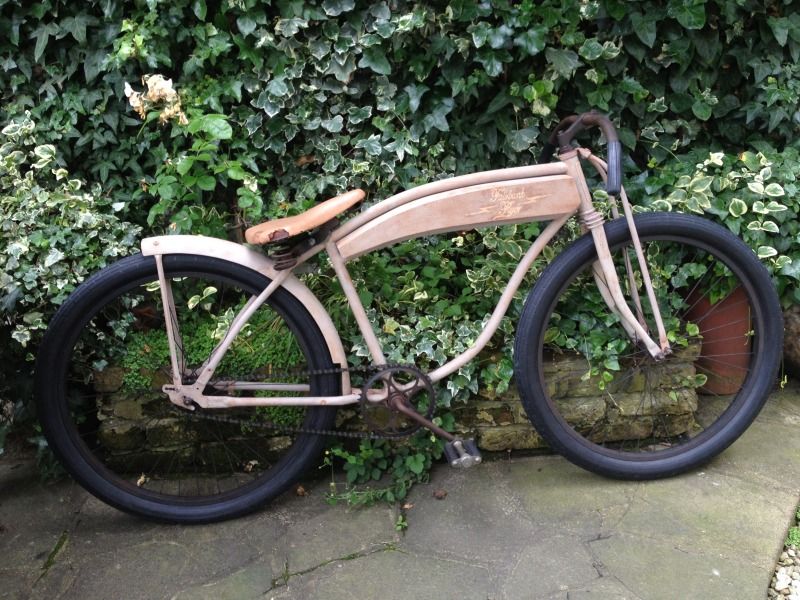
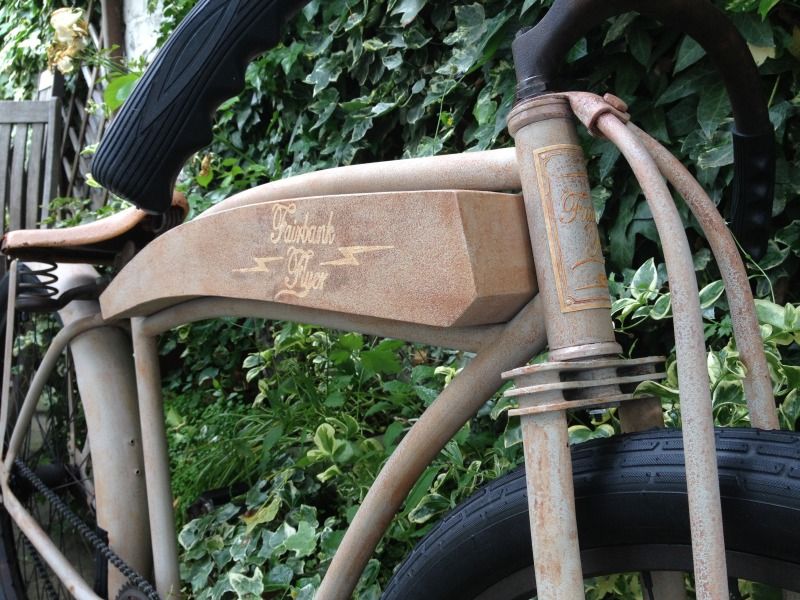
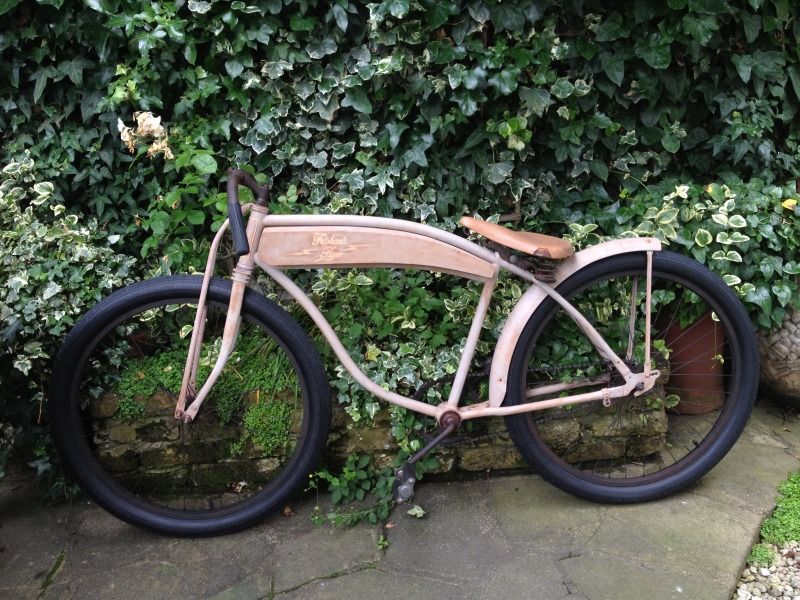
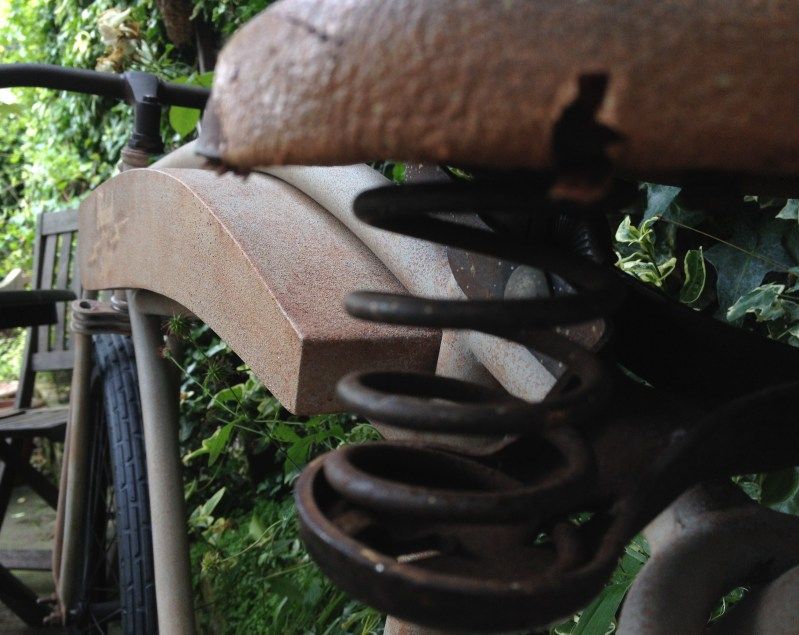
====~THE FAIRBANK FLYER~==== * Now With *New* Engine Sound *

Rat Rod Bikes Bicycle Forum

Help Support Rat Rod Bikes Bicycle Forum:

This site may earn a commission from merchant affiliate links, including eBay, Amazon, and others.
Re: ====~THE FAIRBANK FLYER~====

Peatbog said:
What the...!? Now you got rusty wood? Holy smokes, you're killing me man.

That last picture you posted of the bike is sweet. You can see the rust effects really well.

:mrgreen: Thank you Peatbog! It took a while to get it to look just right. Just need to cut the stencil out for the logo now, the tank should look nice with a faded rusty logo on the sides of it.
 
Re: ====~THE FAIRBANK FLYER~====

Tank look awesome on the bike! :D Great job on the patina :wink:
 
Re: ====~THE FAIRBANK FLYER~====

Dingus Khan said:
This bike is turning out AMAZING! Borrowing some of your techniques.

Thank you

killingevilnine said:
I like this bike. I caint wait for more!

I'm very pleased you like it. Thanks so much. More coming real soon. Going to do some more work on the logo for the tank today.
 
Re: ====~THE FAIRBANK FLYER~====

tvc15 said:
Wow! That bike is really coming together!

Thanks. Yep, it's getting there. Still got a few things to do, but it's coming together nicely. :)

SCHWINNRAY69 said:
Tank look awesome on the bike! :D Great job on the patina :wink:
Cheers Schwinnray! :D
 
Re: ====~THE FAIRBANK FLYER~====

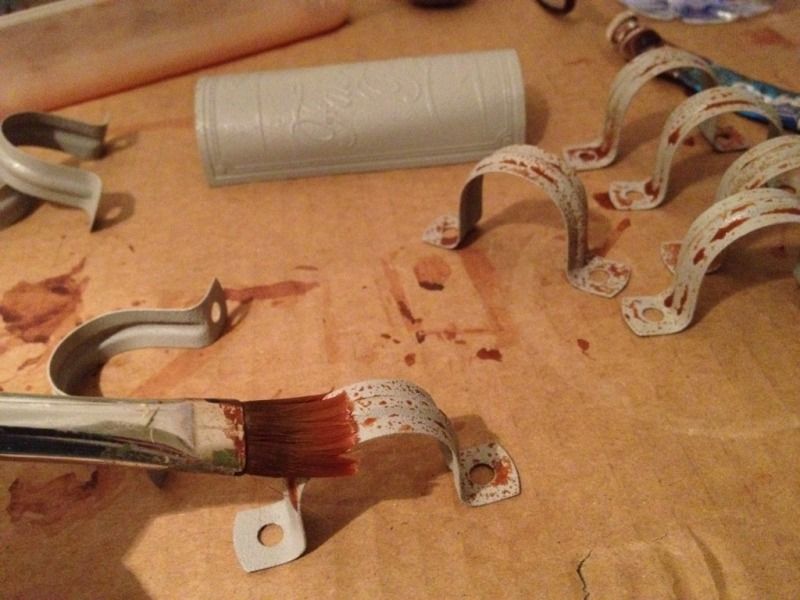
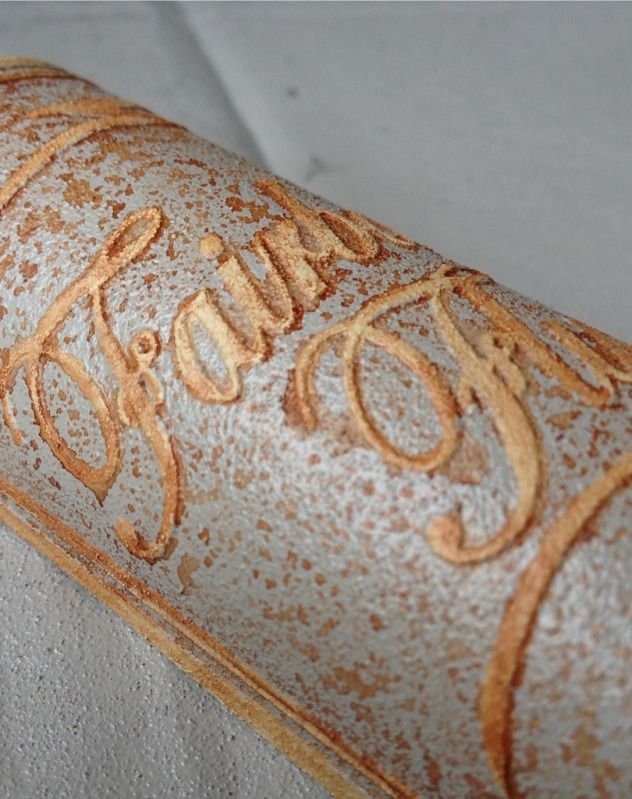
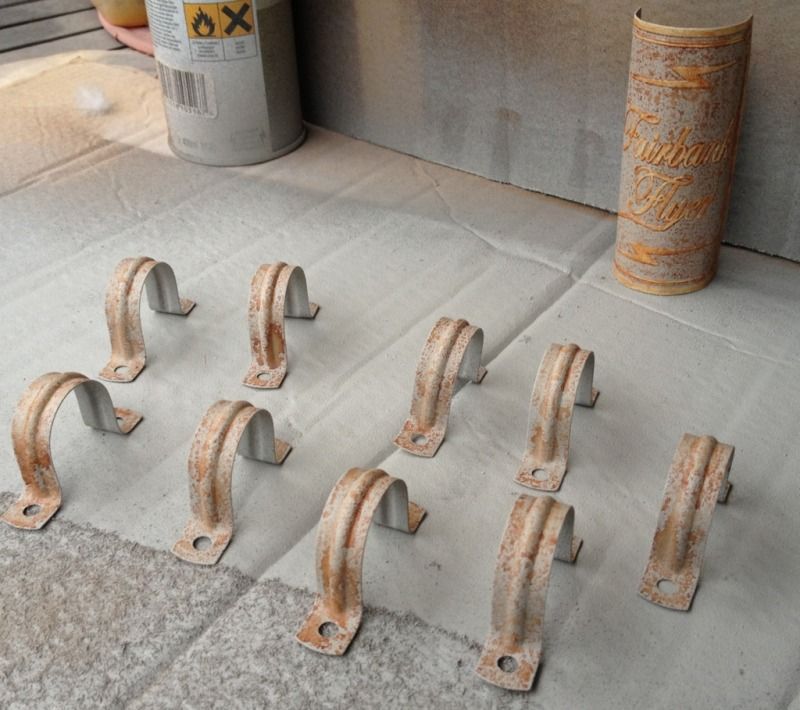
Update time on the badge and copper clips. I finished painting them today.

I put two coats of stain on the clips first and left that to dry fully, before dry brushing.

e34cd83d.jpg


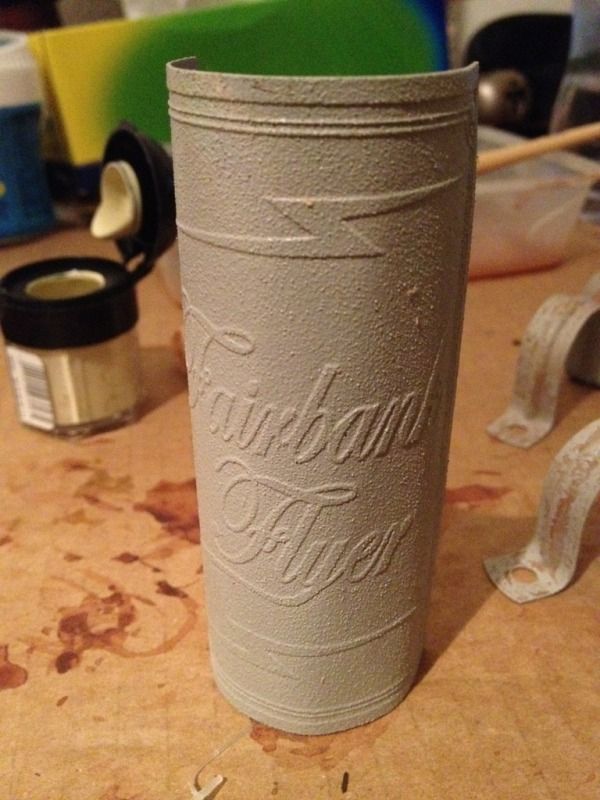
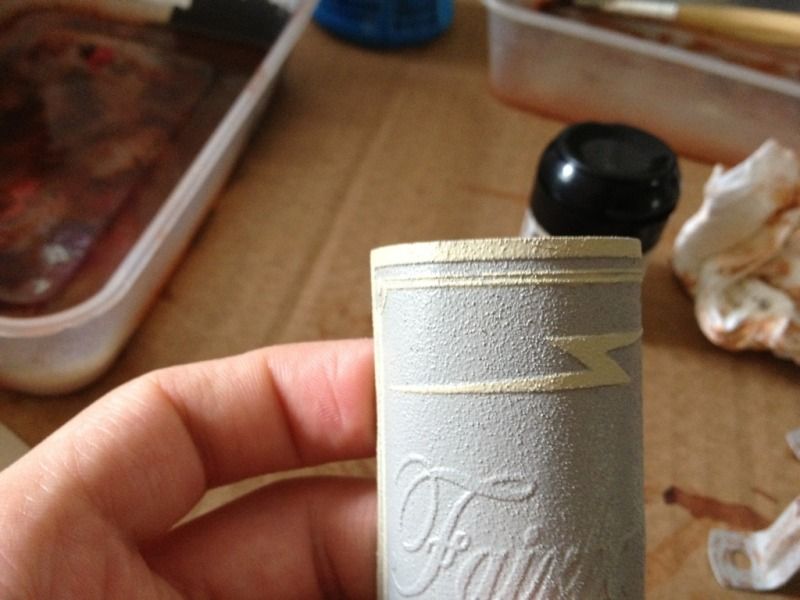
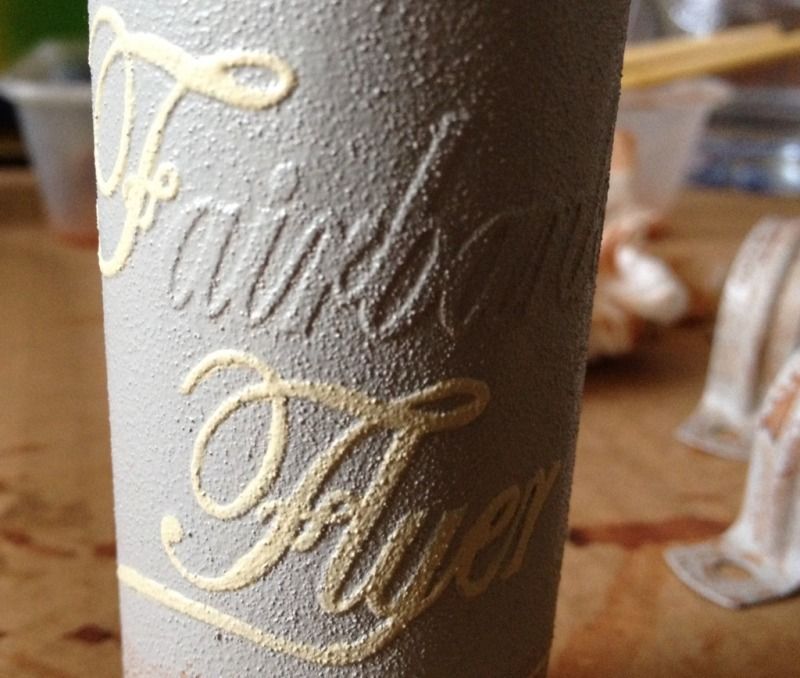
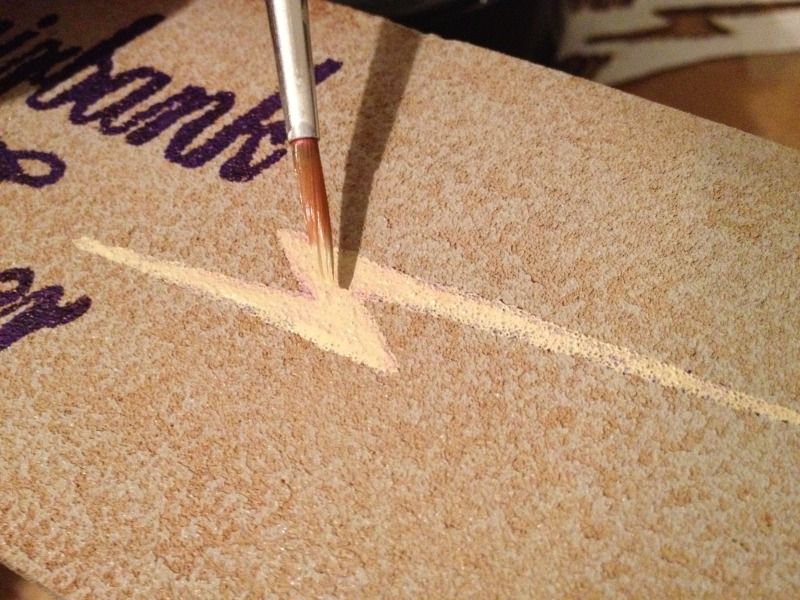
Then I painted the cream on the detailed parts and lettering on the badge.

c239e89d.jpg


0337a5bd.jpg


2c8c582e.jpg


618e1f7c.jpg


Terrys badges are so well made and I love the way they look when I first get them, but the paint needs to go with the look of the bike. So, I dirtied it up a bit.

8e6cc6a5.jpg


bb0c9dd4.jpg


2f6e189c.jpg


6593728f.jpg


b272c682.jpg


I am happy with how it came out! I didn't want something too bright, so I went with the cream and grey, which I think goes nice with the colours of the bike.The cream wears easy to dirty up.

Here they are with a couple of coats of lacquer on, ready for fitting.

b4123e36.jpg


:)
 
Re: ====~THE FAIRBANK FLYER~====

bike2112 said:
char said:
bike2112 said:
Dude, you are amazing!

Cheers man! Very kind of you. :)

Can't ignore facts, your skills are awesome.
Thanks so much. I love painting bikes, it's great fun!
 
Re: ====~THE FAIRBANK FLYER~====

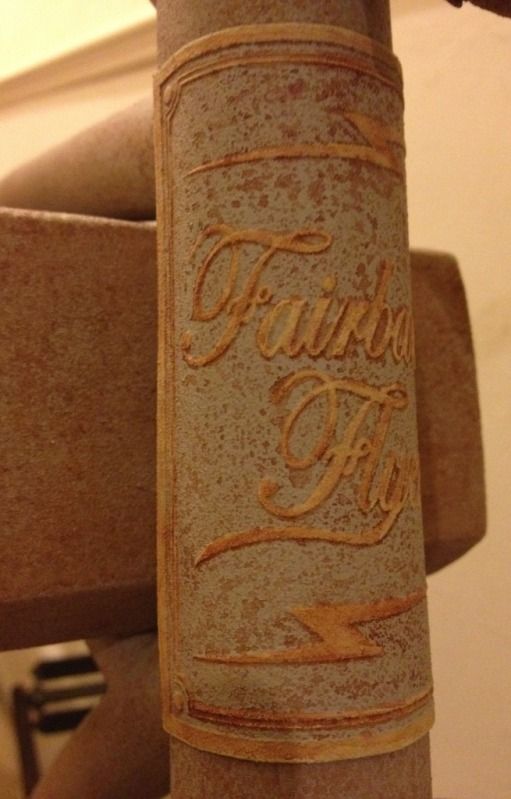
Another look at the badge on the bike.

cecc76e4.jpg


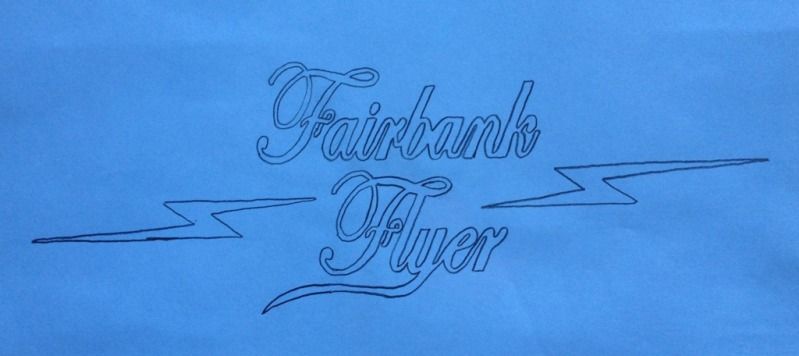
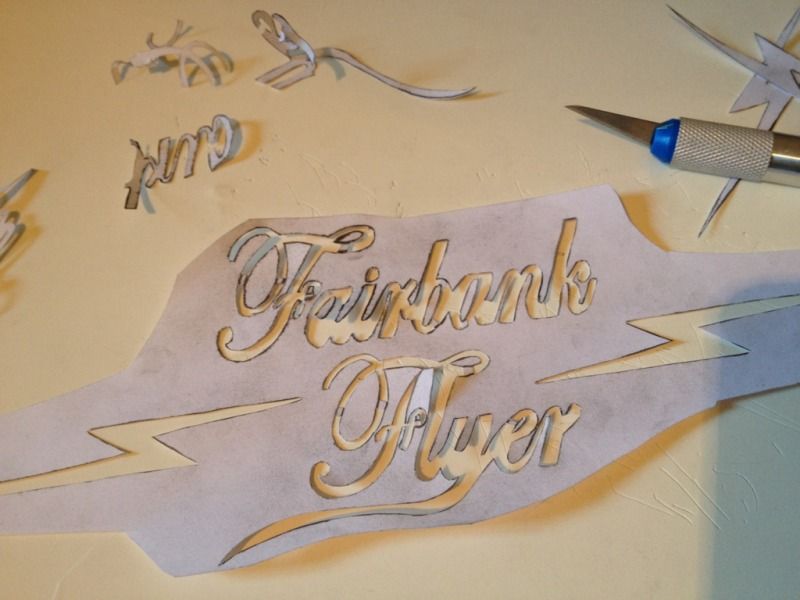
I've been working on the logo for the tank for a few days. Trying out different ones and drawing it out to try and get the correct size that looks nice. I did a quick final sketch today.

a18148df.jpg


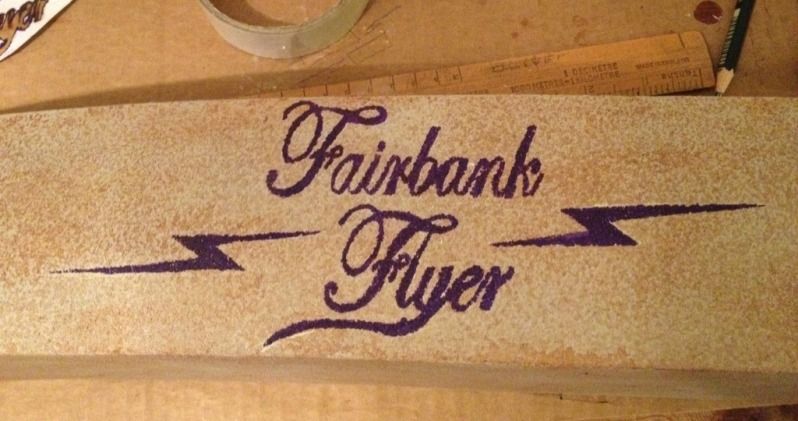
I think having the lighting bolt just off centre works nice.

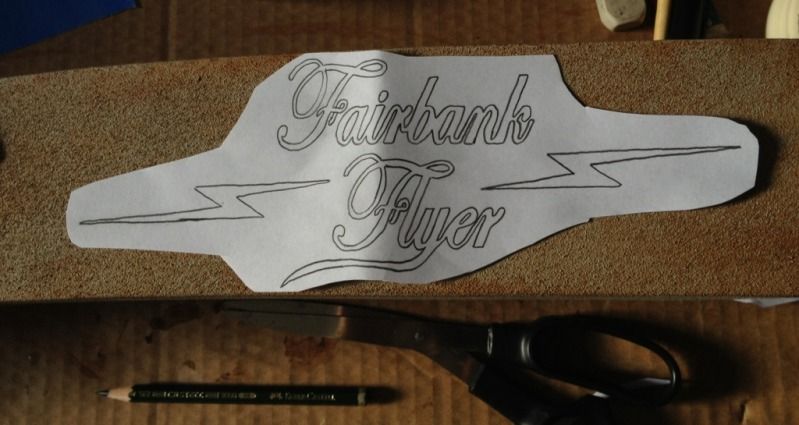
A little size check.

707aa190.jpg


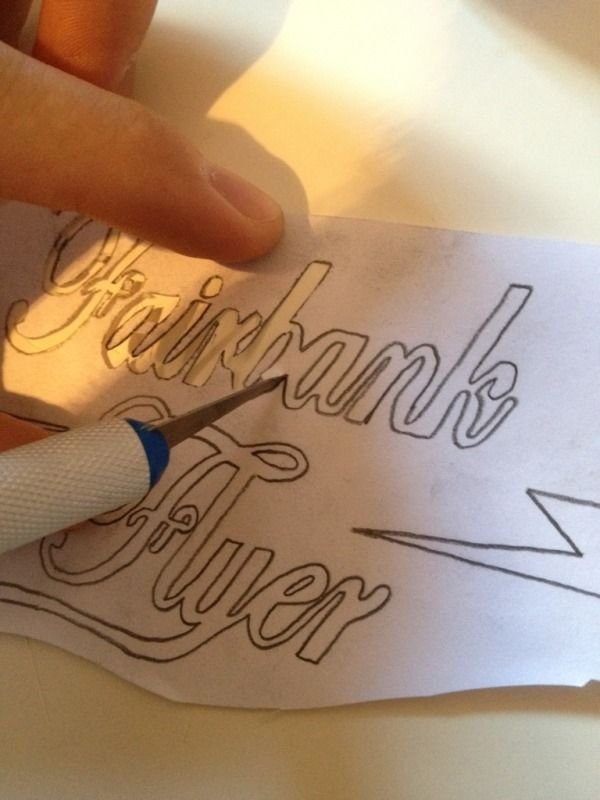
Time to cut it out.

47a85b85.jpg


c2233892.jpg


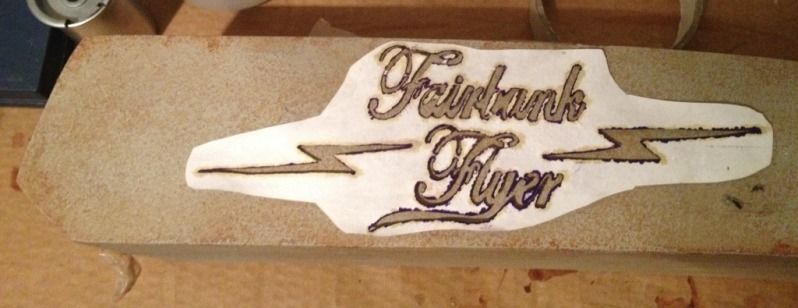
The tricky bit was stopping the edges curling up. I sprayed a little water on just to keep it flat. Once dry I then layed down the rough guide on to the tank.

e8ef283e.jpg


It's a little rough round the edges, but that's all good, I'm going to be going over the top anyway and dry brushing a rusting the edges.

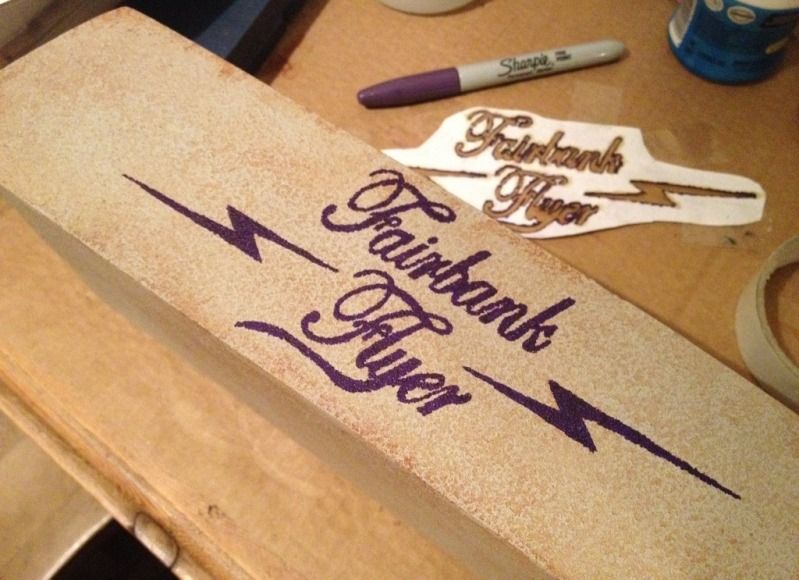
Here is the rough guide on the other side.

ce270b81.jpg


79090fd0.jpg


24a97051.jpg


Pleased with the look of it so far. Once it's Painted up and distressed a bit, I should look nice.
Hope to get a bit more done on it tomorrow.

:D
 
Re: ====~THE FAIRBANK FLYER~====

Nice stencilling.
I hope to be at that stage soon.
 
Re: ====~THE FAIRBANK FLYER~====

kingfish254 said:
Nice stencilling.
I hope to be at that stage soon.
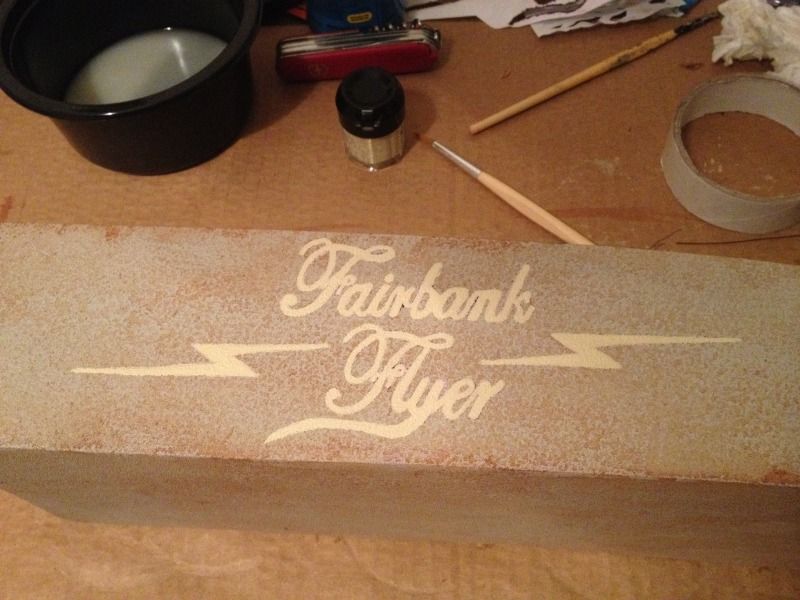
Thanks Kingfish!

I've been painting the cream on the tank lettering yesterday and today, nearly done. I need one more coat to cover up the darker guide lines. Once that's all dry, then i'll get to work staining it. Pictures coming soon.
 
Re: ====~THE FAIRBANK FLYER~====

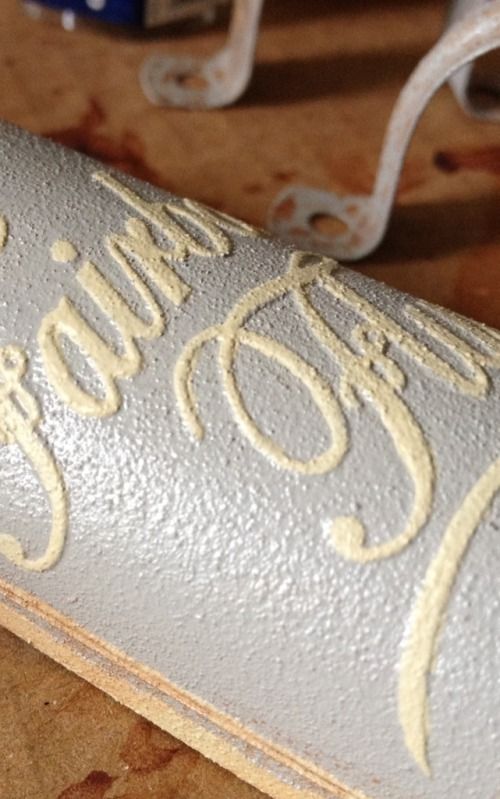
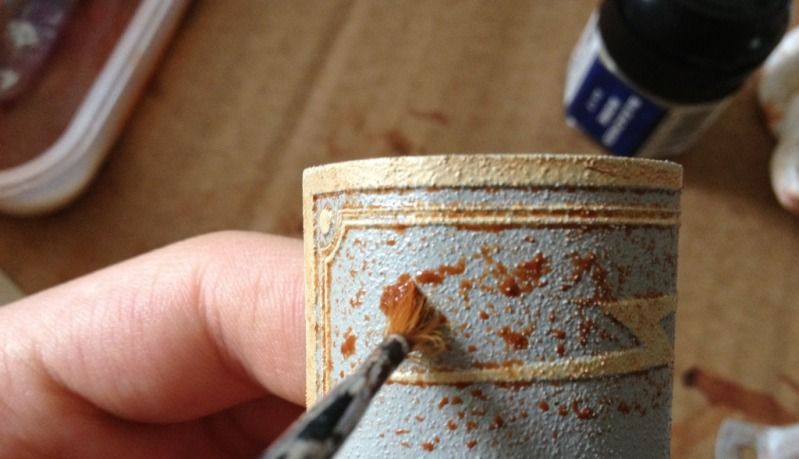
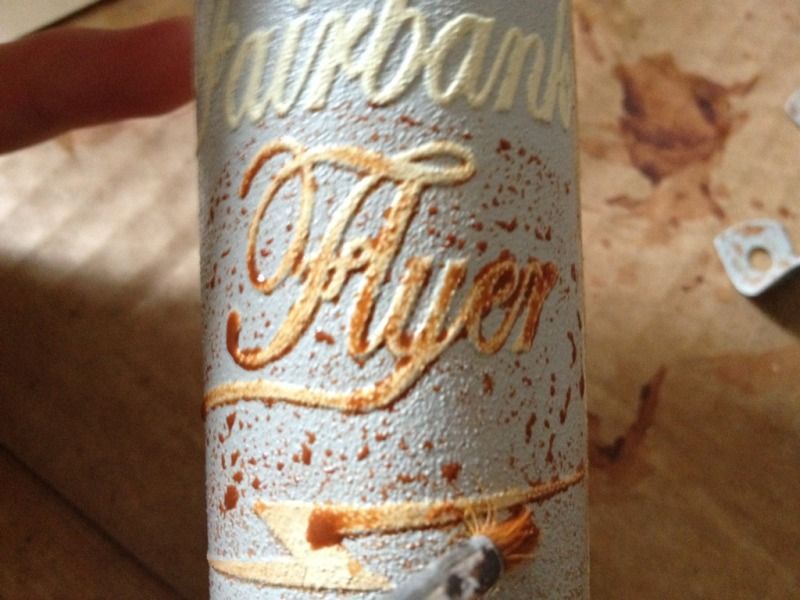
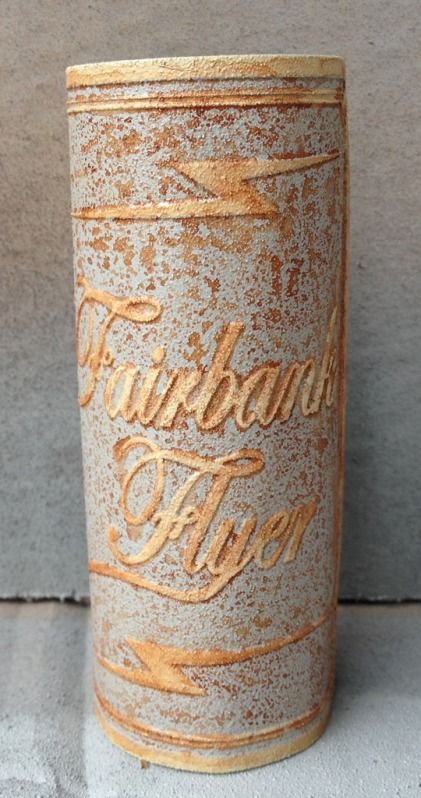
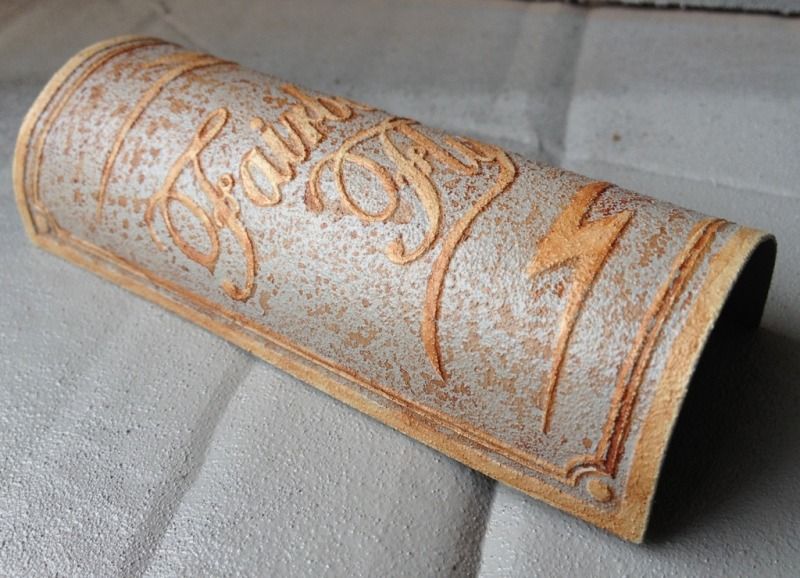
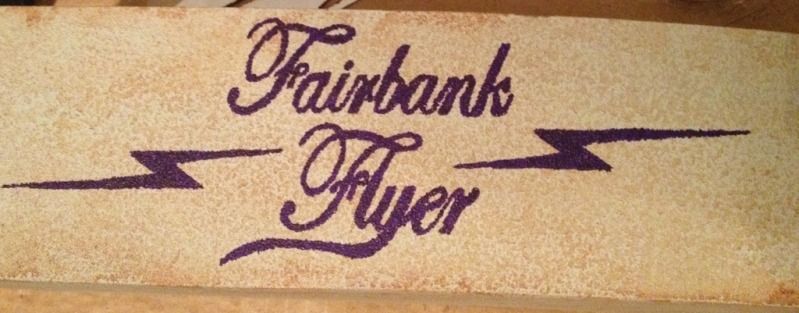
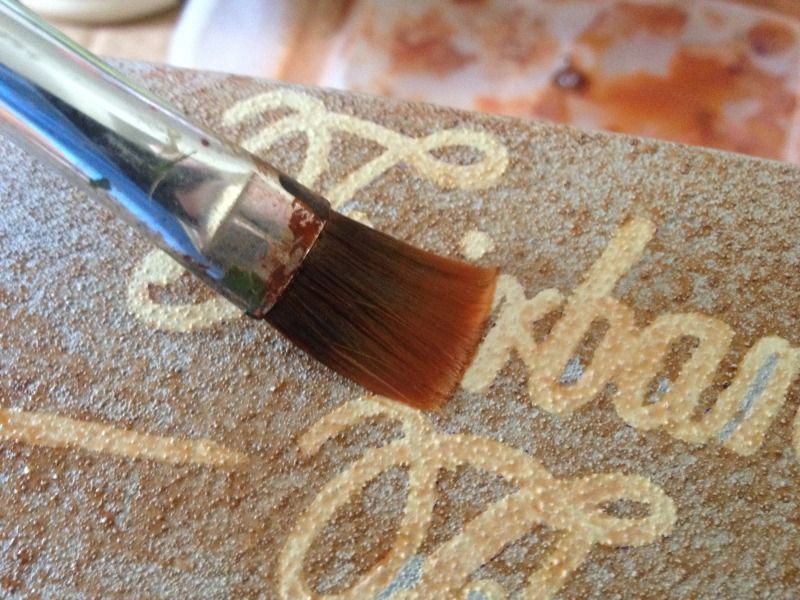
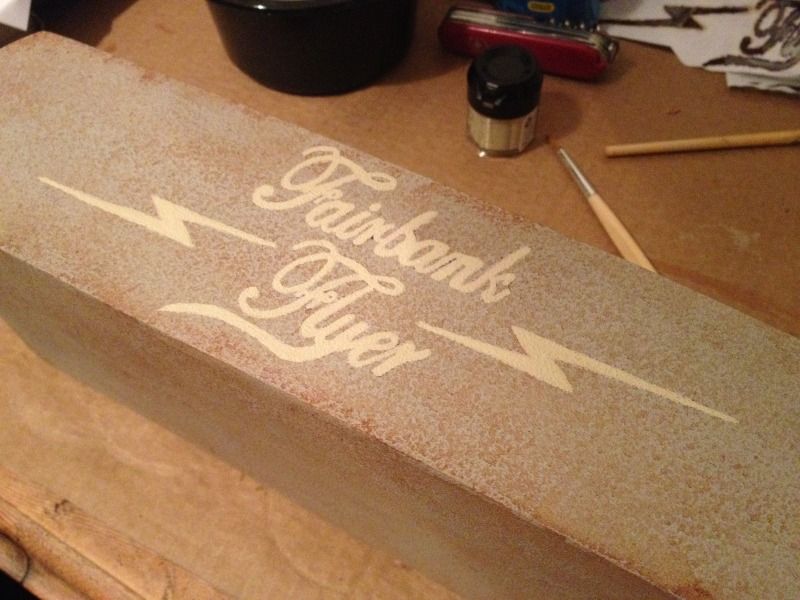
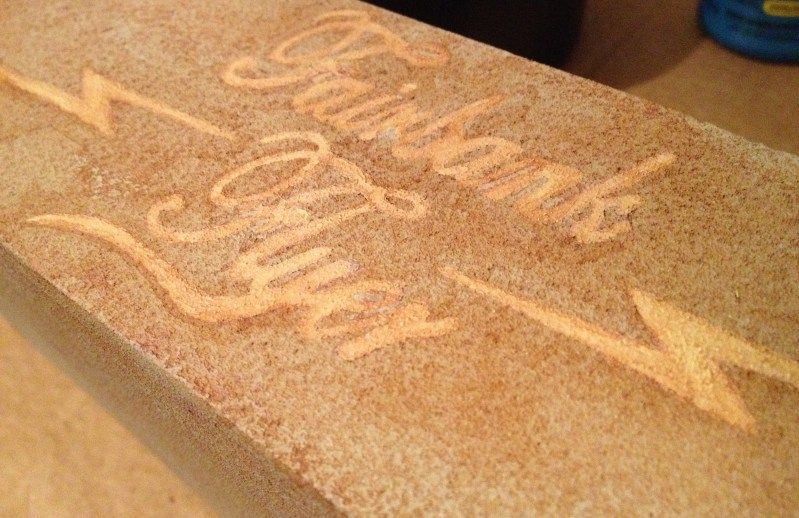
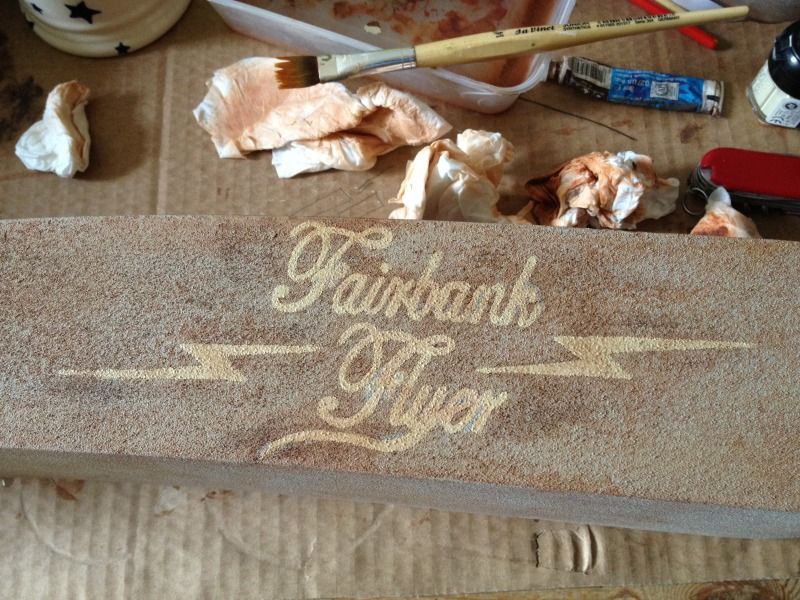
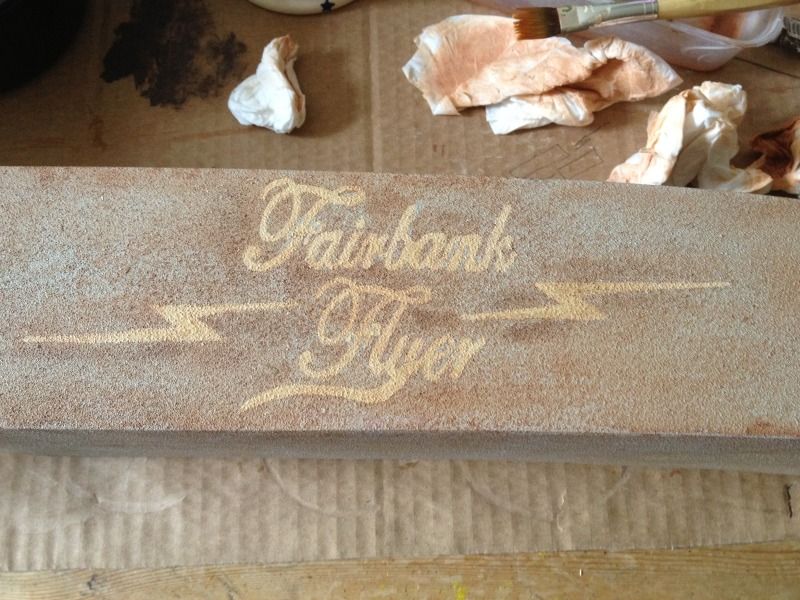
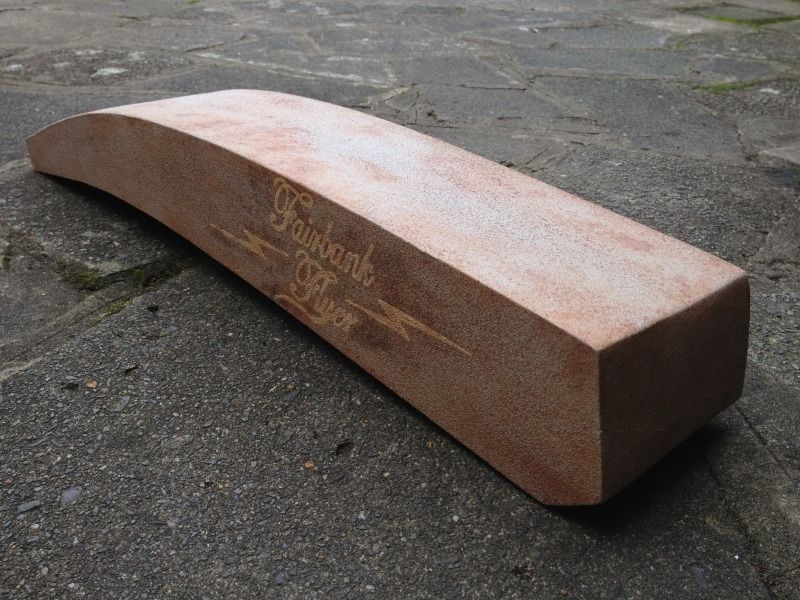
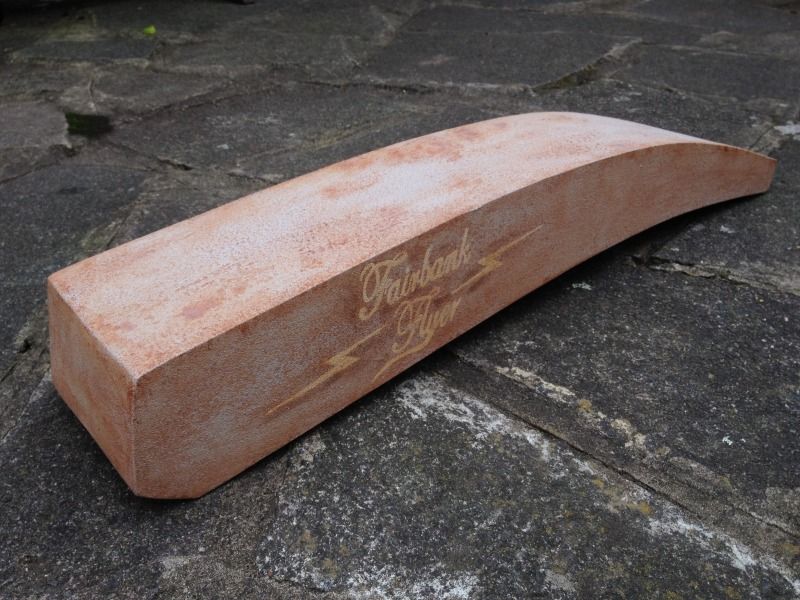
Logo for the tank done! It took a while to paint it all cream and dirty it up, but it came out nice. Here are some pics.

Painting on the cream.It took about three coats to cover up the dark guide logo.

IMG_1555.jpg


IMG_1564.jpg


Staining and dry brushing.

IMG_1568.jpg


IMG_1565.jpg


Few more darker patches added.

IMG_1567.jpg


IMG_1569.jpg


IMG_1571.jpg


Done!

IMG_1576.jpg


IMG_1577.jpg


Little look on the bike. I will get the clips lined up tomorrow and get it fixed in place, so it's just sitting in the frame at the moment.

IMG_1578.jpg


IMG_1580.jpg


IMG_1581.jpg


IMG_1584.jpg


I need to start on the template for the oil tank real soon.

:)
 

Latest posts

Back
Top