(WBO 2015) CAT Bike (COMPLETED!)

Rat Rod Bikes Bicycle Forum

Help Support Rat Rod Bikes Bicycle Forum:

This site may earn a commission from merchant affiliate links, including eBay, Amazon, and others.
Joined
Mar 26, 2012
Messages
963
Reaction score
2,186
Location
Fairless Hills, PA
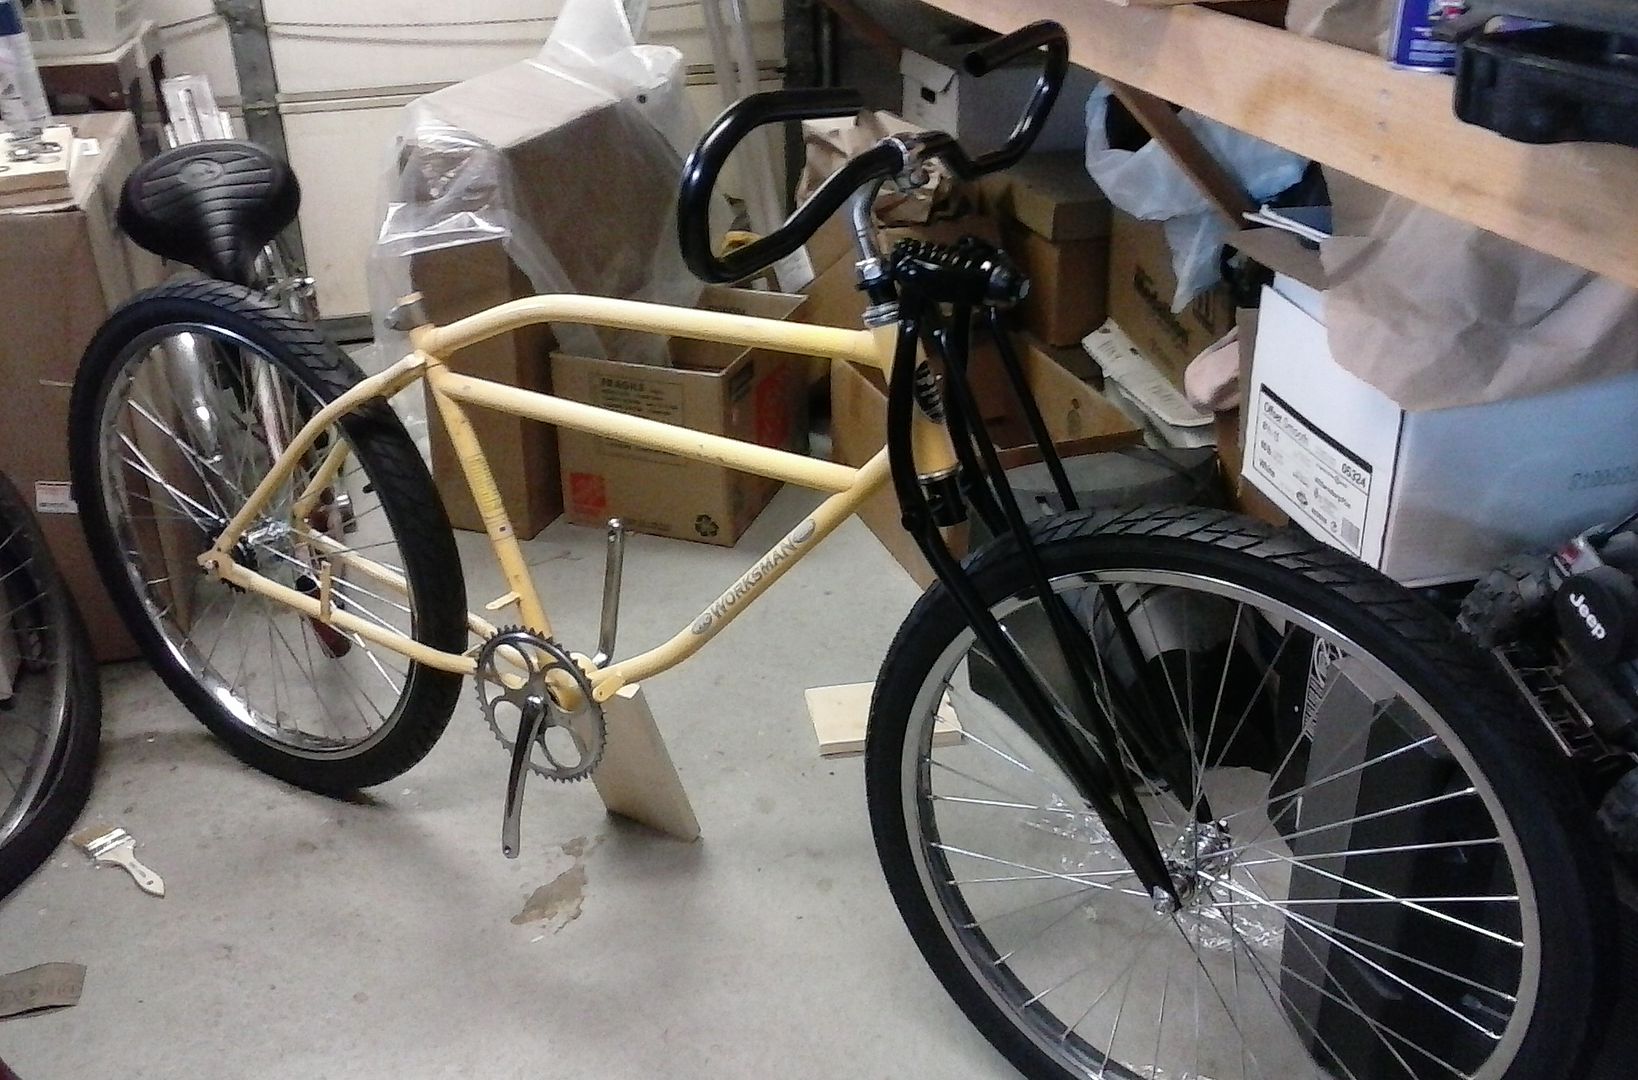
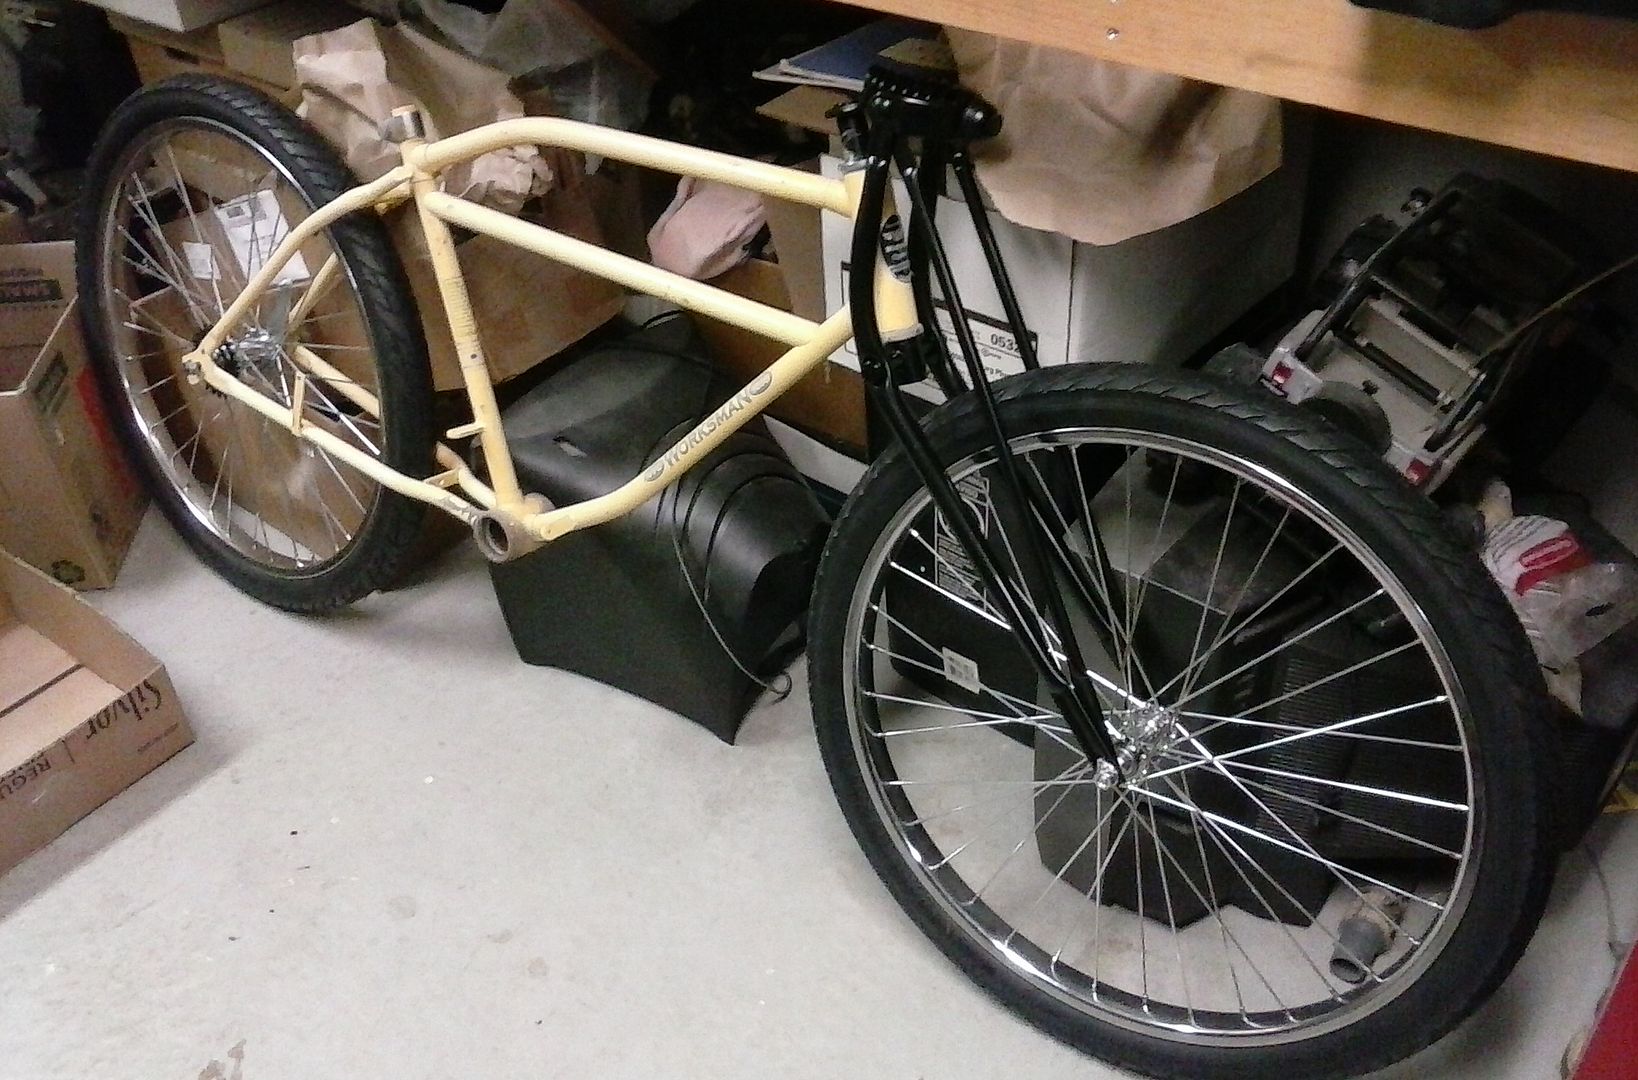
I just received the Workman frame I ordered from "ind-chuckz" in the SALVAGE YARD. It will be my second bike in the WBO-2015. This one may get finished before "My Girlfriends Bike". I have some cool plans for this one. I have had parts for this rollin in while I was waiting it's arrival. The ,26 X 2.125- 12G, wheels I ordered direct from Husky Bikes and mounted DURO tires.
0131152225.jpg
 
Last edited:
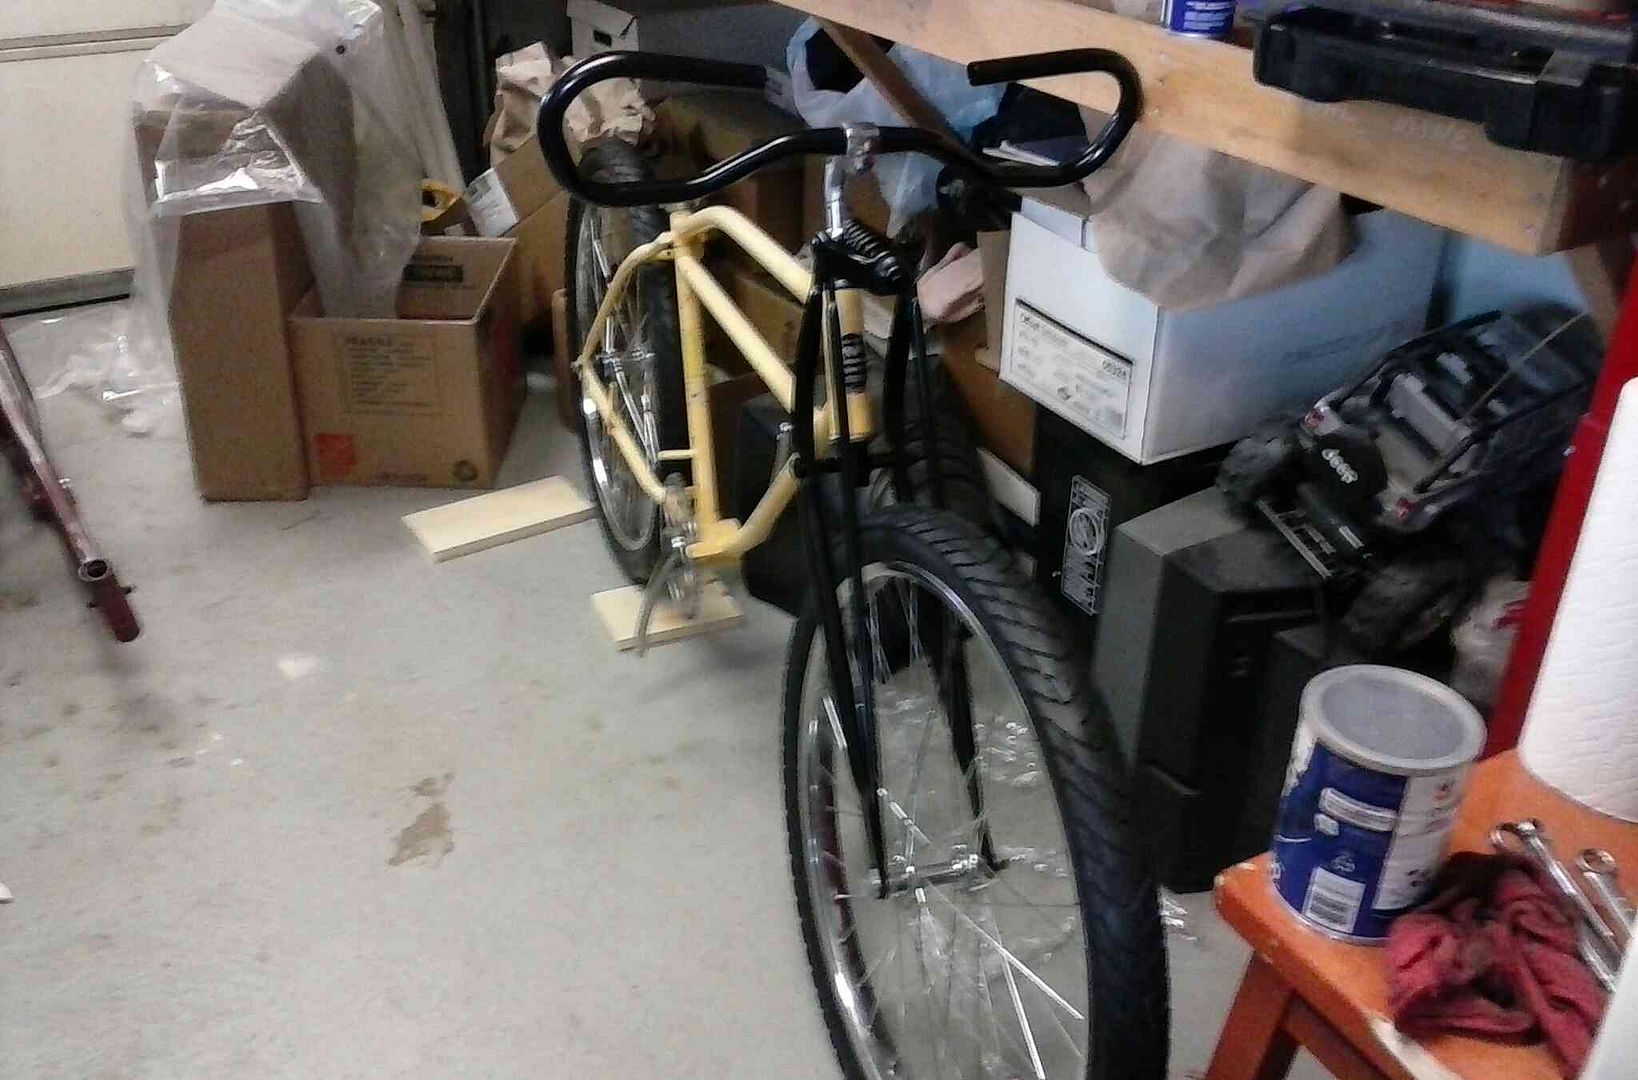
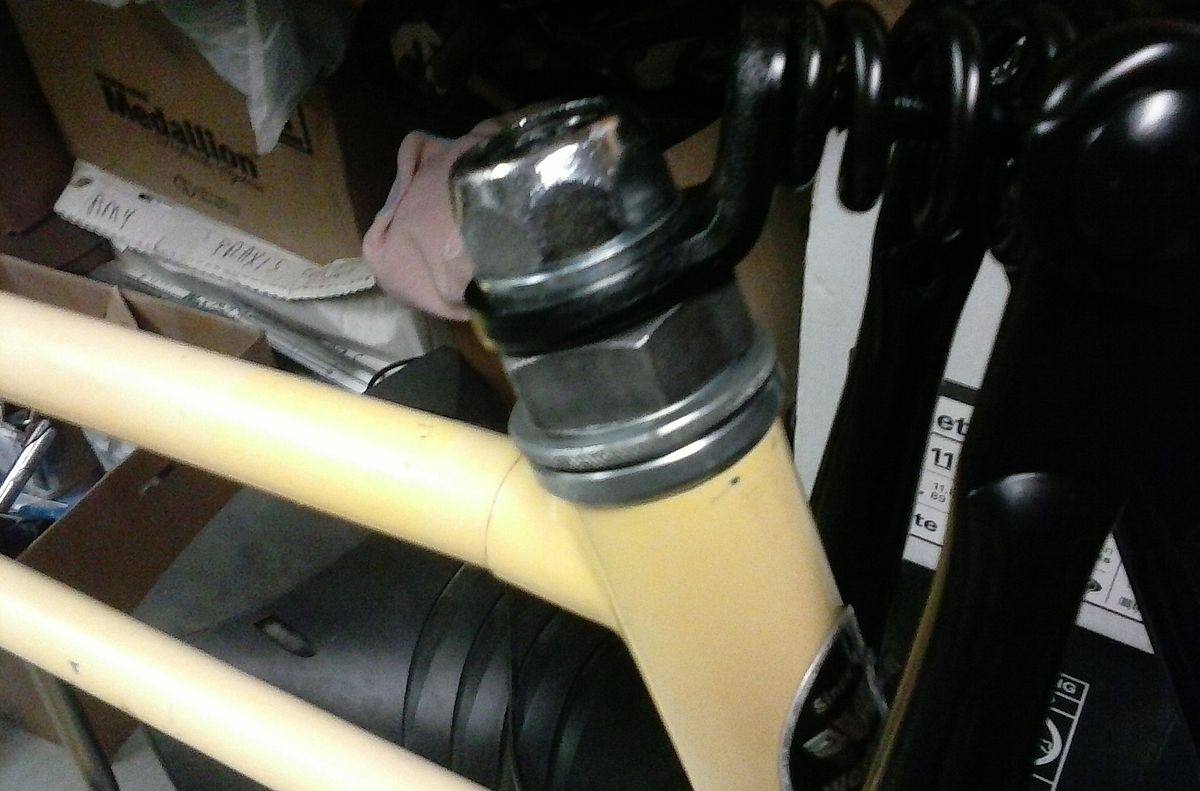
I told you I would probably have this one done first. LOL! I got the bottom bracket in but need another spacer to clear the chain guard. The headset will need a 11/16" spacer. The butterfly bars look cool on this to me.
0201151234.jpg

0201151231.jpg
 
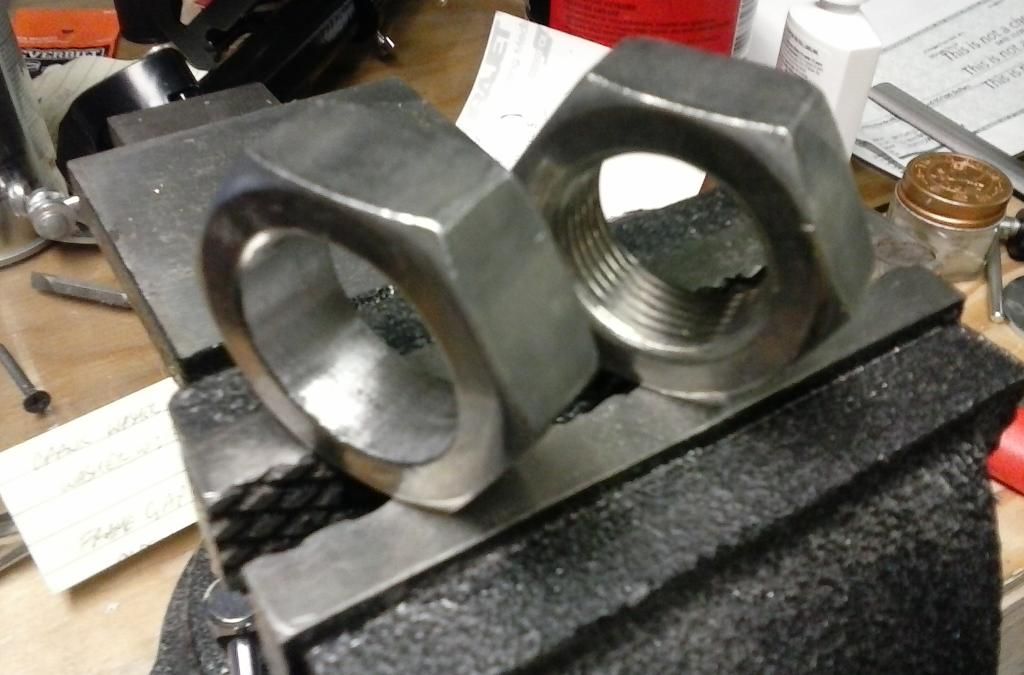
I got a large washer from Home Depot to space out the crank arm to clear the chain guard. From Ace Hardware I got a couple of 1" nuts to make the spacer for the headset. I only need to use one. I had to grind out the threads and it slipped on perfectly.
0207152156.jpg

0207152200.jpg
 
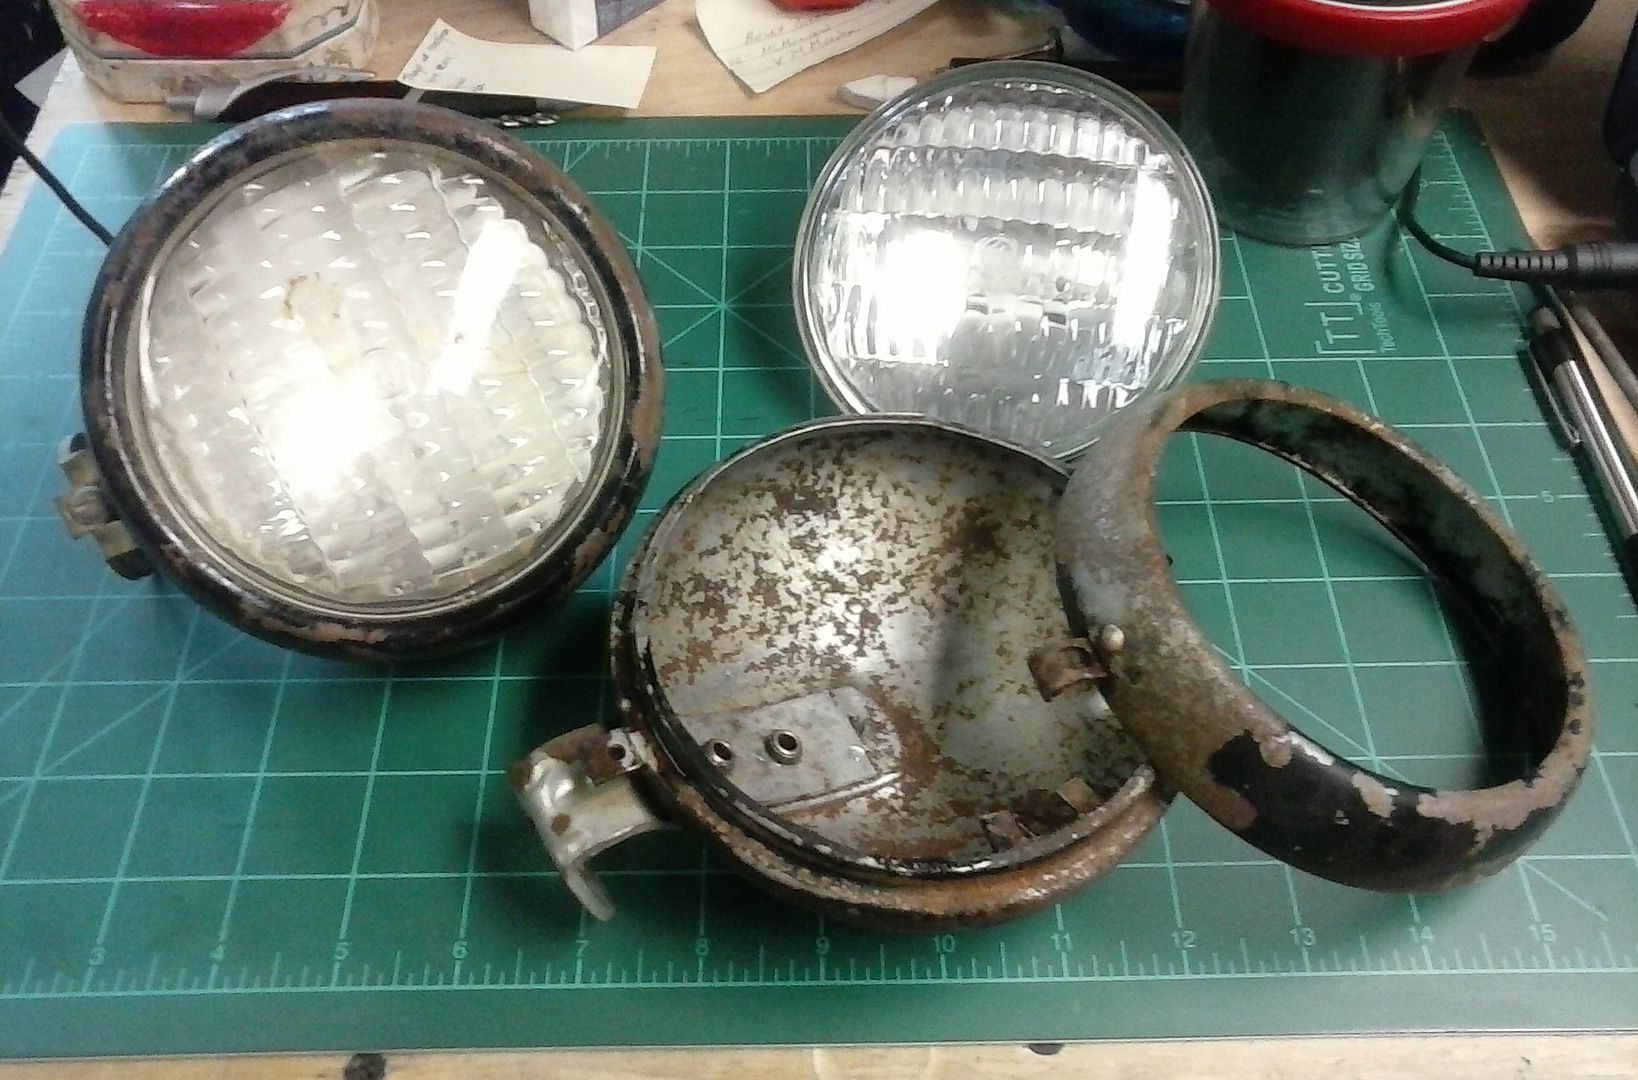
I got some ratted out eyes for the CAT in the mail today. These were pretty cheap and will be static only as they are 12V sealed beams. If I come across a different pair that I can use with batteries I may change them out. I'll have break the tabs that hold the lights so I can turn them in the bezel since they are going to be mounted sideways. They will get mounted on the left and right side of the forks at the top strut mounting bolts. Once I get them cleaned up and painted I post a picture of them on the bike.
0212151629a.jpg
 
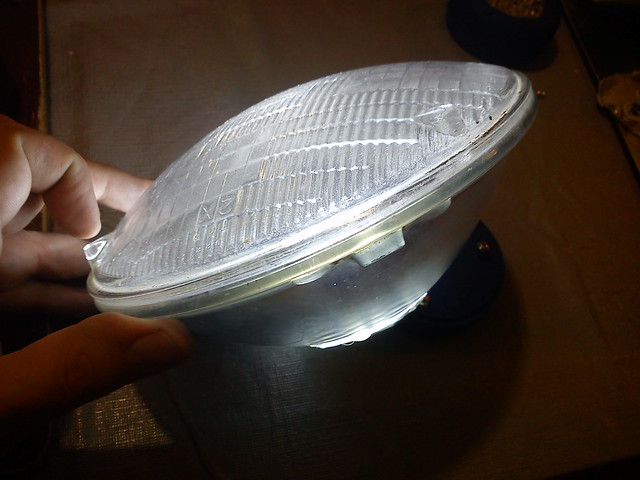
Sealed beam lights can be retro fitted to led!

There are two ways I have seen on here, one person (sorry I can't remember who) removed the elecrical tabs and used a glass drill to very slowly drill through the raised nubs and glued two leds directly into the holes.

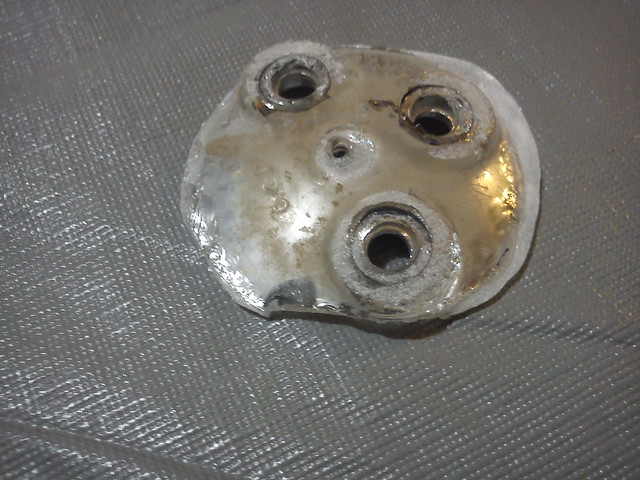
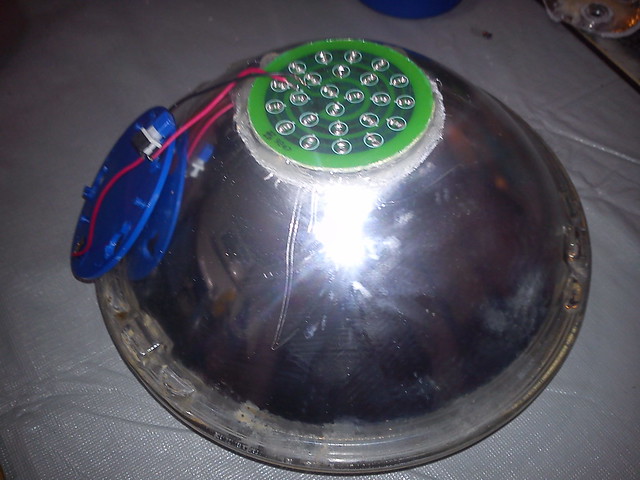
I did it a bit different, removing a slice from the rear the same size as a cheap led light, using a diamond tipped blade on an angle grinder, very slowly...

8324438749_cef1c9c830_z.jpg


8324438321_107164d2c4_z.jpg


8324437953_b390d736f4_z.jpg


Works great!

Luke.
Ahhhhhhha! I'll have to give that a try! Thanks!
 
The leds set that I used in the mbbo , I powered with 4 2032's and two 2032 holders all wired together serially. I thought of uaing two 12c batteries in parallel, but didn't have the battery holders for 12c readily available...
 
I dremeled the tips of the bulb out of one and ran LEDS inside, worked well, but I like what Luke did better and will probably retro fit mine.

Carl.
 
I dremeled the tips of the bulb out of one and ran LEDS inside, worked well, but I like what Luke did better and will probably retro fit mine.

Carl.
I knew someone did that, forgot it was you!

Luke.
 
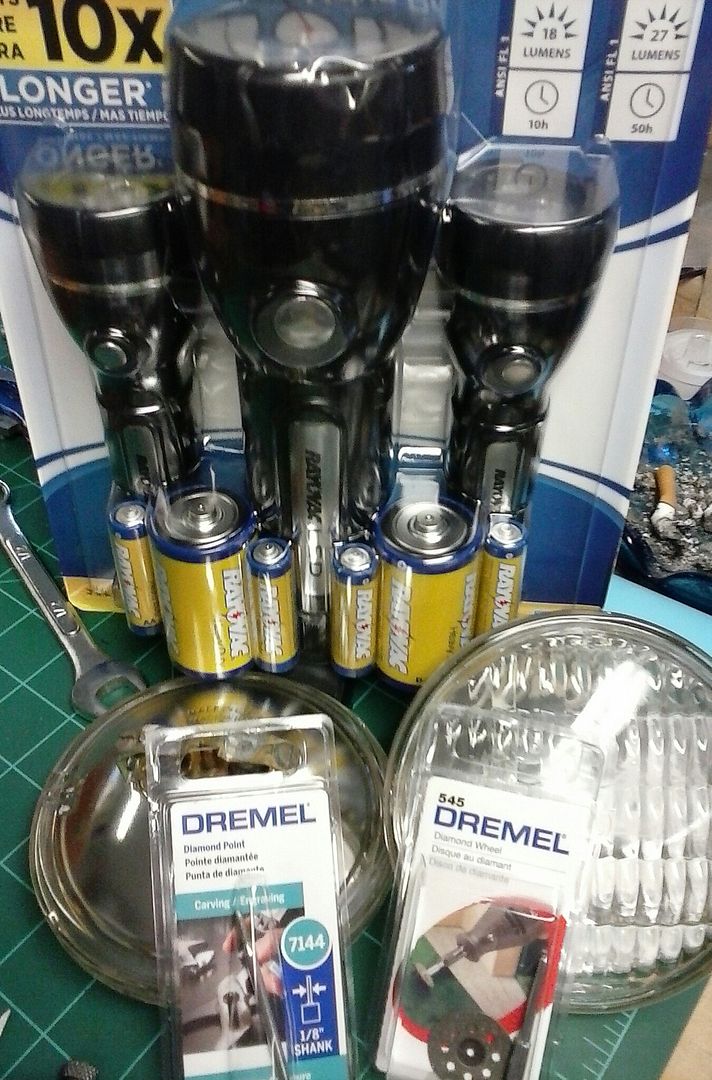
I'm gonna give this a shot. I stopped by Lowes and picked up a diamond drill bit and diamond cut-off wheel. And then to Wally-Mart and scored a set of LED flash lights for under $8-. It could only not work... right?
0214151044.jpg
 
I worked a little bit on the bike today. Most of my day was spent with the girlfriend as I'm sure most everyone else has been spending time with their significant other today.
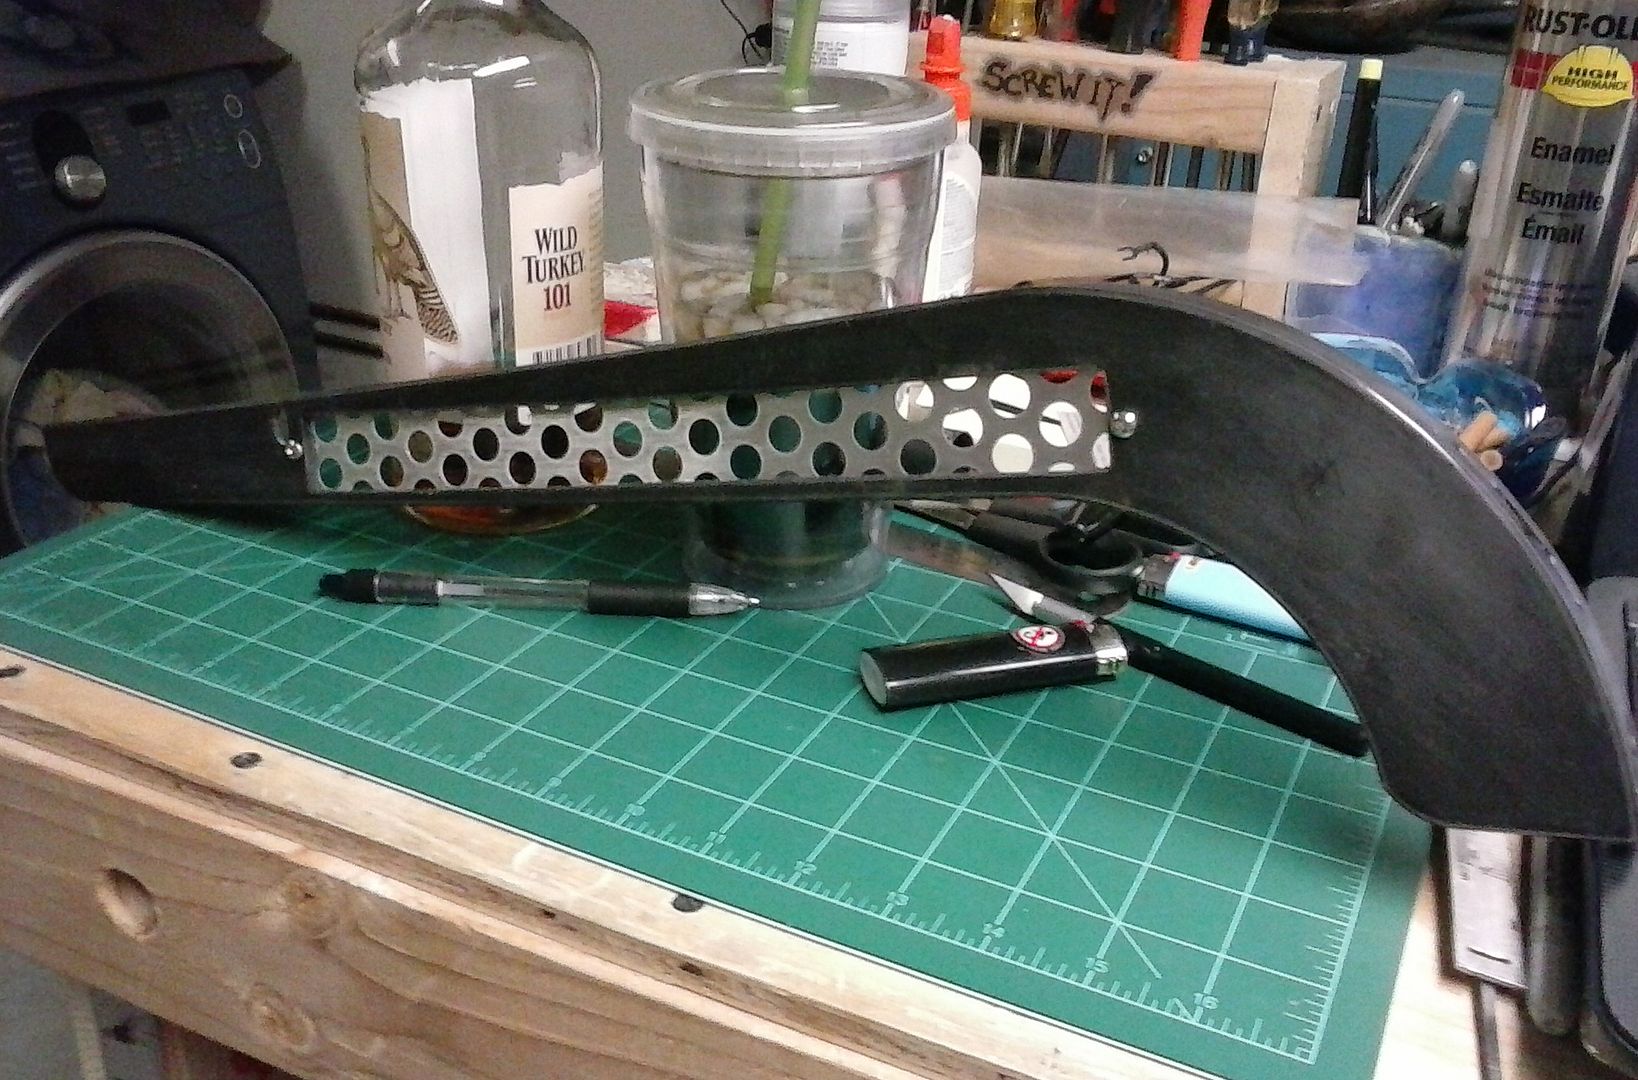
The plastic chain guard that comes with the bike has "WORKSMAN CYCLES" on it across the side. I was not liking that so I cut it out and also cut a B-B-Q grill aluminum perforated sheet to fill the void. I like this better. I used 2 stainless steel screws and some 5 minute epoxy to mount it. I am going to paint it black.
0214152211.jpg
 
Last edited:
I'm gonna give this a shot. I stopped by Lowes and picked up a diamond drill bit and diamond cut-off wheel. And then to Wally-Mart and scored a set of LED flash lights for under $8-. It could only not work... right?
0214151044.jpg
Good luck, looking forward to seeing the results!

Luke.
 
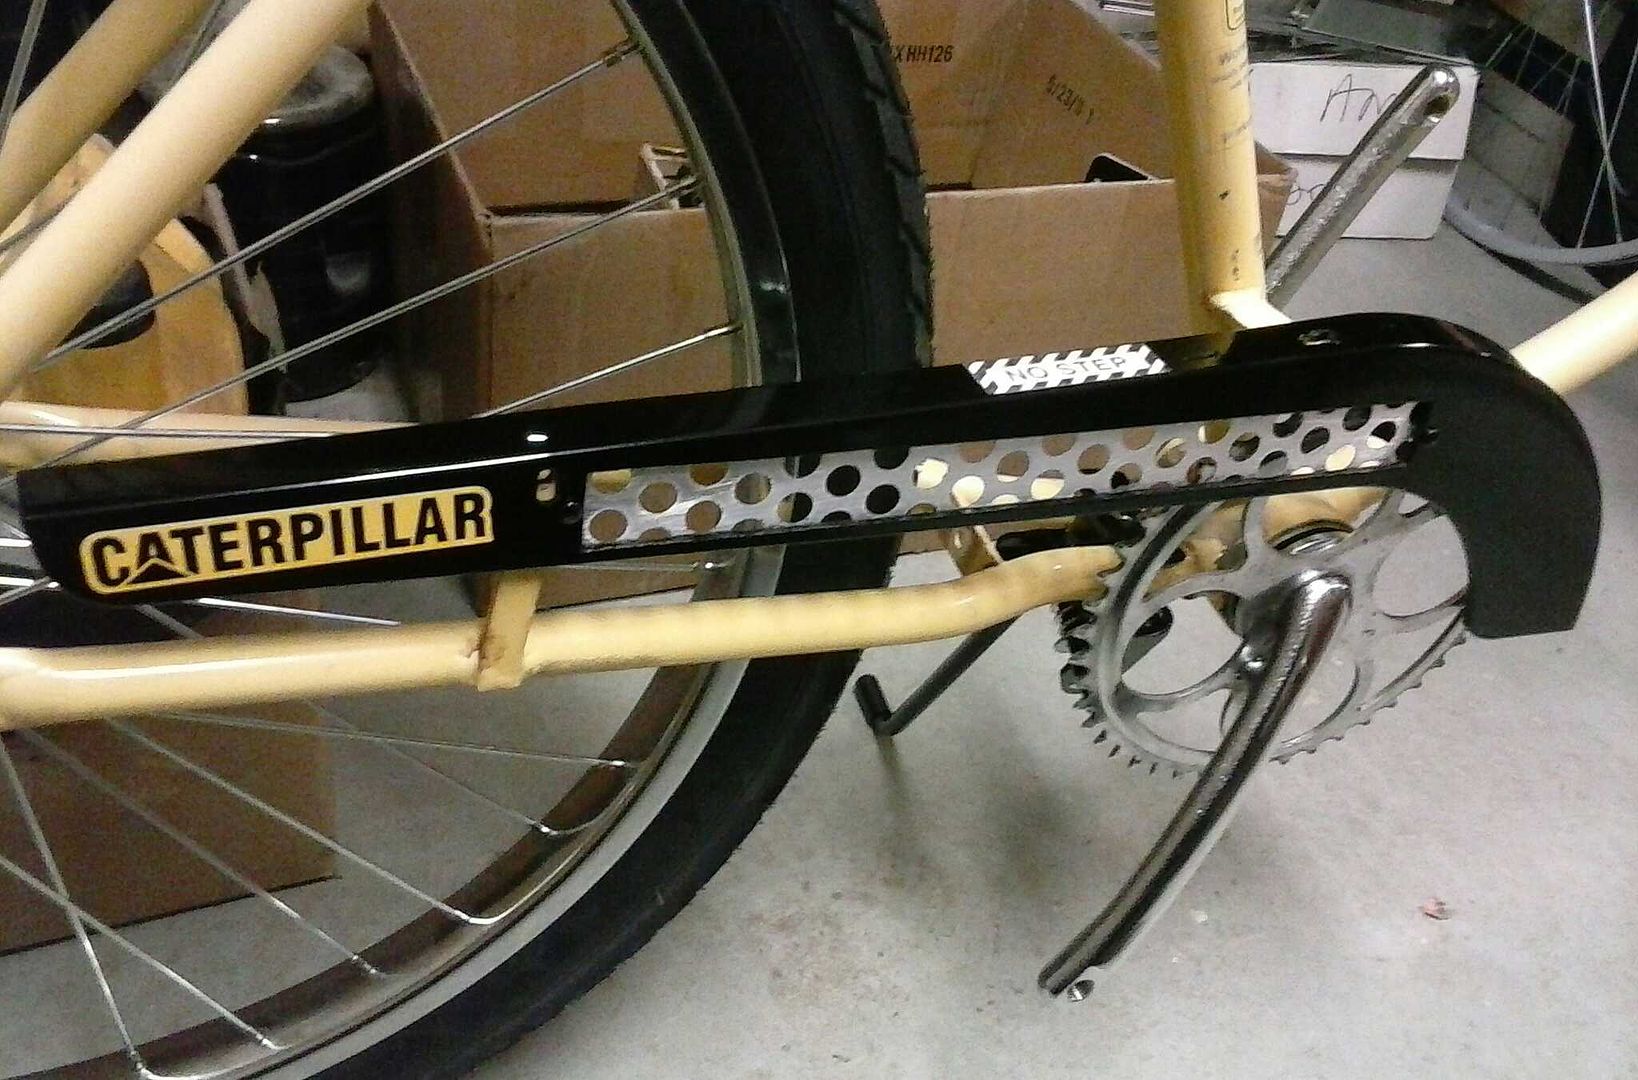
Chain guard painted and decaled. I have another WARNING decal for the chain guard but it will be mounted on the frame when it is painted. The perforated guard insert actually matches the chain ring.
0215151820.jpg
 

Latest posts

Back
Top