Yeah that's a bummer, I'm sure it will get worked out.
You are using an out of date browser. It may not display this or other websites correctly.
You should upgrade or use an alternative browser.
You should upgrade or use an alternative browser.
Done DONE!!!! Capt. America's Zenith Fastback!!
- Thread starter Big Ape
- Start date


Help Support Rat Rod Bikes Bicycle Forum:
This site may earn a commission from merchant affiliate
links, including eBay, Amazon, and others.

Alright, I know that the title says," the quality goes in before the name goes on" But, the name is already on!
I just rubbed the head badge with a piece of fine scotch brite and then cleared over it. I think it looks pretty good.
And now, a look at the frame and fork out in the daylight!!
I don't know why I hadn't noticed it before, the seat tube is bent at the middle bar. It won't stop this build progress, and I think my shifter idea will take the focus away from this flaw too.
I know that I am jumping from area to area on this bike, but paint troubles have caused me to start on everything else at once.
I used this to attach the aluminum plate to the back of the cut sealed beam bulb.
It states that it adheres to glass, metal, plastic, etc. It is a 2 part clear epoxy. I also added some aluminum duct tape with rubberized backing to make sure that the edge is completely sealed. Here is the mostly complete wired light. I just have to install the switch in the bucket (after I finish painting it) and wire to the switch.
Two 12v A23 batteries are wired parallel. All connections are solder with some crappy heat shrink. My LEDs are amber, I'm not sure why other than the fog light effect looks cool.
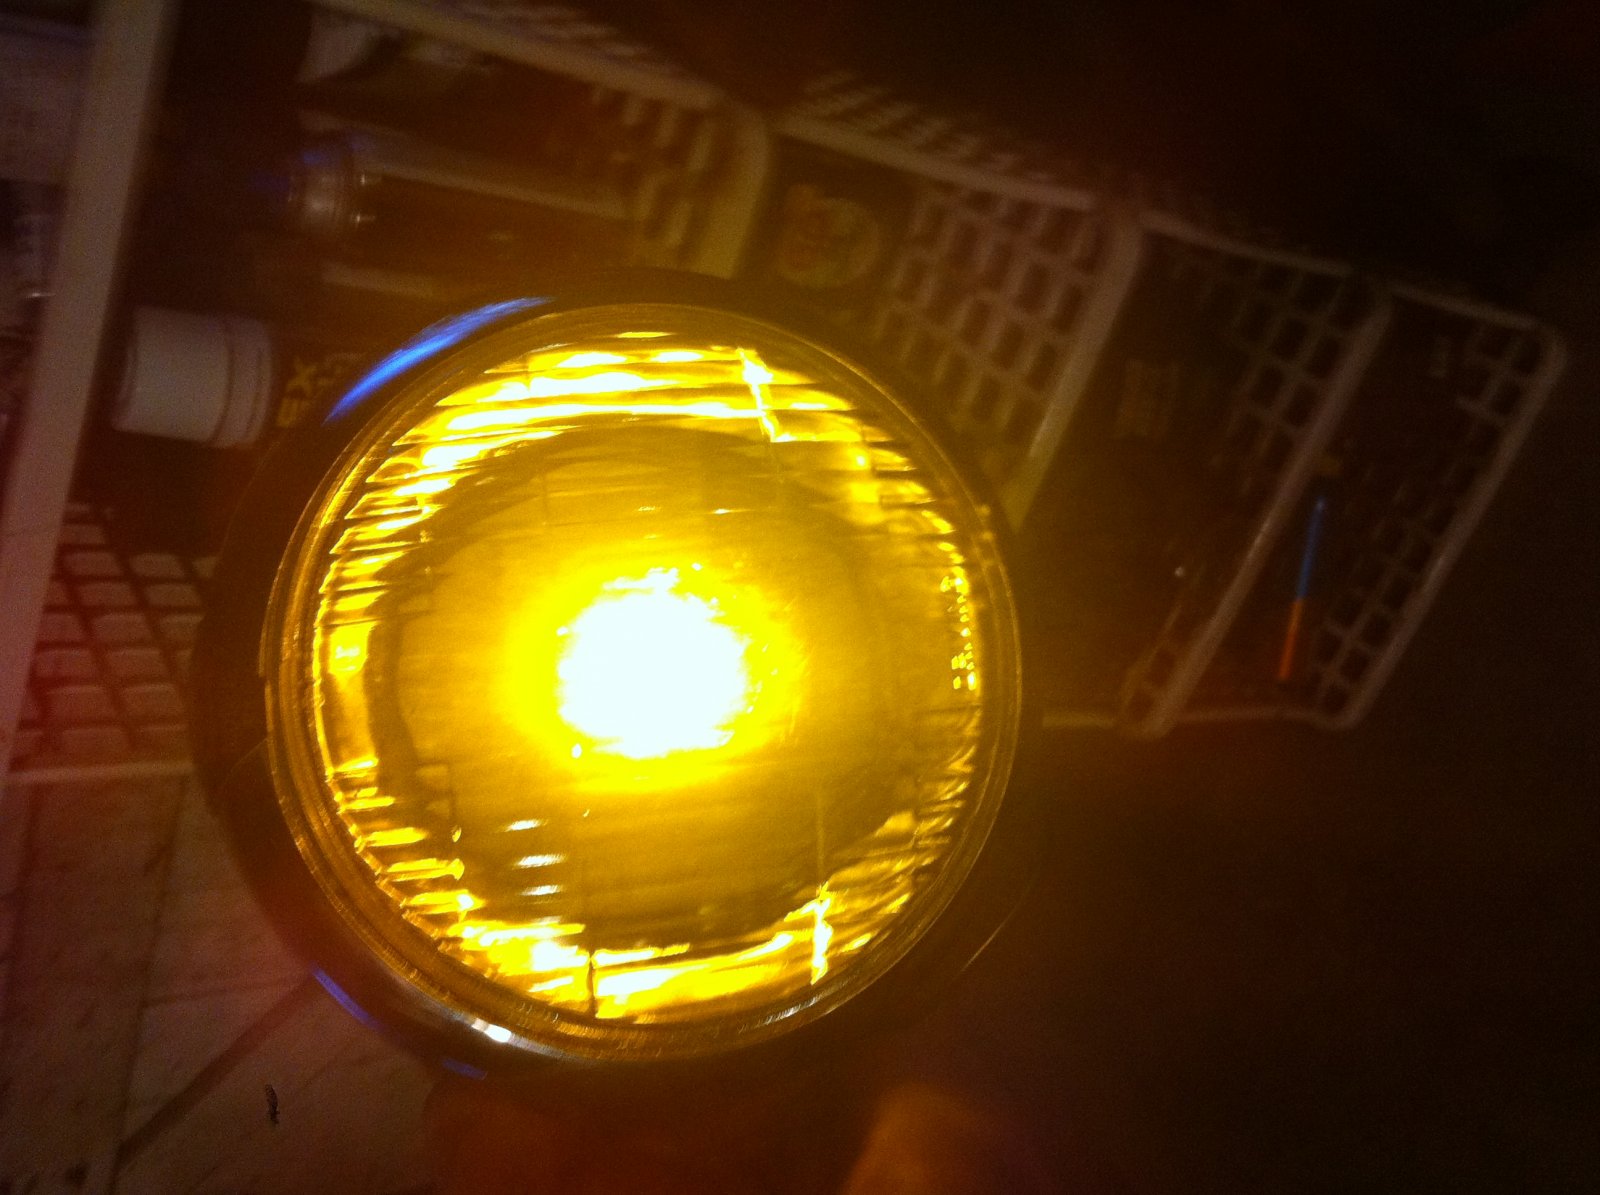
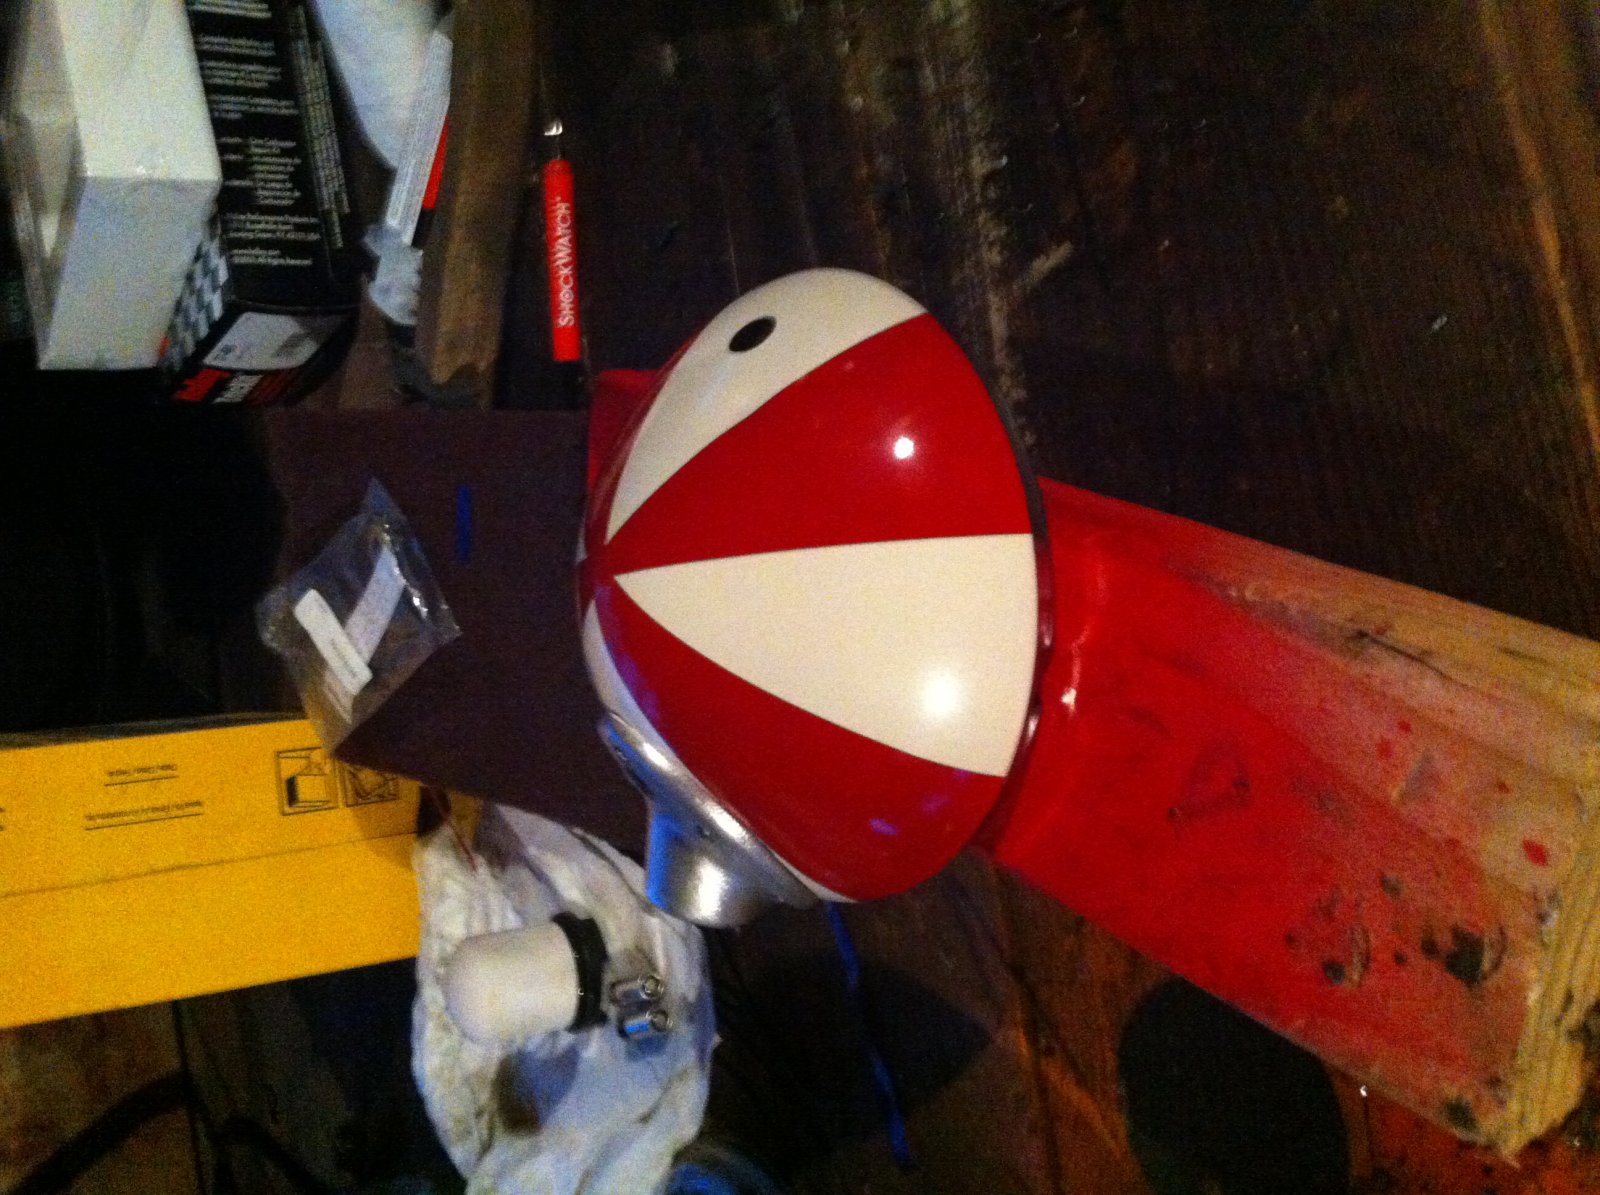
I started painting the headlight bucket. Just trying something different but matching the paint scheme of the bike.
I used this to attach the aluminum plate to the back of the cut sealed beam bulb.
It states that it adheres to glass, metal, plastic, etc. It is a 2 part clear epoxy. I also added some aluminum duct tape with rubberized backing to make sure that the edge is completely sealed. Here is the mostly complete wired light. I just have to install the switch in the bucket (after I finish painting it) and wire to the switch.
Two 12v A23 batteries are wired parallel. All connections are solder with some crappy heat shrink. My LEDs are amber, I'm not sure why other than the fog light effect looks cool.
I started painting the headlight bucket. Just trying something different but matching the paint scheme of the bike.
I also started to build my shifter, the plan is to run the grip shifter to the seat post, and then bend a shifter rod to match the frame contour up near the head post and build a shift lever to mount there. I began by removing the rubber boot from the Nexus shifter, seeing that the outer piece of the shifter is removable, I figured that it would be best to attach it to the PVC cap while apart. I just sanded both pieces with some 180 grit paper for good adhesion and used the same 2 part epoxy that I had for the light.

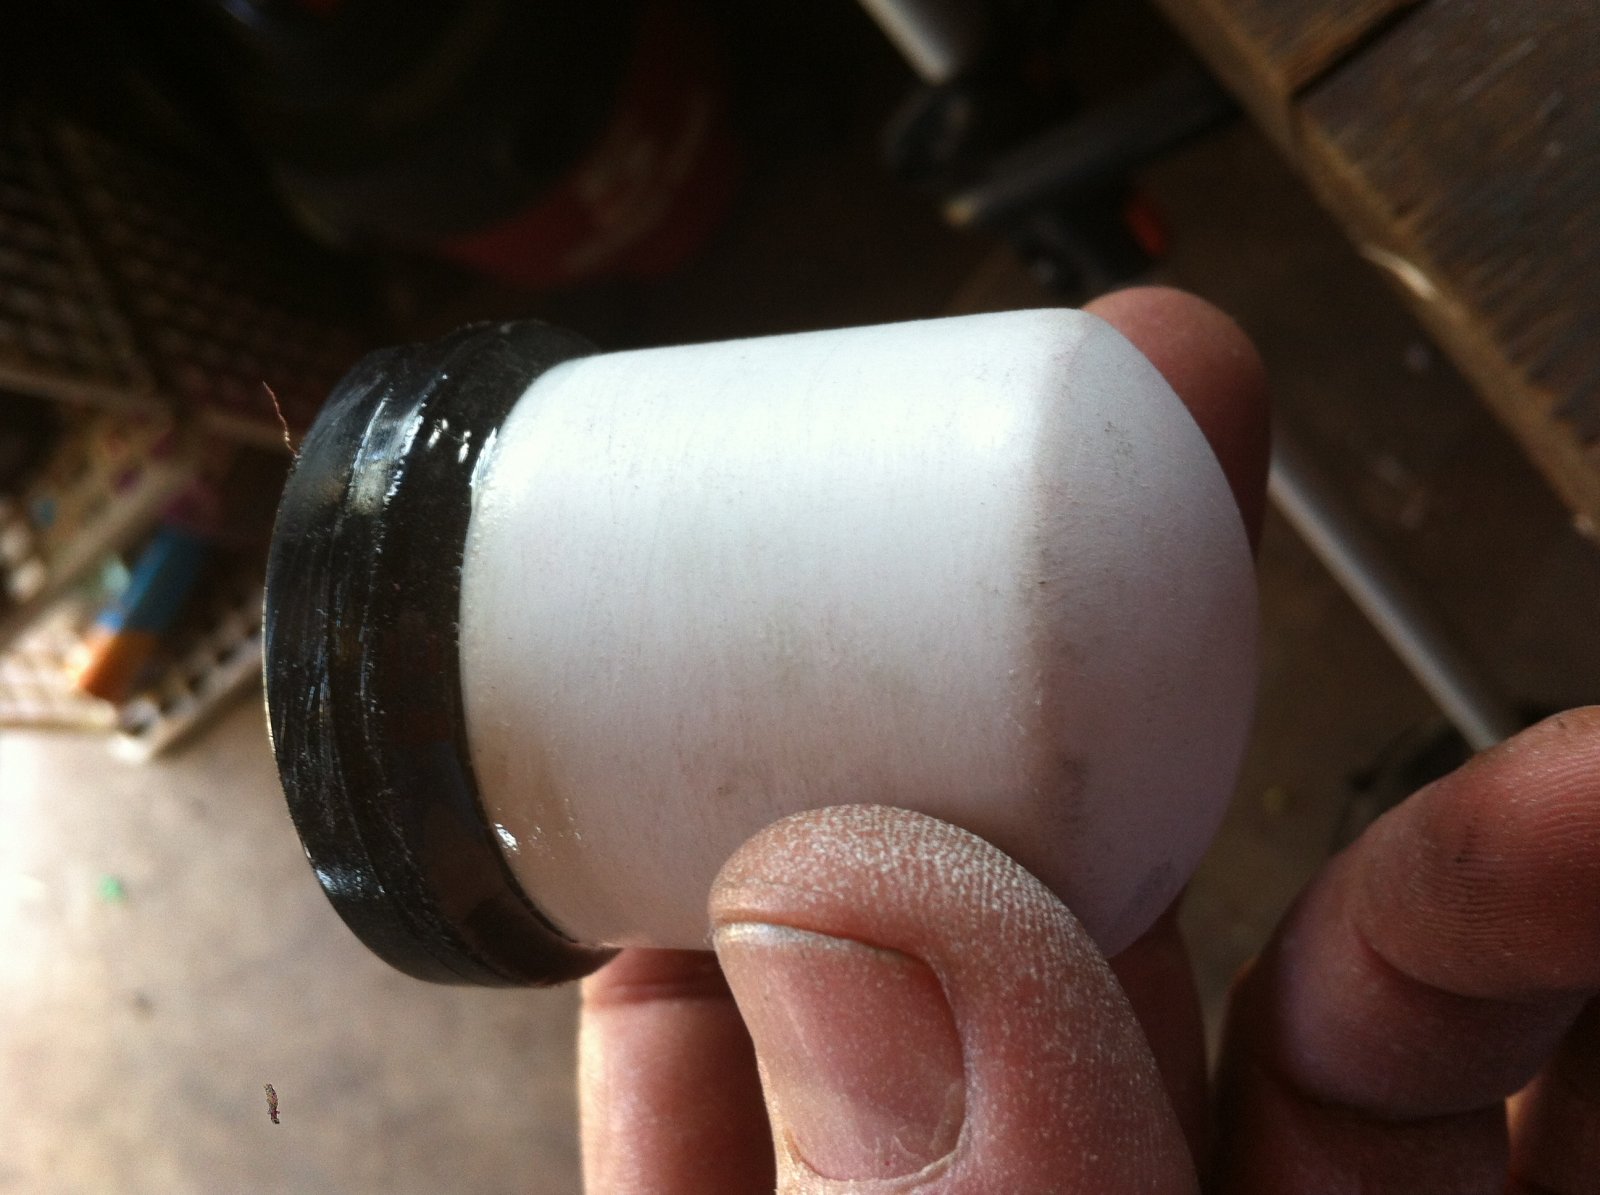
It appears that these 2 parts are now permanently attached. I can move forward with the shifter too.
It appears that these 2 parts are now permanently attached. I can move forward with the shifter too.
Lovin it buddy! You are doing a swell job on this thing.


$249.40
$289.67
Kulana Lakona Tide Adult Beach Cruiser Bike, 26-Inch Wheels, 7-Speed, Silver
Amazon.com


$199.99
$229.99
Huffy Stone Mountain Women's Mountain Bike, Gray, 26 Inch Wheels/17 Inch Frame
HuffyDirect


$99.99
$108.99
Schwinn Toggle Quick Build Kids Bike, 12-Inch Wheels, Smart Start Steel Frame, Easy Tool-Free Assembly, Blue
easiness


$18.99
Old River Outdoors Bicycle/Motorcycle Chain Picture Frame 4" X 6" Photo - Faux Bike Chain
Old River Outdoors (USA Merchant)


Awesome! Let us know how that epoxy holds up on the shifter!
Luke.
Luke.
Thanks Chris, I still plan to have it finished before the build off begins. Because, I have another bright idea for a build off bike! I need more time in a day.Lovin it buddy! You are doing a swell job on this thing.
Awesome! Let us know how that epoxy holds up on the shifter!
Luke.
Yeah Luke, as of right now, no amount of pulling or twisting will do anything. It feels like one piece now.
How are you going to mount it to the seat post Ted? As I'm sure you have already figured this one out. Just curious.")
Fv2
Don't know what I'm doing, gonna do it anyway.
There's a thread on doing something like this. I think the person that started the thread cut a piece of handlebar, put slots in one end and mounted it with a hose clamp to the seat tube.
Well, I ordered some mirror mounts made for a motorcycle off of ebay. These are 1" id, they also make 7/8" id.

This will clamp over the seat tube, and then I will weld a bolt into a short piece of handlebar. That bolt will fasten into this mount where the mirror shaft hole is. In my mind, it works great.....we'll see when the mounts get here!
This will clamp over the seat tube, and then I will weld a bolt into a short piece of handlebar. That bolt will fasten into this mount where the mirror shaft hole is. In my mind, it works great.....we'll see when the mounts get here!
Last edited:
There's a thread on doing something like this. I think the person that started the thread cut a piece of handlebar, put slots in one end and mounted it with a hose clamp to the seat tube.
I just don't like the hose clamp, I think that these motorcycle mirror mounts will be a cleaner option. AND, they are very cheap!! Like me!
Last edited:
Fv2
Don't know what I'm doing, gonna do it anyway.
Definitely cleaner looking, I might have to use that idea on one of my TRM tank builds.(if I ever get to it)I just don't like the hose clamp, I think that these motorcycle mirror mounts will be a cleaner option. AND, they are very cheap!! Like me!
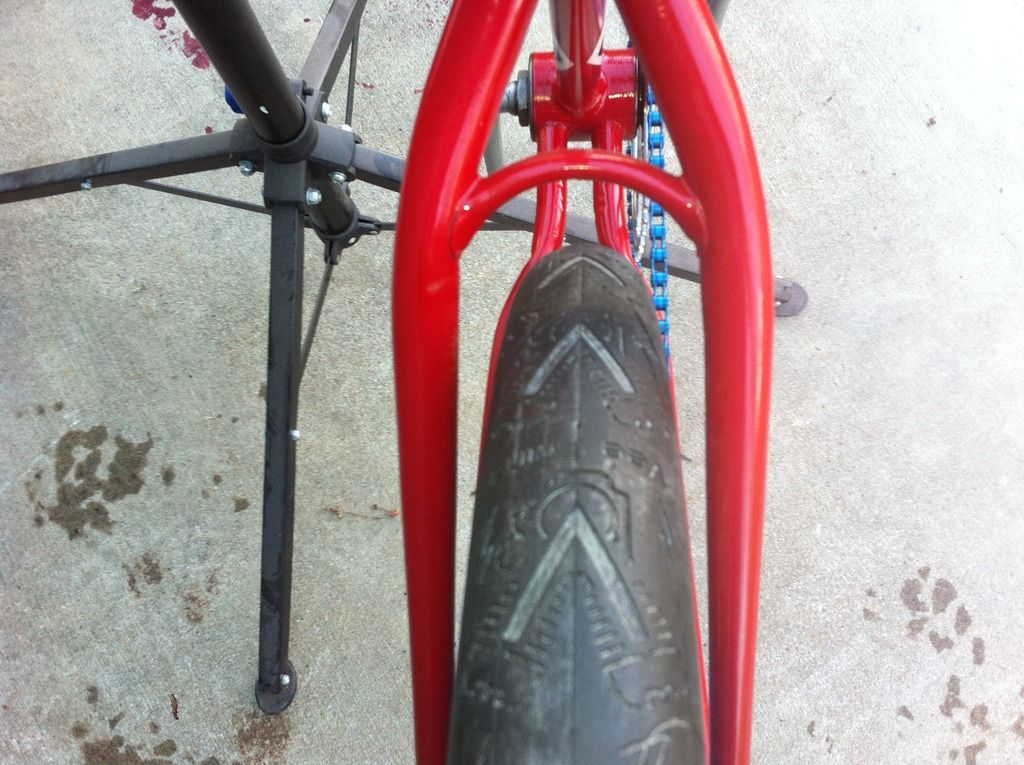
I have the tires mounted to the 3 speed hd wheel set. And I now have them on the bike.

These Vee Rubber "twinz" 26 x 2.35 tires are the same width as most 26 x 2.125 tires. They are not very wide. I would bet that the 26 x 2.125 twinz would fit most if not all middleweights WITH fenders! Inplan to find out when I restore my skyking AMF bike.
These Vee Rubber "twinz" 26 x 2.35 tires are the same width as most 26 x 2.125 tires. They are not very wide. I would bet that the 26 x 2.125 twinz would fit most if not all middleweights WITH fenders! Inplan to find out when I restore my skyking AMF bike.
Agreed!I just don't like the hose clamp, I think that these motorcycle mirror mounts will be a cleaner option. AND, they are very cheap!! Like me!
Here is a view of how the tire fits the frame, again even though these tires are marked as 2.35 wide, they measure the same as most 2.125 tires. Any narrower and I would have been disappointed.
I did get the chain guard all painted to match the bike, I basically followed some of the original paint lines for the inset area, and added a little flair with the 3rd color.
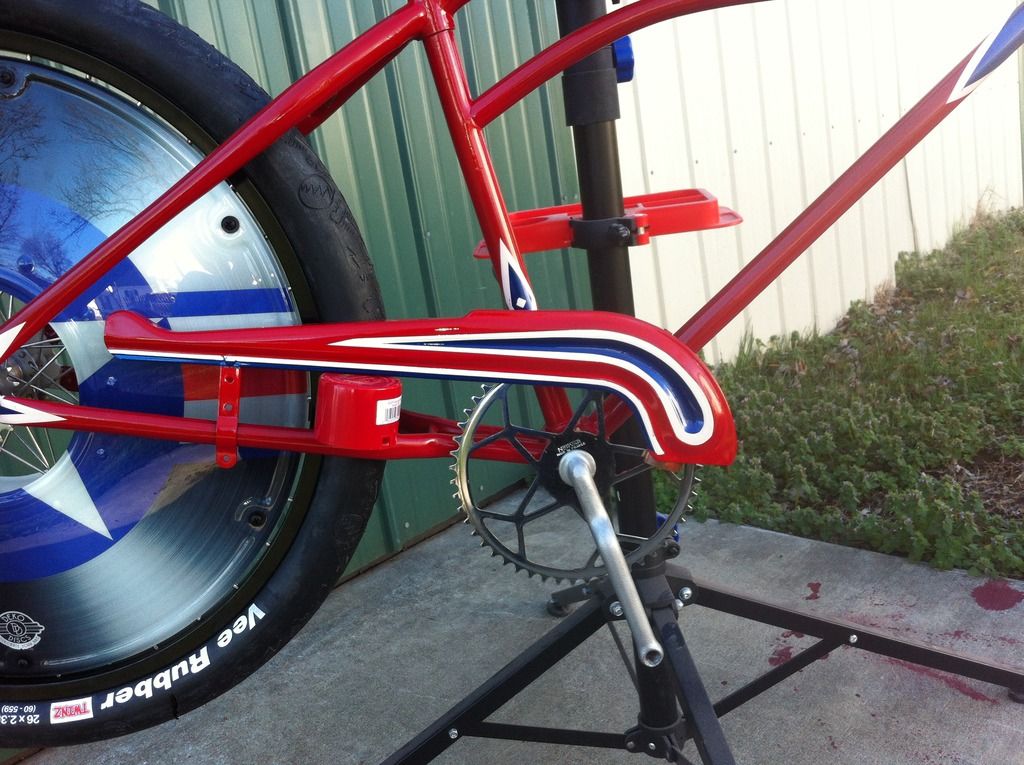
Oh Yeah, and I added my Deko-Discs!! I love these things. A very cool design...Capt. America!!
I did get the chain guard all painted to match the bike, I basically followed some of the original paint lines for the inset area, and added a little flair with the 3rd color.
Oh Yeah, and I added my Deko-Discs!! I love these things. A very cool design...Capt. America!!
I was going to buy a cool red, white, and blue chain for this build. (And maybe I should have) But, with a 52 tooth chain ring and 22 tooth cog, I needed 116 links of chain. It was only available in 112 links, so I would have had to buy 2 chains to fit the bike. And, since I am a cheapskate, I went with the blue anodized cause it came in 116 links and it was cheaper too.

And, here is a picture of how all of this looks together. I am already loving this bike and it isn't even a roller yet!!
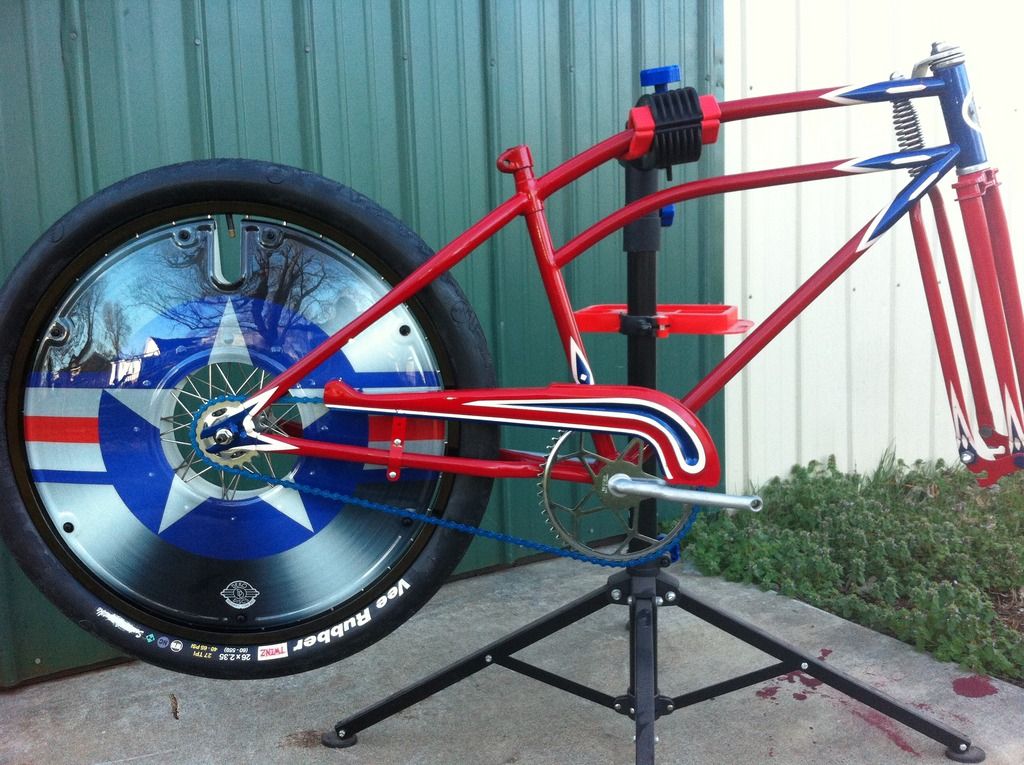
And, here is a picture of how all of this looks together. I am already loving this bike and it isn't even a roller yet!!
Note added for my buddy Falstaff and anyone else who is interested. The shifter mount idea.......if you go with the motorcycle mirror mounts that I posted earlier, but don't have access to a welder. Just go to the local auto parts store and get a rubber expandable freeze plug. I believe that the smallest one offered expands from 3/4" to 1 1/8". You will probably have to use a longer bolt in the freeze plug,once you cut off a piece of handlebar for the shifter to mount on, just fit the plug into the bar and bolt it to the mount. Done deal, ready for your shifter!!
Fv2
Don't know what I'm doing, gonna do it anyway.
I think the blue chain was the right call, red,white,and blue might have been dizzying with the wheel discs.
I'd like to see what you're doing with the freeze plug. I figure when I get the frame I need I might just weld a bit of handlebar to the seat tube.
Bike is coming together nicely, it has a good flow.
I'd like to see what you're doing with the freeze plug. I figure when I get the frame I need I might just weld a bit of handlebar to the seat tube.
Bike is coming together nicely, it has a good flow.