Ed's '41 Elgin DeLuxe (Build Thread)

Rat Rod Bikes Bicycle Forum

Help Support Rat Rod Bikes Bicycle Forum:

This site may earn a commission from merchant affiliate links, including eBay, Amazon, and others.
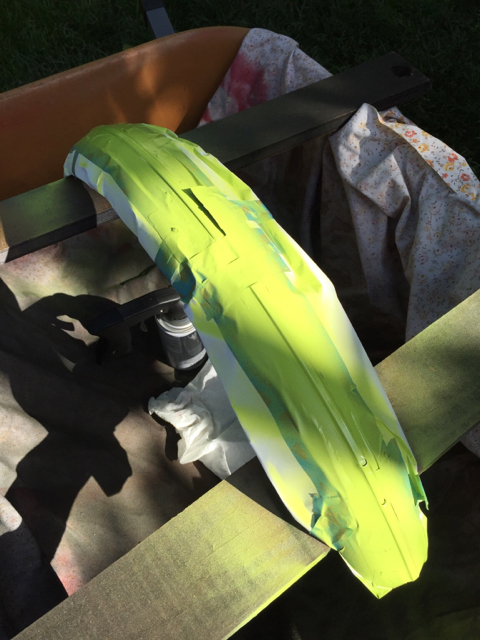
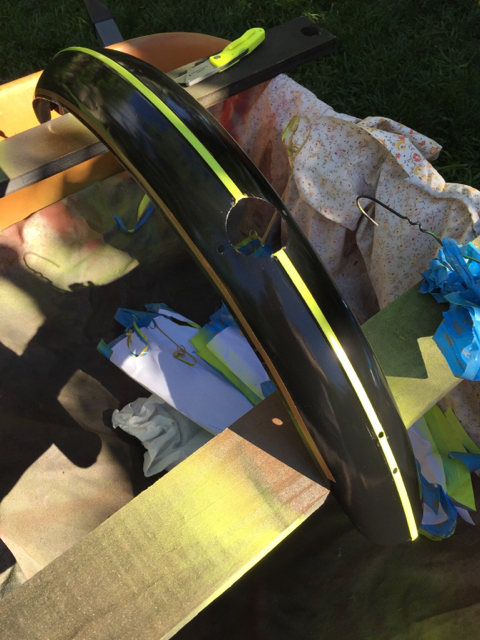
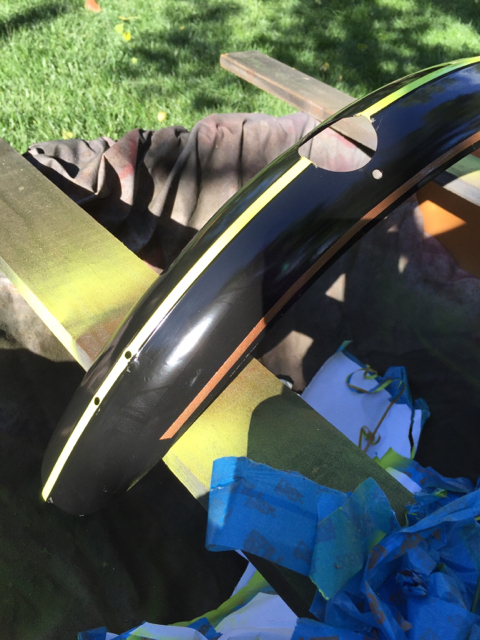
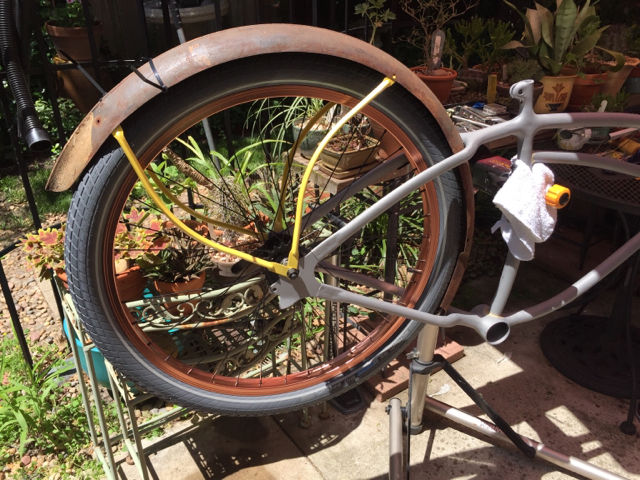
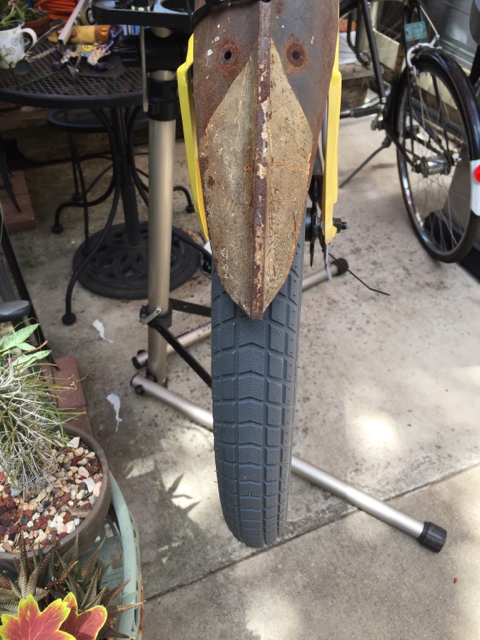
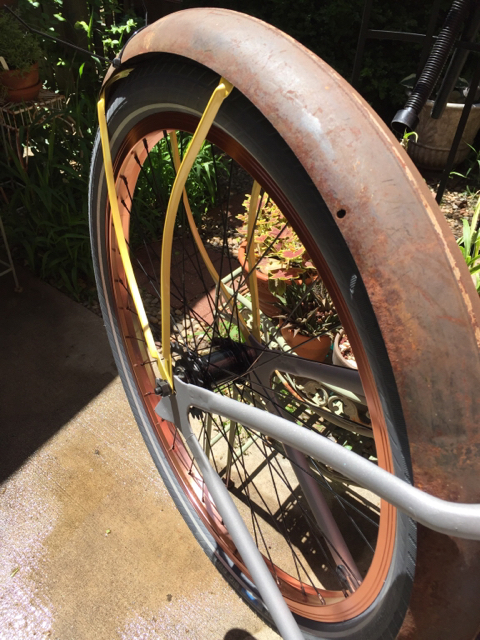
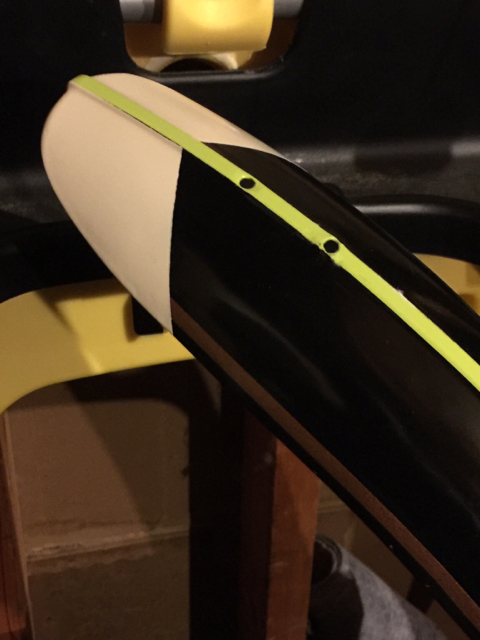
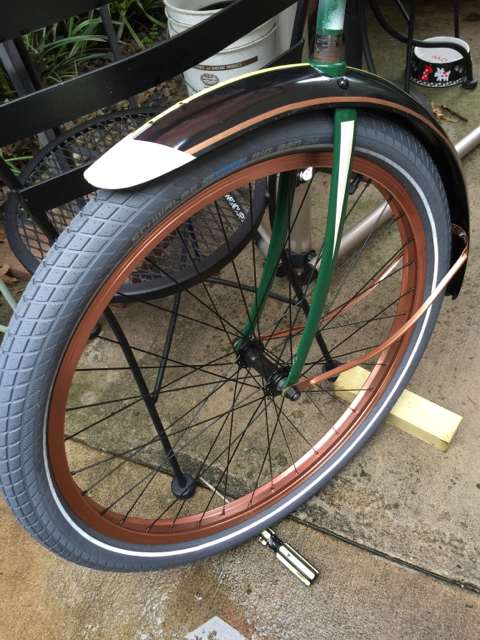
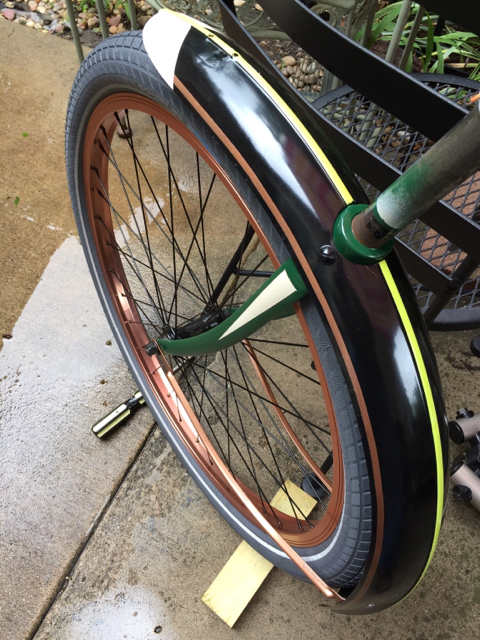
Thanks, I have the center rib left to do and a dart at front tip. Two more colors I think.
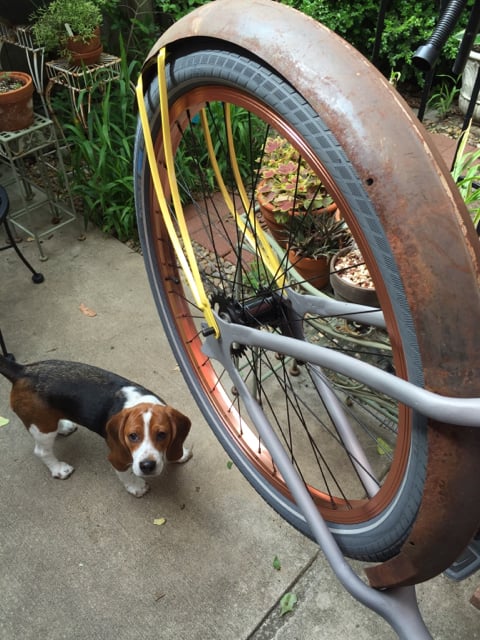
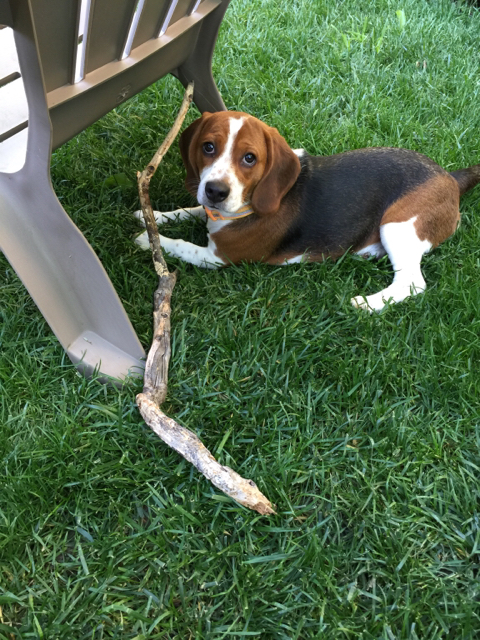
Our Beagle likes her sticks with patina as well, rat rod sticks I guess...
e400c6e4a30301194afe079e10866aa3.jpg
I suppose a violation
3a01ccf00c92e8f90906d8fb7f4a9d3f.jpg
 
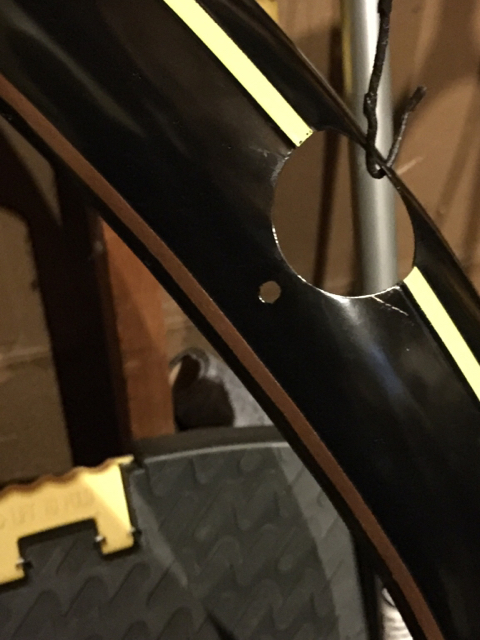
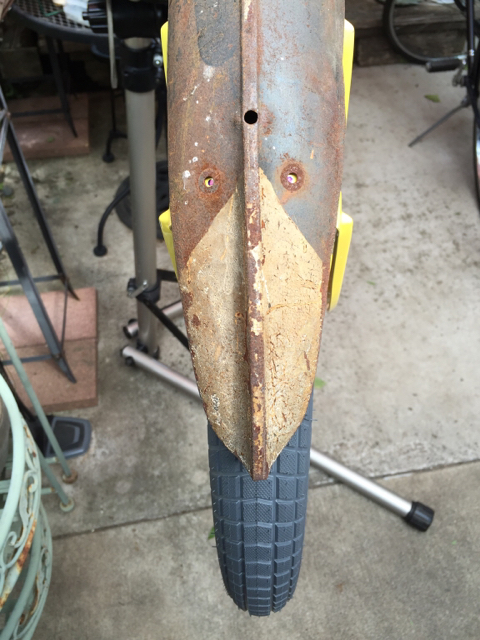
Added some key lime to front fender rib. Need to remove some tape adhesive when this cures out some more. Still have a dart to add at front.
4fd51c6cfe2a4a702f9ad6093c3aa1a8.jpg

4bb4bbdf56fafaf4c385281192ee40d6.jpg

cfe2dbf8164250e67e38ac5c7327800a.jpg


Sent from my iPhone using Tapatalk
 
Like your work Ed. And I'm envious of your shadows.....we haven't had sun for about 3 days now. Tomorrow looks promising....
 
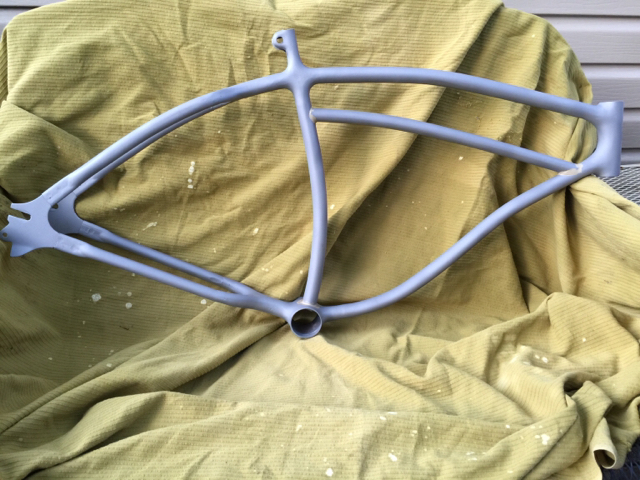
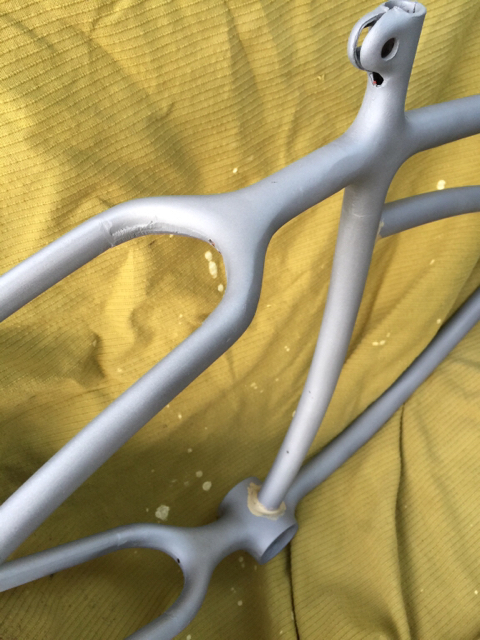
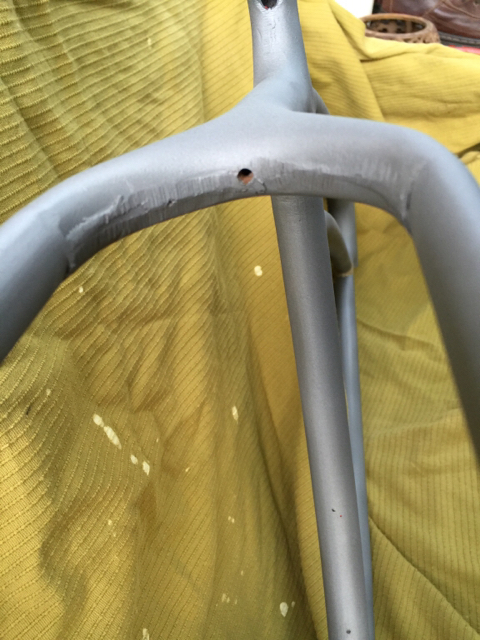
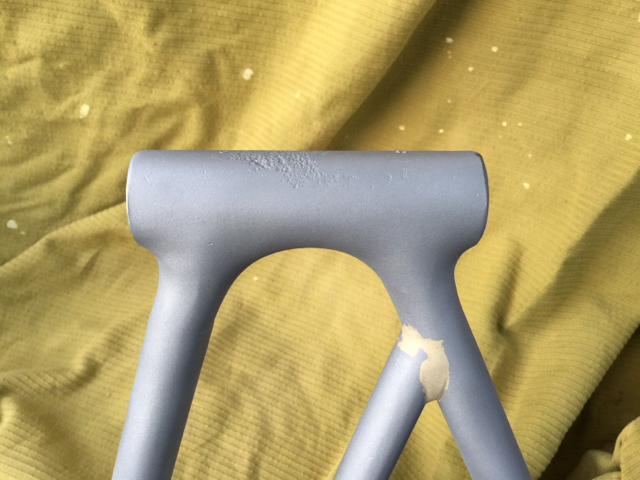
I picked up the Elgin frame today after having it media blasted. No pitting except in area behind headbadge. I had been curious as to how the filleted seat stay and chain stay connections had been originally fabricated. It appears they were constructed from two half pieces and welded together. The resulting joints where the fender would hide them weren't ground or finished two smoothly. So I can either maintain the OG look, do some filing or add some bondo, or a combination. I didn't notice the exposed joint conditions prior to blasting so it may have had some factory body work prior to paint. I'm glad now that I passed on powder coat.
I'll detail and primer it next. It should wear a fresh coat of paint well. I plan to test fit the rear wheel, donor fender and chain guard in the next couple of days.
06aa056e5d73e31c0d17789c66c32c7a.jpg

a152d8d15ef92bd3b925fb88edc97ba5.jpg

Notice the joint.
717f8b70dbf2400d47b302dc0ae57d44.jpg

7b230fb9085f42b5a495b0006f14bf58.jpg


Sent from my iPhone using Tapatalk
 
Last edited:
Looks like a bit of file work will have that cleaned up nice!

Luke.
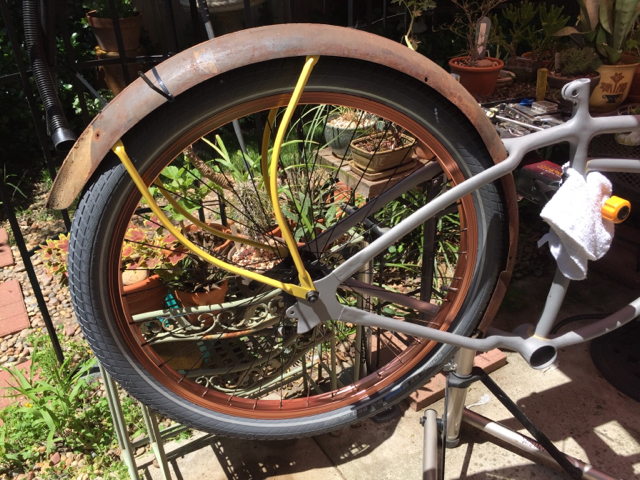
A file should take care of some of it, but I think it's still going to required some body work to get it smooth as the exposed areas.
 
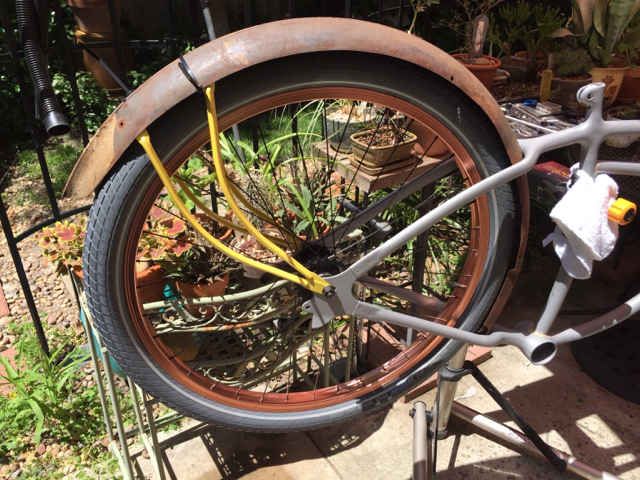
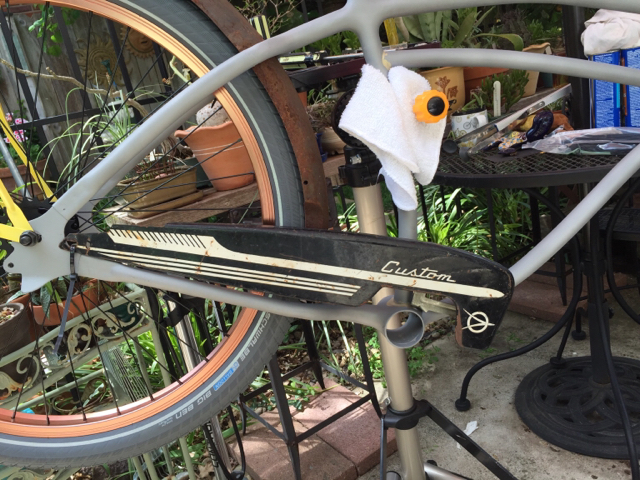
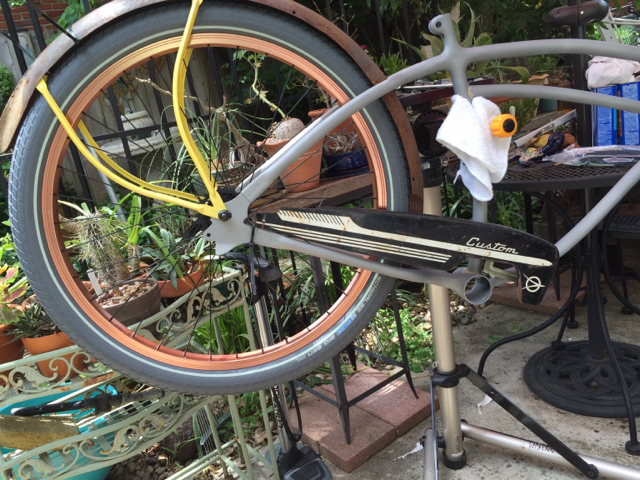
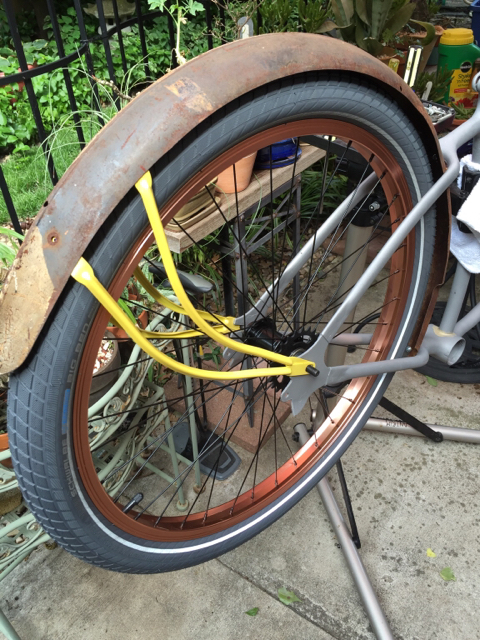
Moving on. Test fit rear fender, think it came from girls bike due to extra holes for skirt guards. Played with a few fender brace ideas. Pictured is one of my chain guard options, seems a shame to repaint it though.
3fabf2ae70f5f763eba0359d3ada2823.jpg

a4f6c8a2f994a6eb9321737d5f0bf6dc.jpg

159a1b75bcf6e78683f99cf0545eb9a2.jpg

08feff756282df5c233b4af2e9dfc15c.jpg

6f3efc366329d98fa4f8b04ceeb33404.jpg

94738d507c85677ae81d0c4a24f8fbcf.jpg

d7258c2c9753eb434b7d7bba95f4c2de.jpg


Sent from my iPhone using Tapatalk
 
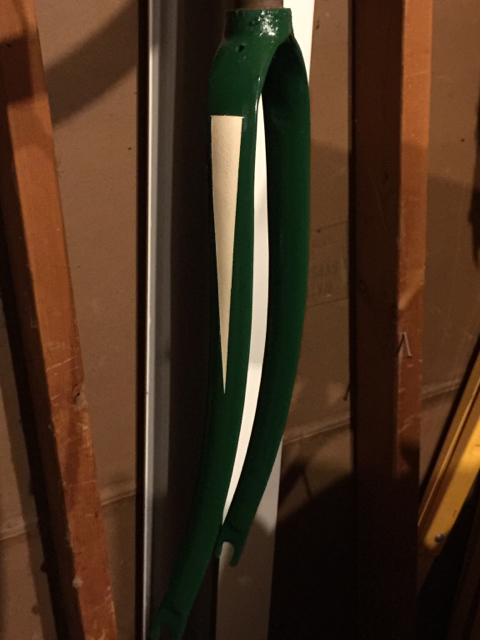
Some touch up coming up on front end parts.
2d8ce84b97fa35d46c45075ac3319cb9.jpg

681812f169de0c1adccb96bc289bc427.jpg

dbef17ceea951647eb01957a2997c1f0.jpg

89f28a84cf462a01791cef81ca31ac8e.jpg
.


Sent from my iPhone using Tapatalk
 
I really like the braces close together, and the guard looks good! Really liking your paint scheme so far!
 
I really like the braces close together, and the guard looks good! Really liking your paint scheme so far!
Thanks for your input.
With the braces close together the fender and wheel adjustment is probably more flexible since the braces attach to the rear axle.
I tried cleaning the chain guard with some success but it is scuffed up good with some burnt in rust. It will take a few modifications to get it mounted. The graphics seem too nice to destroy by refinishing.
 
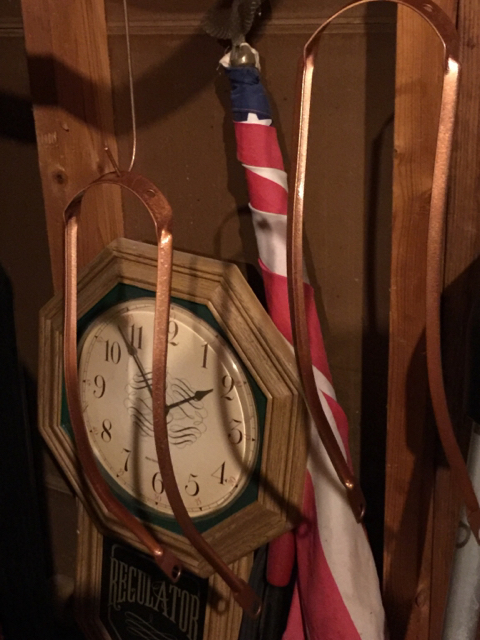
I found some 10-32 machine screws and fit the rear fender and braces. I drilled holes in braces for future fender bolts. Still need to decide on braces location and drill a couple of holes in the fender prior to paint.
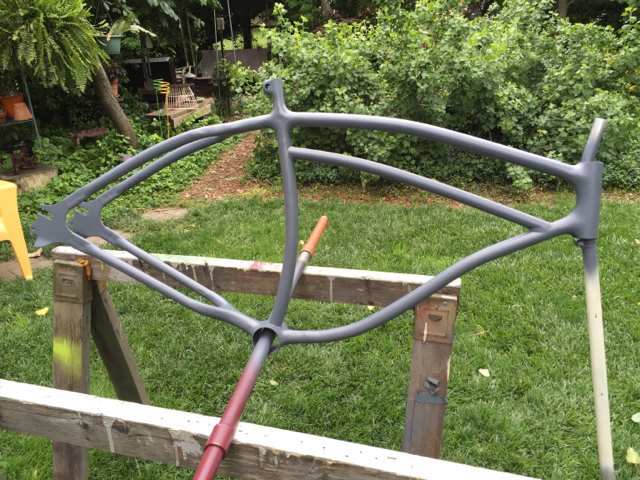
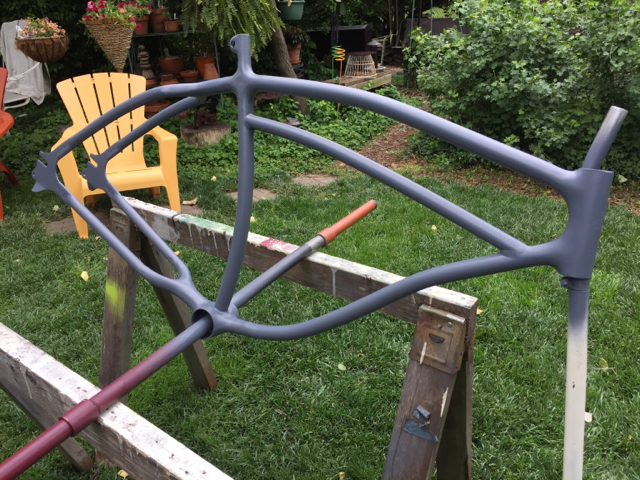
Did some filing, grinding and sanding on the frame. I shot it with primer to protect the open steel. This also shows where some body putty may be in order.
b6ac45b96737c6c2124caf4cbc783416.jpg

a50a2ece6fc0bab5729f541fd95ee6a6.jpg

5893d9cb9aa8cb103f9c1361ce0d89f6.jpg

115016e4ffb15ca199b5498c9189fabb.jpg
e6f3507e47292c5d5b3f7faadf3a3e34.jpg
.


Sent from my iPhone using Tapatalk
 
Last edited:
In my opinion the braces spacing looks best in the pic with the guard on. I think when you place them close together it takes away from their effect somewhat.
Build is looking great.
 
Doing a little sub-assembly work on the front end today. forgot to include the truss rods.
f17a00a1cbebf9bfc3c4f28e7c421445.jpg

d171b3f293394ab1335570dffdc5e033.jpg
.


Sent from my iPhone using Tapatalk
 
?


Sent from my iPhone using Tapatalk
 
I usually try to stay 2 -3 colors max. Everything belongs together, but somehow it looks mismatched to my eye.
 
I usually try to stay 2 -3 colors max. Everything belongs together, but somehow it looks mismatched to my eye.
It's not just your eye.

I like the flow, but yea. Something just seems off.
 
I usually try to stay 2 -3 colors max. Everything belongs together, but somehow it looks mismatched to my eye.
Well it's all still fluid, work in progress. Front end is an experiment, the overall plan has 2 or three field colors with a couple of trim colors. Thanks for your input, it is appreciated.
 
It's not just your eye.

I like the flow, but yea. Something just seems off.
Thanks for your input. Front end is an experiment, not necessarily final, it may still change. Not really liking the fork dart.
 
Last edited:
Ed, I actually like the fork dart with the painted tip on the fender. What would it look like if the fork was the color of your center stripe on the fender? Your 'bright green' ...?
 
Back
Top