Rad Rot Bikes

Rat Rod Bikes Bicycle Forum

Help Support Rat Rod Bikes Bicycle Forum:

This site may earn a commission from merchant affiliate links, including eBay, Amazon, and others.

PICK MY RAD ROT BIKE 2021


  • Total voters
    29
  • Poll closed .
I abandoned the toy airplane ornament idea for the fender but I have an even better replacement! There's not much time left in the build off so this will be the only tease that I'll employ for the build:

If you've been following this journal closely you have already seen it! :bandit:

Bull?.....:39:
 
Anyone have any advice on getting this horn working? Everything looks fairly clean but I dropped some batteries in and ...nothing.

IMG_3408.JPG


I haven't fiddled with it at all yet but I thought I'd start with making sure all of the contacts are cleaned good.
 
Spray some wd40 into the horn piece itself and the button. Then start cleaning all contacts. There is also an adjustment screw on the horn that you should work back and forth while trying to make it work.
 
No turning back on the chain guard now! I just couldn't live with the lines being so obviously wrong. I had thought about a couple of different ways to alter the bracket but decided that the best solution was to remove it completely and start fresh.

The bracket was spot welded to the guard from the factory.
IMG_3416.JPG


My best option was to use a disc grinder and grind as much of the spots as possible. Then tear it loose with a chisel.
IMG_3417.JPG


Here is what was left after a litle clean up with a sanding disc.
IMG_3421.JPG
 
Spray some wd40 into the horn piece itself and the button. Then start cleaning all contacts. There is also an adjustment screw on the horn that you should work back and forth while trying to make it work.
Same i was going to say...
But, i was going to say , drip 3-in-one.
 
By the way, while we're on the subject of the Rocket Ray, here's some trivia that I found to be very interesting.*

The top half was designed to fit the existing Delta Rocket Ray headlight by Murray-Ohio’s chief bicycle designer Viktor Schreckengost.
View attachment 169866

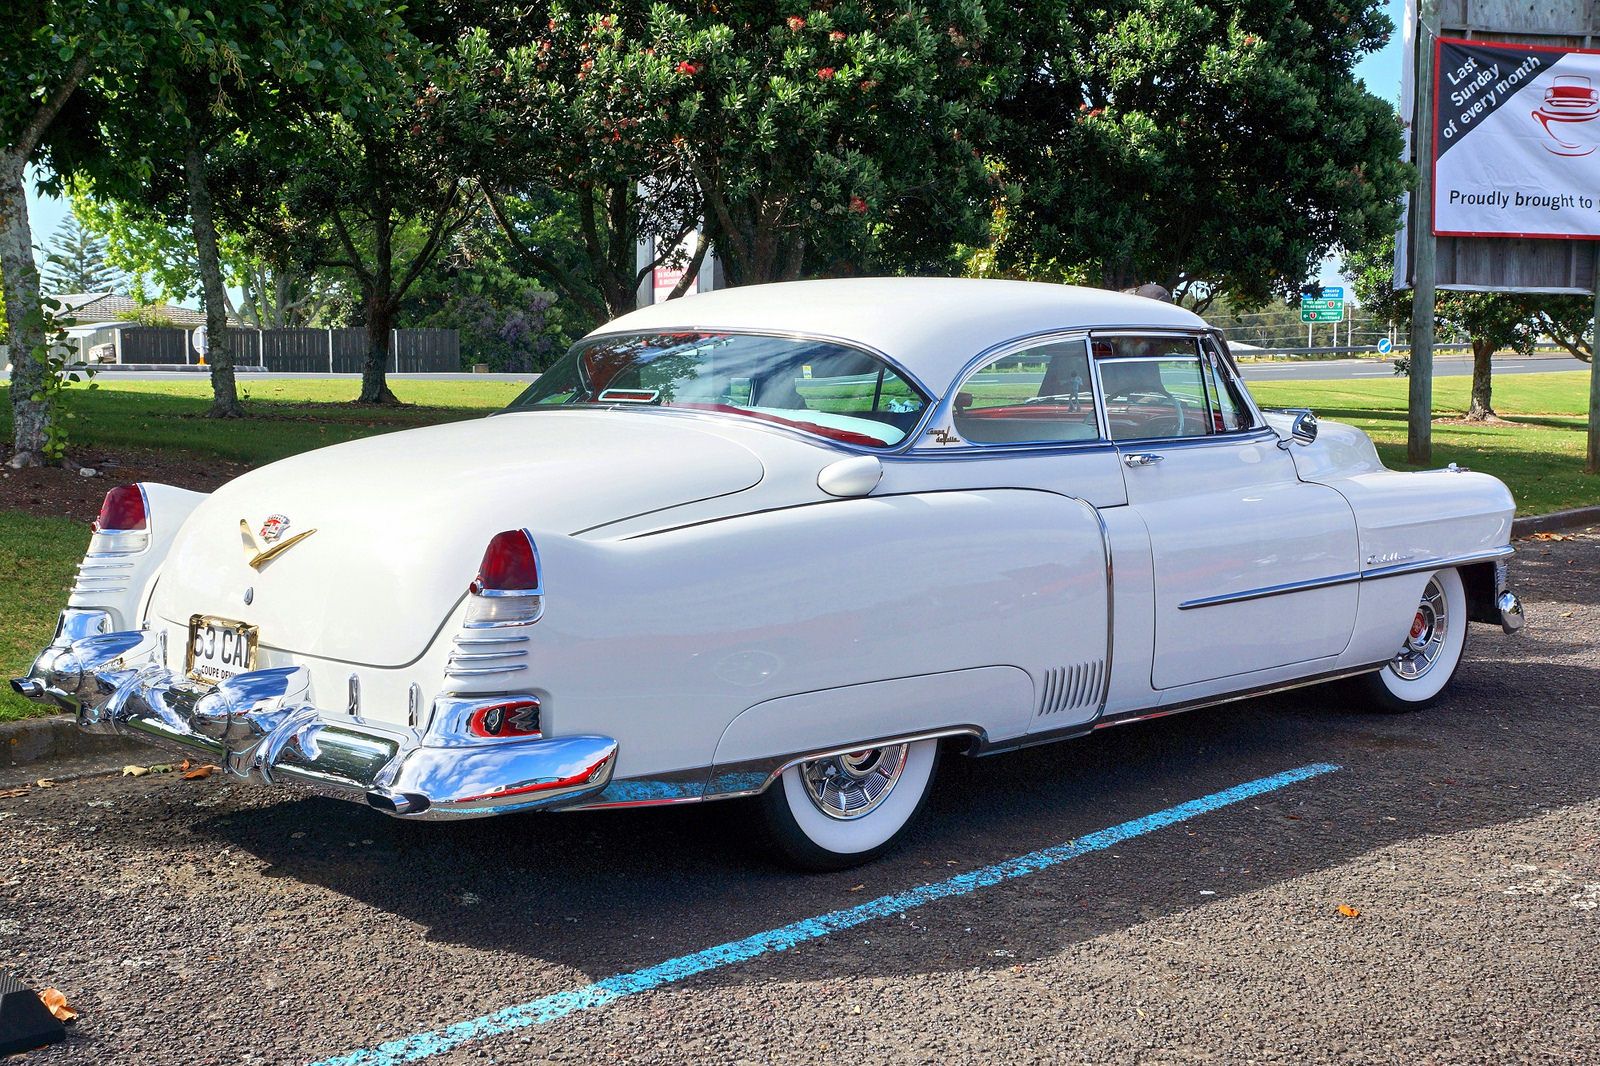
The special Western Flyer Super Deluxe top was styled after the early 1950's Caddilac! Can you see it?
7f50f2fb5b5e970a6b17da51d9750f95.jpg


Pretty cool huh?!


*You can read more history about the X53 HERE.
Those tailfins on the light are the coolest!
 
With the bracket seperated from the guard, I lined up the guard on the bike using a straight edge. Then the bracket was placed back on the down tube and I marked where it goes on the back of the guard with a Sharpie.
IMG_3428 (2).JPG
 
After breaking two bolts so far, my biggest fear has been the stem. As we all know, stems and seat posts that have had years or decades to rust in the bike can sometimes be next to impossible to remove without destroying something in the process.

Once I drilled out the broken fender bolt in the bottom of the fork, I rotated the bike upside down and started a daily IV drip of PB Blaster through the hole for the rest of the week. With some trepidation I finally put a wrench to the stem bolt and went for it. With a dry screech it moved just a little! I knew then that victory was near! I gradually worked the bolt back and forth to get the PB to penetrate deeper into the threads and eventually got a full turn.

With the stem bolt loosened about 1/4" I was able to knock the wedge free with a nylon hammer. The only thing holding the stem now was the rust that had it welded tight inside of the steer tube. After an admirable fight involving a steel bar, a hammer and sweat, little by little it's grip was loosed. Success!

View attachment 169115

As you can see in the photo I also removed the crank (with much less drama) and can now get all of the bearings and races cleaned and ready for fresh grease. :)

View attachment 169116
That stem is the worst I've seen successfully removed. Good job.
 
Thanks @Tallbikeman !

Took the guard and bracket back to my cousin Charlie and had it tig welded back together.

I drilled some holes for plug welding and had it clamped in position. It took him all of about three minutes to finish it up.
IMG_3430.JPG
IMG_3431.JPG
 
Nice work! That was a good ways off!
 
What are the things that make a Renaissance Man build? This level of attention to detail; absolutely sublime. Thanks for letting us peek
Thanks @MattiThundrrr

Here's another detail for you.
It'll make no difference whatsoever in the voting photo, but riding is my goal so therefore it was worth the effort. :)


I took everything apart and cleaned all of the contacts with fine sand paper. I was going to open up the horn itself if it didn't work but as you can see, it works great now after a little cleaning and adjustment!
Happy Happy :banana:


BTW, you can hear the rain outside from Ida passing by in the video.
 
The front side of the guard needed to be put back like it was before the operation. The process was very simple; spray some satin black, let it dry and scratch it up a little. Should be hard to tell.

Before:
IMG_3432.JPG


After:
IMG_3436.JPG
 

Latest posts

Back
Top