WBO-Fully Sprung Elgin- **Tested/Finished**

Rat Rod Bikes Bicycle Forum

Help Support Rat Rod Bikes Bicycle Forum:

This site may earn a commission from merchant affiliate links, including eBay, Amazon, and others.
Joined
Mar 5, 2014
Messages
1,402
Reaction score
2,791
Location
Utah
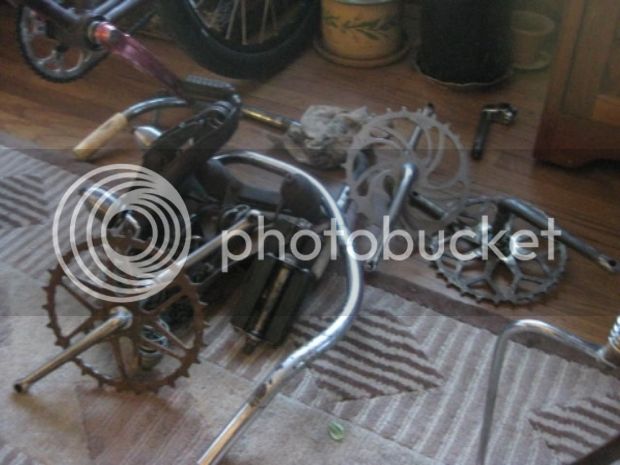
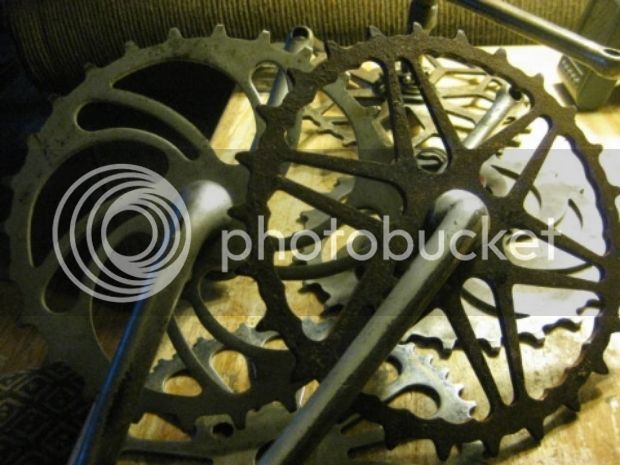
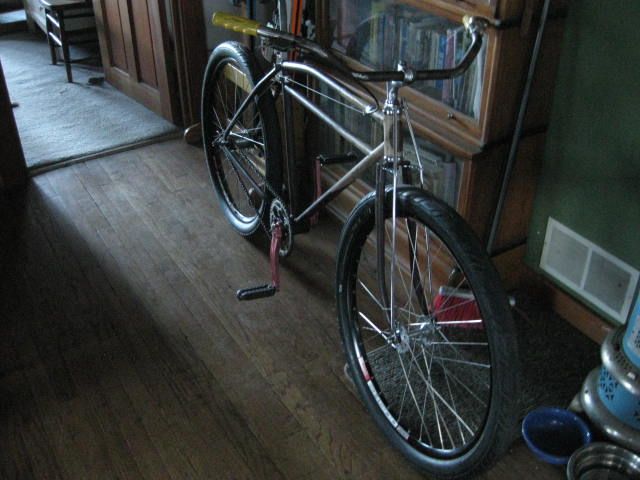
The Silver King is honored to join the fun with my first buildoff competition. So many cool builders participate and share here that I became motivated to join in....... I have an Elgin frame from the 20's or 30's that has been hanging around for awhile. This STRAIGHTGBAR diamond Elgin frame was purchased a year ago, and has been begging to roll another day. This is the only Elgin in my stable, and I will attempt to modify it to Rat with a springer fork, a skip-tooth drivetrain, a drum brake front and a three-speed coaster rear while keeping it Fat, functional, and aesthetically easy on the eyes. These elements are pretty typical for me...
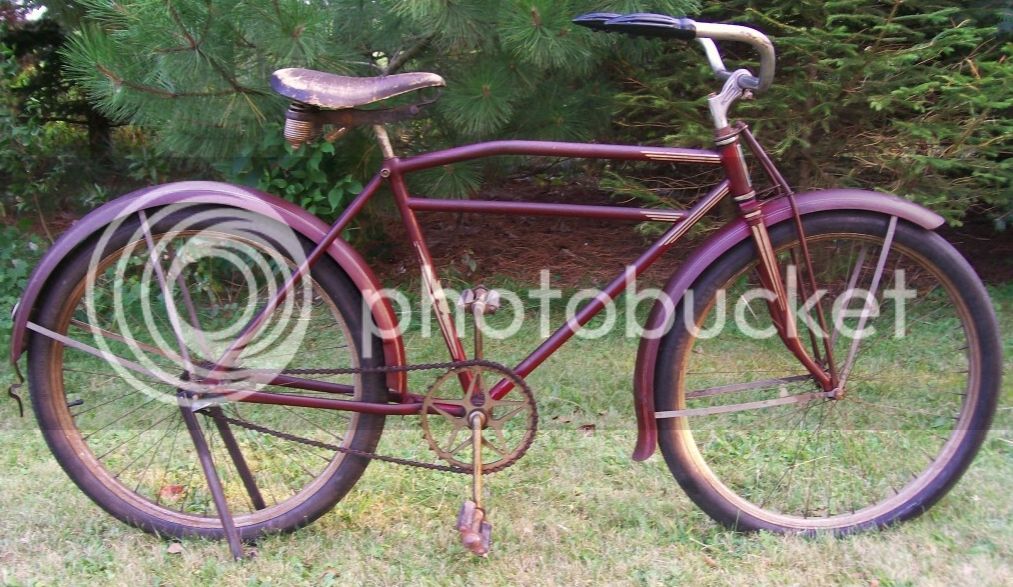
So, lets start with my Frame. A 20's or 30's. I just cannot determine the year because of the variety of builders for Elgin. It was thickly covered in purple when I got it. I think it is a 26" frame that matches what my research (visually) has discovered. Here is a 20's model (perhaps)
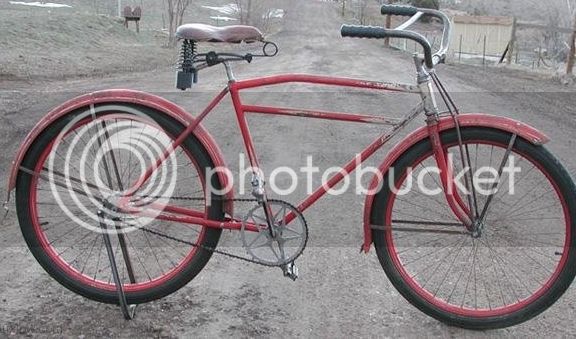
Elginsim_zpsd50a7dab.jpg

And a 30's one..
36-8Elg_zpscf8e12a5.jpg

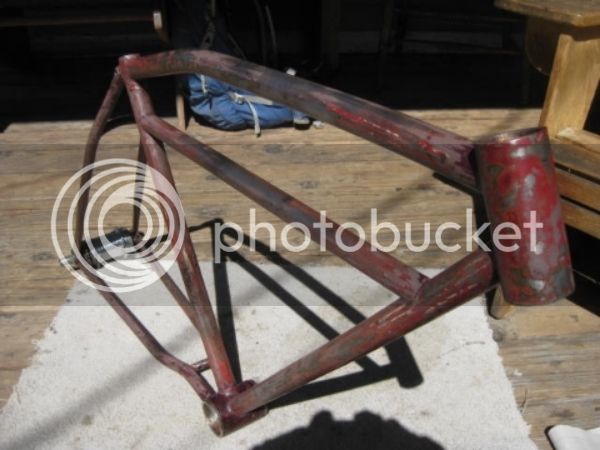
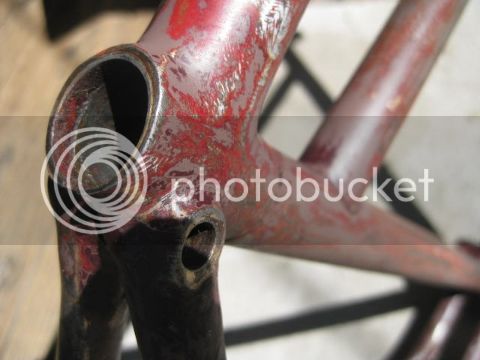
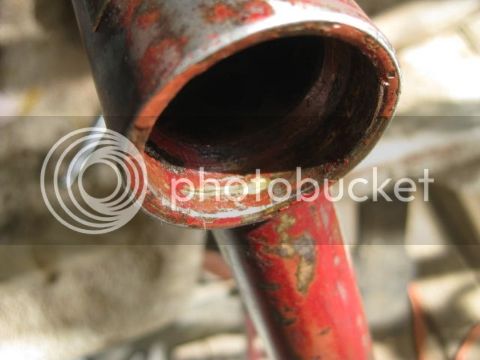
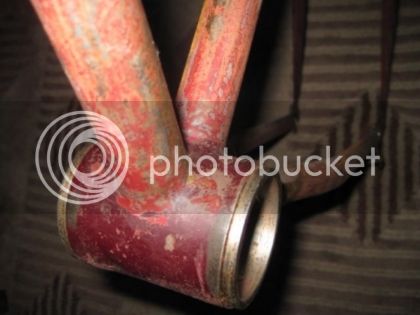
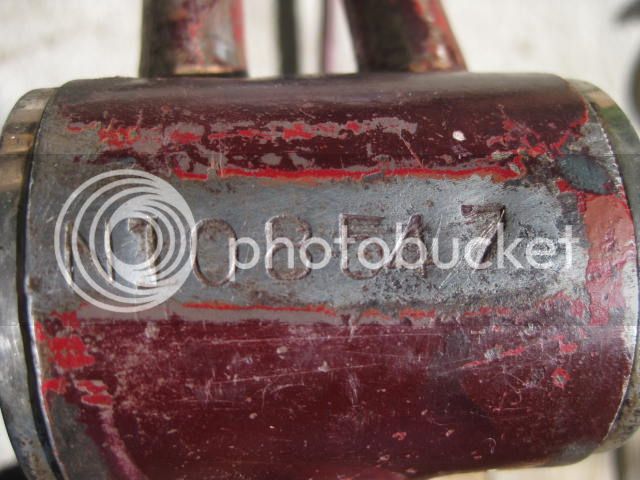
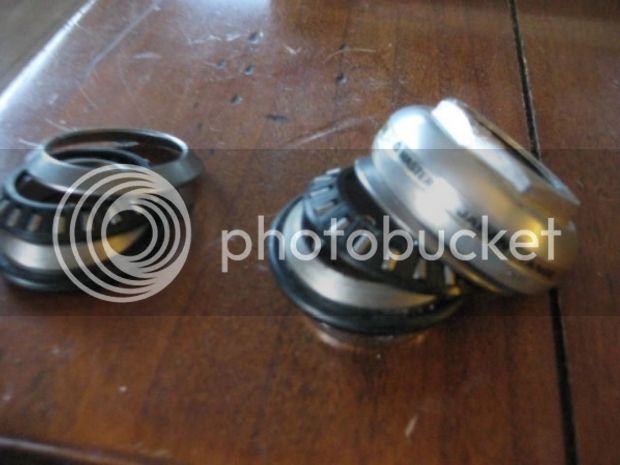
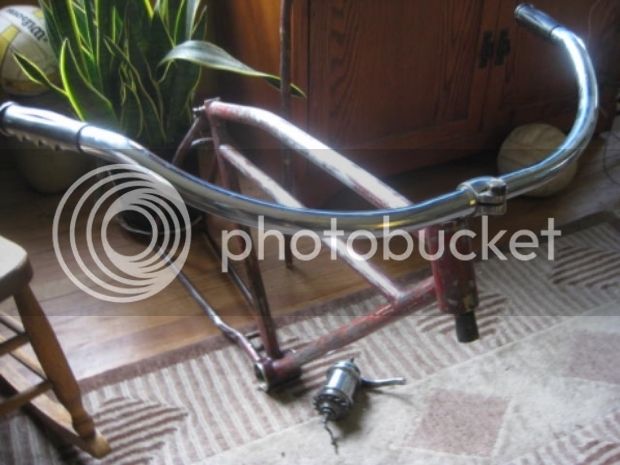
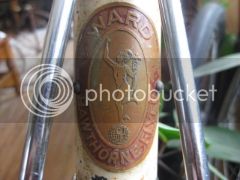
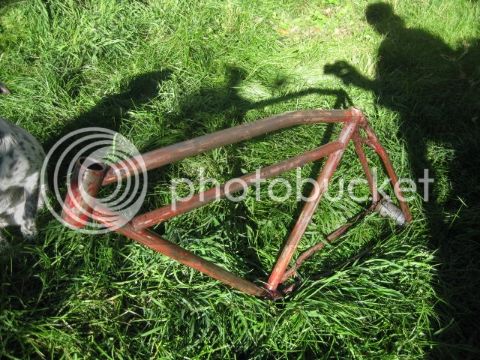
My frame had a thick, fake-original paint job on it that mimicked the graphics of the 30's one. Problem is that my frame has red original paint. It also came with no head badge or seat post. It did have the headset cups and binder bolt. The BB is a std. size press-in-bearing cup that will accept most one-piece cranks. The head tube though, is a 1-1/4" opening that has frustrated me because I have no old headsets that fit! So I plan to get a 1-1/4" to 1" adapter to get the fork to work.
IMG_2361_zps816e76e7.jpg


969073c1-4a16-429f-94c4-f1093a1ea953_zpsa460a7ef.jpg


IMG_2349_zpsb2c1e9d1.jpg


IMG_2625_zps77c25b76.jpg

IMG_2385_zpsaf2eb98b.jpg


IMG_2624_zps56900814.jpg


el4_zps599cab51.jpg

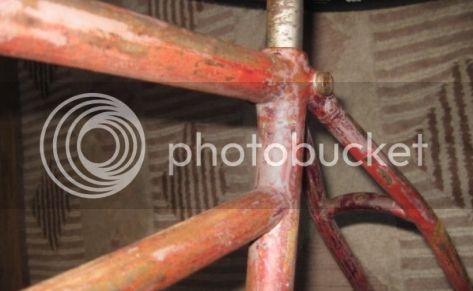
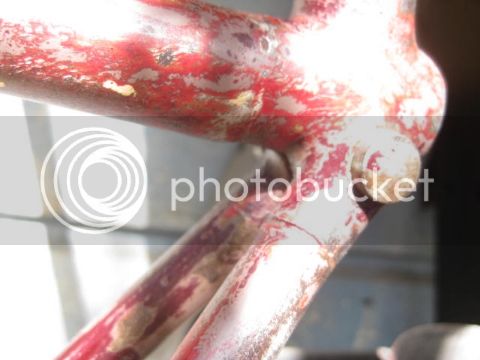
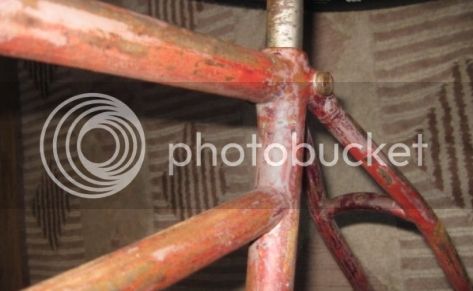
As you can see, I have worked the old Faux-paint down as far as I could, and found the original paint (red) was relatively toast, being partially removed, primed over, then painted a thick purple....so, I plan to leave it just as you see it now, maybe take some more paint off, then some linseed oil coating leaving a little of the old, new, and the rusty combined..
 
Last edited:
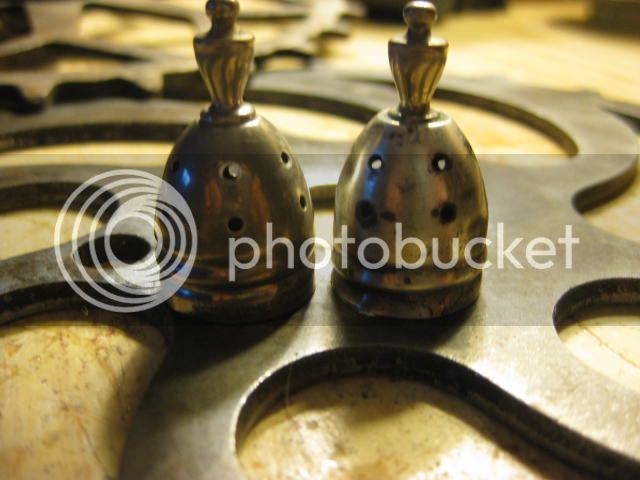
You will have to wait and see!! Someone knows what they are. Here is a hint.........They are sterling silver.
 
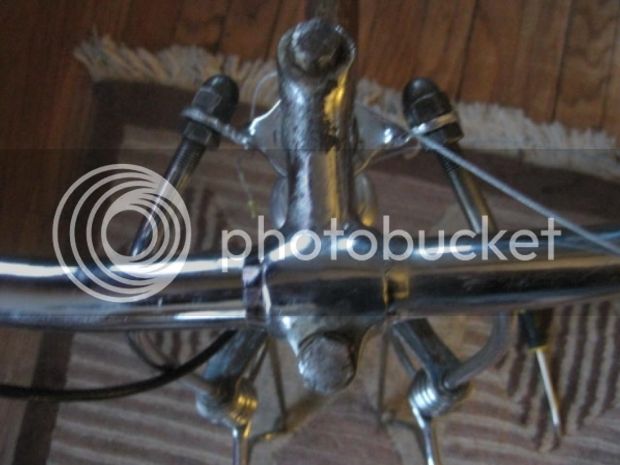
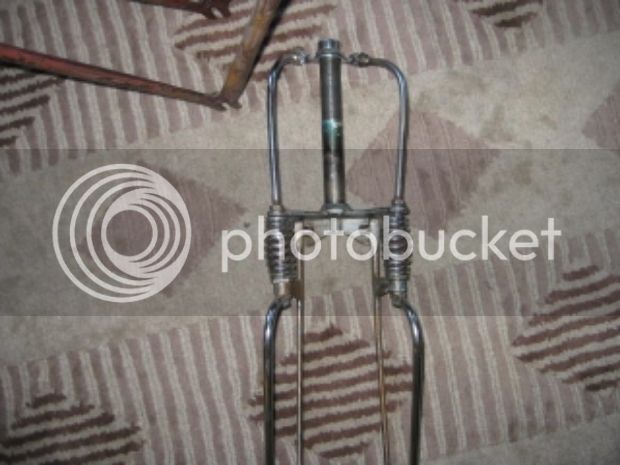
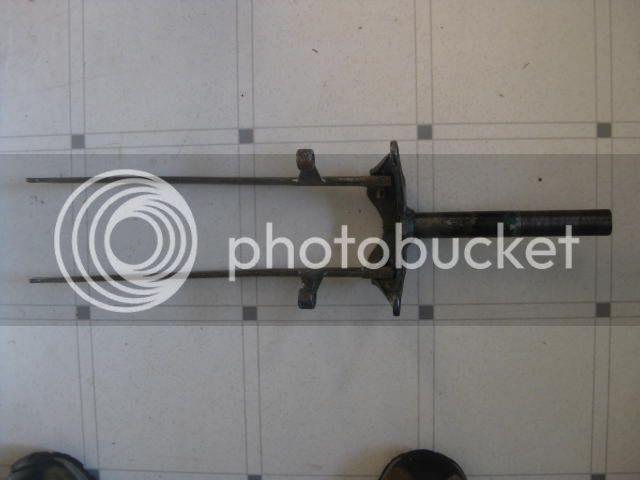
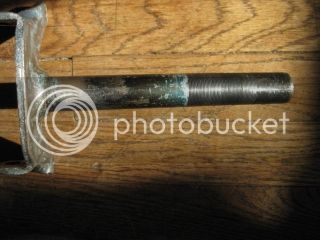
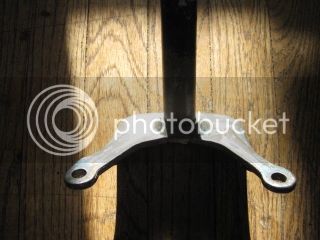
Here is the fork I will use. The crown and legs were both bent up a bit(a lot), but I have them relatively straight now. The steer tube was leaning right in the tweaked crown, but the lower fork legs weren't too bad. It was really hard to get the crown into a vice because of its shape. After some work, the steerer was 90d to the crown and the fork legs' back brace & crown interface finally lined up when the pivot bolts were in. I got the fork because everything was there and the chrome was good. Every single nut and bolt was frozen solid, requiring fire and PB over time to get it apart. I do not think it was ever disassembled. Maybe that's why I got it cheap.
IMG_2626_zps316512e8.jpg


Hours later....
IMG_2715_zps1b0c7ea4.jpg

The Elgins' head tube is super-short, so I had the steer tube threads cut about 2" further down the steer tube. After I get the headset reducer, I can attach the fork to the frame in order to properly determine where to cut the steer tube off. The fork to frame incompatibility is really the toughest part of this Rat..most of the other parts should bolt on, except for the "secret" silver items.
IMG_2631_zps1db9a57c.jpg
IMG_2630_zps498c2bf2.jpg

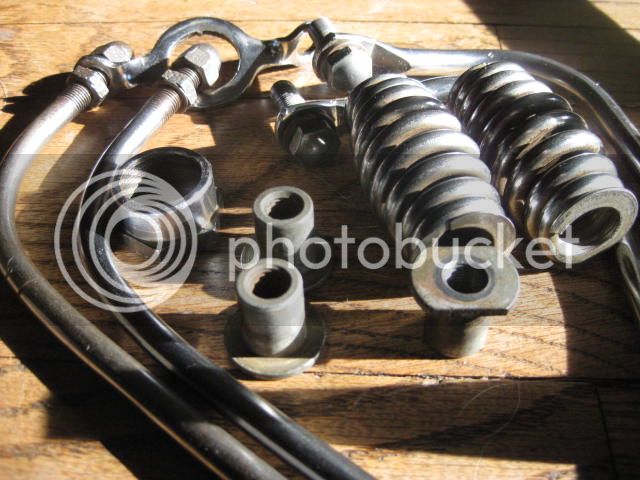
After taking it apart and cleaning it, I lost one of the spring retainer nuts!
:headbang: If anyone can let go of one, let me know..
IMG_2633_zps29ca0842.jpg
 
Last edited:
YES! That is exactly what they are. I was helping my 89-yr-old mother clean out some of her china cabinets in December and came across them sans the glass containers. She told me she didn't remember whether her mother had them or whether she found them at a farm auction in the 70's. They just spoke to me. A light-bulb went on in my feeble brain on what to do with them, and so here they are in a Rat Rod Bikes buildoff. Nice job on the ID..:41:
 
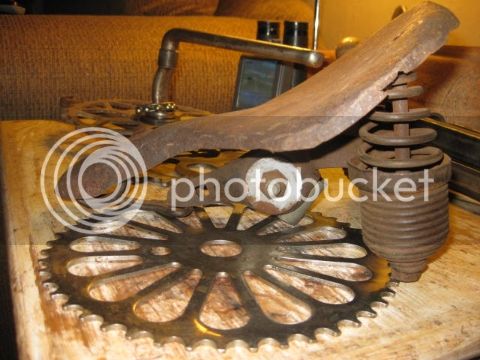
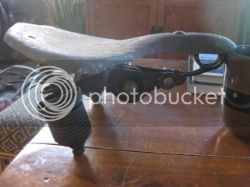
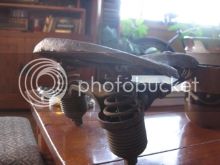
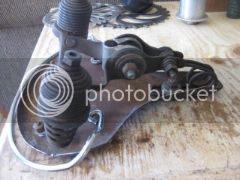
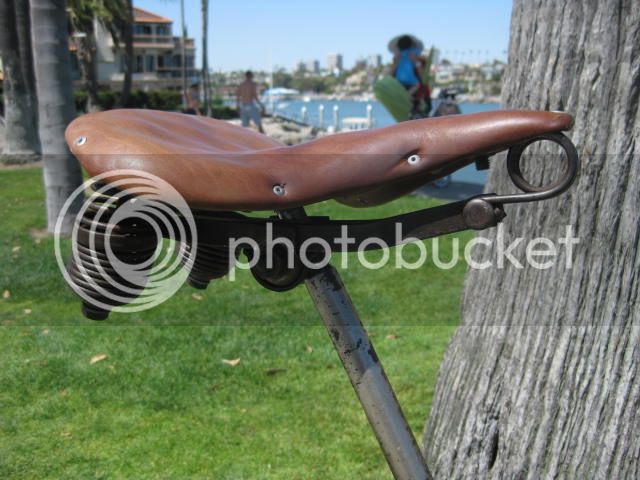
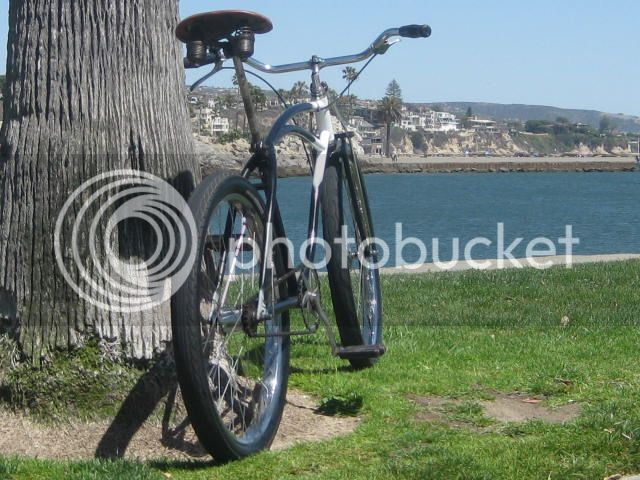
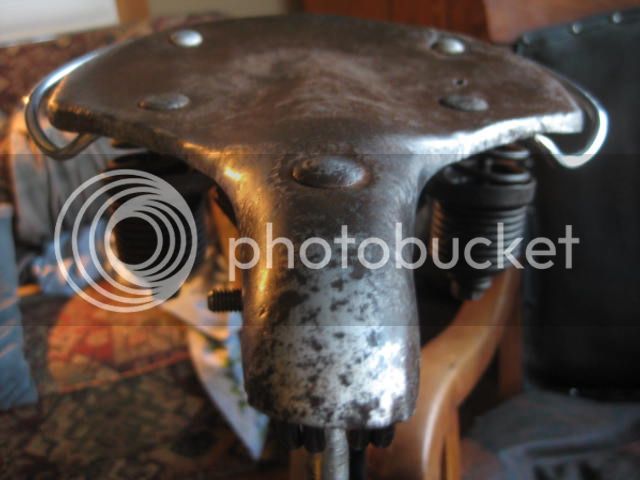
Here is the triple springer seat, which helps the Elgin become "Fully Sprung". There are older bikes which truly were full suspension, with the rear end design built into the frame, but for this bike I had to improvise. So here is the seat which I worked on a bit...
IMG_2687_zpsfb9c308d.jpg
IMG_2693_zps96735271.jpg
IMG_2688_zps918232c6.jpg
IMG_2718_zps0ca2af93.jpg


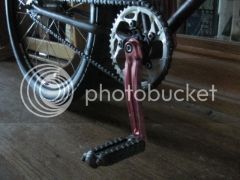
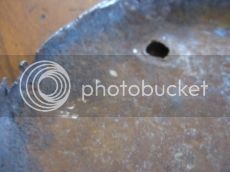
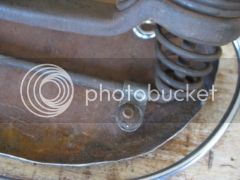
I started with a long-spring carriage from who-knows-where I got it incomplete seat and modified the pan to more reflect the more modern road saddle designs, which I personally prefer. I then found a front spring that should work for the short carriage, an AS seat binder bolt that connects it. and mocked it up. The crash bar is also going on the seat just because. I had to bend it around a bit to get it to sit flat on the pan and in the proper position to the back of the seat. A seat is very personal, and for me most old saddles seem to be not quite right. I recently re-discovered the smooth ride that my Ferrocarill Sled (Shelby) provided. Between the shock-ease fork and the long-spring saddle, It felt unbelievable, completely diffusing all the road noise out.
IMG_2158_zpsaeb84f06.jpg

IMG_2156_zps20dc0b1e.jpg

Not sure whether I will cover the seat in leather or not...I still have a few things to work out with it to get it just right, but did finish most of the metalwork. Rounded the edges with a hammer, then file de-burred it. Robbed the two rear spring-to-pan bolt/nut sets from another seat, but need to break the drill out to finish mounting the crash bar. As usual, the left side of the pan was the in the worst shape from it laying in the dirt or grass..
IMG_2712_zpsebf76c52.jpg
IMG_2719_zpsf2275faa.jpg

IMG_3236_zps98ccbf5f.jpg

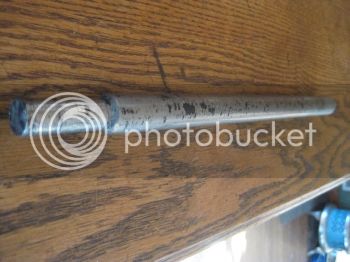
This is my most favorite old seat post. Solid top and machine-tapered bottom. Who knows how old it is, but is has seen some miles. I put a few on it myself already. It stacks up against any "modern" seatpost out there today, and I guarantee it will not ever break unless run over, and maybe not even then.
IMG_2732_zpsf1c680c5.jpg
IMG_2708_zpsfab0a16b.jpg


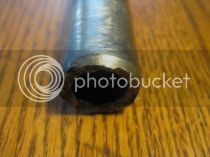
The Elgins' quality control passed this frame even though the top tube, the seat tube and the seat stay junction finish work was sketchy, so when the post is inserted, it binds not far down. I hope to figure that out, because I won't cut the long post off.
IMG_2384_zps2ca53d14.jpg


IMG_2625_zps77c25b76.jpg

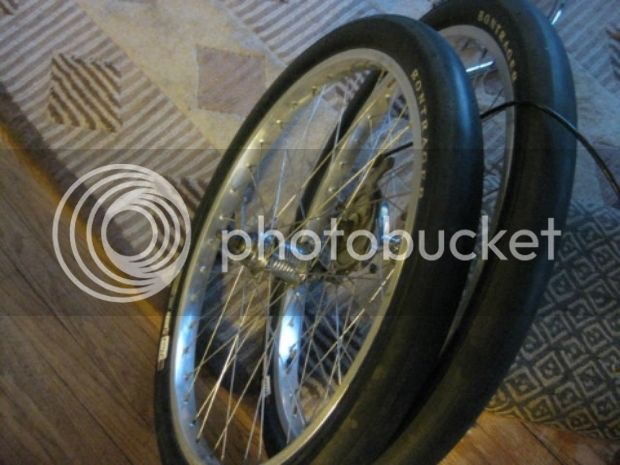
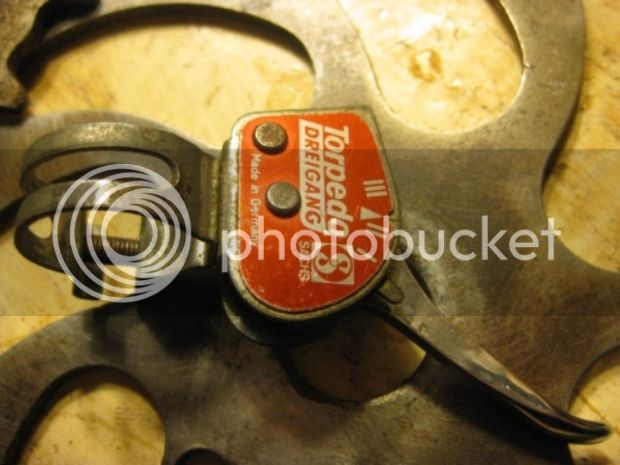
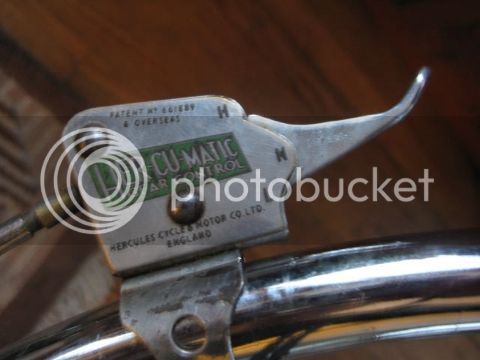
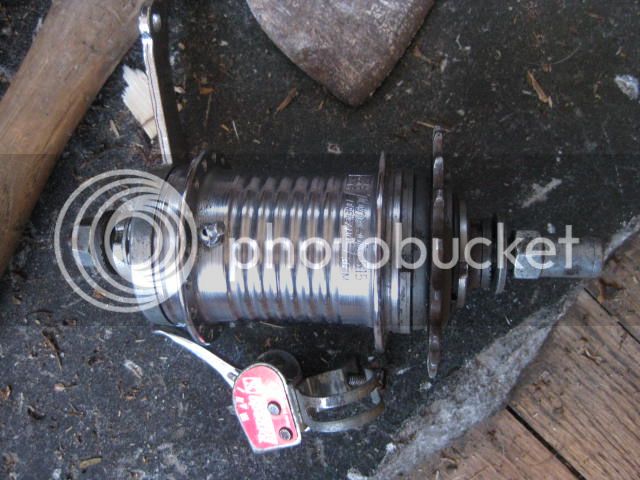
I decided to use the matching sachs shifter with the 515 hub that is already laced to my wheelset. Sorry about that my fellow sturmey fans. On this bike it may be a must over the Hercumatic shifter even though I like the look of the Hercumatic shifter better. This type of Sachs 3 speed shifter doesn't work with sa hubs, but the sa shifters work with the sachs 3-spd hub.
IMG_2728_zps2a0d191a.jpg

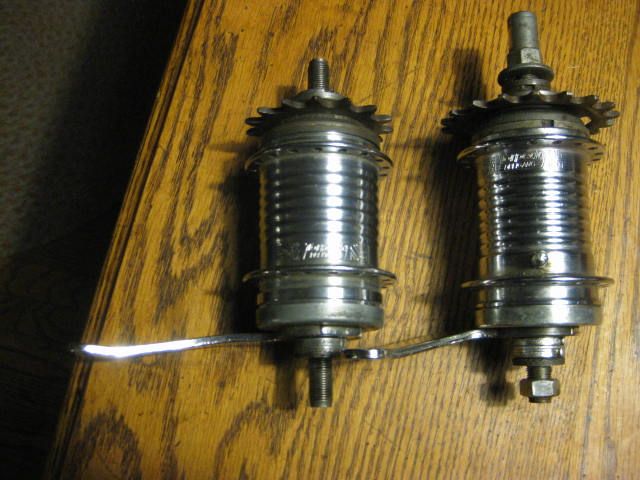
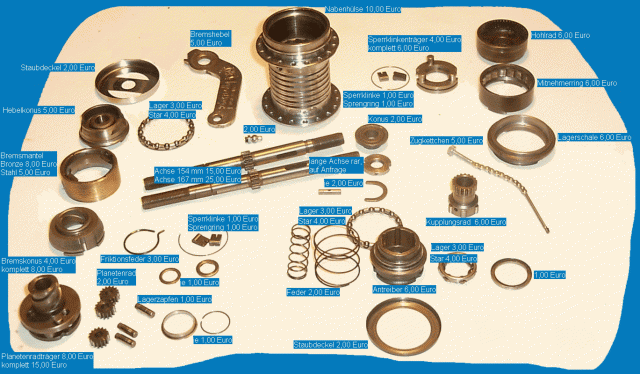
For those who like 3-speeds with coaster brakes, here is a look at the 515 next to the 3111 of earlier manufacture date. The earlier hub is fatter and has a tapered body and narrower flange spacing with similar internal design, but does not share parts. I haven't ridden one yet, but want to lace one up on another project another day..
IMG_2681_zpsef18e08e.jpg

515dr_zps673ccda9.gif


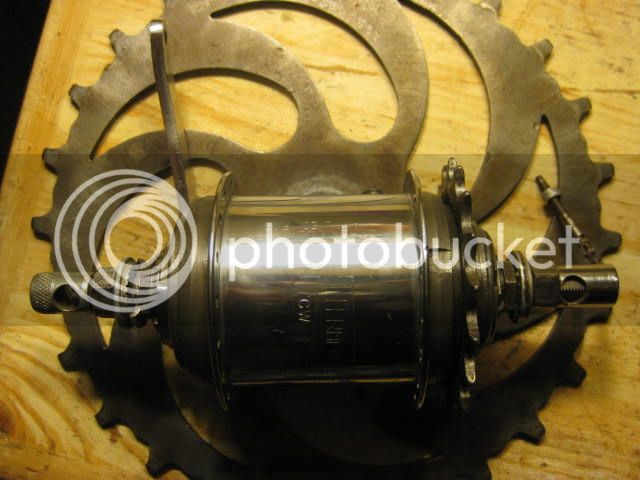
And for those Sturmey Archer fans, the venerable TCW. This is an Aug, 1957 hub, and my favorite of all old 3-spd coaster hubs...Fat, reliable, clean and flashy.
IMG_2747_zps7e8dc10b.jpg
 
Last edited:
Seems like the salt n pepper caps seem to be the focal point on this build.A great touch from granny...
 
Back
Top