Tribute to our friends

Rat Rod Bikes Bicycle Forum

Help Support Rat Rod Bikes Bicycle Forum:

This site may earn a commission from merchant affiliate links, including eBay, Amazon, and others.
WOW :shock: I THINK THIS BIKE WILL BE AT THE BIKE SHOW IN STOCKTON .ALL THE LUCKY ONES WHO GO TO THE SHOW CAN SEE THIS BIKE.
 
well thank you for building a custom seat. this bike needs one. i am hopeing you will put leather on it and lace it on to the pan. this is a very kool build and everything on it needs to be custom as much as possible. keep up the great work. you two have everybody watching. later

Outlaw
 
Did I miss something? Why are you narrowing the seat stays. Is this just a cosmetic thing or is there a purpose? Either way I like it. I always thought these bikes looked funny in that area with such a hard turn in the stay. Seems like they shoulda made it flow nicer. Anyway nice attention to detail. TTT
 
Fixin' a gaping hole!!!!!!!!!!

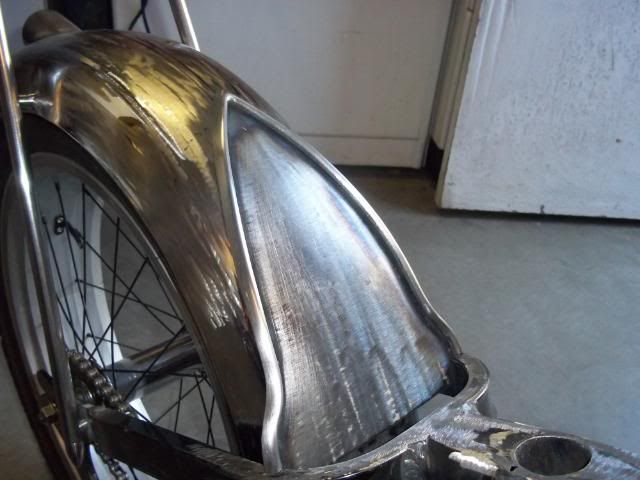
Hello again and thanks for all the compliments! So recently we were working on fixing the hole left where the piece of tubing cut out of the back of the top tube was . . .
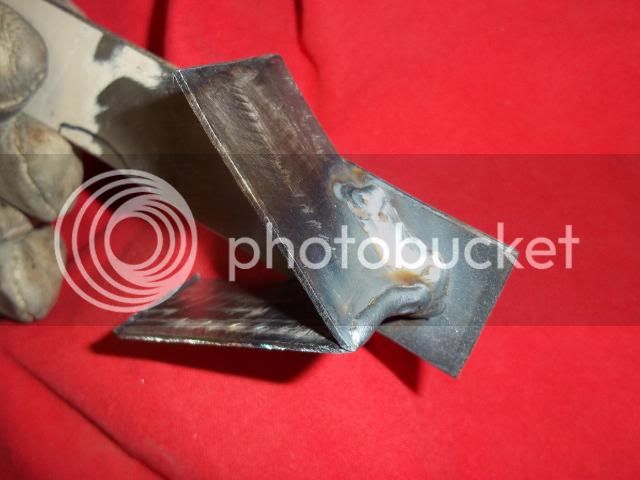
A strip was cut out of the locker door we always have laying around, a slit cut in the strip, and the strip was bent to the correct angle. Next, it was welded to another strip cut from the door as shown here . . .
fendermountage037.jpg


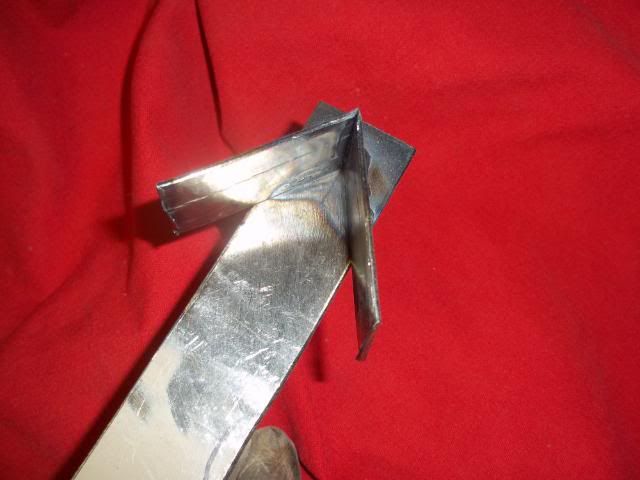
From the back . . .
fendermountage038.jpg


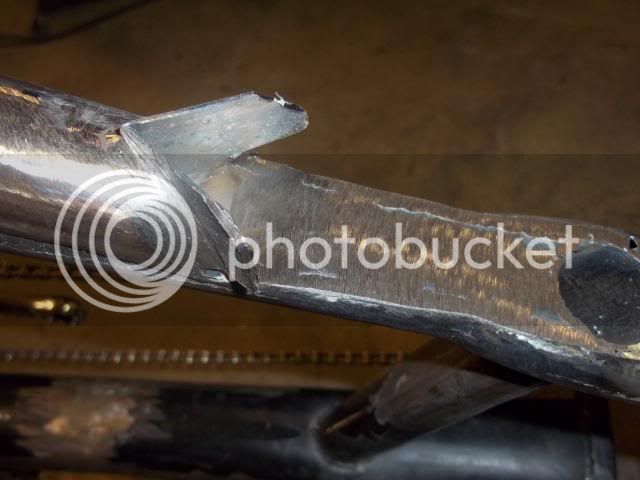
Next it was welded into the spot where the piece of tubing once was . . . around the point, the sides, and the seat post.
fendermountage040.jpg

PS: We hope to finish more and get it to the show in Stockton tomorrow! Please wish us luck! :)
 
TommyTwoTime said:
Did I miss something? Why are you narrowing the seat stays. Is this just a cosmetic thing or is there a purpose? Either way I like it. I always thought these bikes looked funny in that area with such a hard turn in the stay. Seems like they shoulda made it flow nicer. Anyway nice attention to detail. TTT

TTT, because we always thought these bikes looked funny in that area with such a hard turn in the stay. :) Actually, we wanted to have it flow better with the seat we're fabricating.
 
LETS SEE THE TROPHY 8) HA HA I RODE IT AT THE SHOW .THIS IS BY FAR THE COOLEST OCC BIKE . :mrgreen: I HAD TO HAVE IT PARKED NEXT TO MINE AT THE SHOW. :mrgreen:
 
have a seat!

Sunday we made it to the Stockton Car & Bike Show/Swap, had a good time there (a BIG thanks to Tony for an awesome show & swap! 8) ), and we won the trophy for the “Under Construction” class of the bike show . . . yippee!!!!! :D :D :D

Anyway, Friday night and Saturday we were working on the bike and got quite a bit accomplished in order to bring it to the Stockton show/swap.
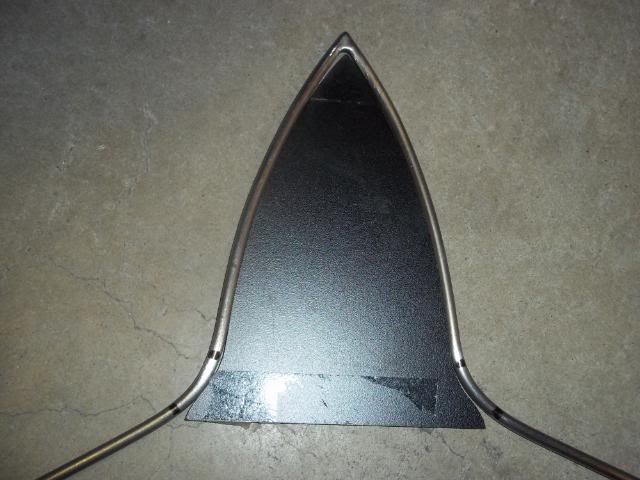
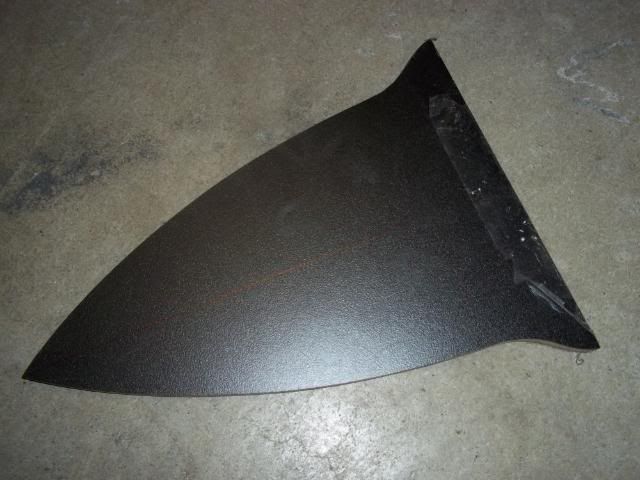
First, my dad went to Lowe’s and bought some 1/4" steel rod. We are working to get a seat pan in there and started by bending the rod around our pattern. We didn’t get a picture while bending the rod, but here is the pattern . . .
seatpan015.jpg


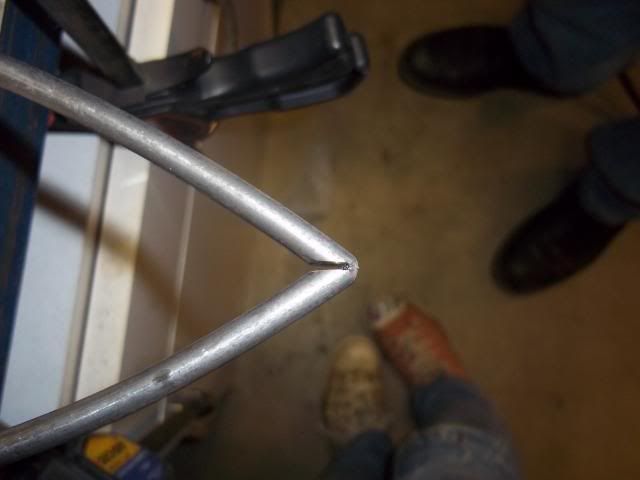
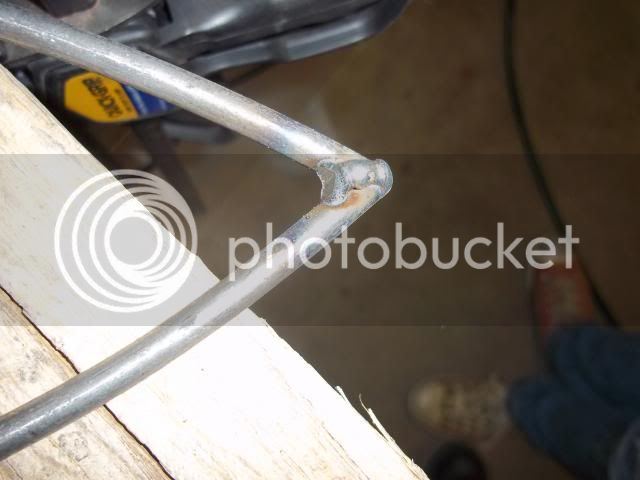
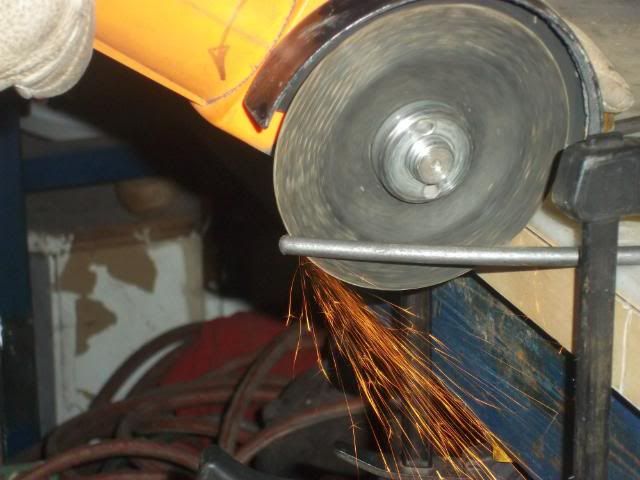
We then slit the rod in the center with the cutoff wheel . . .
seatpan002.jpg


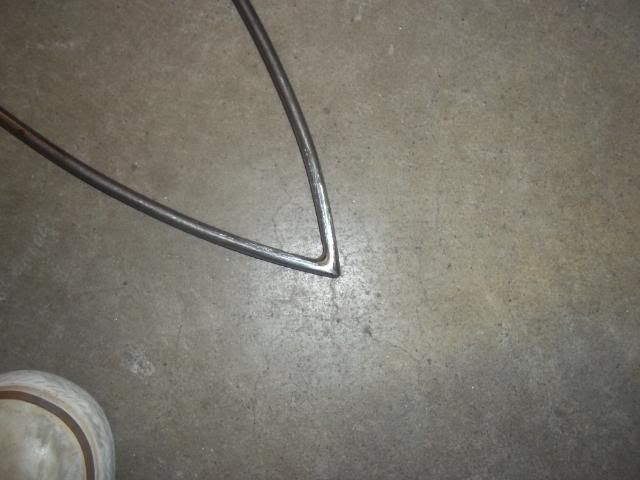
. . . and bent the slit closed.
seatpan011.jpg


After repeating the process five or six times, we had a nice shape bent in the rod for the frame of the seat pan! The next step was to weld it closed . . .
seatpan013.jpg


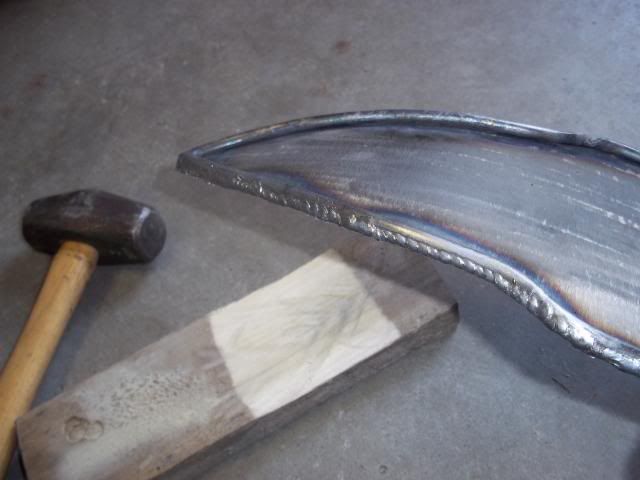
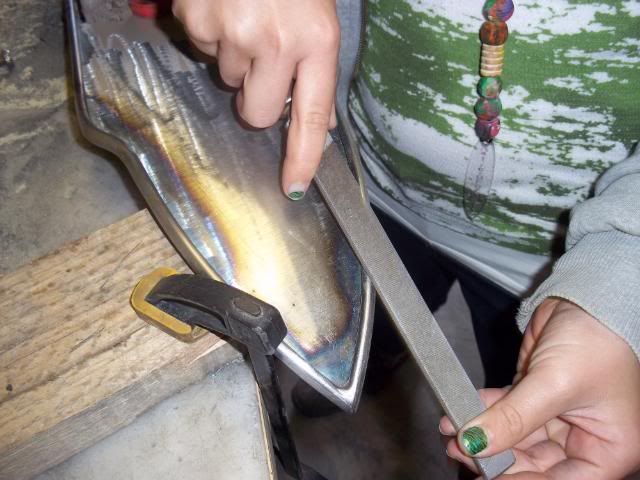
And file down the weld bead with a chainsaw file!
seatpan014.jpg


After all that was done, we bent the rod back out to fit the shape of the pattern . . .
seatpan020.jpg


And cut the ends, turned them 180 degrees, welded them in place, and ground them down. Next we cut yet another piece out of the old locker door in the same shape as our pattern, and welded it to the rod. We then used a sanding disc to put the valley into this piece of oak board, and with the seat part upside down, we pounded on it with the sledgehammer to put a curve it.
seatpan025.jpg


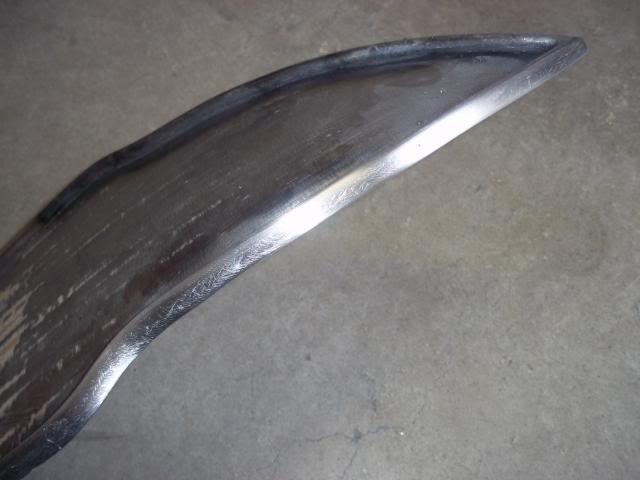
Next we got busy with the grinder and some files to clean up the weld.
seatpan038.jpg


All pretty now! This will be the backrest and it will be positioned just above the fender.
seatpan027.jpg
 
Stockton Bike Show

Thanks for the photo A.J.! 8)
Earlier in the week, I was thinking that I would bring a nice piece of plastic for her to make a sign for the show, but that didn’t happen. We were half way to the show when she got that piece of plywood off the floor of the truck, whipped out a Sharpie from her purse, and within a minute had her sign! :wink:

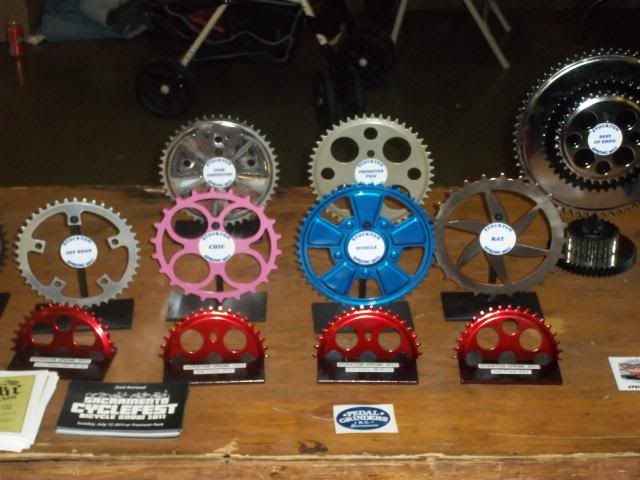
Here’s some of the trophies from the show . . . (That big trophy on the right was awarded to Greg66)
StocktonApril2011005.jpg


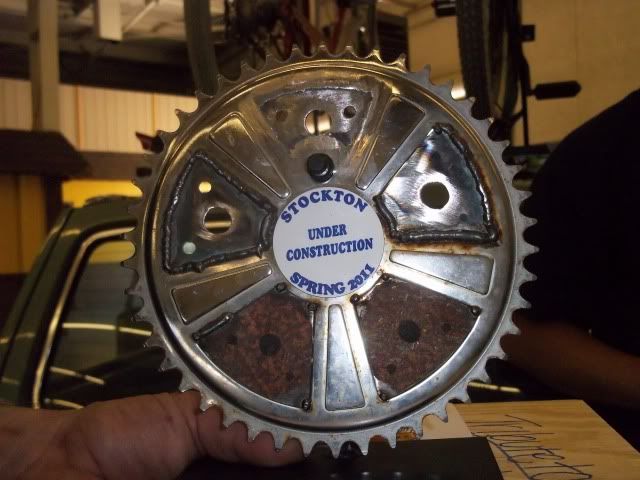
Check out this cool trophy . . . it’s still under construction!
f46cb200.jpg


We had a great time at the show, but I had a little bit of a rough time getting the bike loaded into the truck after the show. She didn’t want to stop riding it! :p
 
Have a Seat!

More work on the seat . . .
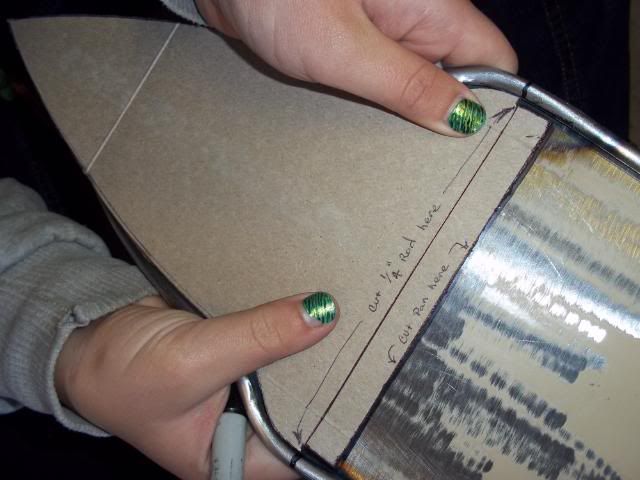
It’s hard to see from the other photos, but the piece was left long while we were shaping it , so it needed to be trimmed down to fit. We made another pattern based on measurements taken from the frame and used it to mark the backrest for cutting.
seatpan041-1.jpg


Here it is in place ready to be welded to the frame. It will be right on the fender, but it will be welded to the frame and not to the fender. The fender will be bolted near the bottom of the seat backrest.
seatpan048.jpg
 

Latest posts

Back
Top